Hello crafty friends, Martha Lucia here with you! Today I am featuring the Christmas Stocking Banner Die and the Stitched…
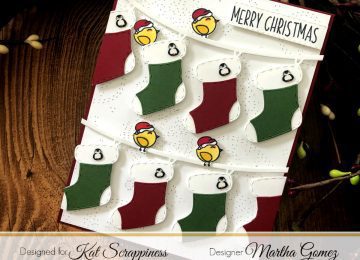

Hello crafty friends, Martha Lucia here with you! Today I am featuring the Christmas Stocking Banner Die and the Stitched…
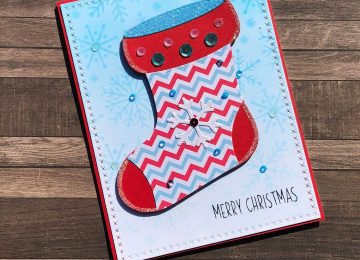
Hello, It is time to start making Christmas cards! I have a fun and easy shaker card today. I started…
Hi crafters, is everyone ready for Thanksgiving this week? I’m just having a small get together with my family. For…
Hello crafty friends, Martha Lucia here with you! Christmas dies are always a good tool to create a lot of…
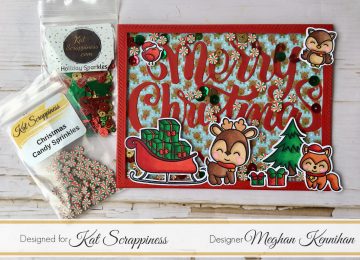
Hi Crafty Friends, Are you ready for Christmas? Let Kat Scrappiness help! There are some fabulous Christmas dies, stamps, sequins,…
Hello Kat Scrappiness friends, Martha Lucia here with you! I have two Modern Christmas Cards. My first card was made…
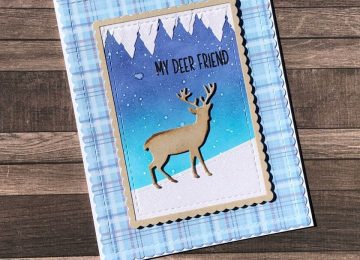
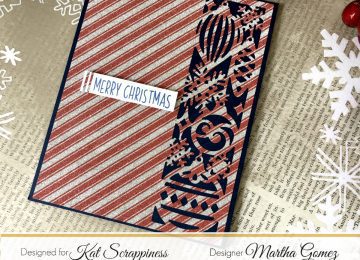
Hi Crafters! Kat has re-released the Pine Tree Border die. The previous die (which is still available here) doesn’t cut…