Happy Saturday! Martha Lucia here with you featuring one of our new coverplates. Today I am using the Star Fusion…
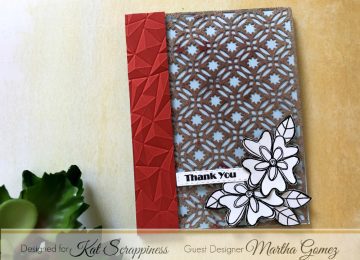

Happy Saturday! Martha Lucia here with you featuring one of our new coverplates. Today I am using the Star Fusion…
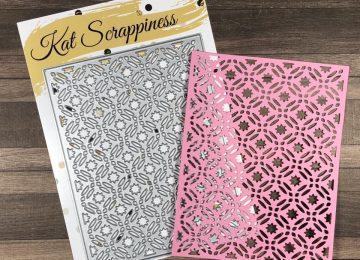
It is the last day of our February product release. I hope you were able to check out the first…
Have you been keeping up with the February release? Today is the grand finale! Be sure to check out all…
Good morning Kat Scrappiness fans! Are you ready for Day 2 of the February reveals? For our projects today the…

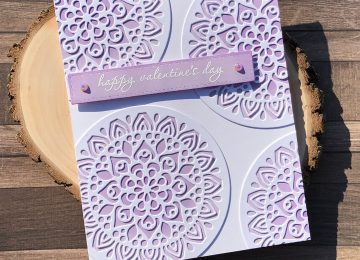
Happy Tuesday Kat Scrappiness fans! It’s Lisa here on the blog today and I’ve got a new card to share with you!…

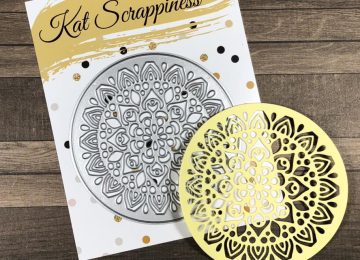
Hello Kat Scrappiness fans! It’s Lisa back on the blog today to bring you another monthly challenge! We just wanted to say…

Hi Kat Scrappiness fans! It’s Lisa here with you on the blog and today I want to share an easy…