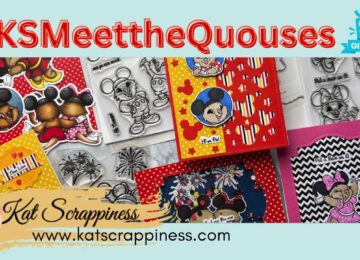
WELCOME CRAFTY FRIENDS! Welcome to our exciting new product launch! We’re thrilled to present our latest additions, Quickey and Quinnie,…
Challenges & Hops, Design Team Projects, New Releases, News

WELCOME CRAFTY FRIENDS! Welcome to our exciting new product launch! We’re thrilled to present our latest additions, Quickey and Quinnie,…

Hello Crafty Friends! Priscilla here from Nubble Light Designs. Today I am sharing my first Valentine’s Day card of 2025…

Hello Crafty Friends! Priscilla here from Nubble Light Designs. Today I am sharing a card perfect for a “gal pal”…
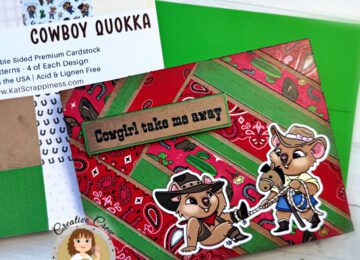
Hello Crafty Friends! Priscilla here from Nubble Light Designs. Today I am sharing a Cowboy-themed card using several products from…

Hello Crafty Friends! Priscilla here from Nubble Light Designs. Today I am sharing a Halloween card . . . “Mummy-style”!…

Hello Crafty Friends! Priscilla here from Nubble Light Designs. Today I am sharing a birthday card perfect for a Mickey…
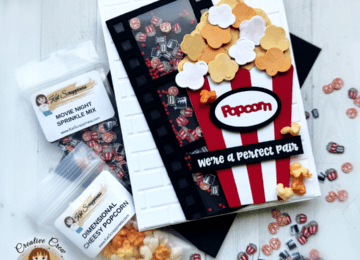
Hello Crafty Friends! Priscilla here from Nubble Light Designs. Today I am sharing a fun card perfect for a close…