Hello Crafty Friends! Priscilla here from Nubble Light Designs, sharing a rootin’-tootin’ one-page scrapbook layout featuring the new “Cowboy Quokka”…


Hello Crafty Friends! Priscilla here from Nubble Light Designs, sharing a rootin’-tootin’ one-page scrapbook layout featuring the new “Cowboy Quokka”…
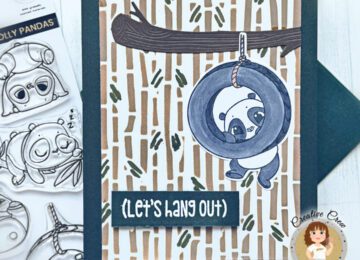
Hello Crafty Friends! Priscilla here from Nubble Light Designs, sharing a playful and pun-filled card featuring the new“Rolly Polly” stamp…
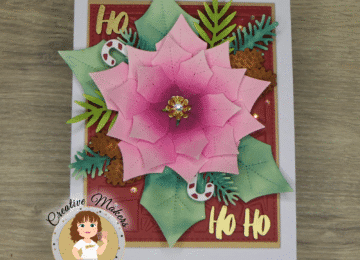
Hello, my crafty friends! Angelique here with a brand-new Christmas card blog for you! As promised, it’s another festive one —…
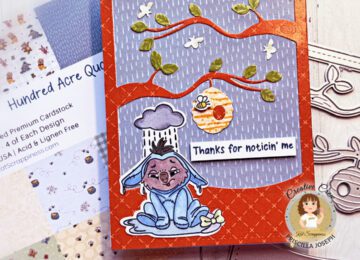
Hello Crafty Friends! Priscilla here from Nubble Light Designs, sharing a tender and heart-tugging card featuring the new Hundred Acre…

Hello my crafty friends! Angelique here with another handmade project for you! I thought it would be nice to start a…

Hello Crafty Friends! Priscilla here from Nubble Light Designs, sharing a festive (and slightly snarky!) Christmas card featuring the Kat…
Hello, my crafty friends, I am back with a new blog and card! My apologies for not having found…