Hey friends!! Nora here on the blog today using some of the supplies from the Kat Scrappiness Shop’s Pawsome Dog…
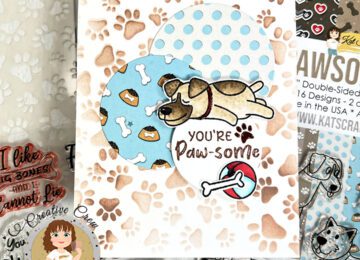

Hey friends!! Nora here on the blog today using some of the supplies from the Kat Scrappiness Shop’s Pawsome Dog…
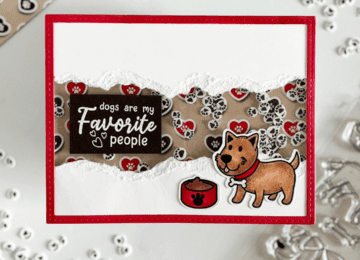
Hello Kat Scrappiness, Inc. fans! Maria here on the blog with you today sharing this super simple card, showcasing the…
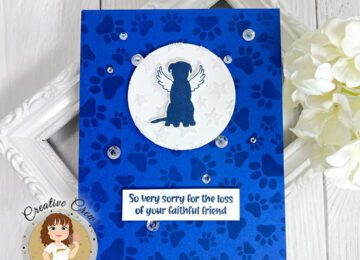
Hi, everyone! This is Nicki from the Design Team. I’m so excited to be sharing a torn paper shaker card…

(affiliate links to most products are provided below at no additional cost to you) Good Morning, I am up on…
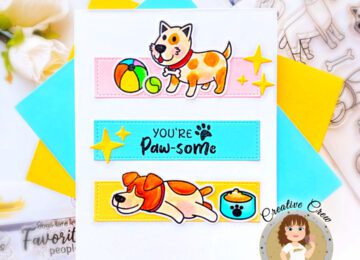
Hi Friends!! Nora here with a simple card using some of the products from this weekend’s Kat Scrappiness Pawsome Release….
Happy Sunday! It’s Caren here on the blog today. Did you have a chance to look at the new Pawsome…
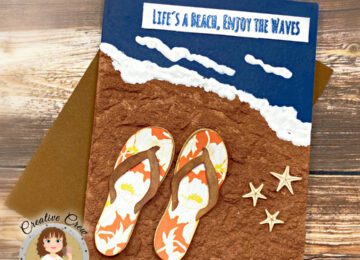
Happy Friday Crafty Friends! Priscilla here from the Kat Scrappiness Design Team. As we coast into Labor Day Weekend, I am sharing a “last hurrah…