Hello, my lovely crafty friends!
Angelique here, with another Valentine card!
This will be my last Valentine card of the season for Kat Scrappiness. You still have plenty of time to create your sweetest card for your loved one, best friend, or just to brighten someone’s day.
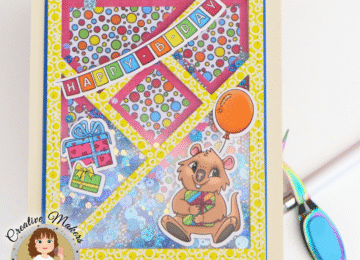
For today’s project, I created a very sweet heart-shaped Valentine card using warm red and pink colors, plenty of sparkle, a lovely sentiment, and topped it all off with an ephemera image of Quinnie the Quokka. Sounds like a fun card, right?!
So, let’s get started!

🧰 Kat Scrappiness Products Used
-
A2 Heart Sunburst Craft Die
-
Quokka Flowers Stamp Set
-
Card Shoppe Essentials Clear Acetate Sheets 8.5 x 11 – 10Pkg by Spellbinders
- Tsukineko Full-Size VersaMark Clear Embossing Ink Pad
📋 Card Details
This time, I made a heart-shaped card with multiple layers for extra interest and dimension.
For the card shape, I used the largest heart from the Kat Scrappiness Embossed Edge Heart Craft Dies. I started with a slightly larger square card base. At the fold, I placed the heart die slightly over the edge of the fold (as you can see in the photo). After die cutting, this created a lovely heart-shaped card.
The top of the card is flat because of the fold, but once you add a layered heart panel on top, this detail completely disappears.
Step 1 – Preparing the Background Pieces
To create the background layers for this heart-shaped Valentine card, I used several different sizes from the Kat Scrappiness Embossed Edge Heart Craft Dies.
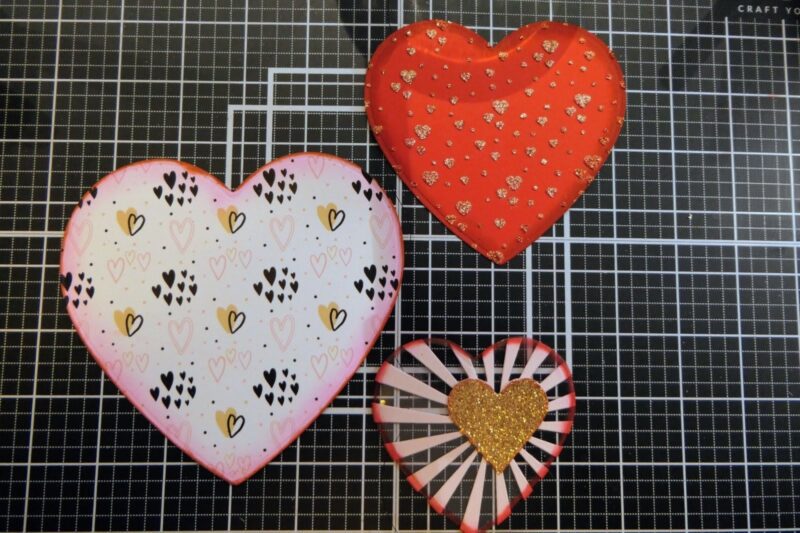
I started by choosing a patterned paper from the Love Doodles Gold 6×6 Paper Pad. Pick a design you love and that works well with the color combination you’re using. Using the largest heart die, I die cut a heart from the patterned paper.
Next, I took the heart die one size smaller and die cut it from red cardstock. On this layer, I used the Love is in the Air 6×6 Stencil together with Gold Glitter Mousse. After that, I added a little Ruby Glitter Mousse to give the small hearts a warm and romantic touch. I applied both mousses with Kat’s Crafty Dabbers, which makes it easy to control the color and sparkle. This added beautiful texture and shine while keeping the background soft and elegant.
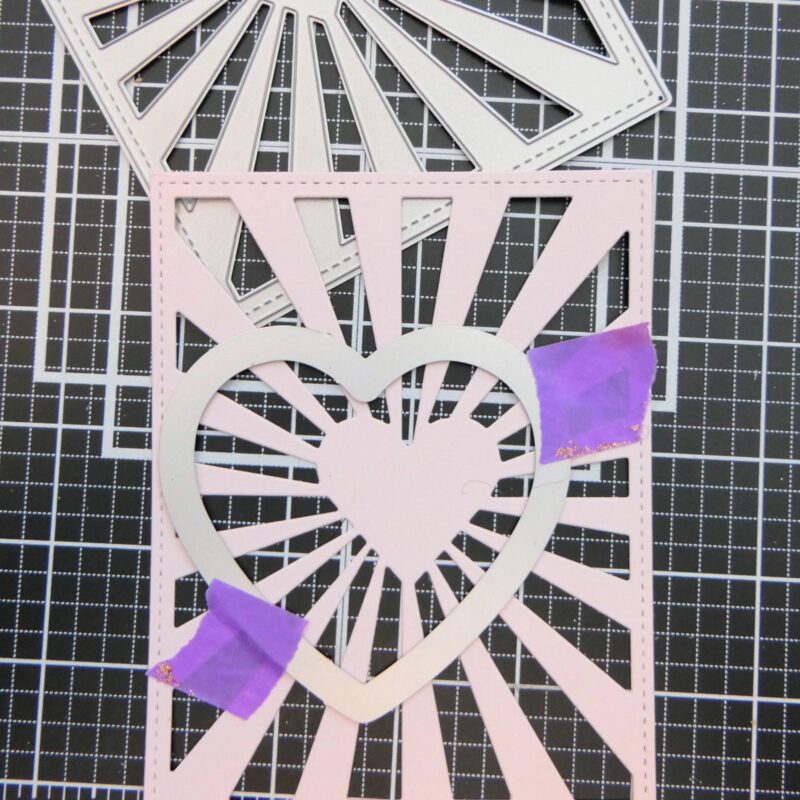
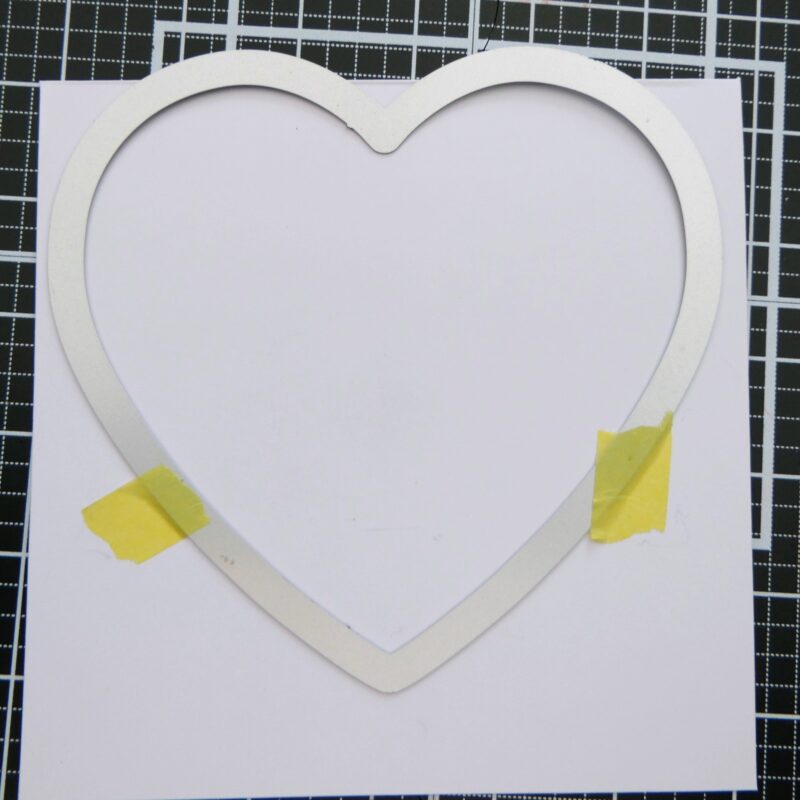
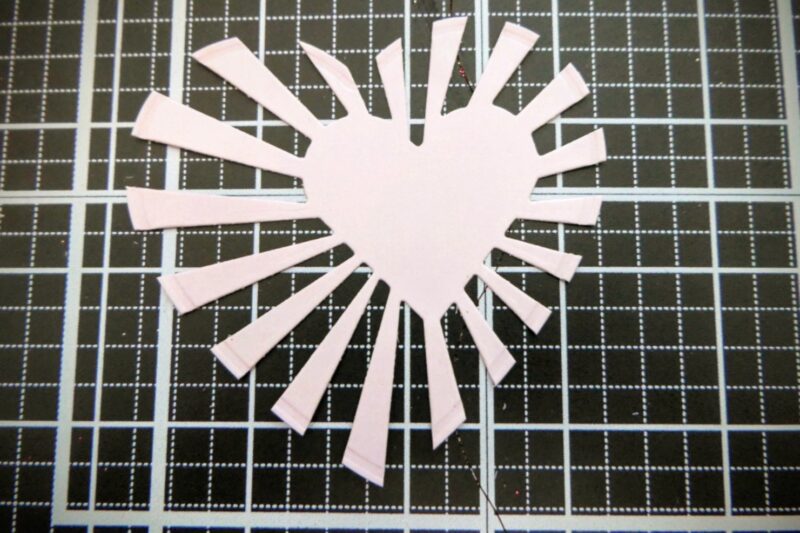
For the next layer, I used the A2 Heart Sunburst Craft Die and die cut it from soft pink cardstock. I then took another, smaller heart die and placed it over the pink die-cut piece, securing it with a bit of removable tape (as shown in the photo). I positioned the smaller heart toward the higher right corner, as I thought it would look nice framed within the sunburst design. I then die cut this piece.
Using that same heart shape, I die cut a piece of acetate to place behind the soft pink heart.
The small heart from the A2 Heart Sunburst die was die cut again, this time from gold glitter cardstock, to add extra sparkle.
Finally, I adhered the pink heart layer onto the acetate.
Step 2 – Decorating the Card
Once the stenciled hearts were completely dry, I took the largest patterned paper heart and softly blended soft pink ink around the edges. This creates a subtle border and helps the heart stand out more.
Next, I used red ink and my Kat’s Crafty Dabber to ink the very edges of all the heart layers, including the small gold glitter heart. You can see this clearly in the photo. After inking the edges, I adhered the small heart onto the larger pink heart layer.
Tip: When working over acetate, it’s best to use pigment ink. This ink stays nicely on the acetate if you let it air-dry. Be careful when using a heat tool, as too much heat can warp the acetate.
For the focal point, I chose the cutest ephemera image of Quinnie the Quokka from the Meet the Quokkas Ephemera Pack. Quinnie adds such a sweet and playful touch to this Valentine card. I also inked the edges of the ephemera image with red ink to match the rest of the design.
I stamped a sentiment from the Quokka Flowers Stamp Set onto the same soft pink cardstock. I used the Clear Embossing Ink together with gold embossing powder. Before stamping, I made sure to use an anti-static powder tool. After embossing, I die cut the sentiment using the Quokka Flowers Coordinating Craft Dies.
Step 3 – Assembling the Card
To finish the card, I adhered all the elements together using liquid glue. For some pieces, I added foam tape to create a bit of extra dimension and depth. On the acetate heart, I only put glue on the non visible places, so behind the glitterheart and the pink parts.
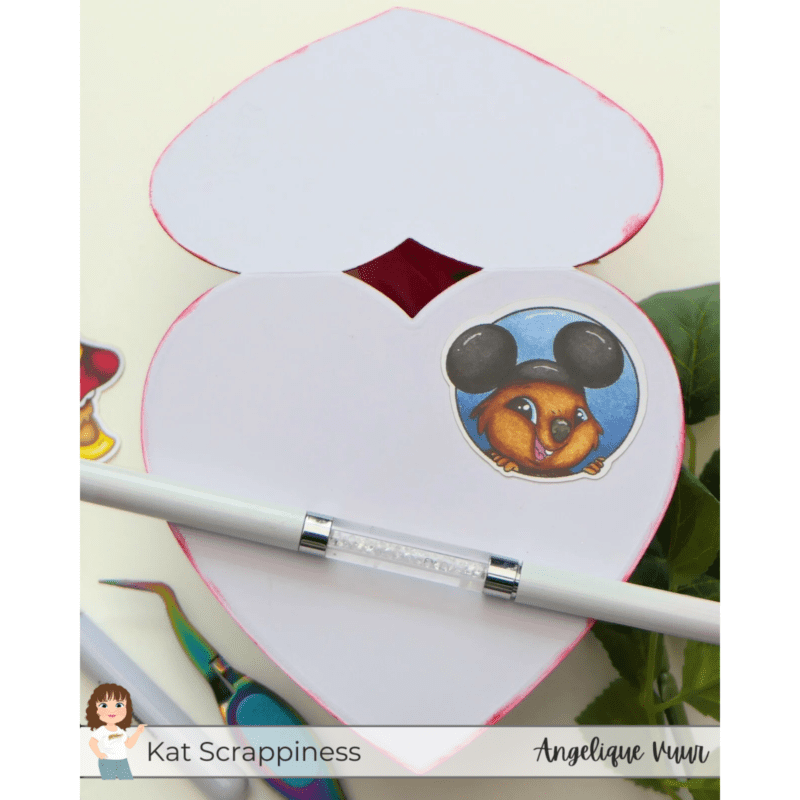
As finishing touch, I took another ephemera image, this time from Quickey the Quokka, the round one. I adhered this on the inside of the card. Lastly, I inked the very edges on the inside of the card also red.
Final Thoughts
This sweet heart-shaped Valentine card is full of warmth, sparkle, and love. It’s perfect for a partner, a friend, or anyone who could use a little handmade happiness.
I hope this project inspires you to create something heartfelt and special. Thank you so much for stopping by, and don’t forget to check out What’s New at Kat Scrappiness for even more crafty inspiration.
Until next time!
Hugs,
Angelique 💗