Hello Kat Scrappiness fans! The winner of the $25 GIFT CARD FOR KATSCRAPPINESS BRAND ITEMS has been…


Hello Kat Scrappiness fans! The winner of the $25 GIFT CARD FOR KATSCRAPPINESS BRAND ITEMS has been…
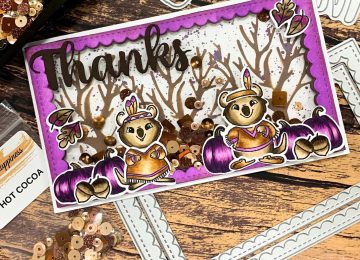
Hi everyone! Sammi here sharing a cute mini slimline card using the Reversed Scallop Mini Slimline die and Thanks Sentiment…
Good Morning All of My Card Making Friends! This is Kathy from Expressive Paper. I have been busy making cards…
Hello friends and welcome to the Kat Scrappiness October Product Release! Today we are introducing some new Design Blog…
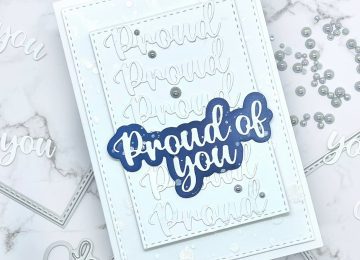
Hello my friends! Katy here and in today’s video I am showing you a simple birthday card ink blended on…
Greetings friends and fellow crafters, LeeAnn here with my final guest post of the month with the Kat Scrappiness Design…
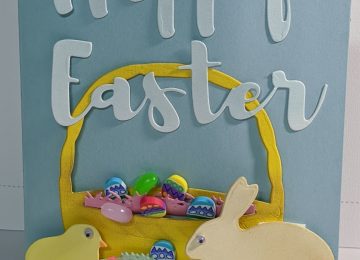
Hit here freinds and fellow crafters. LeeAnn here with two fun shaker cards I made using the Kat Scrappiness Crafters…