Hey friends!! Nora here on the blog today using some of the supplies from the Kat Scrappiness Shop’s Pawsome Dog…
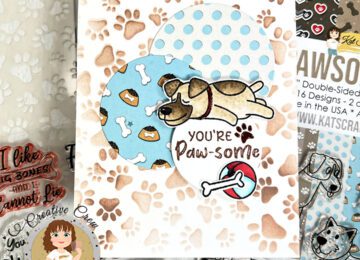

Hey friends!! Nora here on the blog today using some of the supplies from the Kat Scrappiness Shop’s Pawsome Dog…
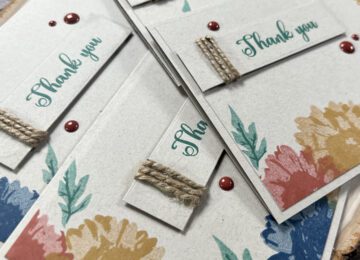
Hello crafty friends! It’s Alicia a.k.a. Crafty Al here to share a look at the FOUR cards I created using…

Hello crafty friends! Sammi here sharing a birthday card because it is my birthday today! Anyone that knows me knows…
Happy Sunday everyone! It’s Caren here on the blog today with a fun Summer Vibes card. For my card today,…
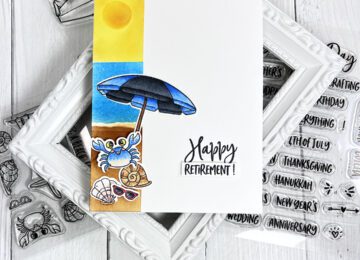
Hello Friends! Nora here on the blog today with a fun retirement card using some of the Kat Scrappiness Summer…
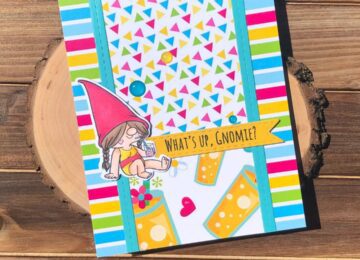
Hi, everyone! This is Nicki from the Design Team here with a fun project to get you using those embellishments!…
Hello Friends!! Nora here on the blog today with a monochromatic card using some of the Summer Vibes release from…