Good Morning, it’s Kathy from the Design Team! It’s time for some more inspiration on the Kat Scrappiness blog today….

Good Morning, it’s Kathy from the Design Team! It’s time for some more inspiration on the Kat Scrappiness blog today….
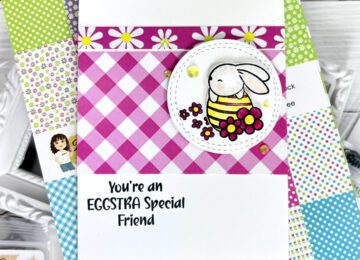
Hello crafters, it’s Caren here on the blog today with a card featuring the new Spring Fling paper. I choose…

Hello friends and welcome to the Kat Scrappiness April 2022 6″ x 8″ Spring Fling Paper Pad Release, we…
Hello Everyone!! Nora here from the Kat Scrappiness Design Team. I created a fun card using supplies from Kat Scrappiness’…
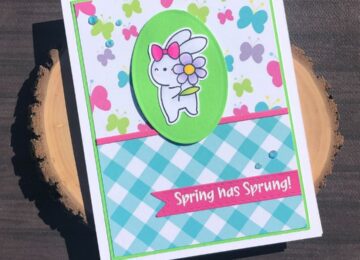
Happy spring everyone! It’s Caren here on the blog today sharing a Spring card featuring lots of goodies from the…

Happy Saturday Everyone! Priscilla here from the Kat Scrappiness Design Team. Today I am sharing a birthday card for someone hitting the BIG 5-0!…
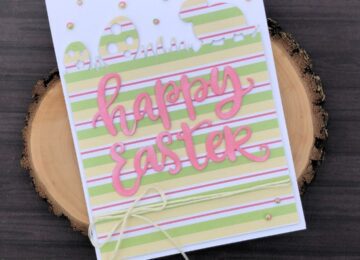
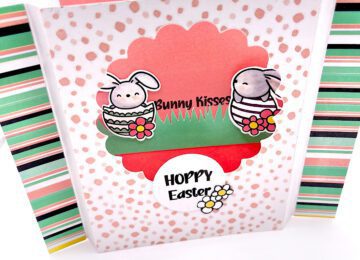
Happy Monday everyone, it’s Caren on the blog here today with a fun Easter card using great products from the…