Merry Christmas everyone! It’s Donna here back again as guest designer for Kat Scrappiness. I hope you all are having…
-
-
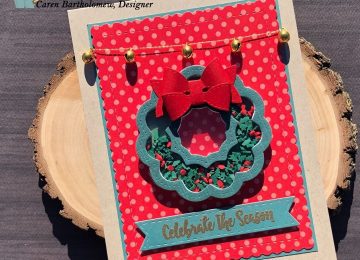
I Hello, Making a fun holiday card using Kat Scrappiness dies and stamps available on the Kat Scrappiness web site….
-

Happy Holidays everyone! I can’t believe Christmas is just over one week away. Before I get to today’s card, I…
-
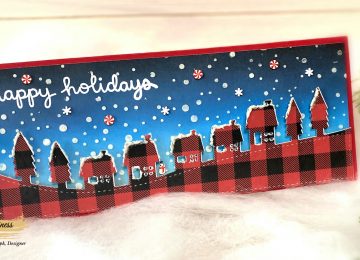
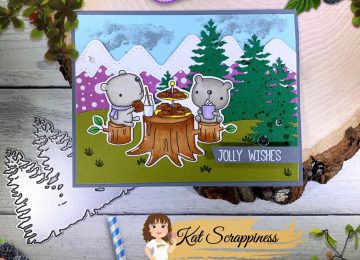
Hi Everyone! Priscilla here from Nubble Light Designs. Today I am sharing two cards made with the newly released “Holiday Village…
-
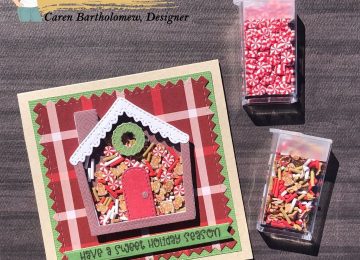
The best part of the Christmas season for me is all the lights, glitter and shine! Kat Scrappiness has so…
-
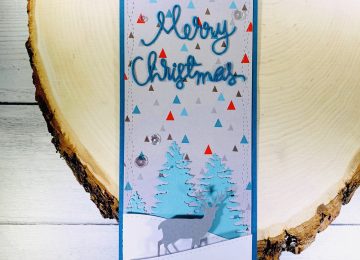
Happy weekend everyone! Have you had a chance to see the first slimline paper pad at Kat Scrappiness. There is…
-
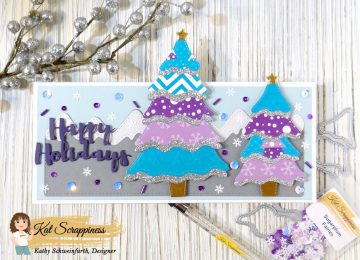
Hello Friends, Today I am making a slim line Christmas card. I love all the new slim line products that…