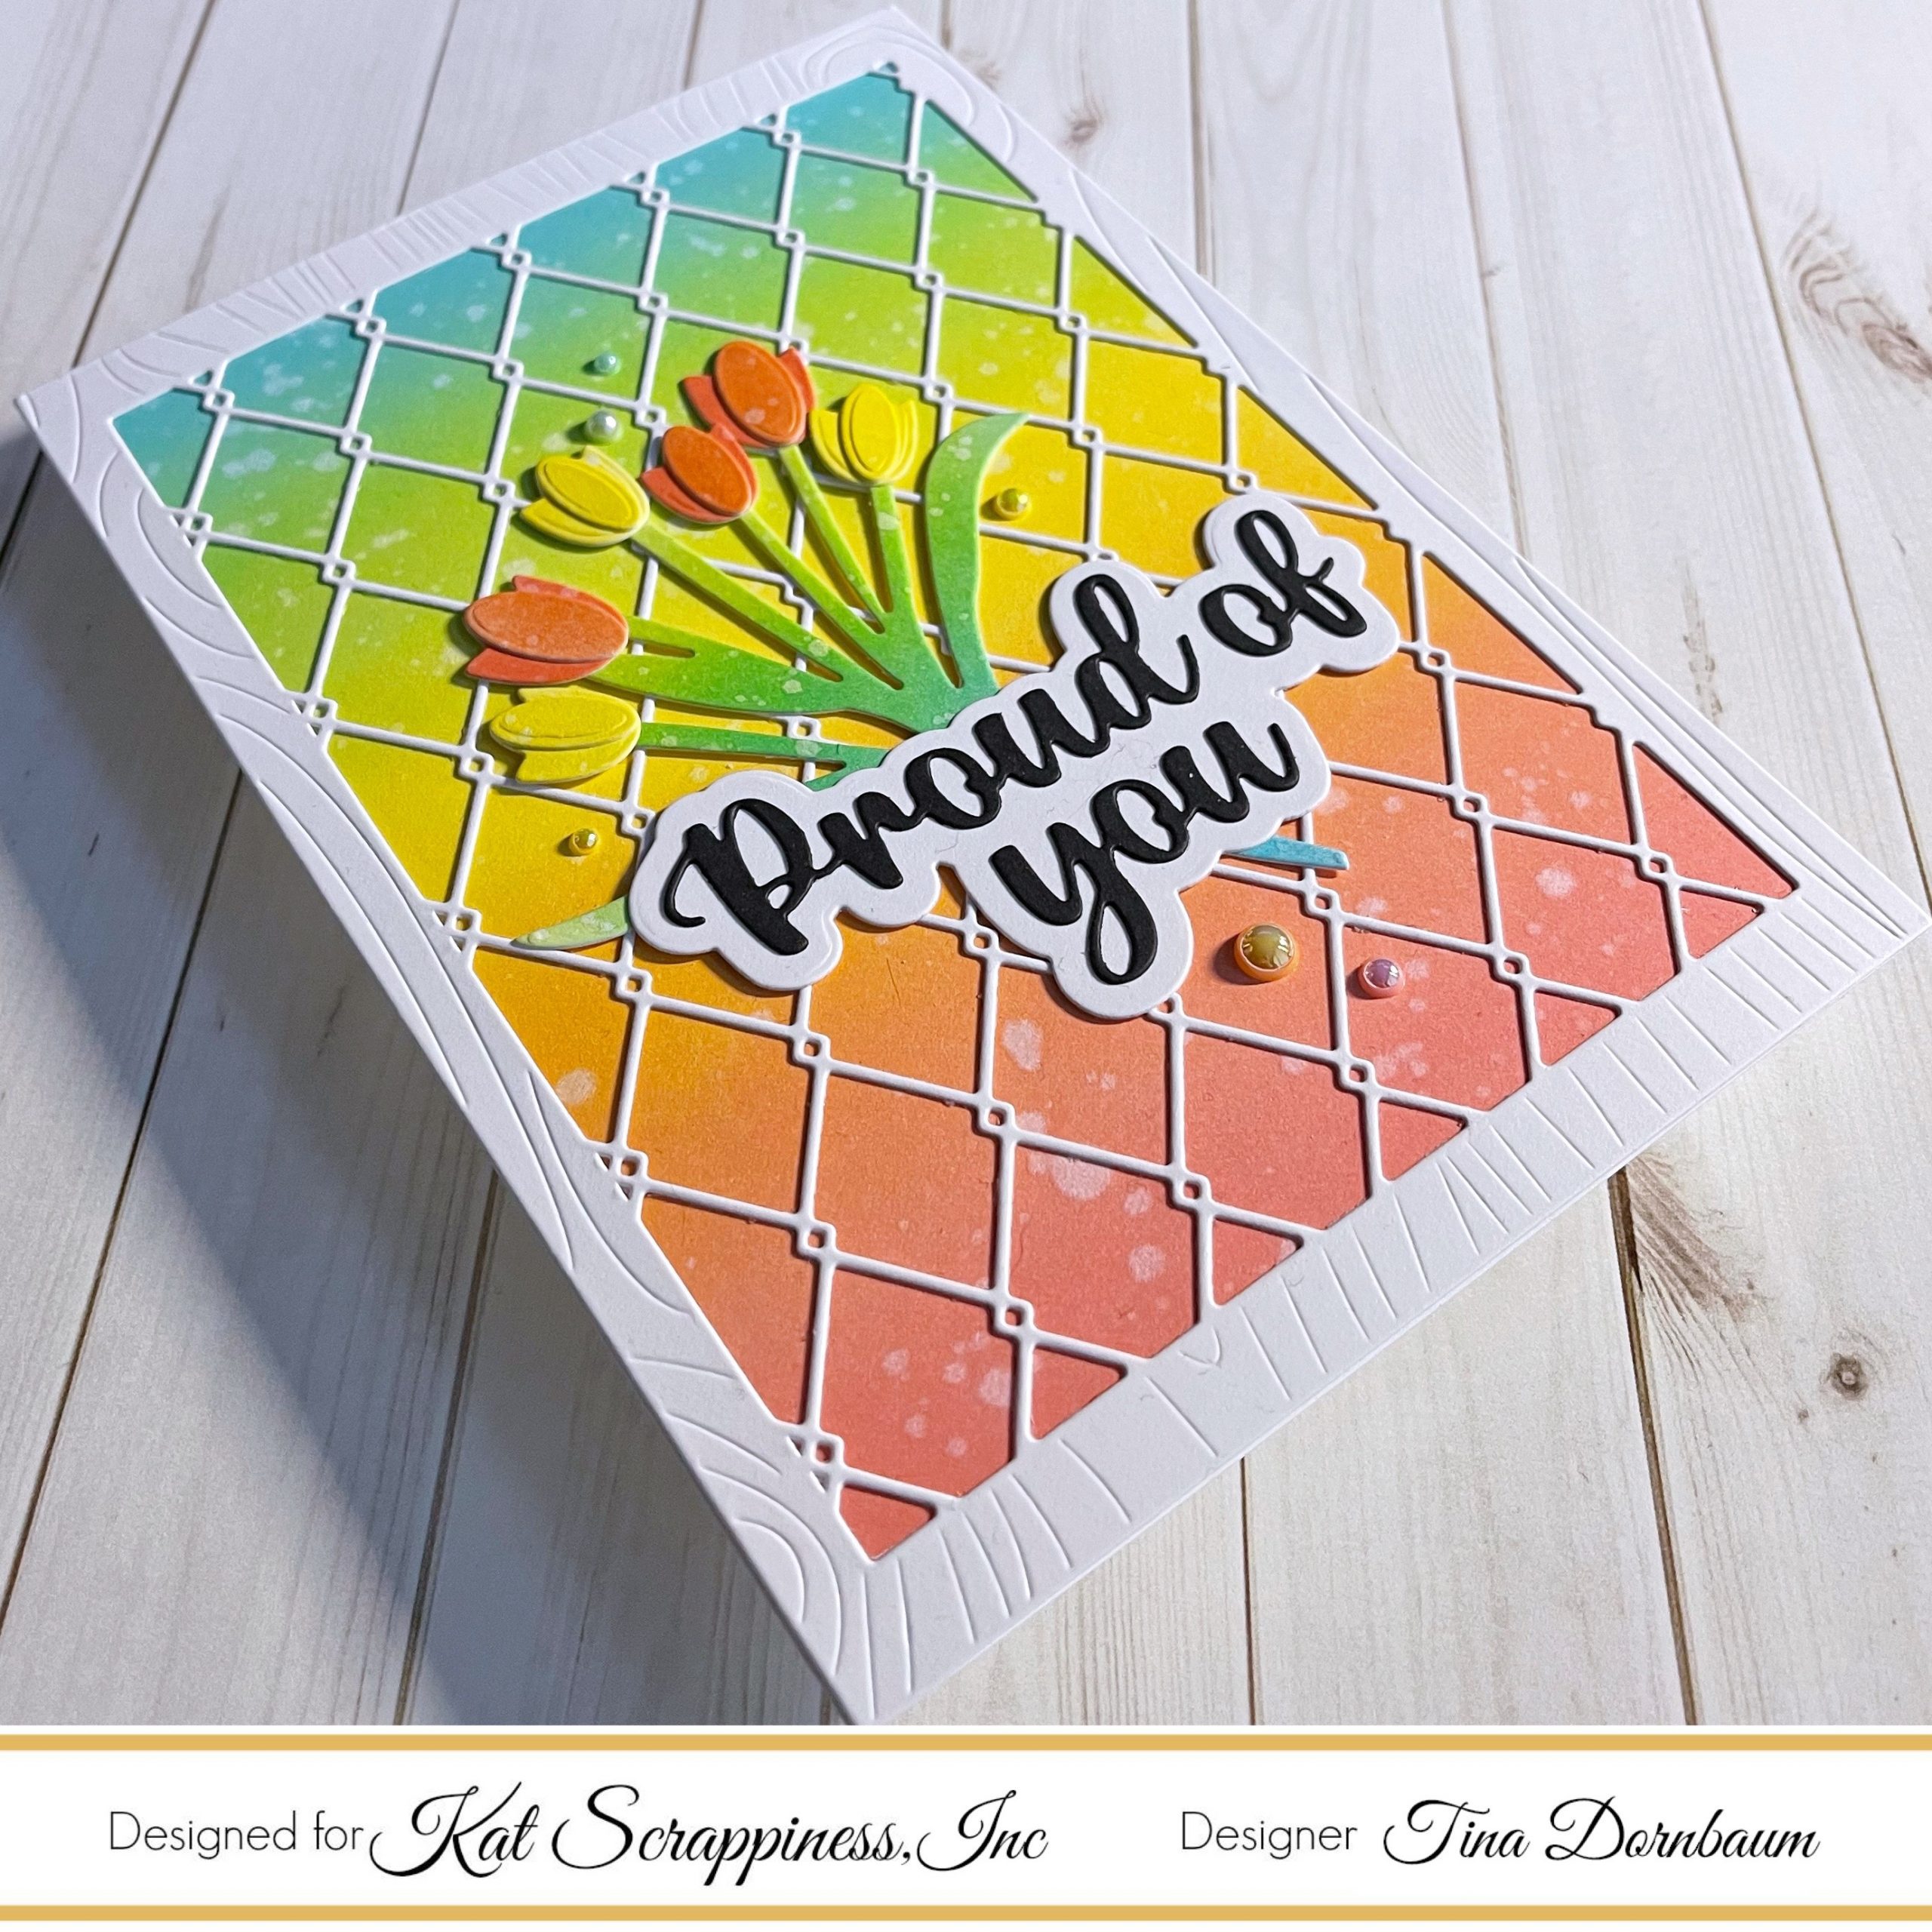
Hi everyone, it’s Tina here. I have a 5×7 card to share with you and a bonus card using the negative from my first card. I used the 5×7 Diamond Wire Wood Grain Frame and the Layered Tulip Bouquet dies. Below you will find the steps to create your own cards.

Step 1 – Trim White Cardstock to 10” x 7”, score at 5” and fold in half for a vertical side fold card. (5×7)
Step 2 – Trim White Cardstock to 5” x 7”. Apply any ink of your choice using Rainbow colors with a Blender Brush. Sprinkle some water using a Fan Brush. Let dry then adhere to card front using Bearly Art Precision Glue.
Step 3 – Diecut 5×7 Diamond Wire Wood Grain Frame using White Cardstock. Adhere to card using Bearly Art Precision Glue.
Step 4 – Using the same inks for the panel created in Step 2 apply blue and green making sure they blend in the middle. Apply the red, orange and yellow on another panel.
Step 5 – Diecut Layered Tulip Bouquet using the Blue/Green panel from Step 4 for the stem and the Red/Orange/Yellow panel for the tulips. Assemble and adhere to the card front using Bearly Art Precision Glue.
Step 6 – Diecut Proud Of You With Shadow Die using Black Cardstock for the words and White Cardstock for the Shadow. Assemble and adhere to card using Bearly Art Precision Glue.
Step 7 – For added interest and sparkle randomly adhere Pearls using a Pick Up Tool and Bearly Art Precision Glue. I used Pearl Mix in colors Ballerina Pink, Apricot, Bumble Bee, Mint Green, Seafoam.
Bonus Card
Step 1 – Trim White Cardstock to 7” x 5 1/4”, score at 3 1/2” and fold in half for a vertical side fold card. (3 1/2” 5 1/4”)
Step 2 – Trim Black Cardstock to 3 3/8” x 5 1/8”. Adhere to card front using Bearly Art Precision Glue.
Step 3 – Trim the negative panel created from Card 1 Step 5 (Blue/Green) used for the stem to 3 1/4” x 5”. Adhere to card using Bearly Art Precision Glue. Diecut Layered Tulip Bouquet (Tulips) using the Panel Red/Orange/Yellow from Card 1. Adhere to card using Bearly Art Precision Glue.
Step 4 – Stamp Valentine Quokka sentiment using Versafine Onyx Black Ink.
Step 5 – For added interest and sparkle randomly adhere Seafoam Pearl Mix using a Pick Up Tool and Bearly Art Precision Glue.
My bonus card was inspired by the negative piece from the Layered Tulip Bouquet as I love the ink blending and didn’t have the heart to throw it out. Make sure you look at your negative diecuts and I’ve shown you can turn them into cards.
Below you will find the link to all the products used. Thank you for stopping by and Happy Crafting!
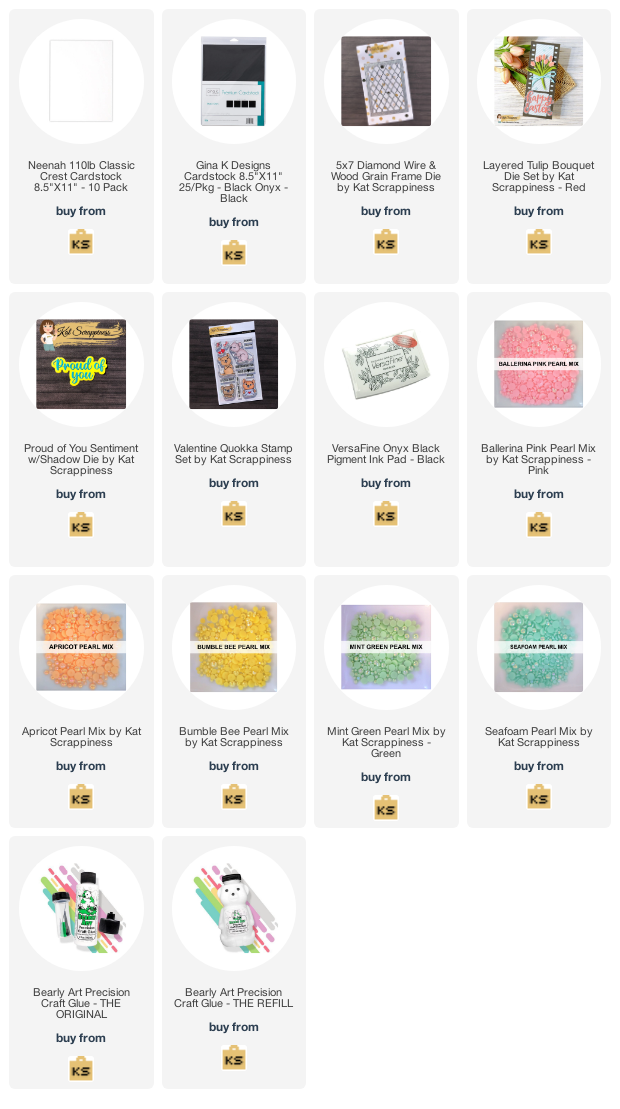
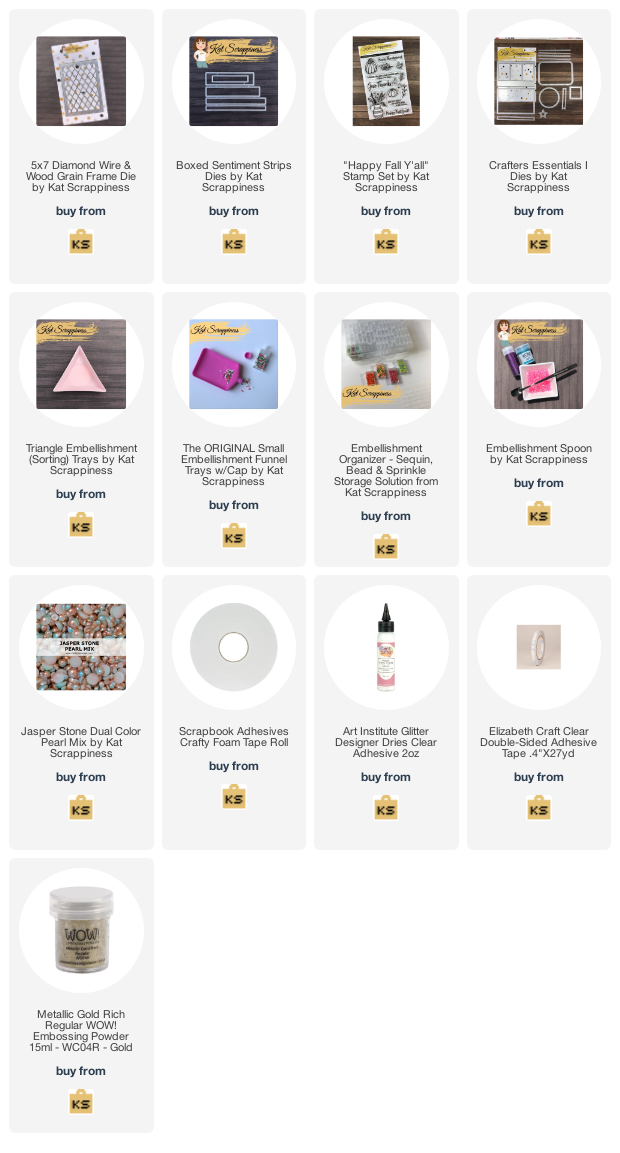
Products Used:
https://linkdeli.com/widget.js?id=f5e8378456858c916708