Hi friends! I have a Valentine’s Day mini slimline shaker that is also a hot cocoa mix holder! I couldn’t resist playing with the new Mini Slimline Vine Cover Die and the Mini Slimline Envelopes Dies.
You can see how I put this together in my video below!

I used the new Mini Slimlines Foliage Cover Die as the decoration for the front of my hot cocoa holder. I added some of the new Spectrum of Love patterned paper below the cover die with some of the XOXO Sprinkles.
I selected two of the papers from the Sprectrum of Love paper pack that I had coordinating colors of glitter cardstock for. I also ink blended the envelope die cut pieces in Peacock and Picked Raspberry Distress Oxide inks to coordinate with the patterned paper and glitter cardstock.
You can see that I used the XOXO sprinkles for the teal shaker card and the Lots of Smooches for the pink shaker card.
I love that a packet of hot cocoa mix fits so perfectly inside this mini slimline envelope die set. Anybody else thinking that this will be a perfect stocking stuffer idea for next Christmas?
I also used the Hugs portion of the Rainbow Hugs word die. I used a special technique by stacking several of the die cuts together and then clear embossing them to get a shiny enameled look. This is my DIY Faux enamel technique for word dies!
You can see all the details in the video:
[youtube https://www.youtube.com/watch?v=vGOoLKv9Qvo]
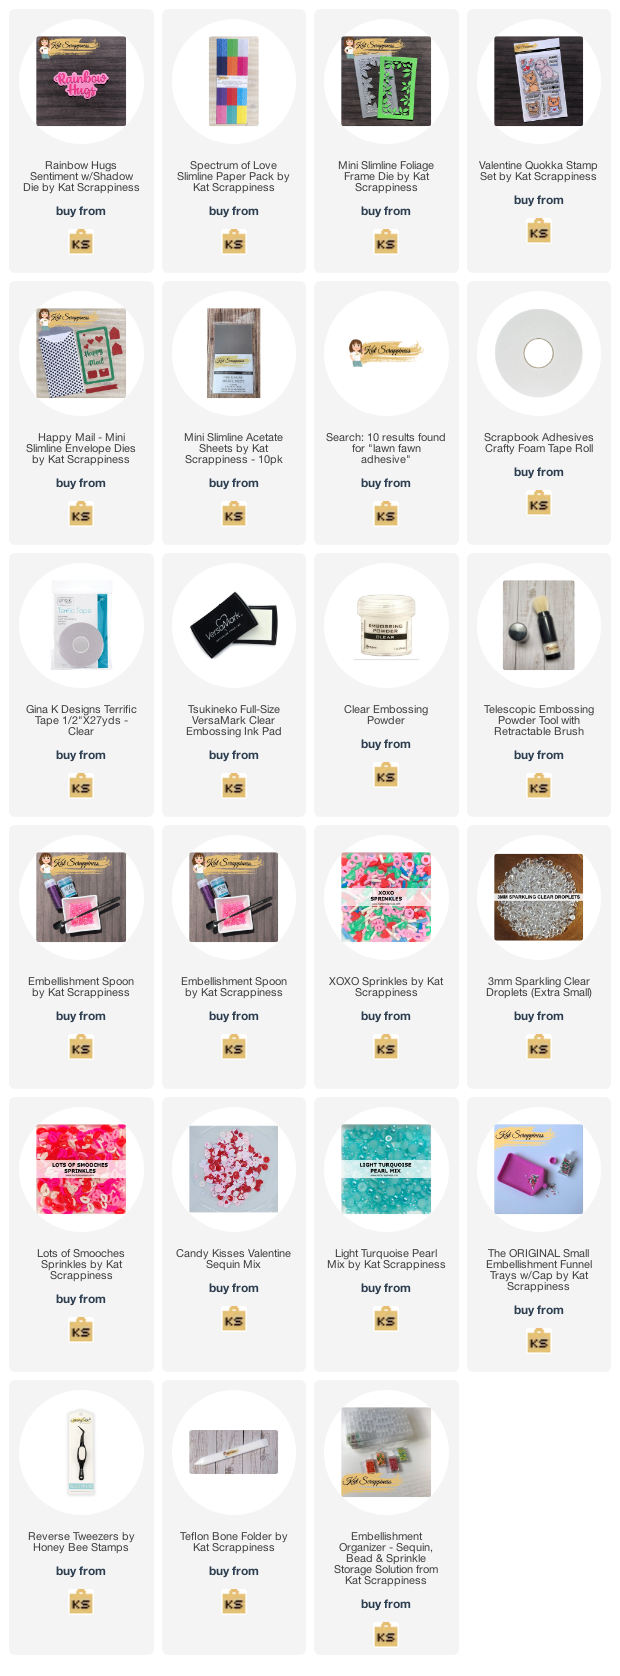
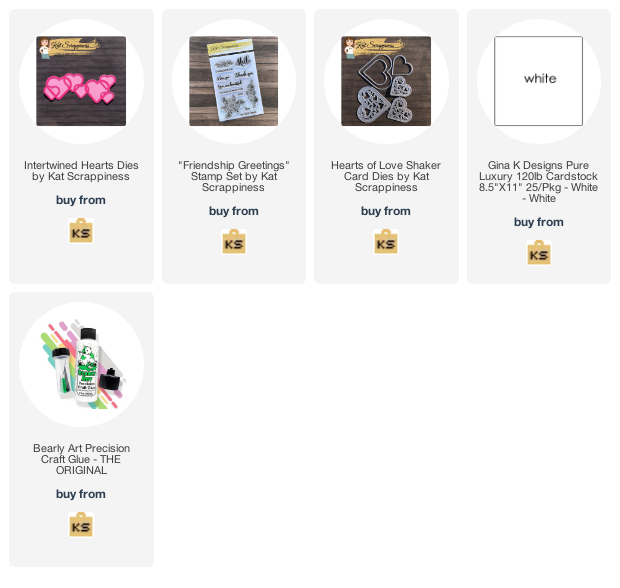
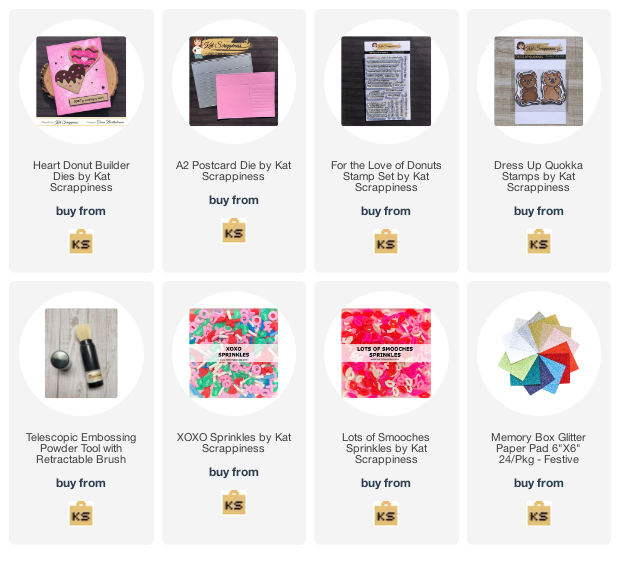
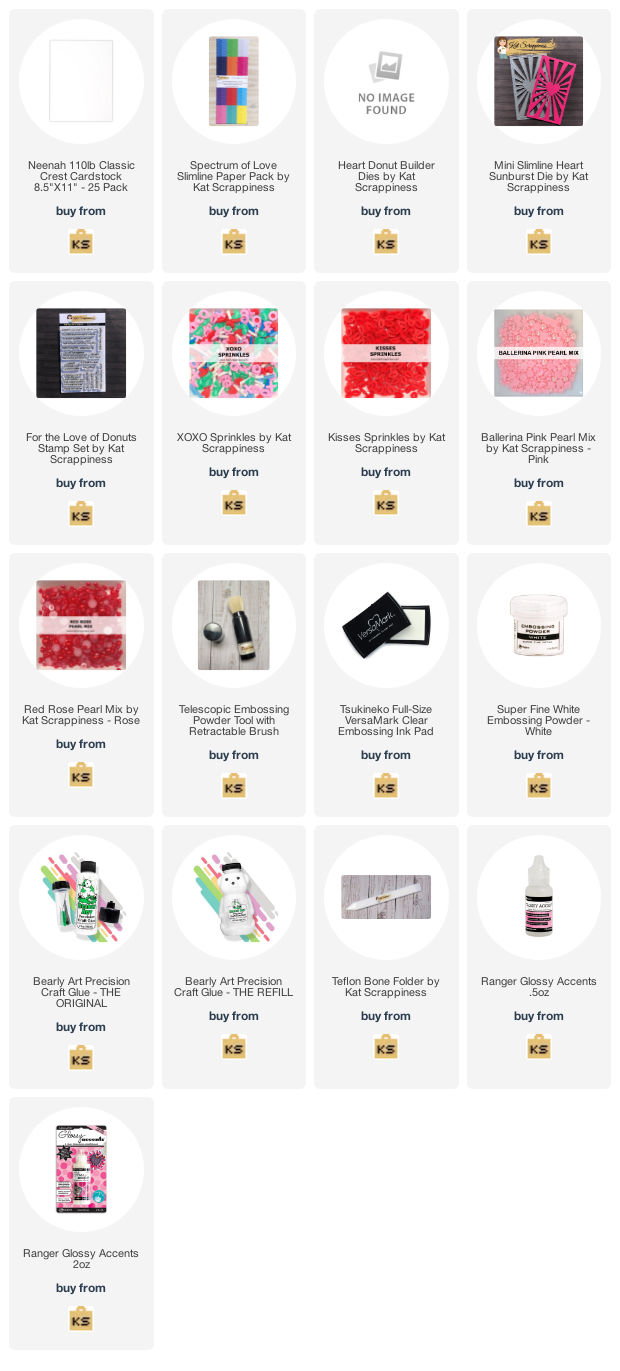
Supply List:
https://linkdeli.com/widget.js?id=f5e8378456858c916708
Thank you for stopping by! You can find more of my tips and inspiration at Stamping Imperfection!
**Some links above are affiliate links. I link them up for your convenience and may receive a small commission, at no extra cost to you. I hope you will consider using the links if you decide to purchase the products I share.