Follow:
    Design Team Projects

    Last Minute Easter Card

    When you need a last minute card, it’s nice to have some fabulous dies and patterned papers that allow you to make a card in less than 10 or 15 minutes!


    For this card, I used 3 pieces of the Spring Fling patterned paper, the Leafy Frame Mini Slimline die, the Happy Easter word and shadow die, and some enamel dots.

    The patterned paper has several pieces of solid cardstock that coordinate beautifully with the patterned papers.  I used the mint green and the coral to die cut out the leafy frame and the Happy Easter word die sentiment.

    You can also see that I added 3 large enamel dots to the bottom right corner of the frame.  The enamel dots come on an acrylic sheet in a variety of sizes and colors.  These perfectly coordinated with the patterned paper!

    Video:  See all the card details and how to on the video below:


     [youtube https://www.youtube.com/watch?v=JNxdQZHR9WQ]
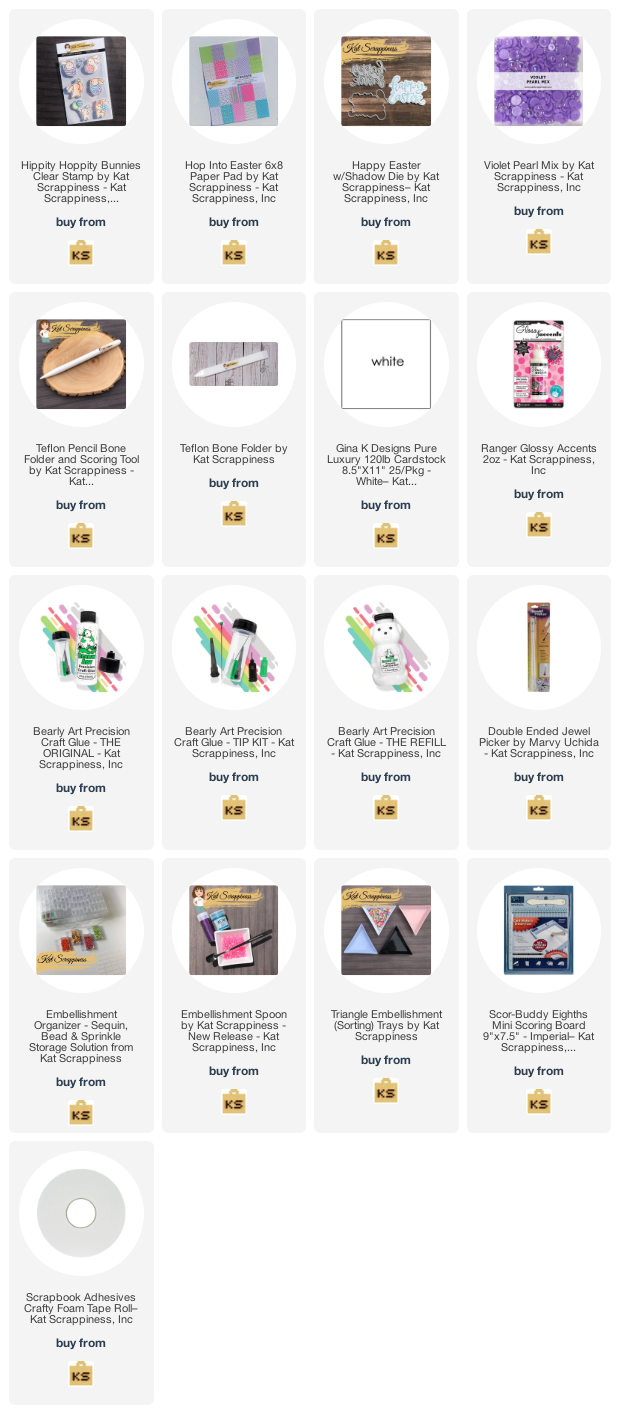
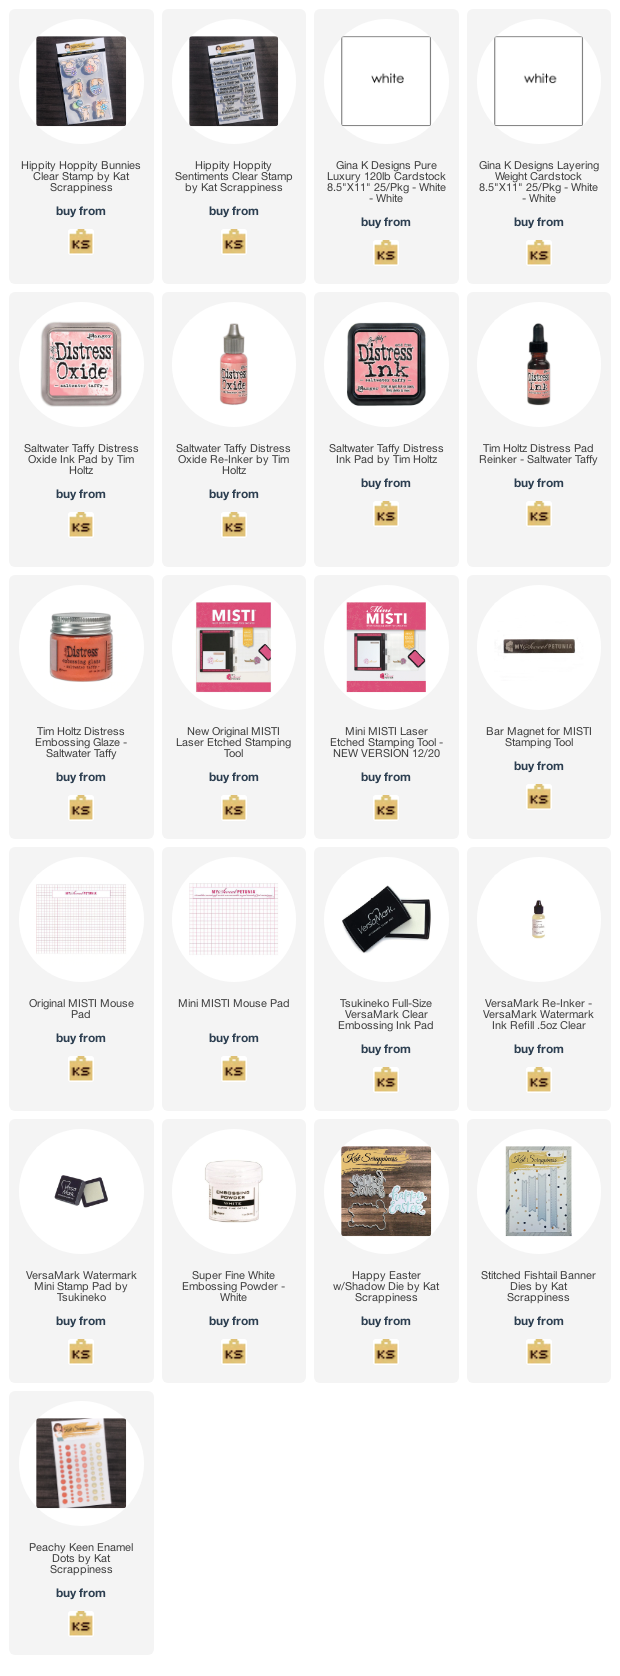
     

    Supply List:


    https://linkdeli.com/widget.js?id=f5e8378456858c916708

    Thank you so much for stopping by!  You can find more of my ideas and inspiration at Stamping Imperfection!

    Design Team Projects

    A Spring Fling Hello with Kat Scrappiness

    Hello Friends and Happy Friday!  Donna W. here today sharing a card I’ve created but before we get to that, I want to tell you about the Easter Sale at Kat Scrappiness.  Starting today through Monday the 18th, you can save 15% on items in the Spring & Easter Categories.

    Now, without further ado, on to my card.

    I’ve used papers from the new Spring Fling Paper Pack to create a standard A2 sized card.  For the sentiment, I’ve used the Thanks Sentiment Die with Shadow and Shades of Coral enamel dots; both  from Kat Scrappiness along with a seam binding ribbon and bow.
    The papers were die cut using the Double Stitched Rectangle Dies from Kat Scrappiness and layered on a cardbase of 110 lb. Neenah Solar White Classic Crest card.
    That’s all for me today, thanks for stopping by.  I want to wish you all a wonderful Friday and an even better weekend.  Until next time, Happy Crafting!
    Donna W.
    Design Team Projects

    Hello My Dear Friend | Mixed Sentiment Card featuring Spring Fling Paper Pad | Call Me Crafty Al

    Hello crafty friends!

    It’s Alicia a.k.a. Crafty Al here to share a look at the quick and easy square card I made using some Kat Scrappiness goodies including the NEW Spring Fling Paper Pad.

    I used a single piece of the 6″ x 8″ paper to cut the 2 pieces for the front of the card – just flipping one piece over for the solid. For the sentiment I mixed it up using dies and stamps. The “HELLO” was cut using the Condensed Uppercase Alphabet die set and the “My Dear Friend” is one of the stamps from the Friendship Greetings set.

    To help the die cut word stand out from the polka-dot background, I adhered a scrap of vellum behind the cut out. I finished off the card with some yellow and white enamel dots from the Daisy Days collection.

    You can check out my video for the full process…

    Thanks for stopping by and I hope you enjoyed today’s card!

    Alicia / Crafty Al

    Related Products:

    Kat Scrappiness

       Spring Fling paper pad: https://shrsl.com/3gahg

       Condensed Uppercase Alphabet dies: http://shrsl.com/3grkx

       Friendship Greetings stamp set: http://shrsl.com/3grl4

       Daisy Days enamel dots: http://shrsl.com/3grl2

    MISTI: http://shrsl.com/37svi

    Art Glitter Glue: http://shrsl.com/37svl

    **Some links above are affiliate links. I link them up for your convenience and may receive a small commission, at no extra cost to you. I hope you will consider using the links if you decide to purchase the products I share. 🙂

    Design Team Projects

    Happy Easter!

    Happy Easter everyone!

    It’s Donna Idlet here sharing my last Easter card for the season.  I know I am a little early, but wanted to share.  Kat Scrappiness has lots of Easter/Spring products.  Here is the link if you would like to check it out.  The cute bunny is from the Hippity Hoppity Bunnies Stamp Set that was released last month.  This set, can be used for more than Easter, it can be used for Birthday cards and Mother’s Day.

    Here is my card for your inspiration:

    Here is how I created my card:

    • Created an A2 card measuring 4 1/4″ x 5 1/2″.
    • The background layer measures  3 3/4″ x 5″, the top layer measures 3 5/8″ x 4 7/8″
    • Cut strip from the Hop into Easter 6×8 paper pad, using the Boxed Sentiment Strips, measuring 4 1/2” x 3/4”.
    • Die cut the Happy Easter w/Shadow twice, once with white glitter paper and the top layer with purple, glued the pieces together offsetting the purple.  Cut the shadow with vellum.
    • Stamped and die cut the bunny from the KS Hippity Hoppity Bunnies Stamp Set, and colored the image with copics.  Added some Wink of Stella and Glossy Accents to the balloon, and added some Wink of Stella onto the bow for finishing touches.
    • Assembled the card and added some Violet Pearl Mix to finish the card.


    Thank you so much for stopping by, I hope you have been inspired!

    Here is a list of supplies I used on my card, Affiliate Links used at no additional cost. Thank you for your support.

    Design Team Projects

    How to Make an Infinity Shaker Card

    Hi, everyone! This Nicki from the design team here with some tips and tricks on making infinity shaker cards. Check out the YouTube video for all the details!

    Let’s start with what we need to make the card today. All of these items will be listed at the end of the post.

    Kat Scrappiness, spring fling, proud of you, Nicki Hearts Cards

    First, I cut the card stock to 4.25 x 5.5 inches. Next, I carefully slid the card stock into the large Avery Elle Stamp Pocket. Then I made a fold with the bone folder.

    Next, I added the shaker element. Don’t forget to do this before sealing the pocket!

    Once the shaker element is in place, it’s time to seal the pocket with double sided tape. With the pocket sealed, all that is left to do is add the sentiment and the black card stock backing.

    Nicki Hearts Cards, card making, card making ideas, spring fling, graduation card

    I hope you enjoyed this project! For all the details, check out the YouTube video. All the items used in today’s video are listed and do contain an affiliate link. Make sure to click on the links below if you are shopping soon. Happy Crafting!


    https://linkdeli.com/widget.js?id=f5e8378456858c916708

    Design Team Projects

    Bunny Wishes to You!

    Happy Monday Crafty Friends! Priscilla here from the Kat Scrappiness Design Team. Today I am sharing an Easter card loaded with adorable bunnies that I white heat embossed over a soft pastel background created with the recently released “Saltwater Taffy” Distress Oxide color and three others.

    I used the new Kat Scrappiness Hippity Hoppity Bunnies 4×6 Stamp set and coordinating sentiment stamp set to make today’s card.

    Card Details:

    • Created an A2 top-folding white card base.
    • Die cut a slightly smaller layer of white cardstock and softly sponged “Scattered Straw,” “Dried Marigold,” the NEW “Saltwater Taffy,” and “Frayed Burlap” Distress Oxide inks, blending these colors together from top to bottom.
    • Making sure the inks were dried, I placed all the bunny images on my card front inside of my MISTI and stamped them with Versamark Ink, and then white heat embossed them.
    • Die cut the “Happy Easter” with shadow die twice, adhered them together, and then sponged the same Distress Oxide colors used on the card front over the words in the same order.

    Thank you so much for stopping by! Don’t forget to check out what’s NEW in Kat’s Shop, and follow my blog, Instagram, and Facebook for more “Kat Scrappiness Amazingness”!

    Stay Safe . . .

    Priscilla 🎂

    The supplies I used are listed and linked below. I would be so grateful if you use these affiliate links  to grab your Kat Scrappiness Goodies! No extra cost to you!

    Design Team Projects

    Sparkly Easter Egg

    Hello friends Waleska Galindo here for my first post on this new beautiful month! Easter is just around the corner and today I wanted to share with you a super sparkly Easter card I created with one of the many amazing Easter products we have at the shop the Large Filigree Egg die, I hope you like it, this is one of my favorite of all.

    CARD DETAILS:

    To create this card I cut the Large Filigree Egg die with white cardstock and I add it a very soft ink blending on the edges with oxide ink Wilted Violet, I then added a backing with a soft violet cardstock to combine with the ink blending.  I then added a bow that comes in the Crafters Essentials Easter Edition with the same violet cardstock and some pink and yellow I wanted all my colors to be very soft, I adhered this bow to the egg on the top.

    I then added gems around the egg for a very sparkly look, it looks beautiful with all gems around the egg.  I finally added the word Easter in the center and adhered the egg to a white panel on a card base.

    I love this egg you can make all kinds of cards with it, you can make shakers or tags too.  This and many other Easter products you can find at the shop! Have a wonderful Day!


    Waleska Galindo