Hello everyone! Thank you for joining me today. Today’s project is in preparation for Thanksgiving dinner. My husband is in the Air Force and it’s seldom that we get to go to our home towns for the holidays. A few years back we started inviting other Air Force couples and families to have Thanksgiving dinner with us. I thought I’d make it a little more special this year by adding place cards to decorate our table
.
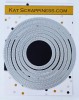
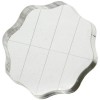
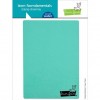
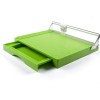
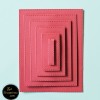
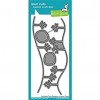
 I started out by using inexpensive Kraft notecards. I cut the note cards down to 5.5 in. wide by 3 tall. Using the WeRMemory Keepers Next Level Woven Embossing Folders, I embossed the notecards to add the amazing woven, basket weave texture. I cut the easel base onto the backside of the place card using the Avery Elle Card Easel Dies. This makes displaying cards or in this case setting up the place cards quick and easy.

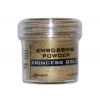
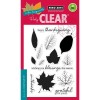
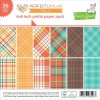
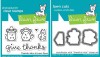
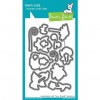
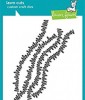
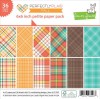
Next, I used the Hero Arts Grateful Leaves Layering Stamps to create clusters of leaves for each card. On the beautiful maple leaf, I stamped the second layer (the leaves’ veins) with Versamark ink, covered it with Ranger Princess Gold Embossing Powder and heat set them all. I used a gold Sharpie marker to add all of the names to strips of heavy vellum, and then added those to the Lawn Fawn Perfectly Plaid pieces.
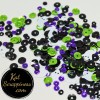
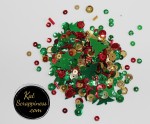
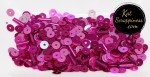
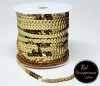
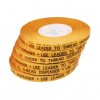
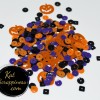
 The Gold Sequin Trim is by Kat Scrappiness. I comes perfectly packaged in the cutest little boxes. I used a strip of scor-tape and adhered the sequin trim and most of the leaves. The large maple leaf was popped up off of the cluster using a small piece of foam tape.

I’ve attached a video below with more details on this project! Thanks again for hanging out with me today!
Until next time 😉
Kelley


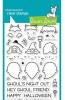


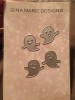
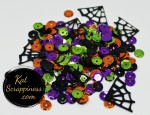
 Hello Everyone! Stephanie here with a fun Halloween shaker card featuring the most adorable Ghost Dies by Gina Marie Designs. I just had to pair these dies with Kat’s
  eating my chevron pattern by cutting 1/4″ strips of paper to match my color scheme. I adhered them to an A2 card base using a double sided adhesive in a diagonal pattern. You really could just leave it like this and it would be beautiful, but if you’d like to take it a step further it’s not hard to create the chevron design. I simply made a second panel, this time with the diagonal going in the opposite direction. I then cut both of the panels into 1/4″ strips and alternated them to create the chevron design. I think the results are worth the extra effort.
 I used the smallest circle in the
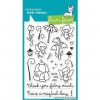
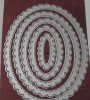
  Next I added my ghosts, along with some die cut letters to spell out the word BOO! If you don’t have letter die cuts I also think these