Welcome back to the blog Kat Scrappiness fans!
It’s Lisa here with you today and I have a really fun project to share!
Since the holidays are just around the corner and gift cards are
such a popular gift giving idea,
I thought I’d show you a cute way to package them.
I made a matchbook to put them in so that they pop-up when you open them!
I made 4 matchbook gift card holders and decorated them with various

And here is how they look when you open them and the gift card pops up:


Aren’t they adorable!
The fun part is that there are so many ways to decorate them and they can be used for any holiday or occasion depending on the paper and embellishments you use.
I used 5 different stamp sets on my matchbooks, 3 of which were just released at
Kat Scrappiness along with many various dies also available in the shop.
In the video I’ll show you all of the products used on each matchbook and
I’ll go through a quick tutorial on how to make your own!
It’s really simple and they come together very quickly once you’ve made one.
I’ll have all of the measurements in the video that you will need.
Heres a link to the video on YouTube.
[youtube https://www.youtube.com/watch?v=GjpgJHtdxUU]
As always, thank you for joining me today! I hope you’ll give one of these matchbooks a try. It will give your gift cards a facelift and you’ll have fun making them!
All of the products I used in today’s project are listed and linked below.
If you want to purchase any of these fun products at Kat Scrappiness, you can use
my code Lisa10 and save 10% on your order!
Have a wonderful day, I already am!
?Lisa?
Products Used on Matchbooks:
- 1/4″ Scor Tape
- Cheat Day
- Coffee Monster by Gerda Steiner
- Design a Gingerbread Man Die
- Happy Fall Y’all
- Layered Coffee Cup Die
- Let’s Get Caffeinated
- Merry Christmas Brush Script Word Sentiment Die
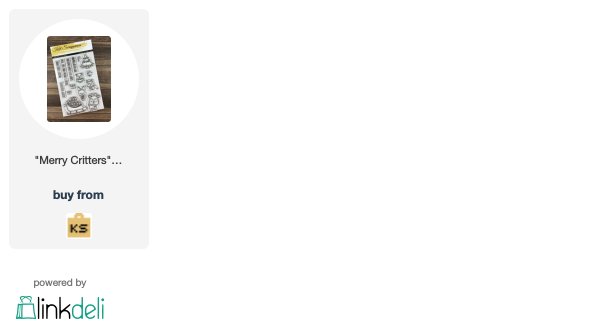
- Merry Critters
- Nuvo Deluxe Adhesive
- Punny Snacks
- Stitched Scalloped Circles Dies
- Stitched Scalloped Rectangle Dies
- Warm Fuzzies by Gerda Steiner