Follow:
    Design Team Projects

    Mandala Frame & Die Cut

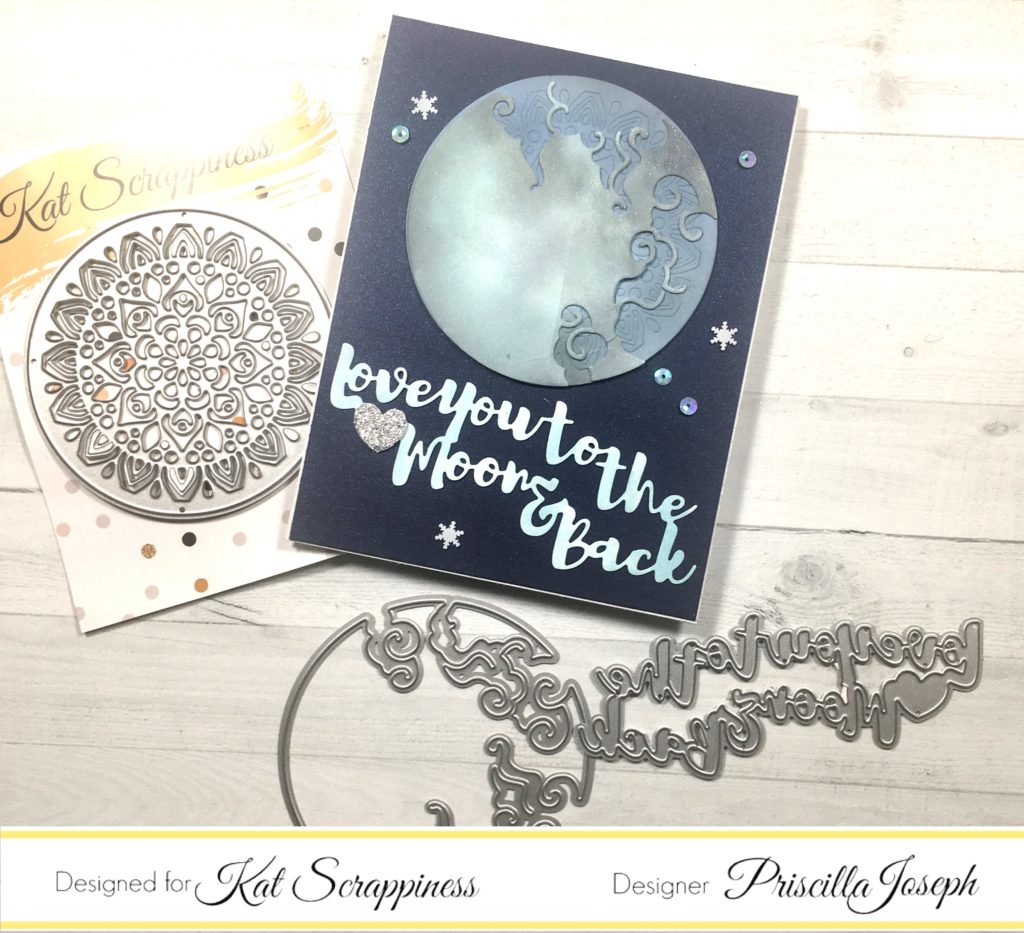
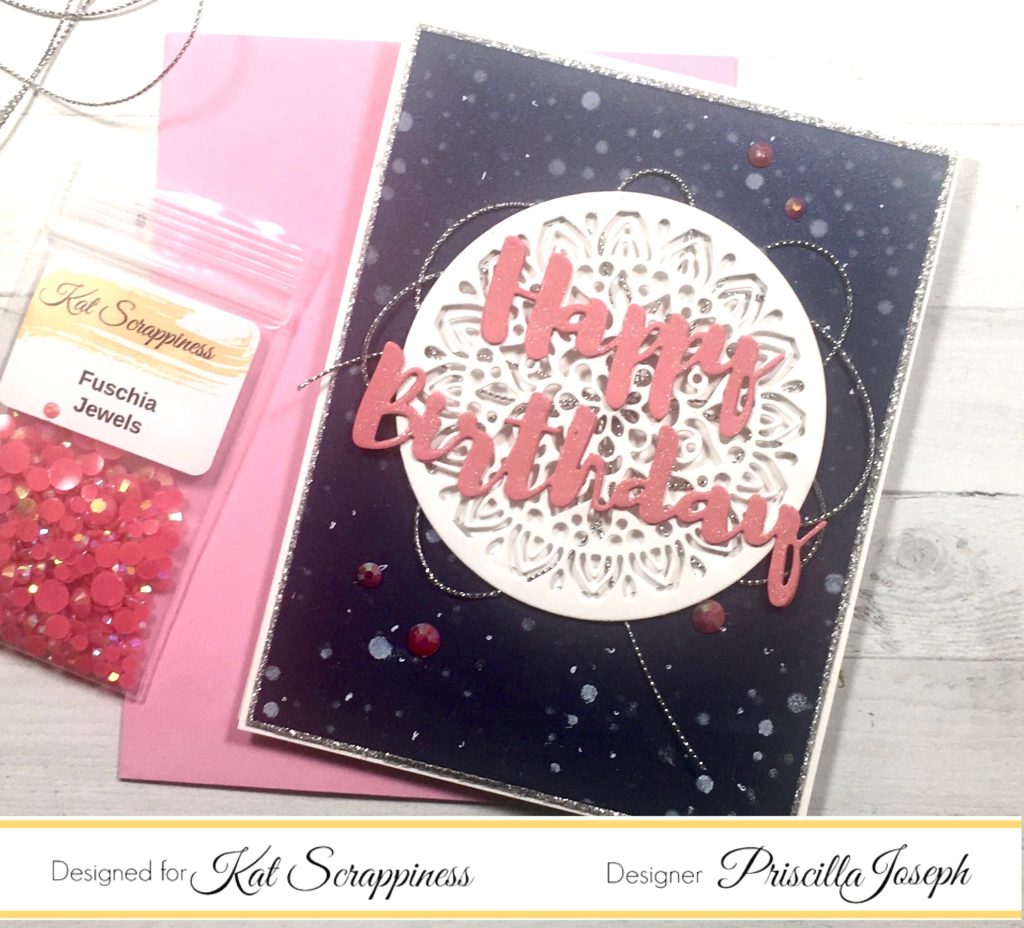
    Hello everyone, Martha Lucia here to share with you two different cards that I made using the recently released Mandala Frame and the Mandala Die Cut. Take a look at my first card:

    Mandala Frame & Die Cut

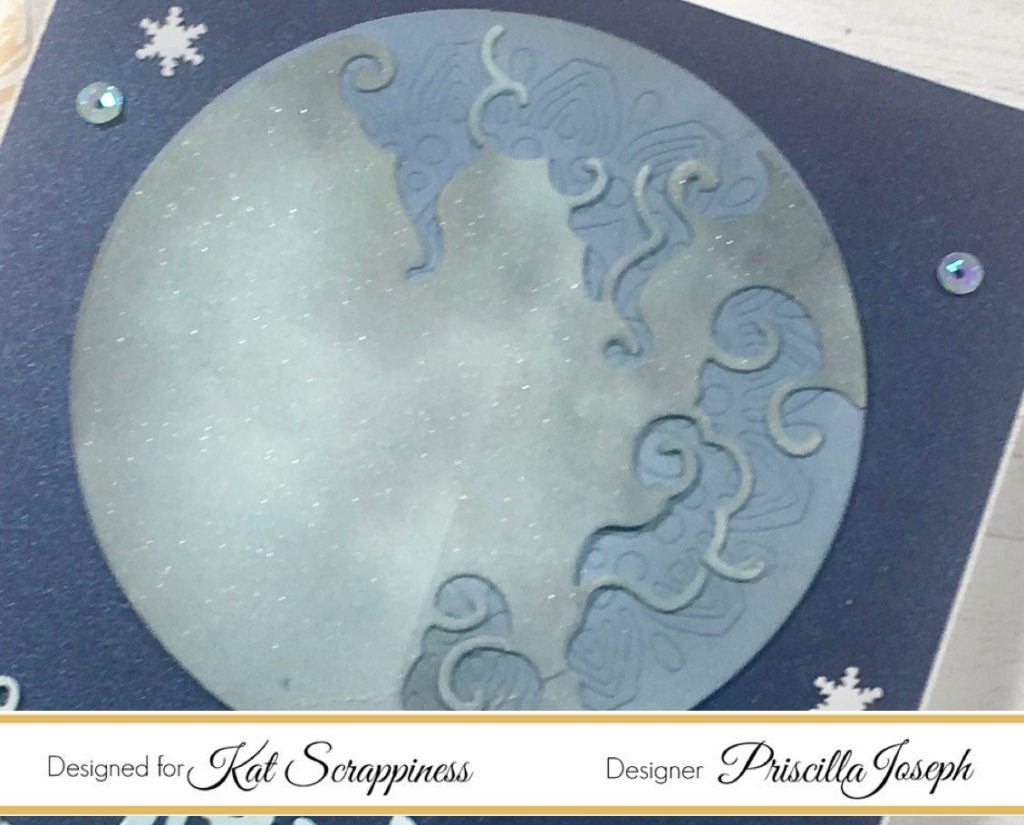
    To make this card I used Whisper White card stock. I created the card base and inked the top layer with three different color blue of Distress Ink. Then in a separate piece of Whisper White card stock I cut the Mandala Frame Die Cut and pasted it with double sided foam tape over the inked card base.

    Mandala Frame & Die Cut

    I inked a separate piece of whisper white card stock with two of the colors used for the background. Then I cut the Mandala Die from this piece and from a white foam piece. I pasted together the two Mandalas to have it with more dimension. I pasted the entire piece on the center of the Mandala Frame and completed my card with a stamped sentiment that I cut using the Stitched Strip Sentiments.

    Mandala Frame & Die Cut

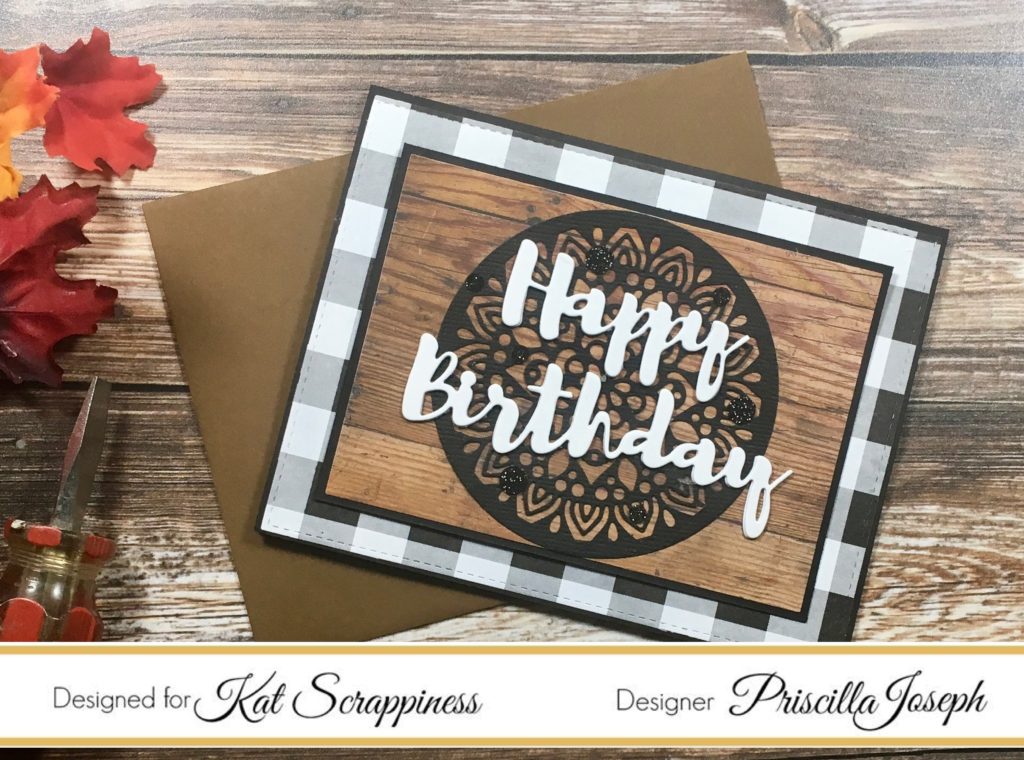
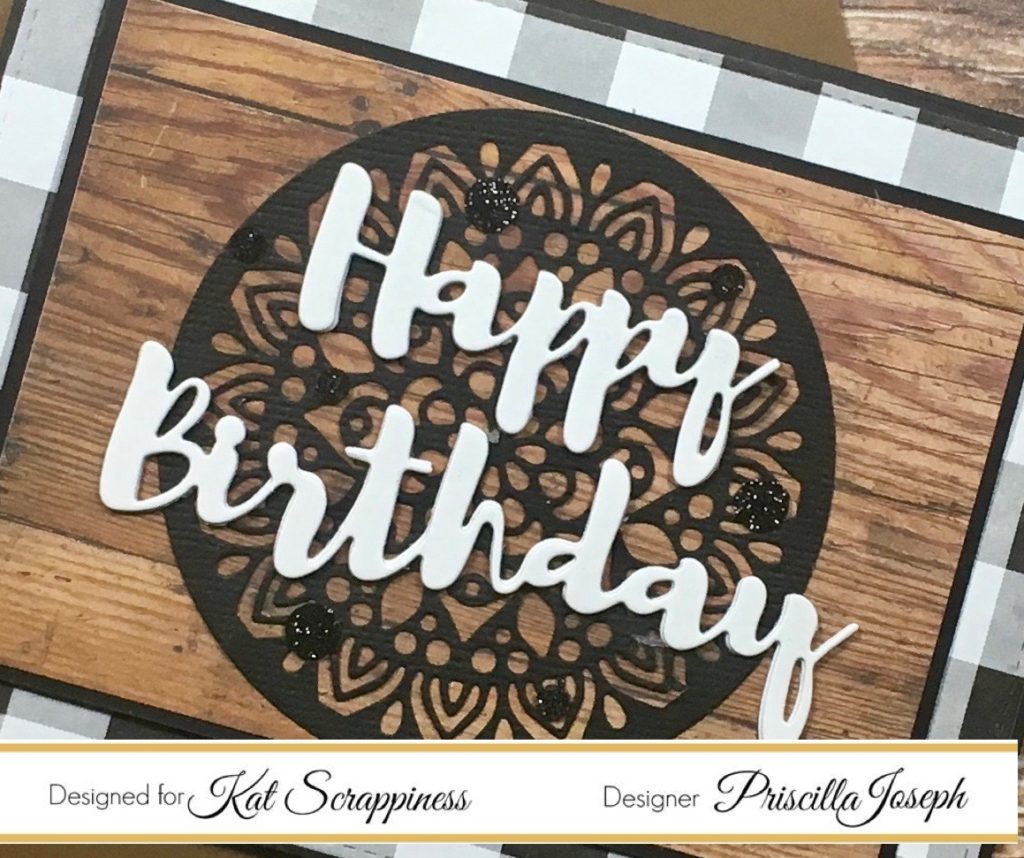
    My second card is using the Mandala Die Cut. I think this is a fantastic die that you can show in your creations in natural stage.

    Mandala Frame & Die Cut

    I created my card base using a piece of Very Vanilla card stock. The size of the paper that I used is 8-1/2″ x 4-1/4″ with score in 4-1/4″.  I splatter this base with three different colors of Glimmer Mist and let a side for a while until cut the Mandala Die.

    Mandala Frame & Die Cut

    I cut the Mandala Die using Cherry Cobbler card stock and pasted it using double sided foam tape directly over the splatter card base. To finalize the card I cut a stamped sentiment with a strip die.

    Now that you had seen my proposals for the February Release of Kat Scrappiness I have to tell you that these products are totally beautiful and very versatile because you can use them in a natural stage, with a special technique or combined all to make amazing creations.  You can find them here and take advantage of the introductory price before them run off.
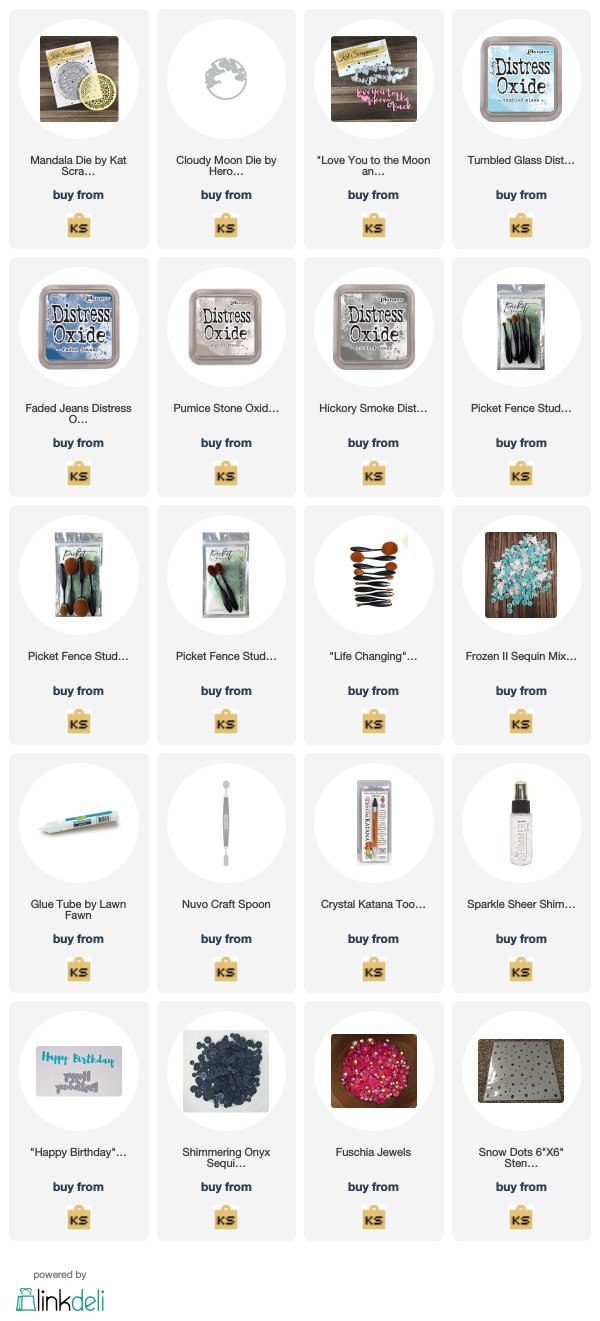
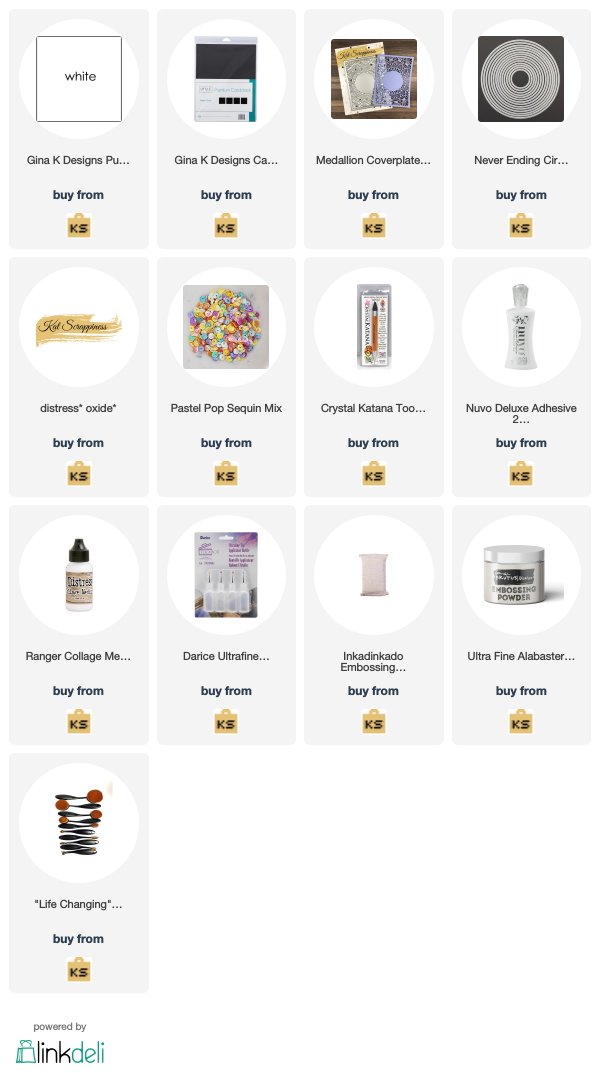
    SUPPLIES:

    Affiliate links are used where they are available. If you make a purchase I receive a small commission at not extra cost to you. thank you so much for your support!

    Mandala Frame
    Mandala Frame
    Shop at:
    KS
    Mandala Die
    Mandala Die
    Shop at:
    KS
    Stitched Sentiment Strips
    Stitched Sentiment Strips
    Shop at:
    KS
    Design Team Projects

    Caren’s Favorite Kat Scrappiness Products

    Hi everyone!  Today I have a video that features my favorite Kat Scrappiness that have been released this year.  I’ve been with the Kat Scrappiness design team for a year, so I wanted to make a video showing my favorite and most used products.  I’m also happy to be staying on for another term!  Can’t wait for you guys to see some of the new things Kat has in store for us!


    * This is actually the Peacock backdrop Coverplate – not Petal Burst


    – – –– – –– – –– – –– – –– – –– – –– – –– – –– – –– – –– – –– – –– – –– – –– – –– – –– – –– – –– – –– – –– –

    Use code caren10 for a 10% discount in the Kat Scrappiness shop.

    Thanks for stopping by and happy stamping!

    – – – Caren’s Favorite Kat Scrappiness products – – – – – – – – – – – – – – – – – – – – – – – – – – – – – – – – – – – – – – –

    Design Team Projects

    Love You to the Moon Card and Video

    Hey Crafters!

    Priscilla here. I’m excited to show you how I made this really special “Love” card using the Kat Scrappiness “Mandala” die along with a Hero Arts“Cloudy Moon” die that Katsells in her shop. What perfect timing! This blog is publishing the same day as the “Super Snow Moon.”

    Don’t forget: if you use my code “Priscilla10,” you’ll get 10% off these dies and anything else you choose to purchase in the Kat Scrappiness shop.


    This card is extra special in that it uses a sentimental expression many of us are familiar with — “Love You to the Moon & Back.” This Kat Scrappinessdie pairs so well with the moon and Mandala dies. In my video below, I’ll show you how I created the moon and then sponged it and the sentiment with Distress Oxide inks in shades of blue.


    After you watch the process video, don’t forget to scroll down towards the end of the blog, as I’ll be sharing two more cards I made with this amazing Mandala die. Enjoy!


    Here’s two more cards I made with the Mandala die . . .


    I wanted to create a masculine birthday card, and I think these color choices fit the bill. I used the Mandala die with black card stock, which I paired with pattern papers in black & white buffalo check and wood grain.

    The “Happy Birthday ” sentiment is from Kat’s die collection, as well as the “Shimmering Onyx Sequins” I added to the mandala die cut.


    For my final card, I backed a white Mandala  die cut with a white card stock backing, and swirled some silver thread behind it. I used a snow stencil  and some white pigment ink on the dark blue background layer and matted it on some silver glimmer paper.


    Once again, I used Kat’s “Happy Birthday” sentiment die on the front and finished the card with a sprinkling of Kat’s “Fuchsia Jewels”

    Well, that’s all for today. See you again soon!

    The supplies I used are listed and linked below.  Please don’t forget to use my coupon code “Priscilla10” for 10% off your order at the shop.

    PRISCILLA

    SUPPLIES

    Design Team Projects

    Using Black To Make Colors Pop With The Medallion Coverplate

    Hi Everyone, It’s TIna here. Today I have 2 cards to share with you using the new Medallion Coverplate die and I will show you how to get the colors pop using Distress Oxide Inks and Black Cardstock. Below are the instructions to create your own card.

    Card 1

    Card 2

    Step 1 – Trim White Cardstock to 8 1/2″ x 5 1/2″, score at 4 1/4″ and fold in half for a vertical side fold card. (A2) (Card 1 and 2)

    Step 2 – Trim White Cardstock to 5 1/2″ x 4 1/4″. Apply Distress Oxide Ink using Picket Fence Life Changing Brush. (Card 1 and 2)

    Panel for Card 1

    Panel for Card 2

    Step 3 – Diecut Medallion Coverplate using Black Cardstock. (Card 1) Diecut Medallion Coverplate using Panel 2. (Card 2)

    Step 4 – Card 1 – Adhere Medallion Coverplate black diecut to Panel 1 (Trim off excess of panel) and then to card front using Nuvo Deluxe Adhesive.

    Card 2 – Adhere Medallion Coverplate Panel 2 to Black Cardstock then trim 1/8″ all around and adhere to card front.

    Step 5 – Stamp Sentiment using Versamark, sprinkle White Embossing Powder, remove excess and heat set it with a heat tool. (Card 1 and 2)

    Step 6 – Card 1 – Stamp and color image and adhere to card above the sentiment.

    Card 2 – Adhere Pastel Pop Sequins for added interest.

    Card 1


    Card 2

    I hope you enjoyed today’s cards using the Medallion Coverplate. These cards can be used for any occasion by changing the colors and sentiment. To receive 10% off your order at Kat Scrappiness use code: TINA10 at checkout. Below is a link to the products used. Thank you for stopping by and have a wonderful day.

    Products Used:

    https://linkdeli.com/widget.js?1549439153802

    Design Team Projects

    Hoppy Easter – Star Fusion Coverplate

    Now that Valentine’s Day is past us, I’m focusing on Easter/Spring cards.  I lean toward bright colors, so using soft colors for these types of cards is a good change for me.

    For today’s card, I’m using the new Star Fusion Coverplate from Kat Scrappiness as my focal point. I die cut it from some striped pink and while patterned paper from my stash.  I adhered this to a piece of kraft cardstock.  I sprayed the kraft cardstock with shimmer mist to give it some extra shine.

    I cut a Stitched Scalloped circle out of white cardstock and a piece of green patterned paper.  I then cut the green piece with one of the Fancy Scalloped border dies.  I adhered the two pieces together and popped it up on the right side of the card with dimensional adhesive.  I then cut of the portion that was hanging off the card.  I colored the cute little rabbit and carrot from the Lawn Fawn Hoppy Easter set with Copic markets and adhered it the the scalloped circle with Nuvo adhesive.

    For the sentiment piece, I used one of the Stitched Sentiment dies.  I heat embossed my sentiment from the Lawn Fawn Hoppy Easter set using white embossing power and adhered it to the card using dimensional adhesive.

    – – –– – –– – –– – –– – –– – –– – –– – –– – –– – –– – –– – –– – –– – –– – –– – –– – –– – –– – –– – –– – –– –

    Use code caren10 for a 10% discount in the Kat Scrappiness shop.

    Thanks for stopping by and happy stamping!

    – – – SUPPLIES for today’s project– – – – – – – – – – – – – – – – – – – – – – – – – – – – – – – – – – – – – – –

    Design Team Projects

    Medallion Coverplate by Martha Lucia

    Hi there! Martha Lucia here with you today to share two creations that I realized using the beautiful Medallion Coverplate.

    Medallion Coverplate by Martha Lucia

    I love to use this type of designs with brilliant colors but can you believe that I always start with whisper white card stock and this card is not different. I just cut the Medallion coverplate in white and then inked the design directly with the ink pads of five colors of Dye Ink. I let the piece dry naturally but as I always said, if you want to speed the process just use your heat tool.

    Medallion Coverplate by Martha Lucia

    I pasted the inked Medallion coverplate over the whisper white card base using double sided foam tape. Then in a separate piece of whisper white card stock I stamped a sentiment included on the stamp set God’s Promises from Joy Clair  and die cut it with one of the circles from the cross stitched circle dies from Gina Marie Designs. I pasted this piece with double sided foam tape to keep the dimension.

    Medallion Coverplate by Martha Lucia

    My second card is more conservative but I decided to use the Medallion Coverplate in a different way. I used whisper white card stock to cut the Medallion coverplate and then with my paper trimmer I cut the Medallion in half. I pasted each part, having the borders on the center over a green layer of card stock using double sided foam tape. Then I pasted the decorated layer over the whisper white card base.

    Medallion Coverplate by Martha Lucia

    To decorate the card, I cut one heart included on the Build a Stocking Dies and splatter it with Gold Orange Glimmer Mist. I pasted the hear with double sided foam tape on the center of the card and finalized the decoration with a tiny sentiment that I cut using the Stitched Sentiment Strips Dies.

    Medallion Coverplate by Martha Lucia

    If you want to see all the dies and products released this month on Kat Scrappines Store just click HERE. If you want to see more samples using the Medallion Cover Plate click HERE.

    Thank you for stopping by and see you soon!

    SUPPLIES:

    Affiliate links are used where they are available. If you make a purchase I receive a small commission at not extra cost to you. thank you so much for your support!

    Medallion Coverplate
    Medallion Coverplate
    Shop at:
    KS
    Stitched Sentiment Strips
    Stitched Sentiment Strips
    Shop at:
    KS
    Cross Stitched Circles by Gina Marie Designs
    Cross Stitched Circles by Gina Marie Designs
    Shop at:
    KS
    Build a Stocking Christmas Die
    Build a Stocking Christmas Die
    Shop at:
    KS
    Sparkle Sheer Shimmer Spritz
    Sparkle Sheer Shimmer Spritz
    Shop at:
    KS
    Design Team Projects

    Watercolor Mandala Card with Video

    Good morning Kat Scrappiness fans, it’s Lisa here with you today

    and I have a card I’d like to share with you using one of the newest dies in the store!

    It’s called the Mandala die and it cuts a beautiful intricate pattern

    into your project. Today I’ve used a water coloring technique called ink smooshing

    (yes it’s a thing)?

    I used 3 different color distress inks:

    Salty Ocean

    Peacock Feathers

    and

    Lucky Clover

    This technique is easy and fun to do and you can get beautiful

    results every time! There are so many color combinations you

    could use depending on your favorite colors.

    Here is a video I made to show you the ink smooshing technique.

    You can watch it here or on YouTube.

    [youtube https://www.youtube.com/watch?v=6dPHZ6Q0wlU]


    Thanks so much for joining me today. I hope you’ll give this technique a try! It’s lots of fun and it looks beautiful with minimal effort.  Don’t forget to use my code Lisa10 to save 10% on your order anytime!

    Have a great day, I already am!

    ?Lisa?