Hi Guys! I’m back today to showcase both some fun Valentine Day cards AND the new Kat Scrappiness “Star Fusion Coverplate” die. Sit back with a cup of coffee (or a glass of wine) and enjoy!
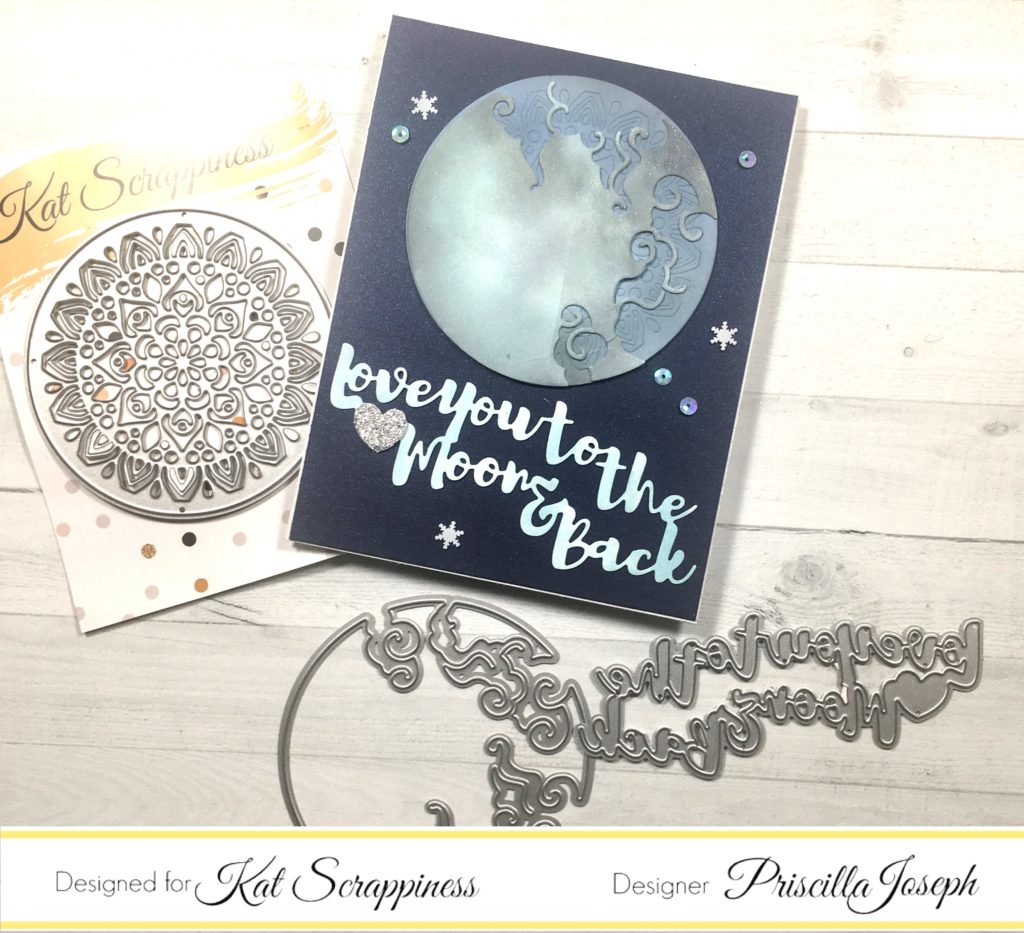
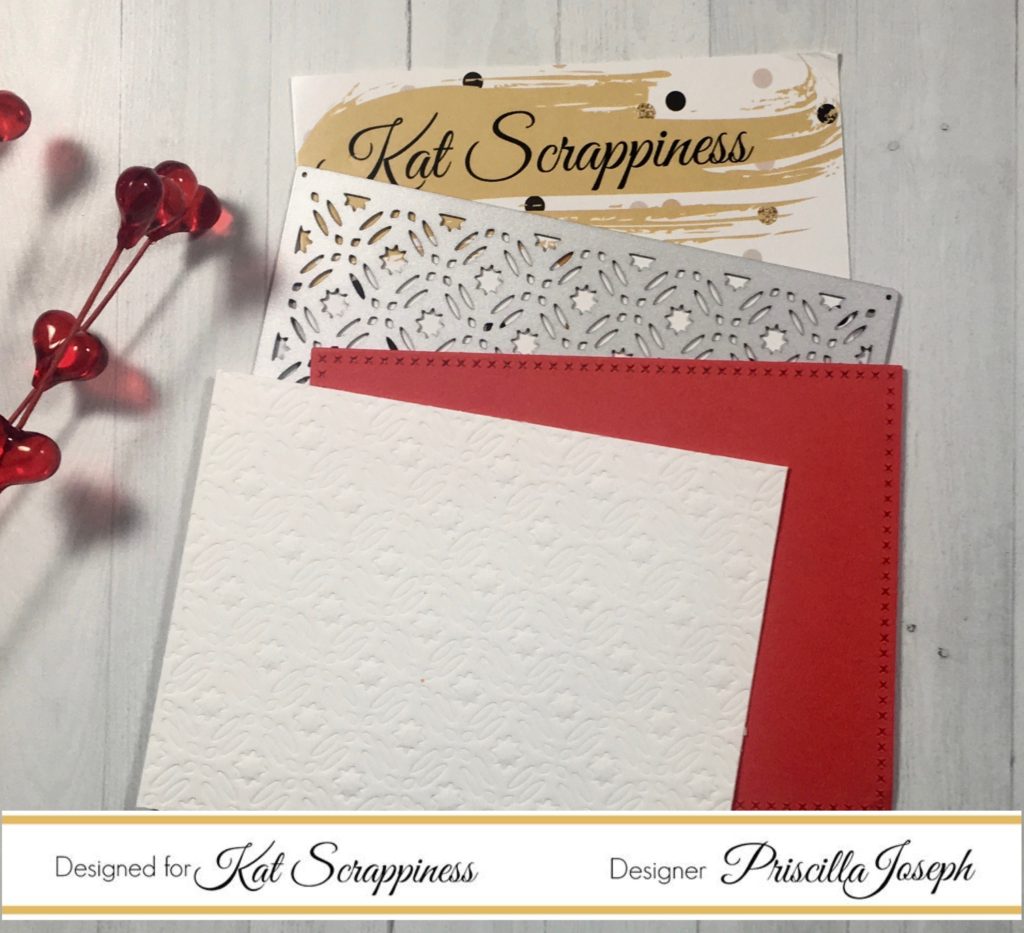
Without a doubt, the “Star Fusion” die creates a gorgeous background. It can be used two ways — die cut or dry embossed. I’ll be showing you cards today using both techniques.
Here’s a look at the die with a sample piece of card stock after I ran it through my Big Shot machine with embossing pads, to avoid having the die cut through the paper.

Isn’t this beautiful? This piece of card stock will actually be the background of my first card. Let’s get started!
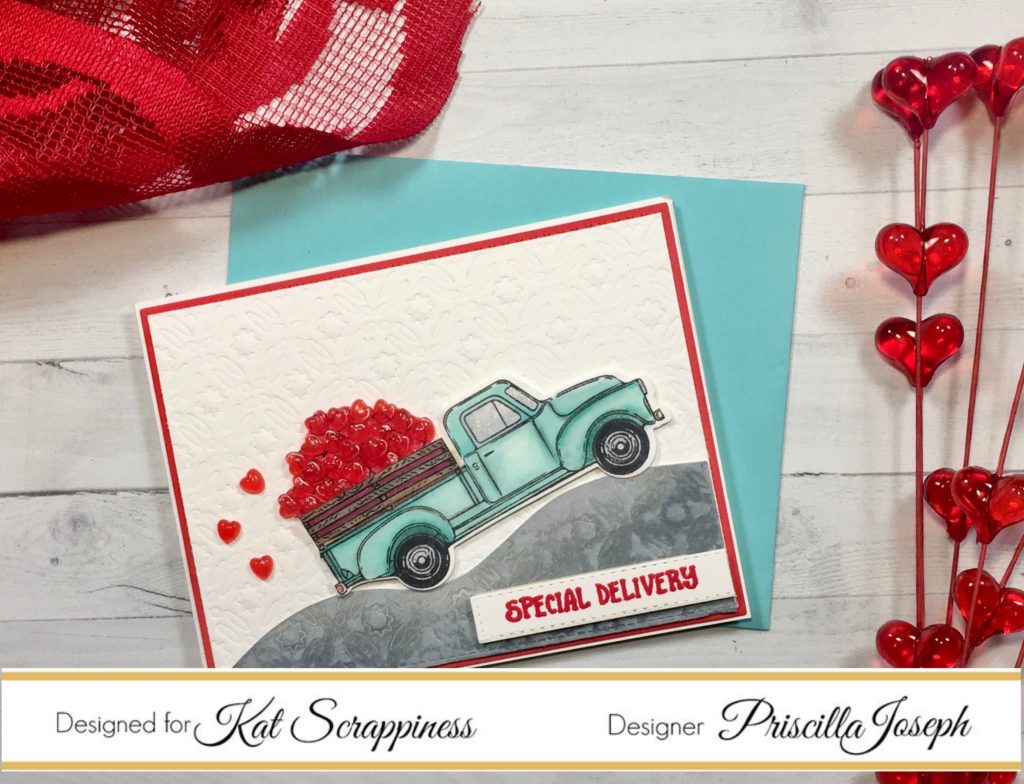
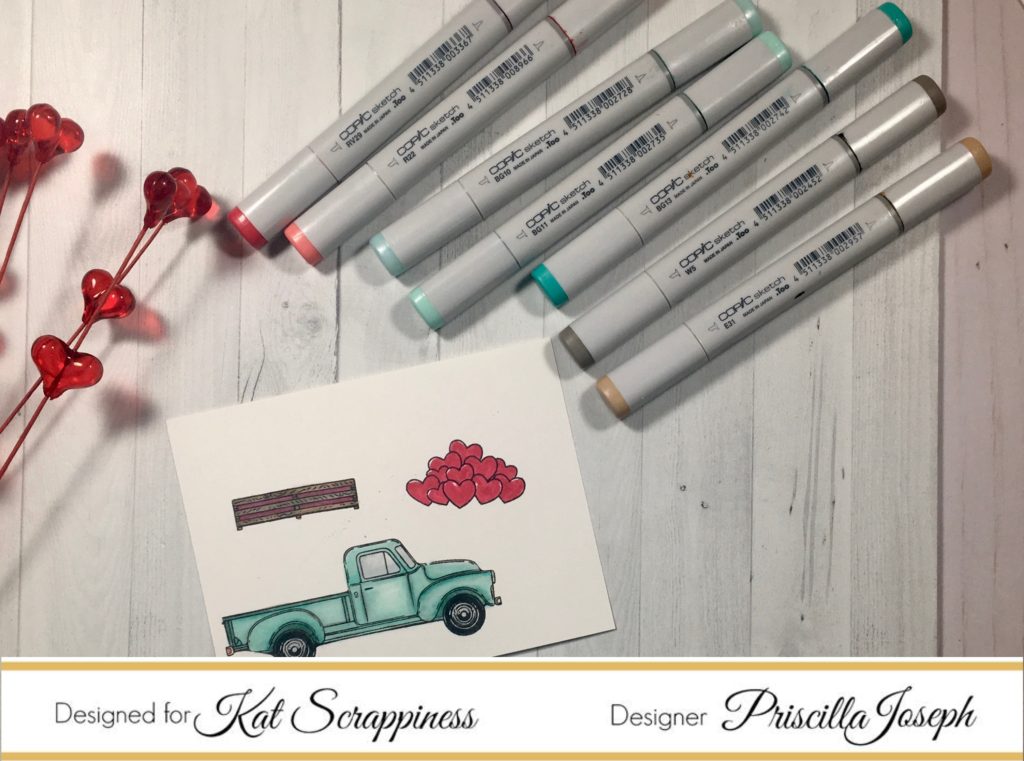
My truck, which is part of the Honey Bee’s stamp and die set called “LittlePickup,” is making a “Special Delivery” (sentiment is also Honey Bee) of Kat Scrappiness“Red Heart Droplets.” Here’s the Copic colors I used on the truck:
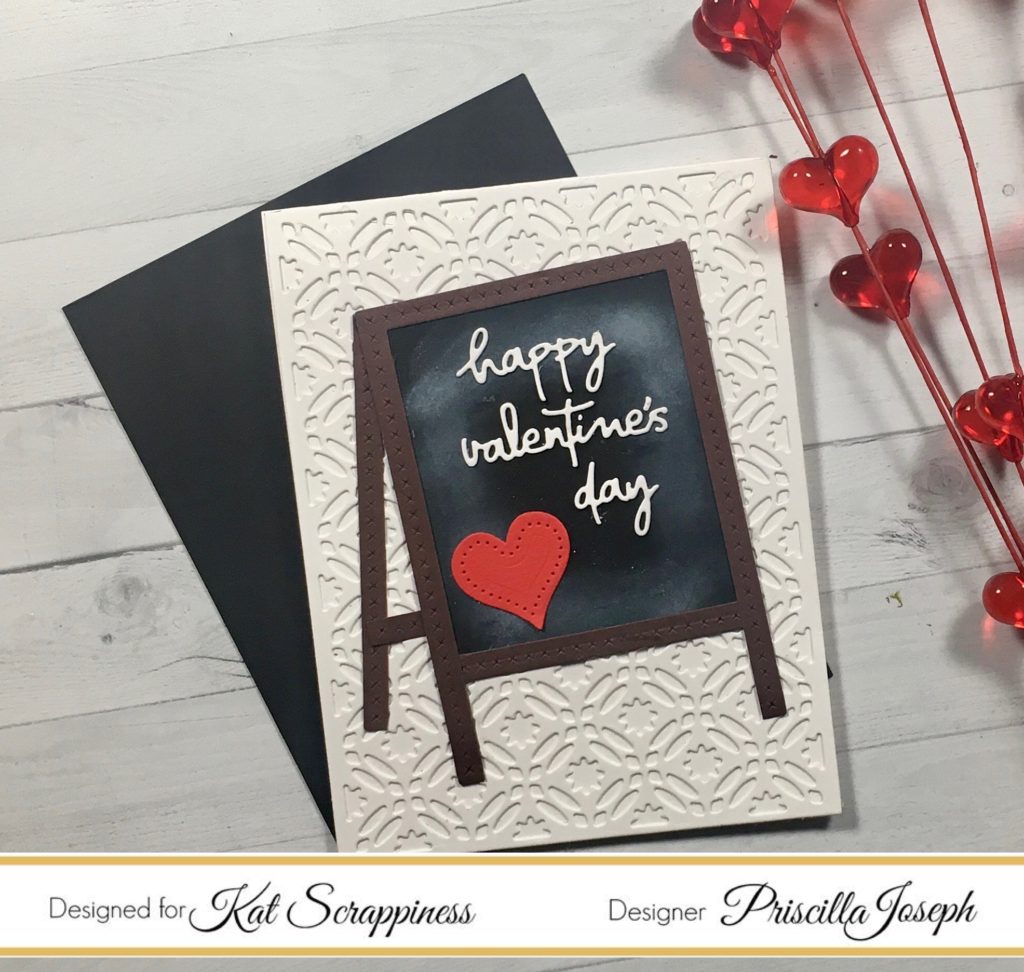
For my next Valentine card, I wanted to create a “sidewalk easel” greeting on the front.
This time I die cut the “Star Fusion Coverplate” die instead of embossing it and then backed it with white card stock. I created the easel frame by cutting pieces from a Kat Scrappiness “Cross Stitched Rectangle Frame” die cut.
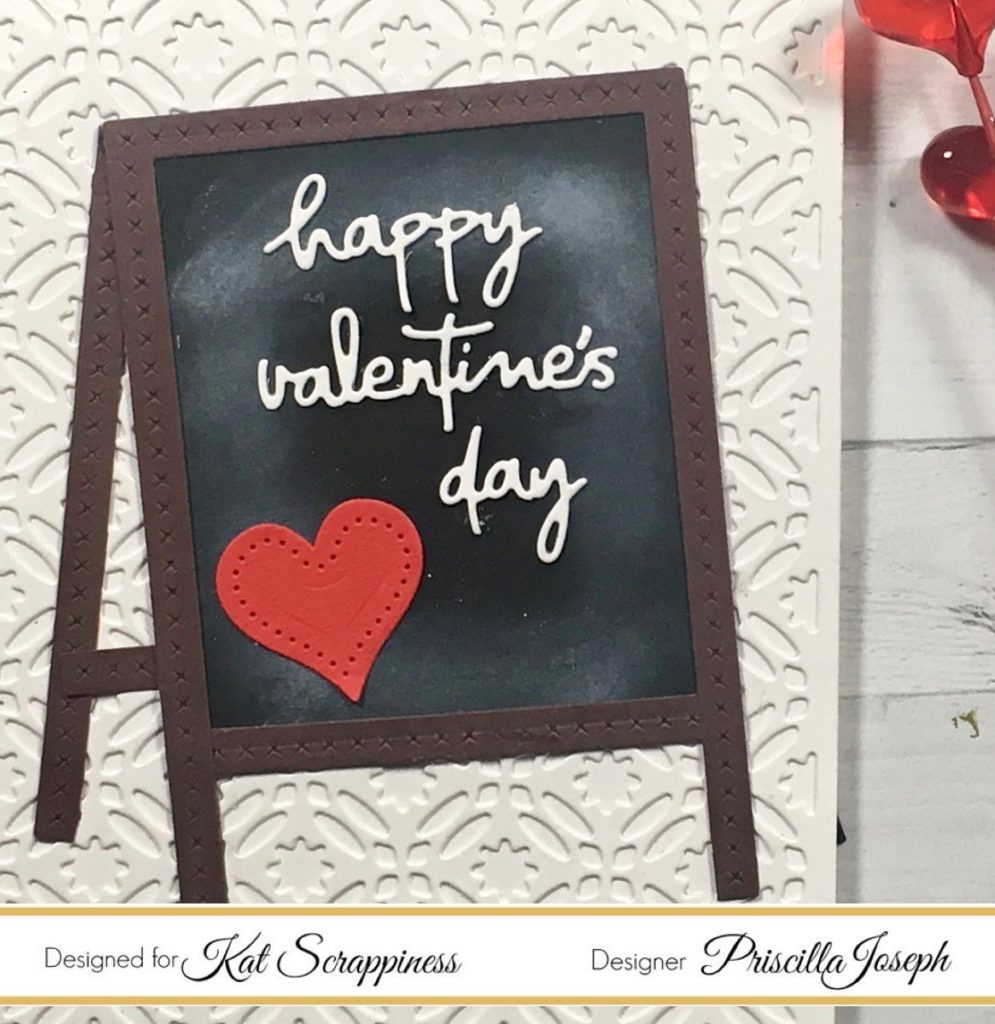
I used Poppy Stamp’s “Doodle Happy Valentine’s Day” sentiment die on the “chalkboard,” smudged white pigment ink around the edges, and added a red heart die cut to finish this card.
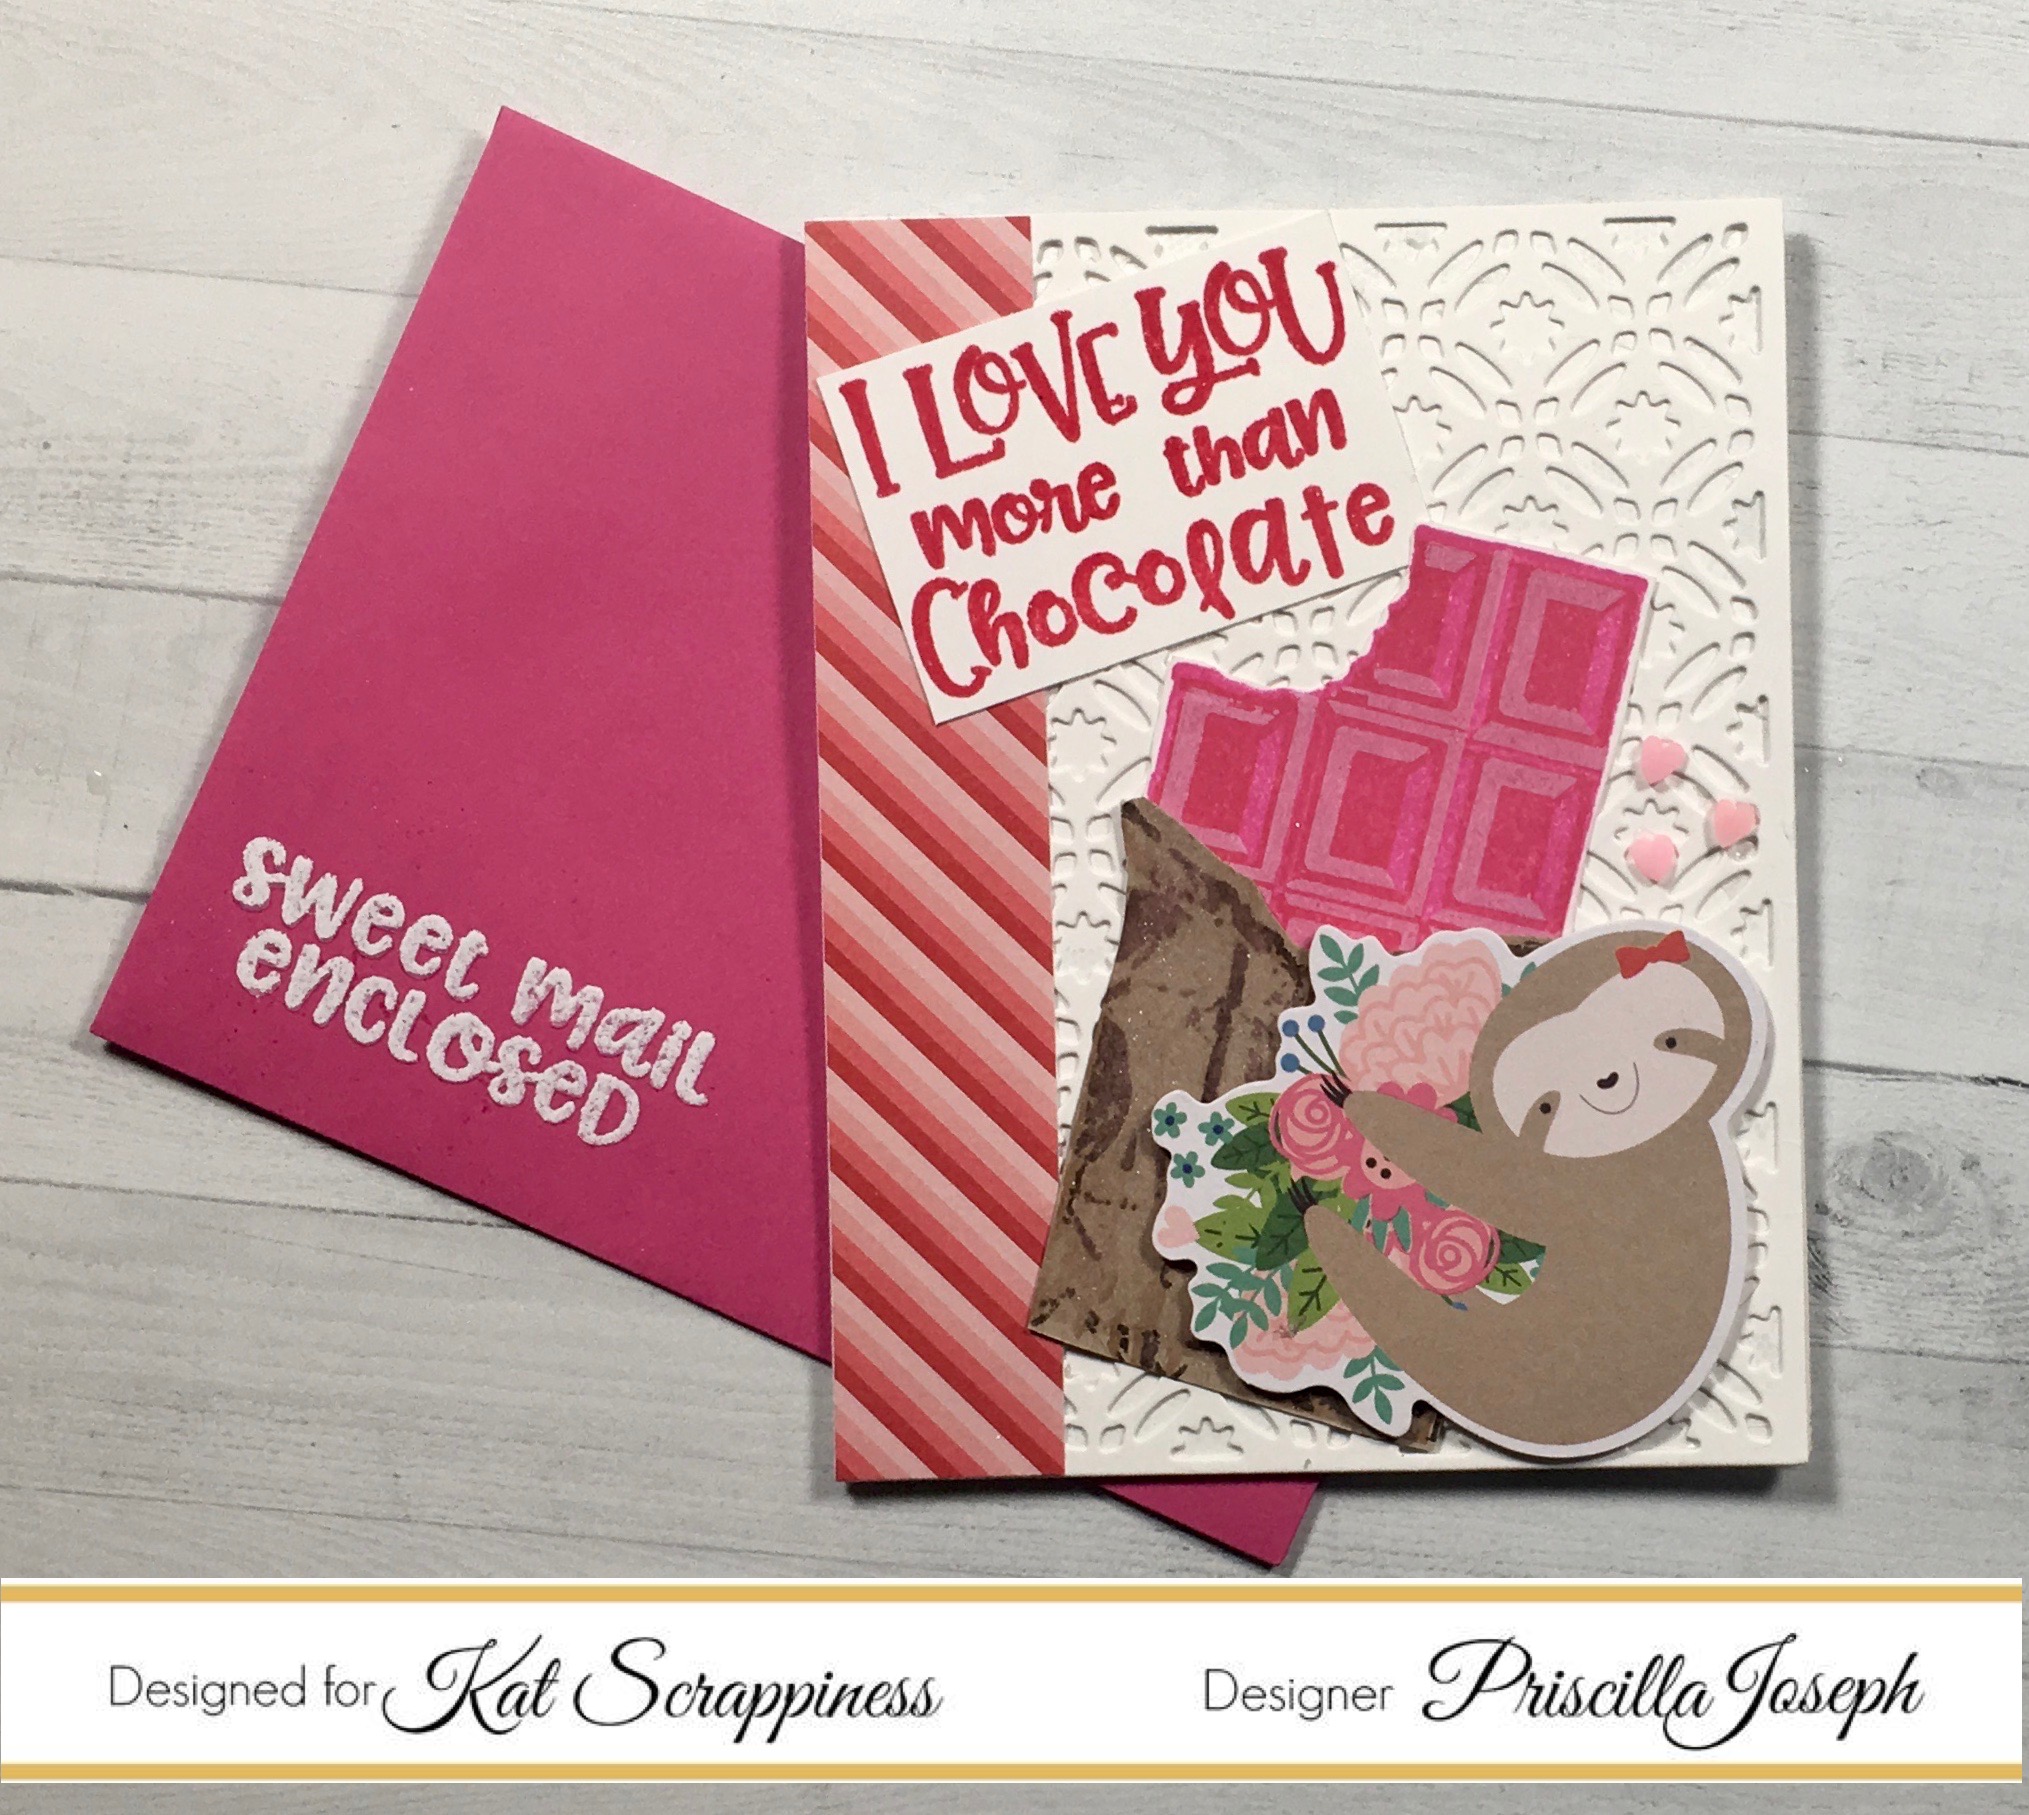
For my third card, I again backed the “Star Fusion Coverplate” die cut with white card stock.
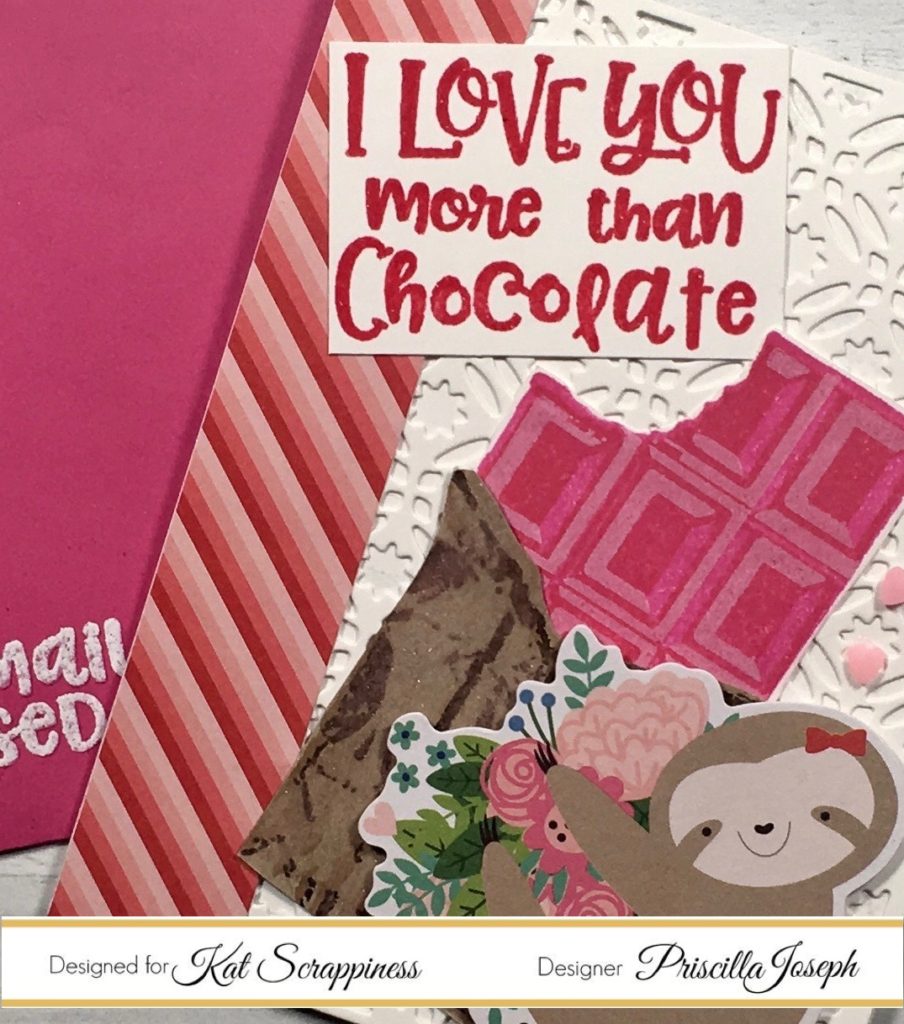
This card features Kat’s “Layered Chocolate Bar”stamp set. I stamped this “non-traditional chocolate bar” with two shades of Vera Clairinks in “Glamorous” and “Charming Pink,” before adding white pigment ink to create the shading on the top of the chocolate. I used three different brown shades for the wrapper. The fun patterned paper that borders the card, along with the adorable sloth, are from the Pebbles “Loves Me” paper padandcoordinating ephemera die cuts. The sentiments on the card and envelope are also part of Kat’s “Chocolate Bar” collection.
Pink hearts from Kat‘s “Heart Sprinkles Embellishment Mix” has our sloth dreaming of love (and chocolate). LOL!
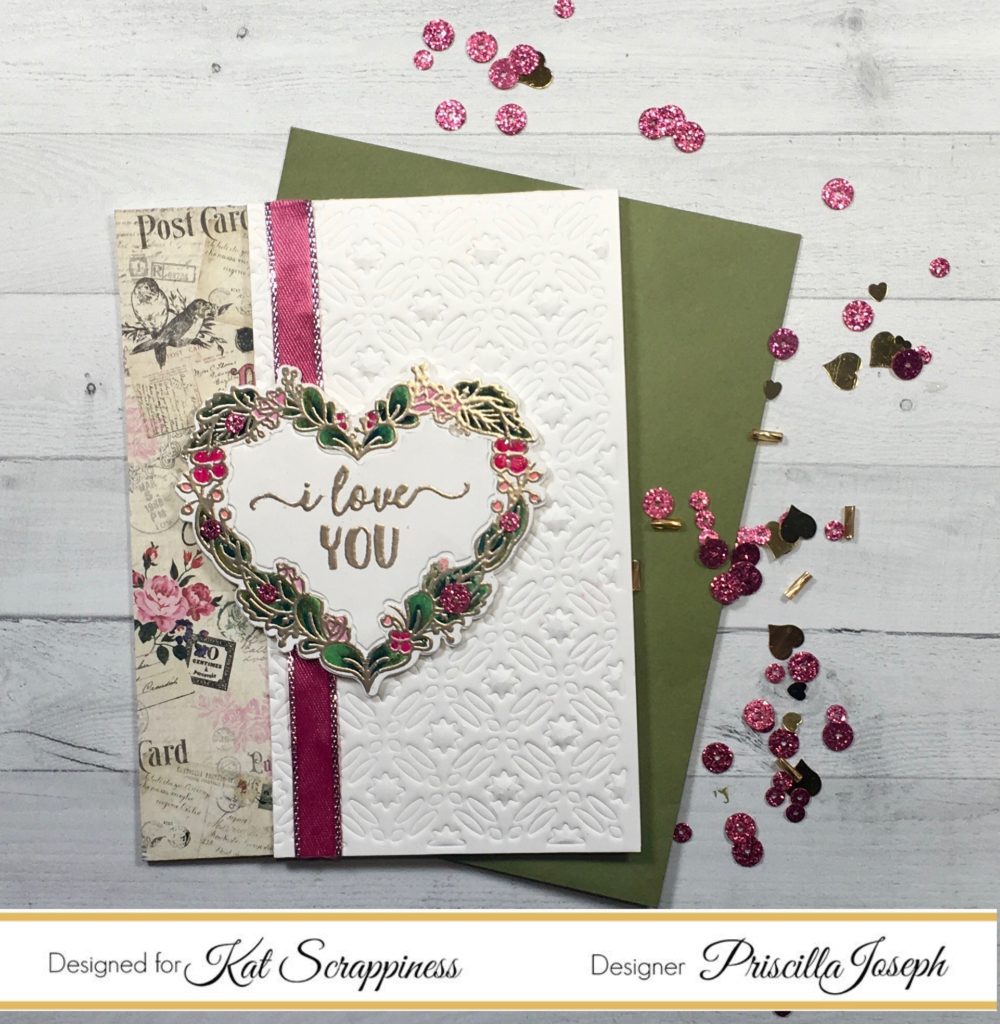
My fourth card has a more “romantic” look to it . . .
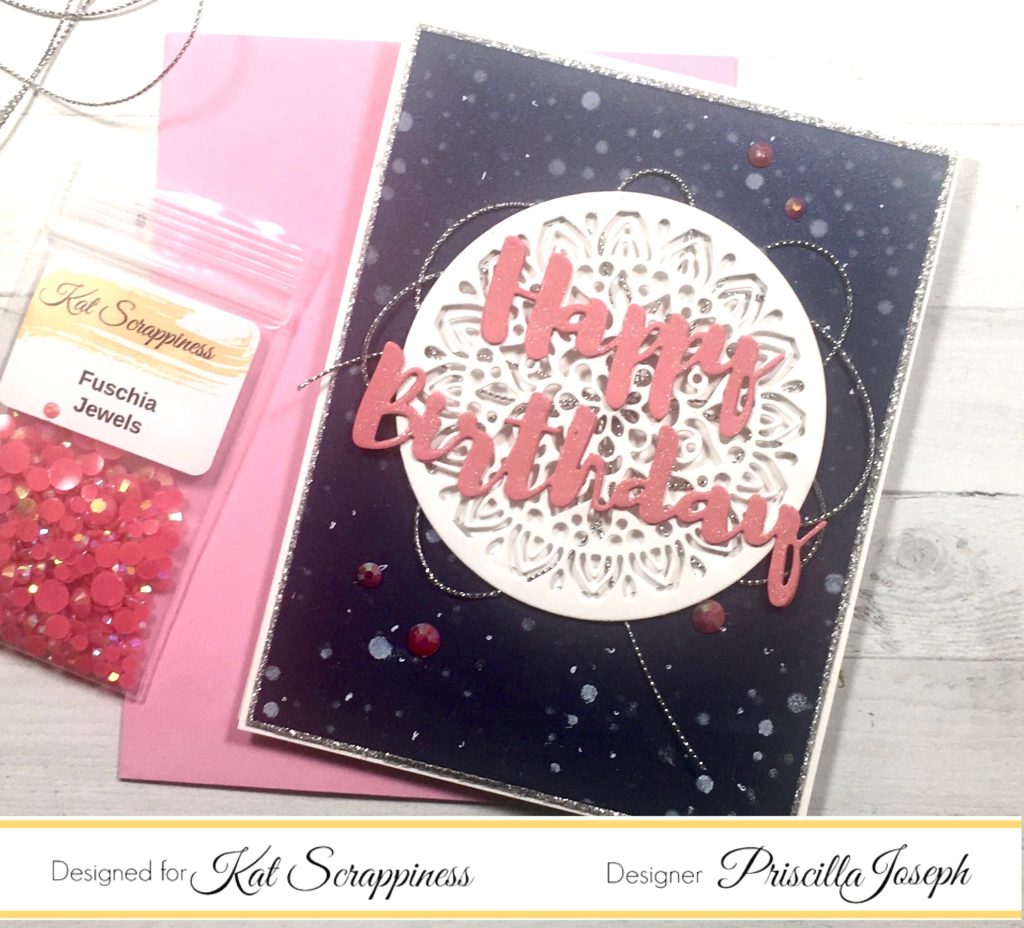
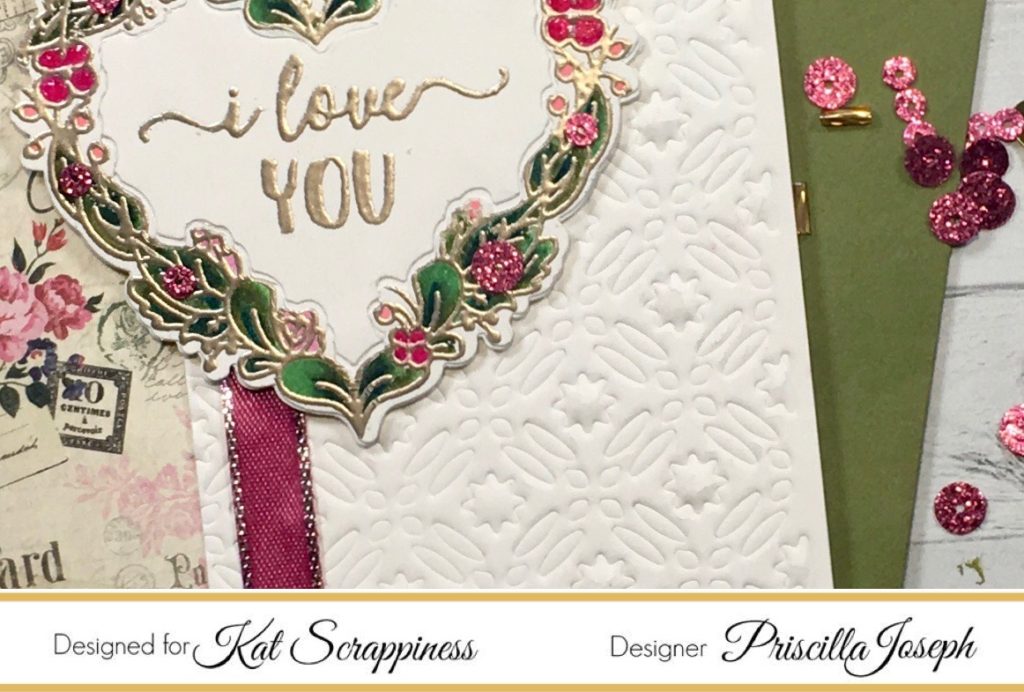
Similar to my first card with the pick-up truck, I used the “Star Fusion Coverplate”die to create a dry embossed background that would be a soft backdrop for the “Floral Heart” wreath and dieby Neat & Tangled. I embossed the wreath and the coordinating sentiment with gold embossing powder and then colored the image with Zig “Clean Color Real Brush Markers.” I added a fuchsia colored ribbon behind the wreath and a strip of papered paper from the Authentique“Romance” paper pad on the left side.
Sequins scattered on the wreath from Kat’s “Sweetheart Valentine Sequin Mix”were the finishing touch.
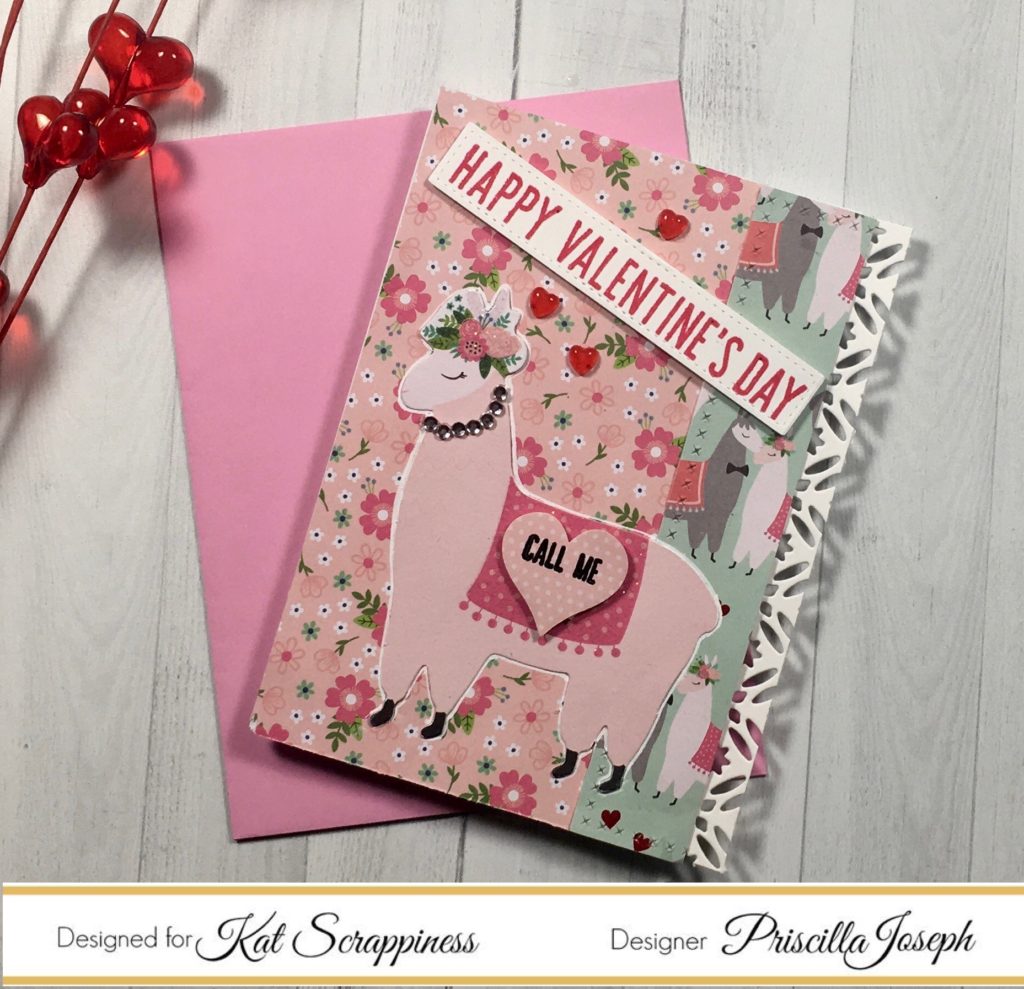
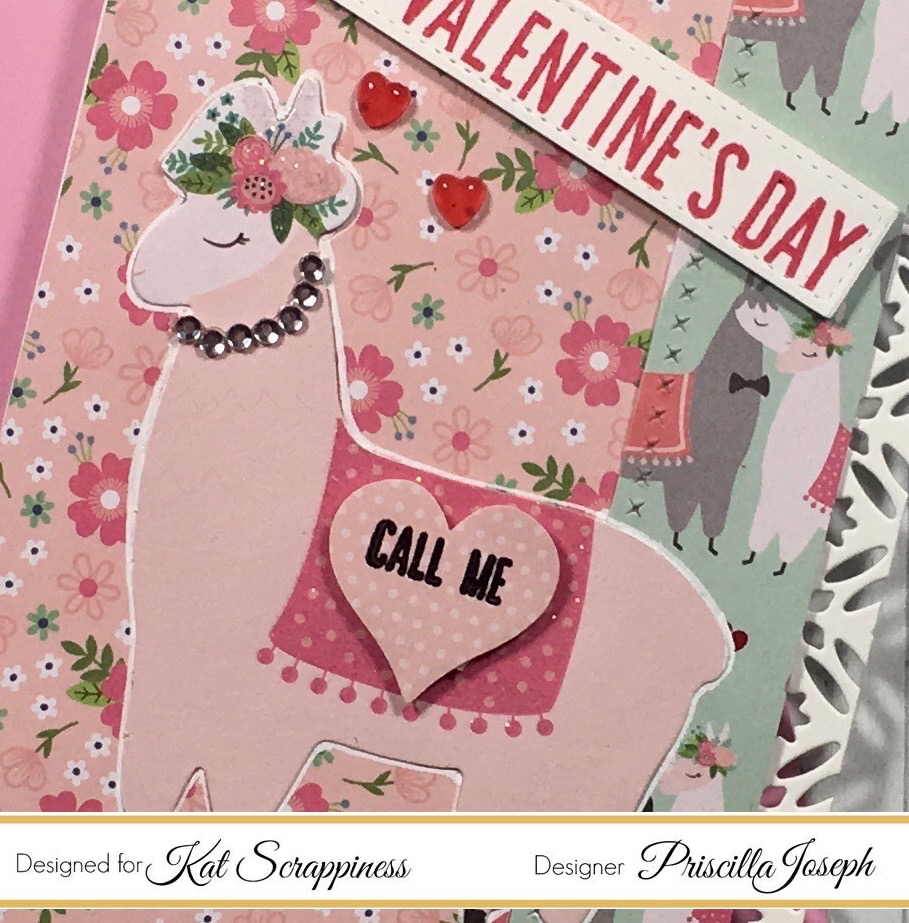
My fifth and final card was a “Just for Fun” Valentine, with the “StarFusion” die cut just peaking out on the right hand side of the card this time.
I used the Pebbles“Loves Me” paper collectionagain, pulling in sentiments from the Kat Scrappiness“Say It With Hearts”stamp set.
A few of Kat’s “Red Heart Droplets” are drifting from our “Diva Llama’s” heart. And did you catch that she’s wearing diamonds???
Well, that’s all for today. See you again soon!
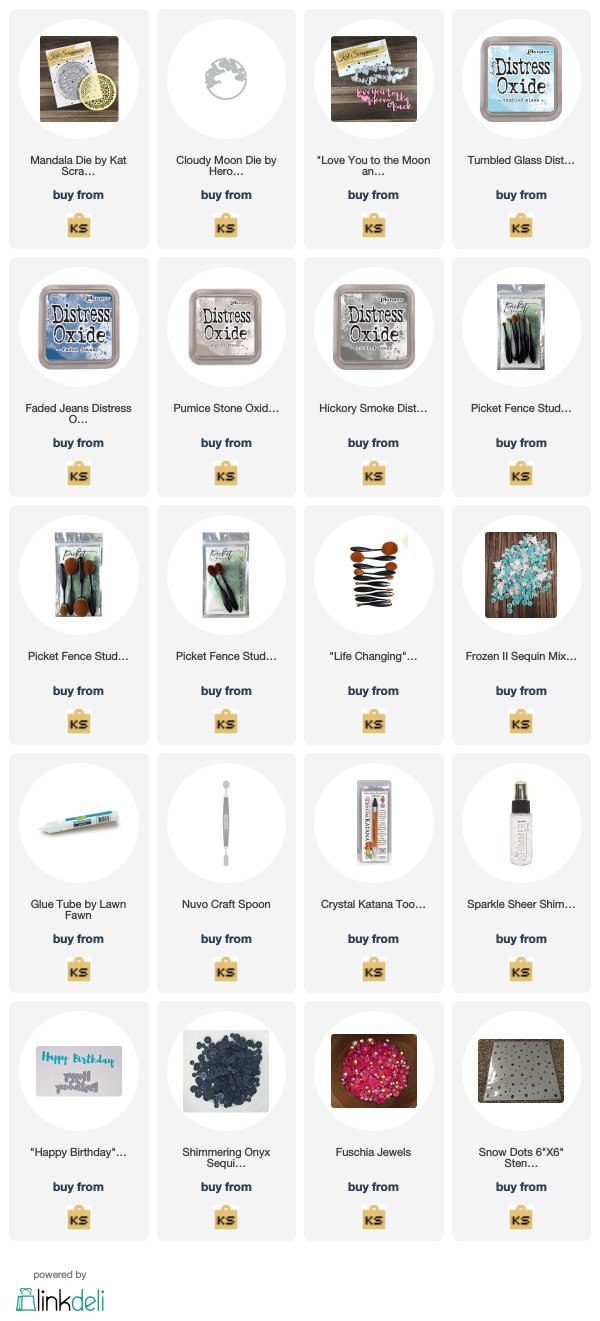
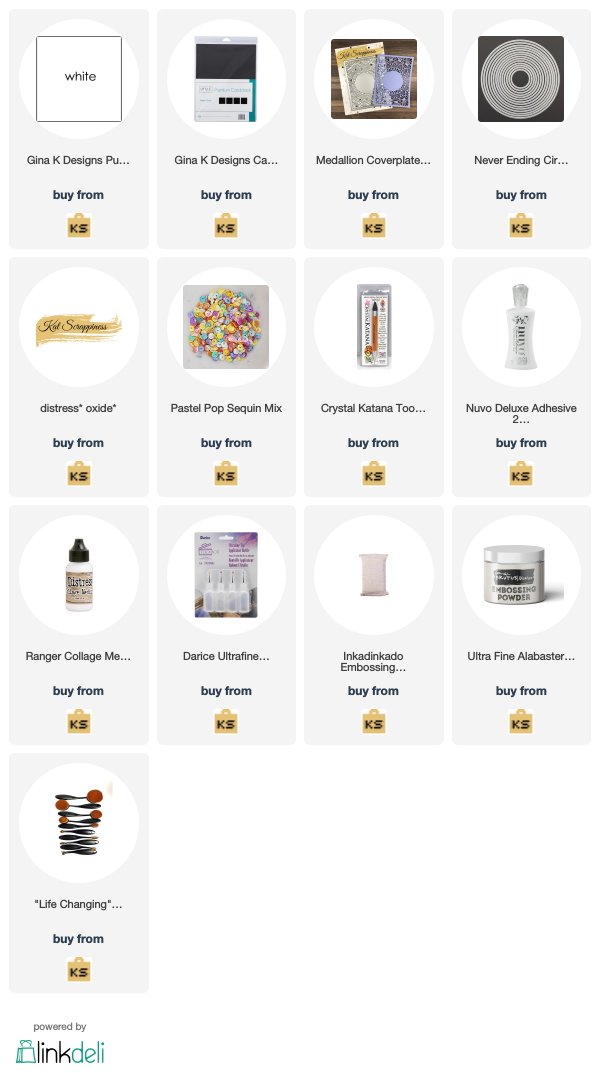
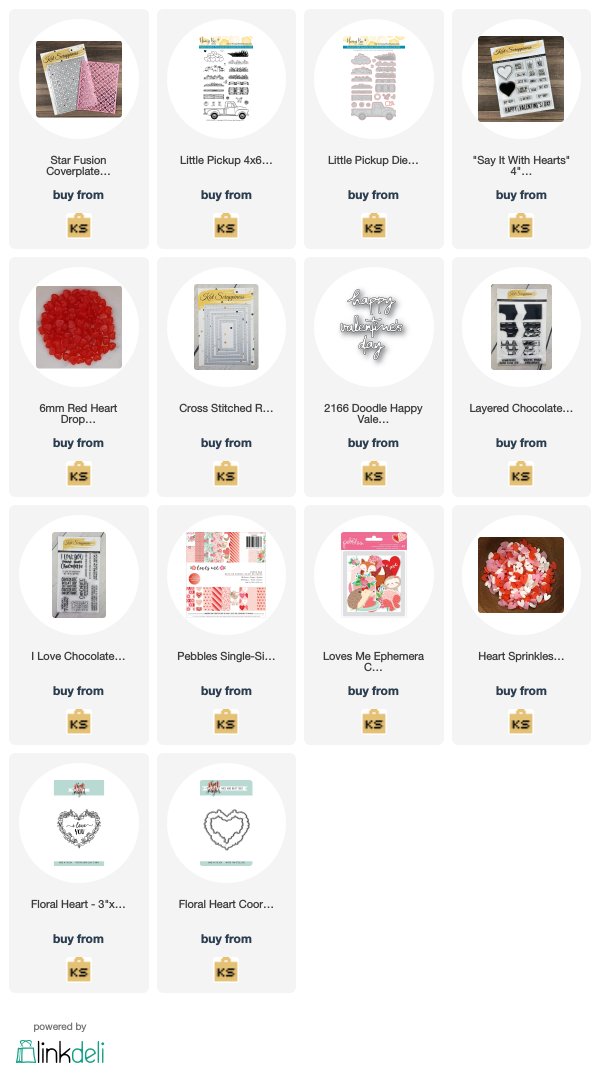
The supplies I used are listed and linked below. Please don’t forget to use my coupon code “Priscilla10” for 10% off your order at the shop.
PRISCILLA
SUPPLIES