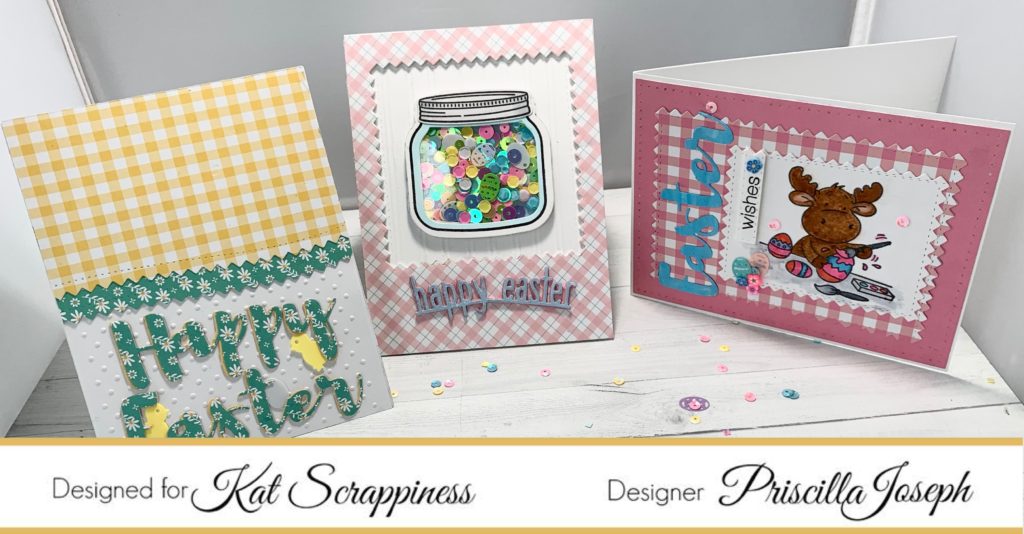
Welcome back to the blog Kat Scrappiness fans!
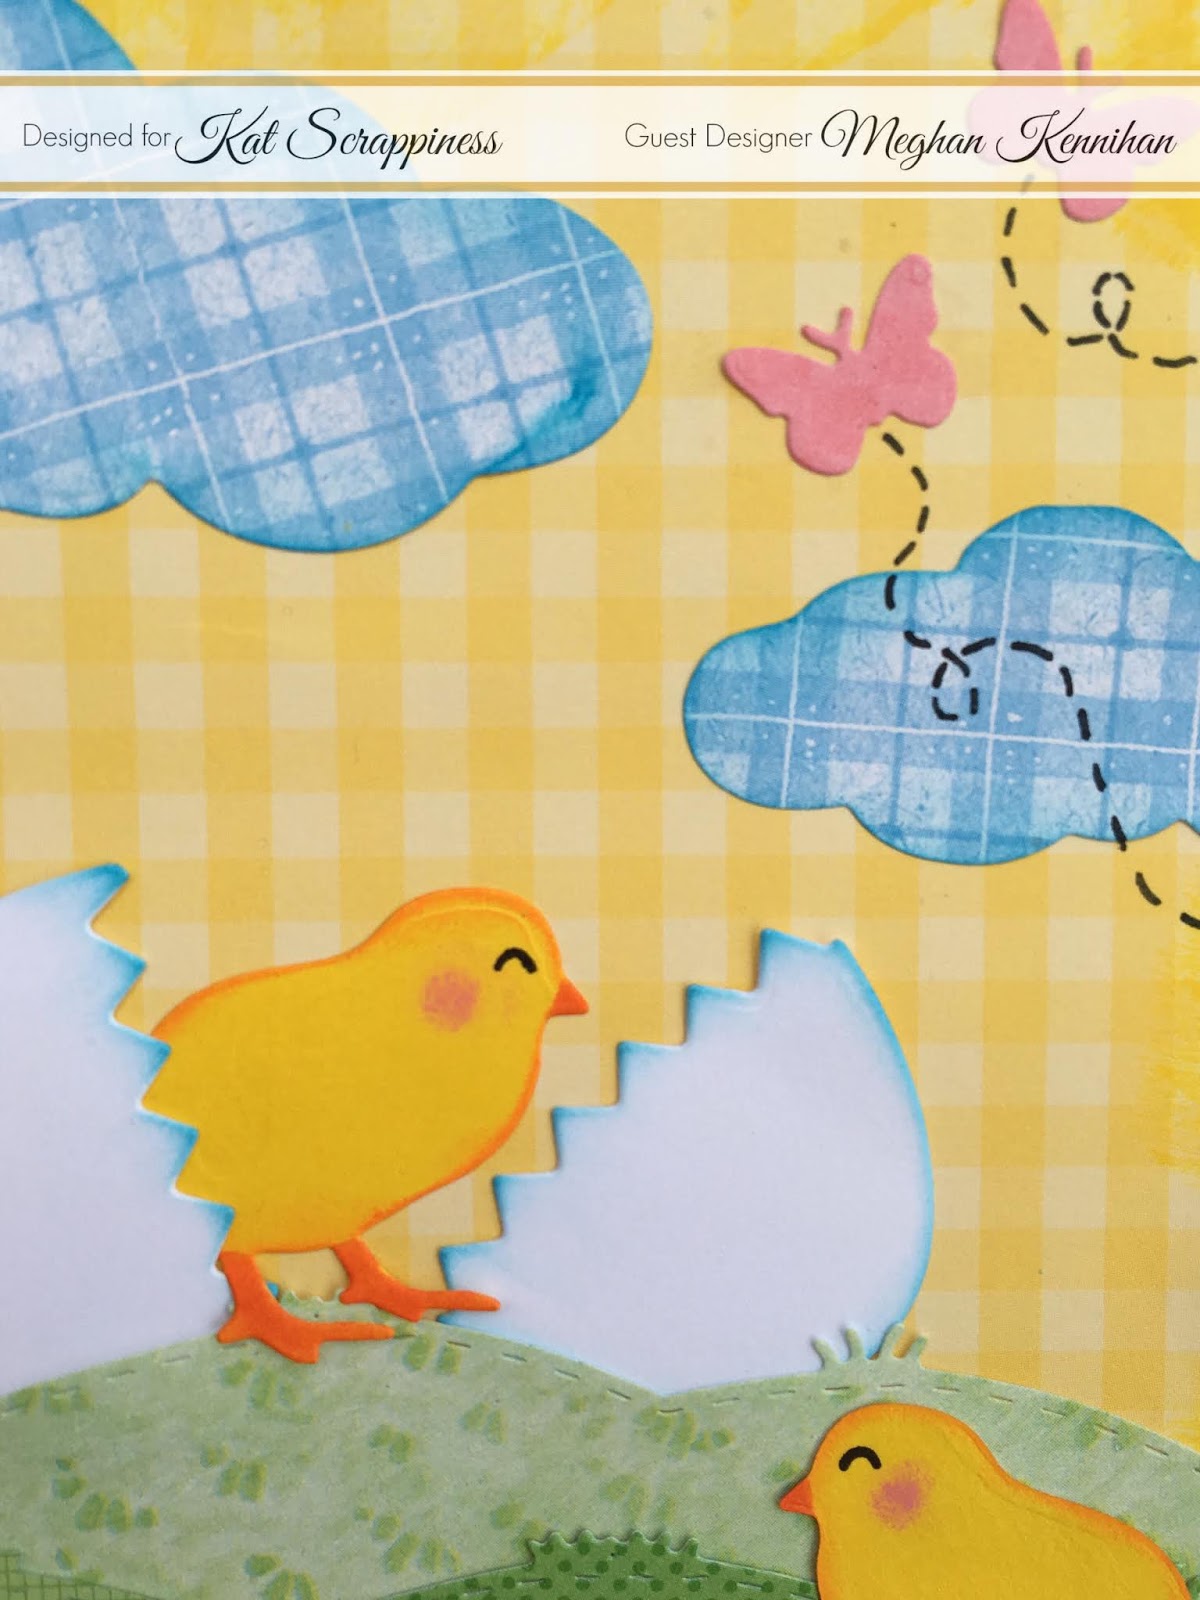
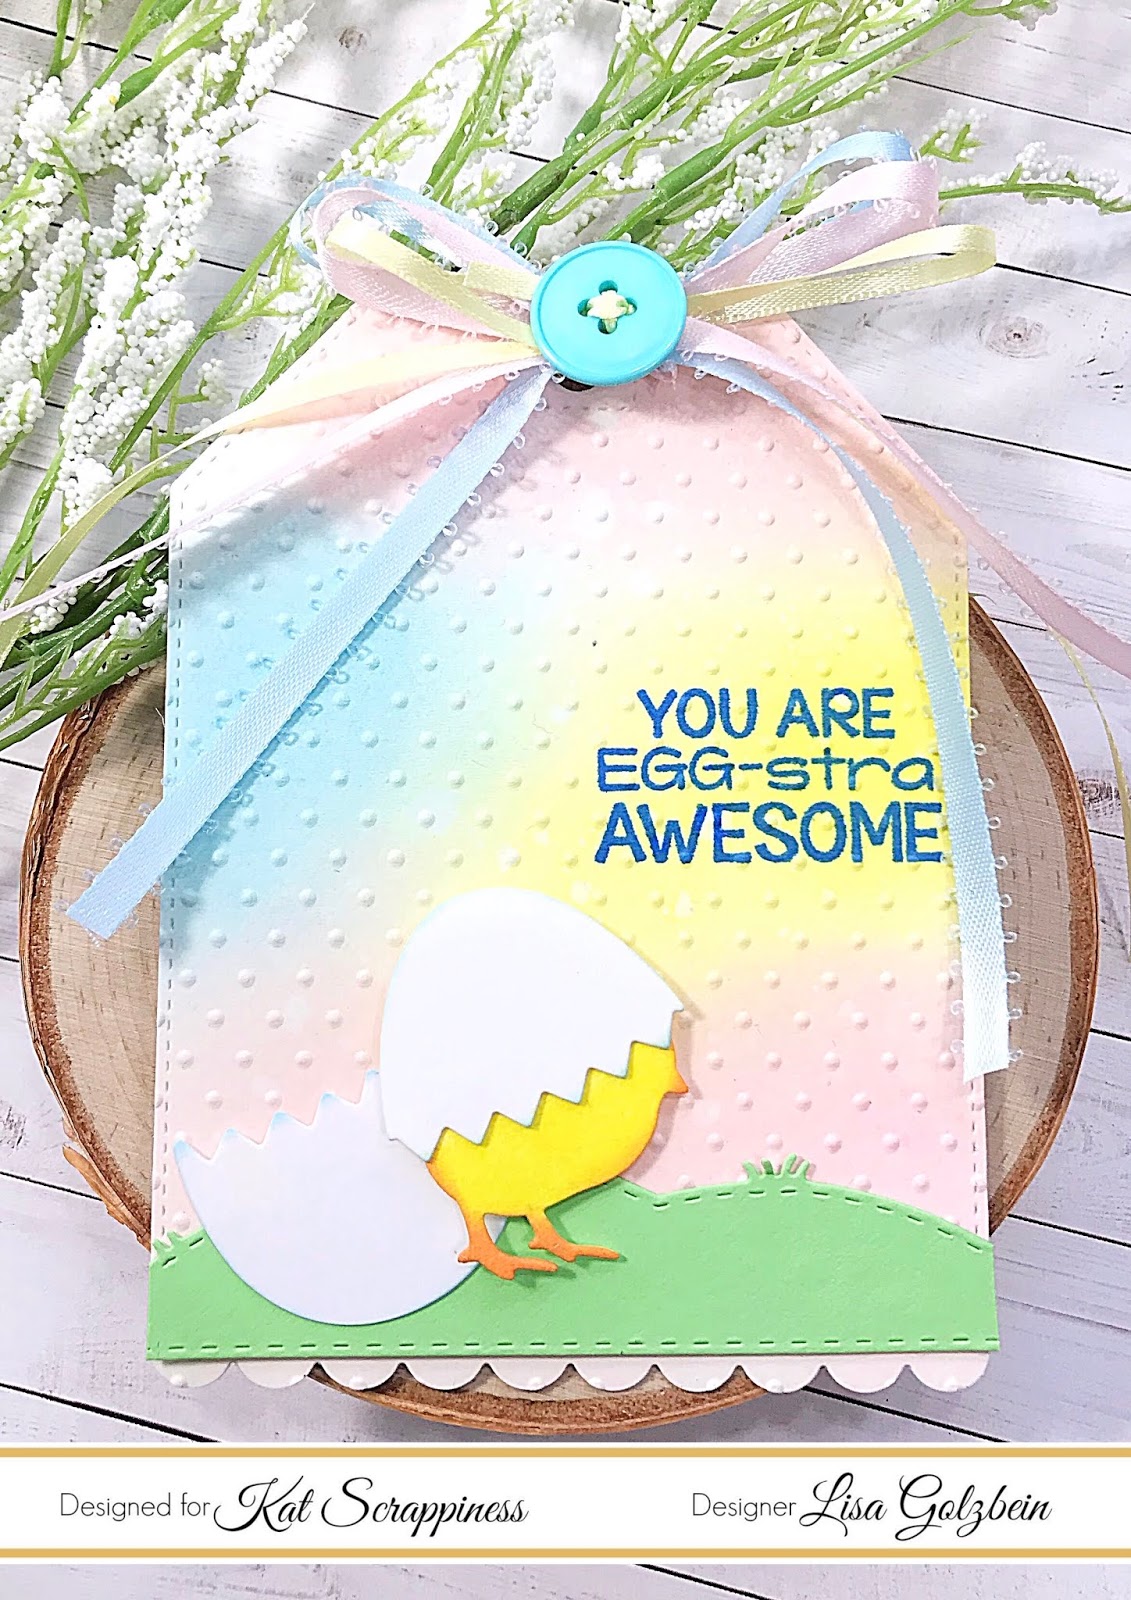
Today I have a quick and easy tag for you using the adorable
little chick from the Crafter’s Essentials Easter Dies.
To start with I blended 3 different ink colors on to some
card stock and cut out a Stitched Scalloped Nesting Tag Die for the base.
I used a sentiment from the So Egg-citing stamp set from
Your Next Stamp and I stamped it in Lawn Fawn Forget Me Not ink.
After the stamping was done I embossed the tag with a
polka dot embossing folder.
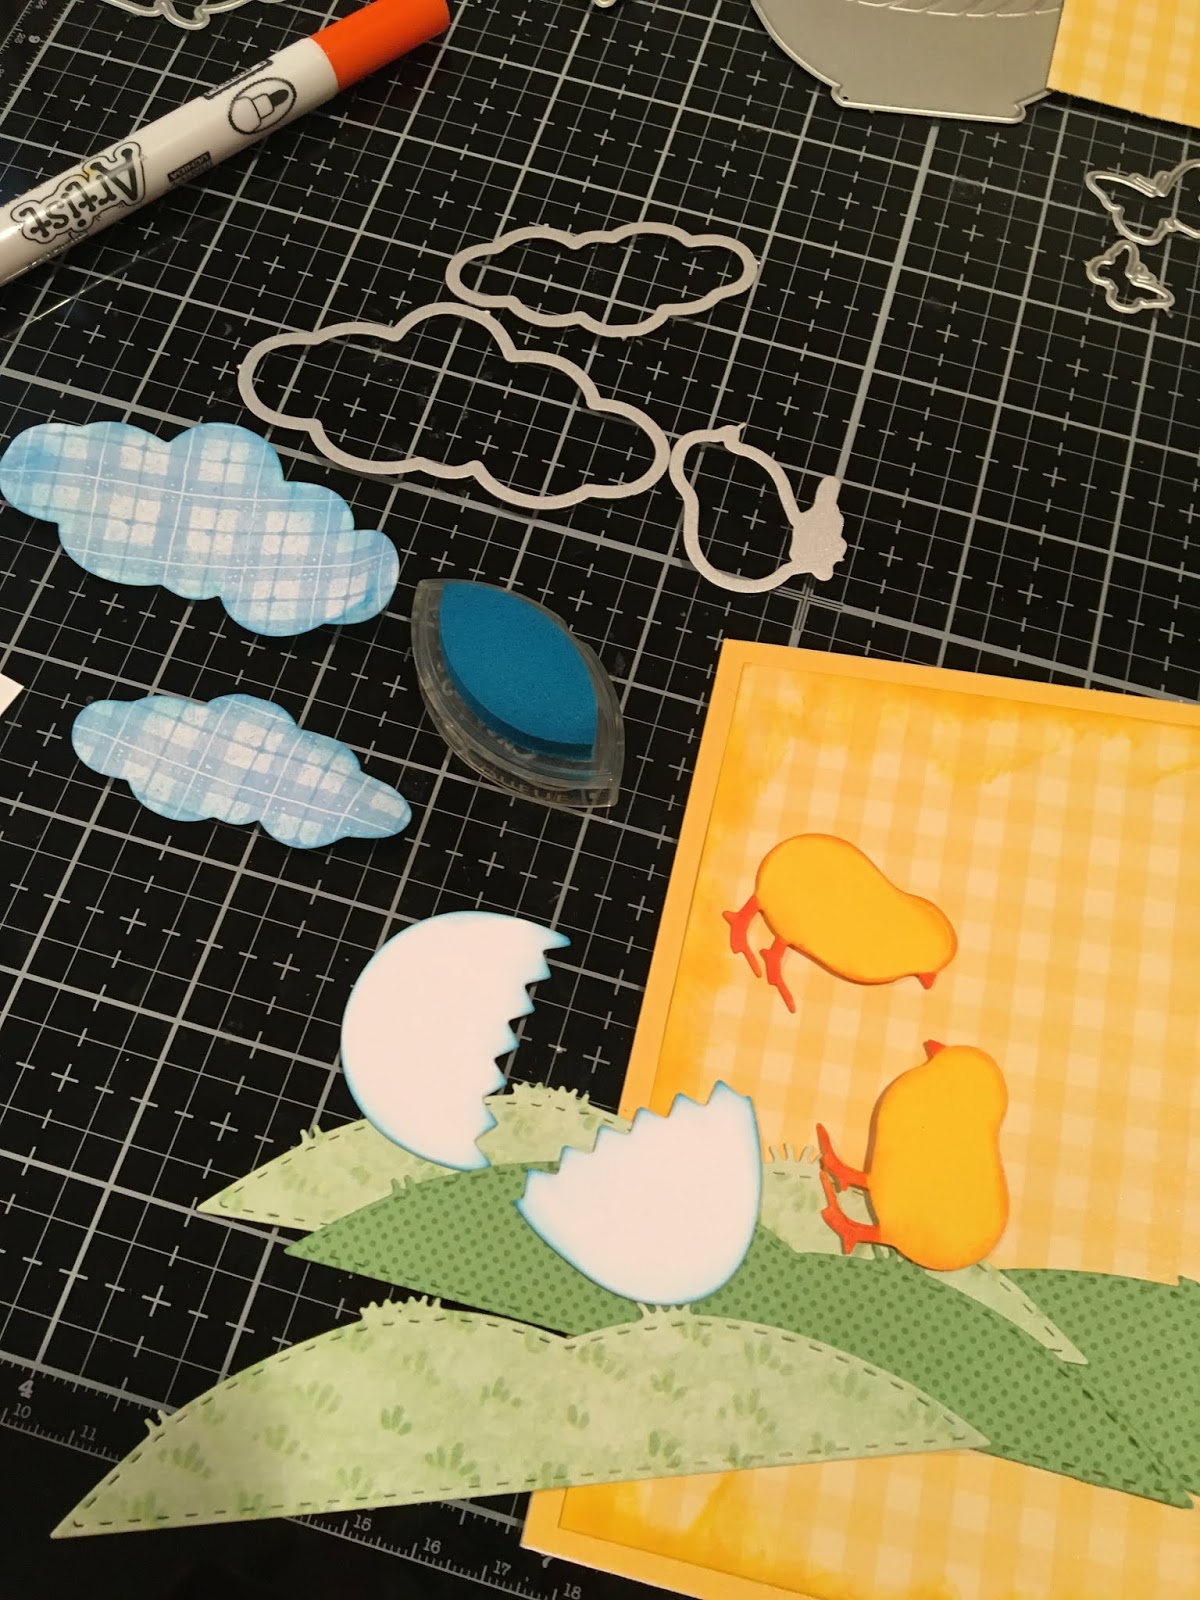
Next I did some ink blending with Squeezed Lemonade
Distress Ink on white card stock and die cut the chick out of it.
I applied some Spiced Marmalade ink to the beak and feet of the
baby chick. I also cut out the cracked egg from white card stock
and glued the top half over the chick’s head.
I applied foam tape to the chick and adhered it to the bottom of
the tag on top of the bottom of the egg.
Every pretty tag needs some pretty ribbon so I made a bow
out of 3 different color ribbons to match the tag
and finished it off with a big blue button.
Thanks for stopping by today, I hope you enjoyed
my quick and easy tag!
Make sure to join the April card challenge this month, the
theme is Pastels and you can find the challenge by clicking this link:
Have a great day, I already am!
?Lisa?