It’s Christmas in July at Kat Scrappiness! Not only are we having a HUGE SALE but we are also having a RAFFLE TICKET GIVEAWAY! Check this out!
Throughout the rest of July, you can save 20% on EVERYTHING in the Christmas/Hanukkah category using code: JULYXMAS and….
Each order placed in the month of July will receive a FREE RAFFLE TICKET! To make things even more fun, all orders over $50 (before shipping) will receive ANOTHER FREE RAFFLE TICKET!
So you have multiple chances to win some of the great prizes being offered by Kat Scrappiness! (Prizes listed below)
How it works
All raffle tickets come with a number at the top and bottom of the ticket. When you receive your ticket(s), the top portion will have been torn off. Don’t worry,, that’s for us to put in the drawing box. You will need to hold onto your ticket until the drawing which will be on August 10th. We will do the drawing live on Facebook but don’t worry, if you can’t watch the live drawing, we will give you 72 hours to respond. If we draw your number, you win! We will also post all the winners here on the blog as well as on our Facebook page.
Prizes:
- Metal Die Snips – Valued at $6.49
- Wonky Wavy Stitched Oval Die Set – Valued at $14.99
- Punny Snacks Stamp Set – Valued at $14.99
- Stitched Fancy Scalloped Square Die Set – Valued at $14.99
- Cheat Day Stamp Set – Valued at $14.99
- Double Stitched Oval Dies – Valued at $14.99
- Wonky Wavy Circle Dies – Valued at $14.99
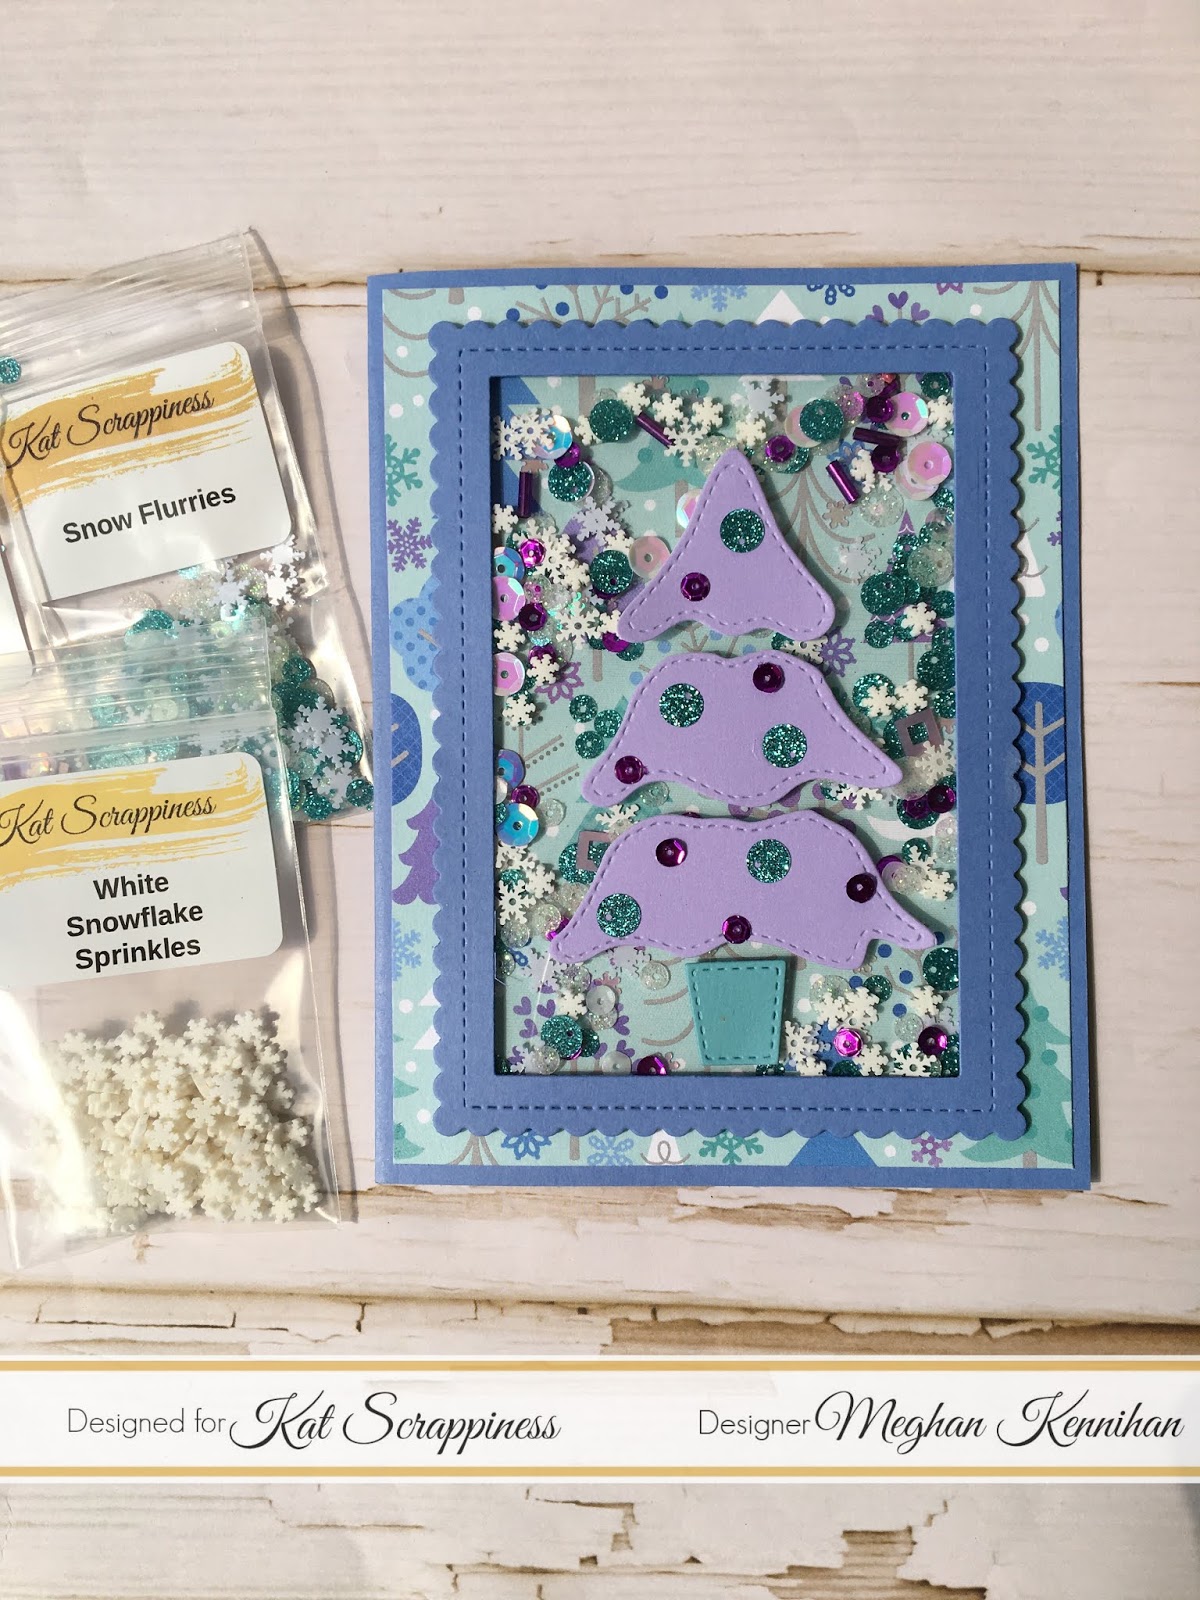
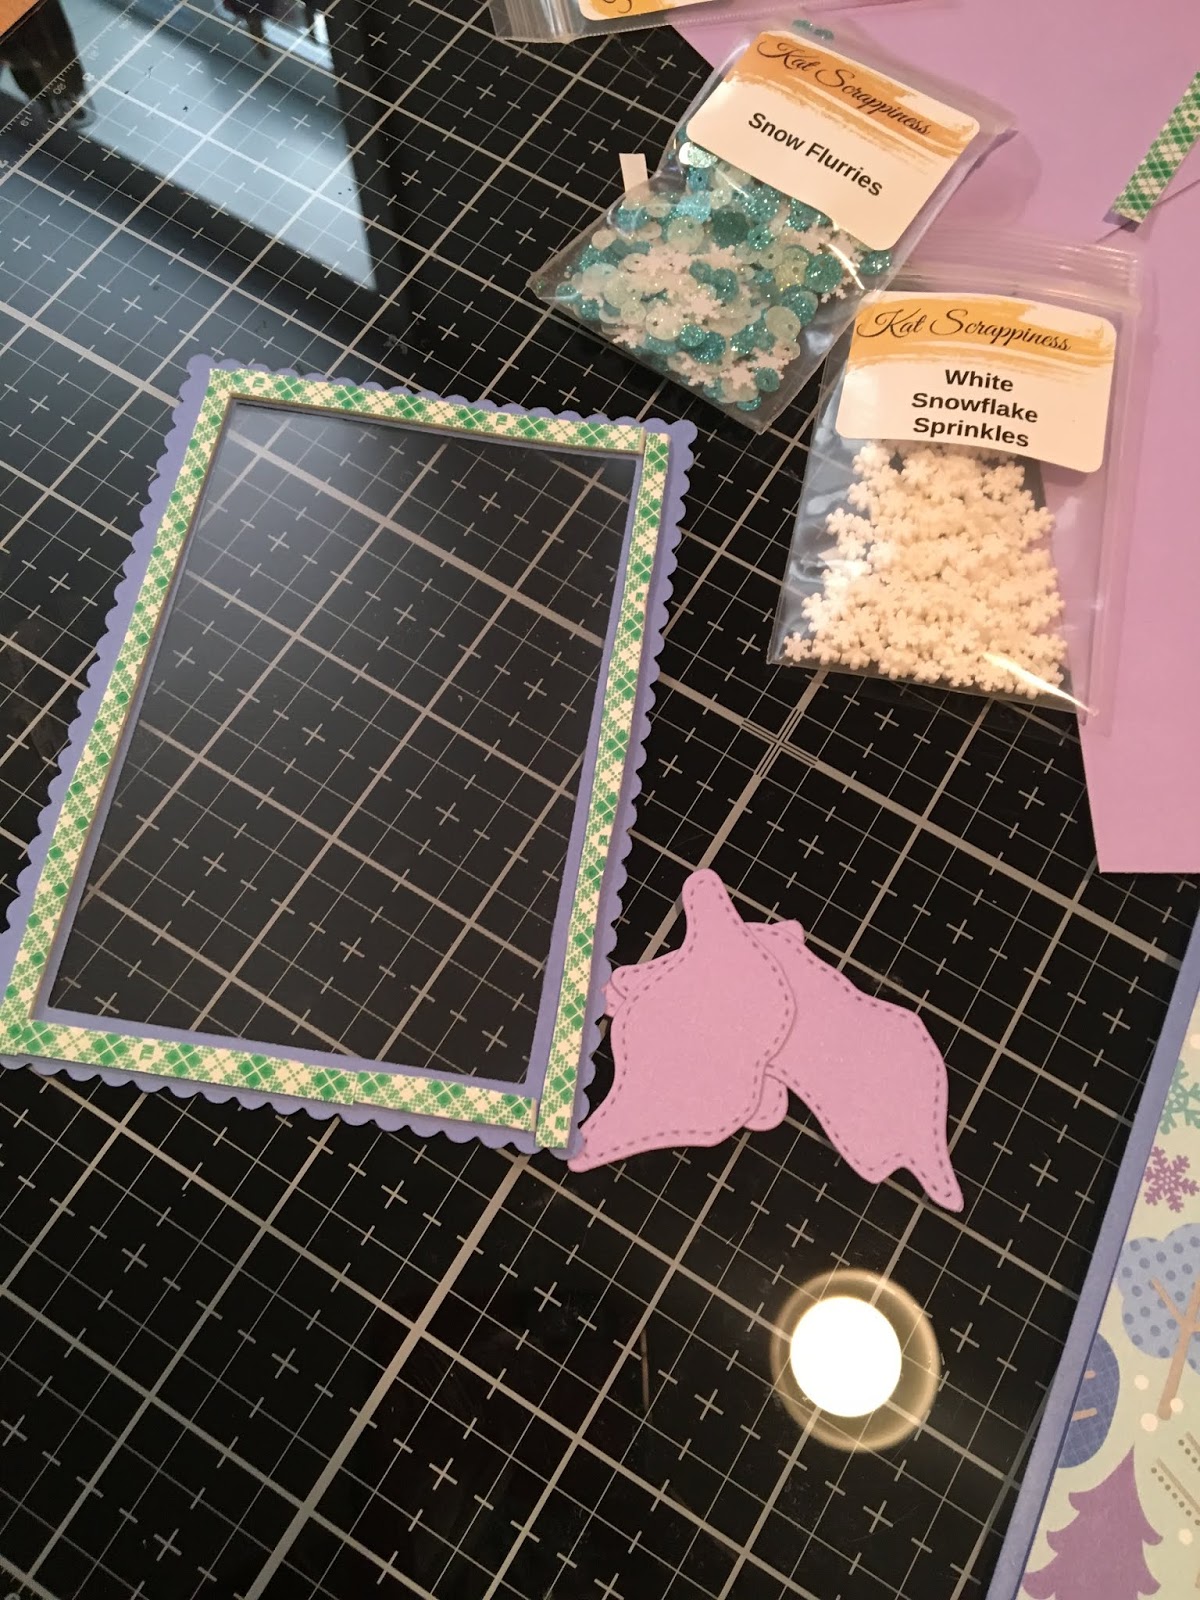
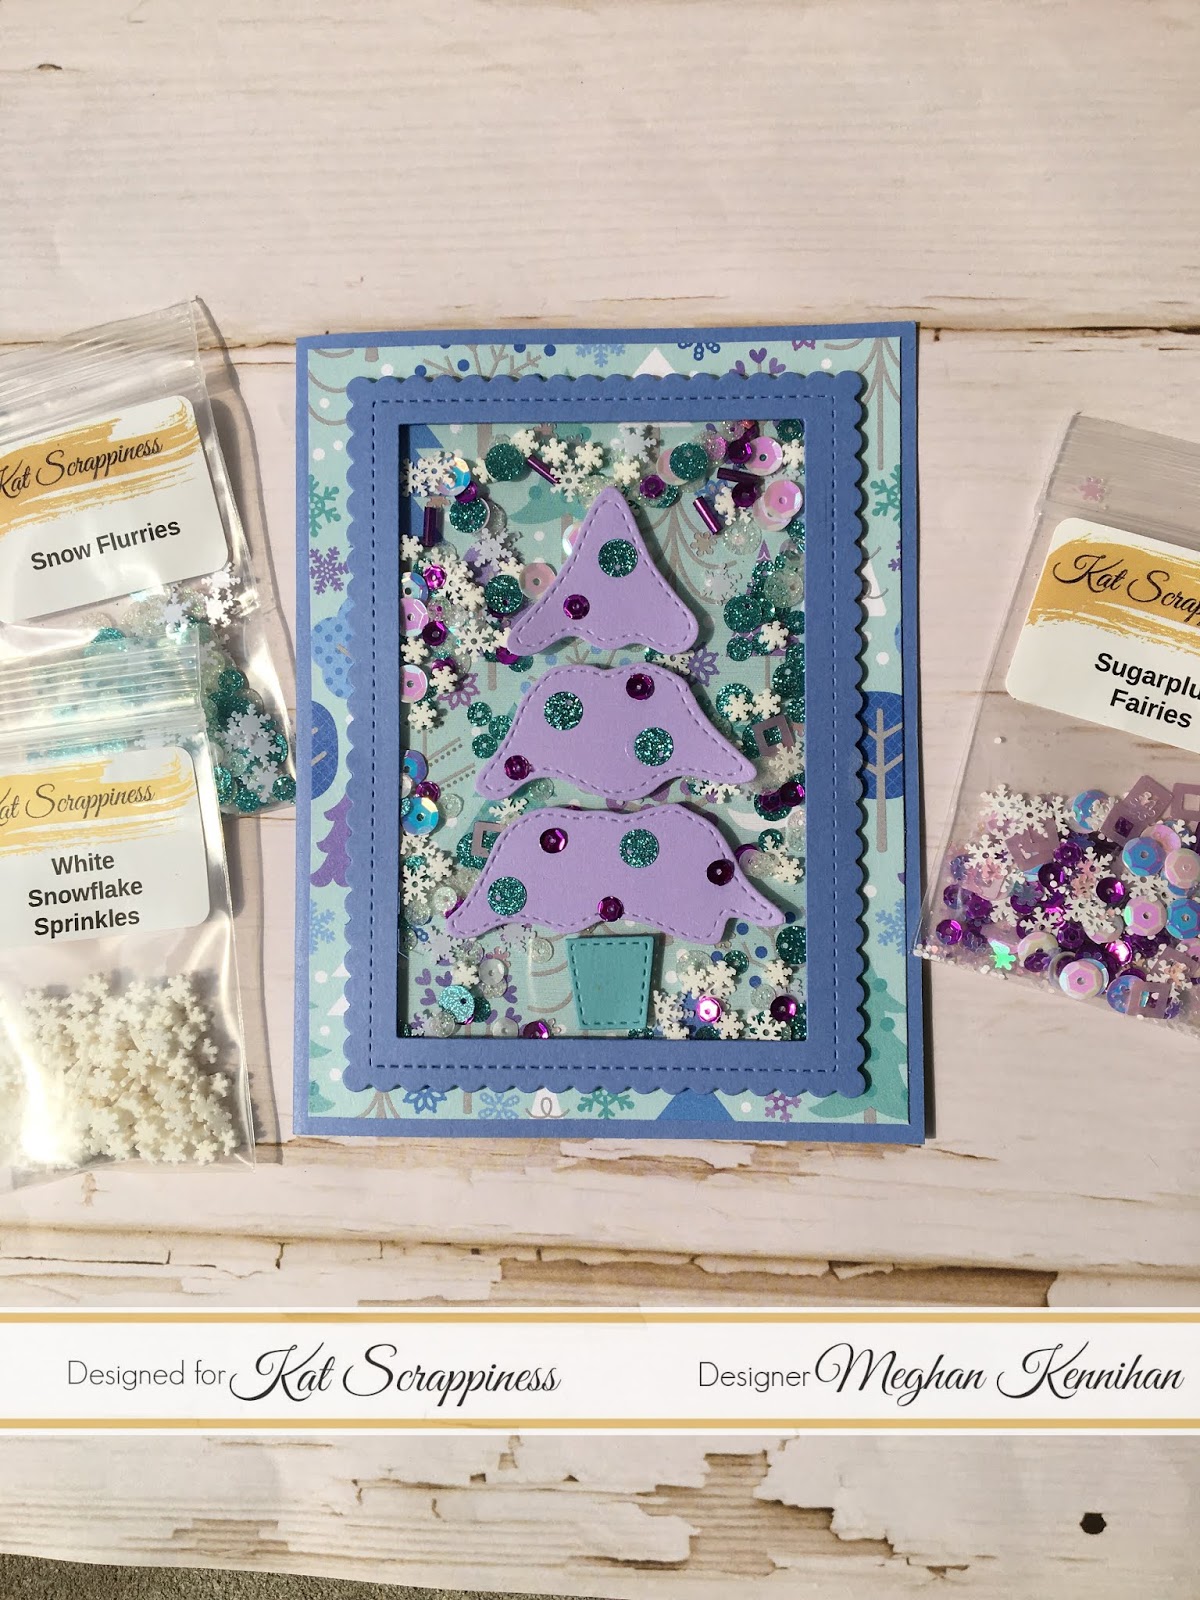
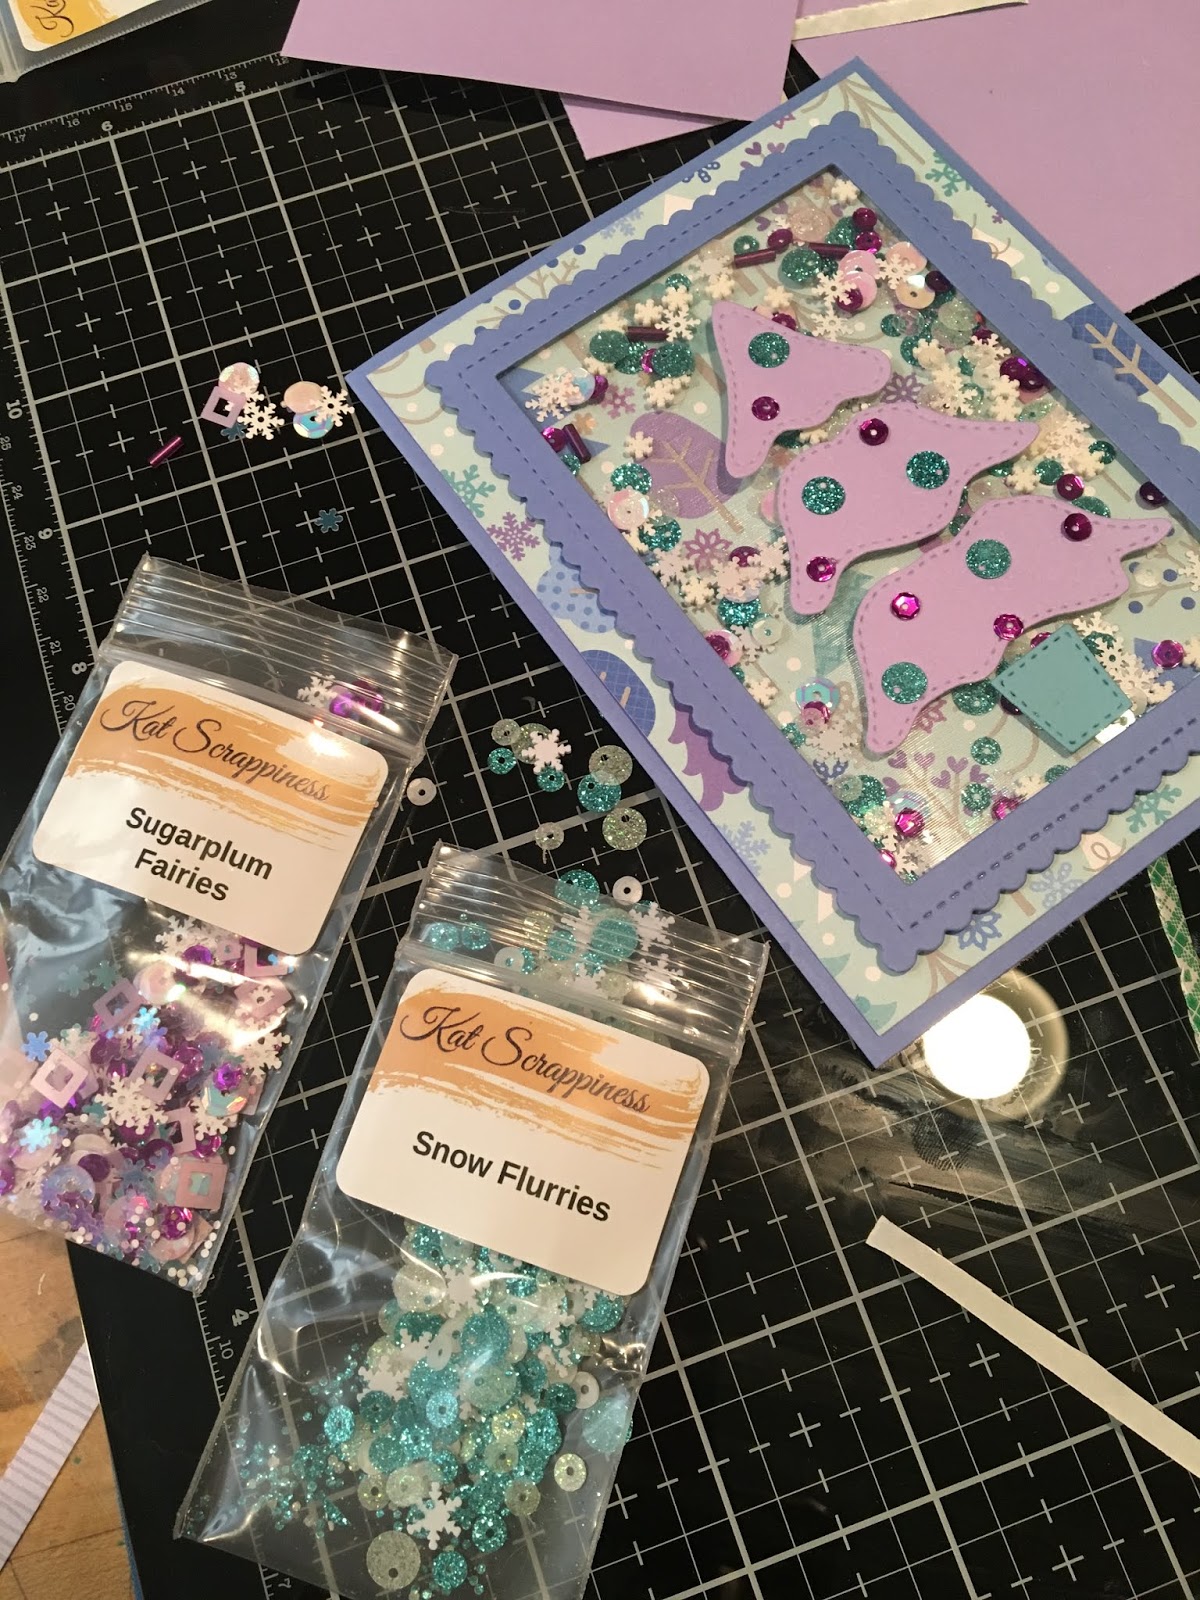
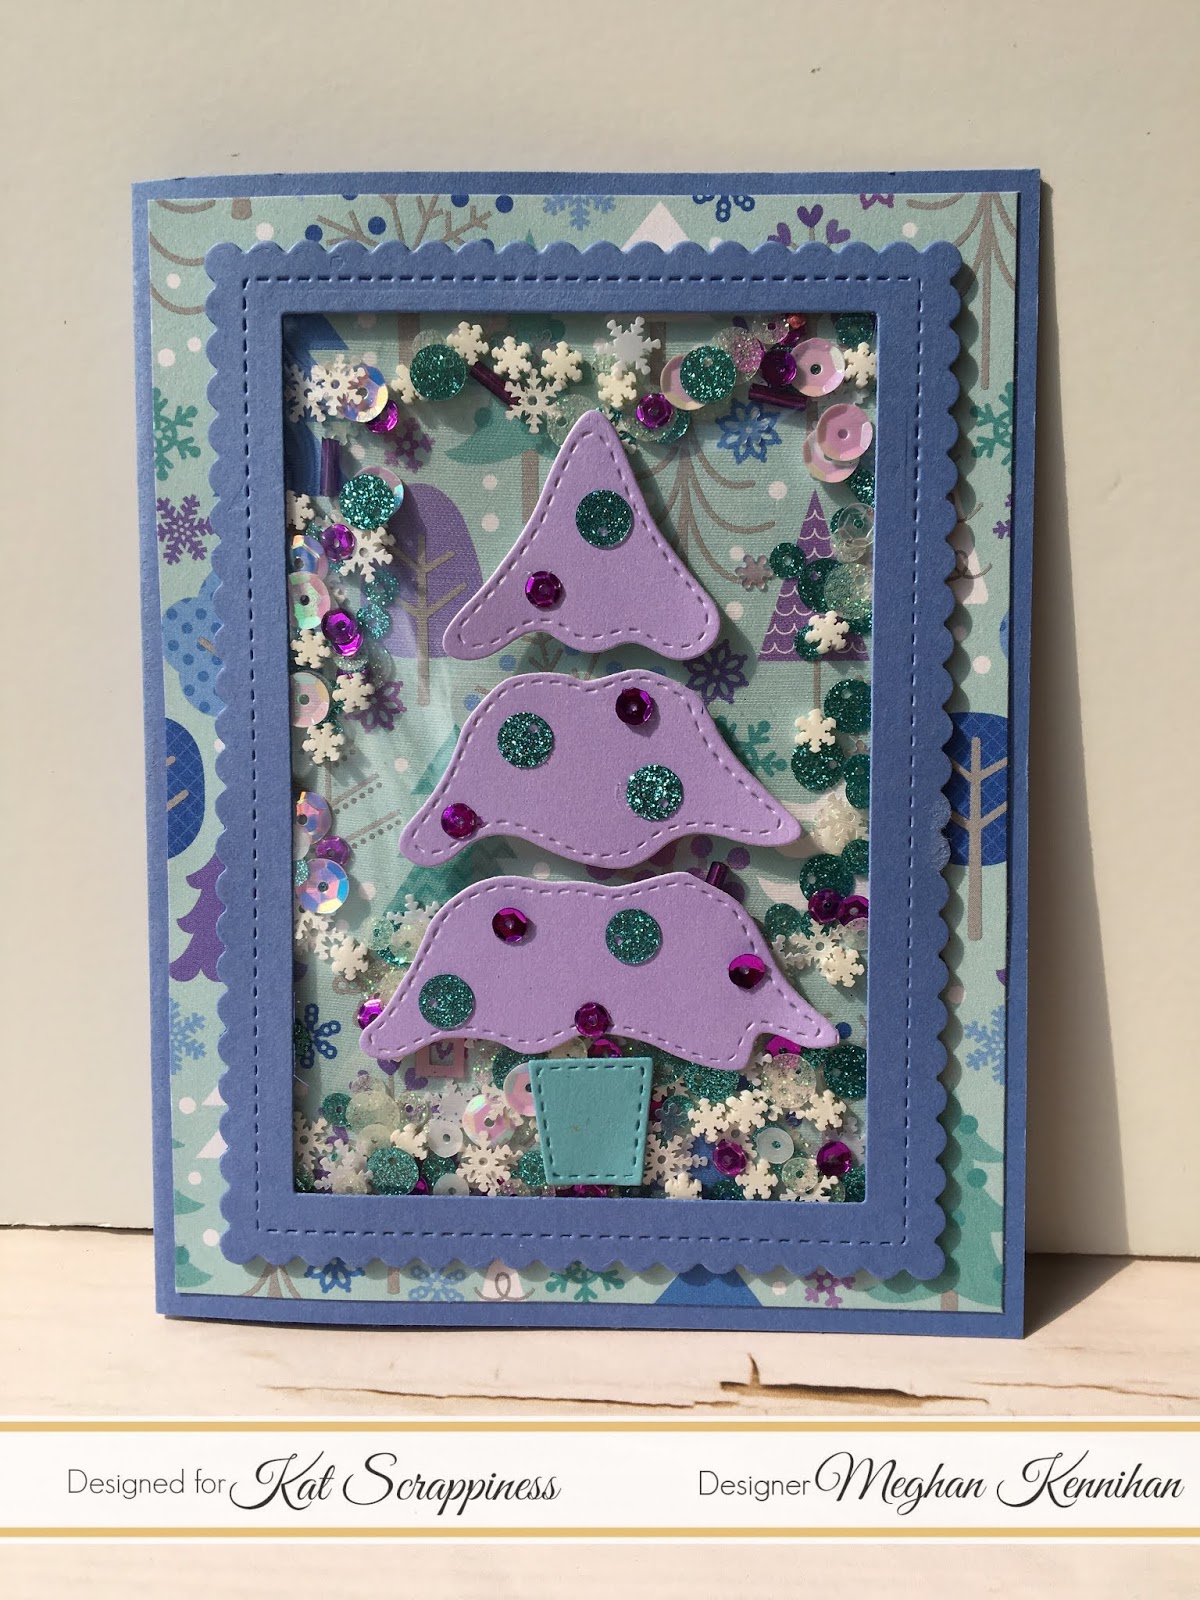
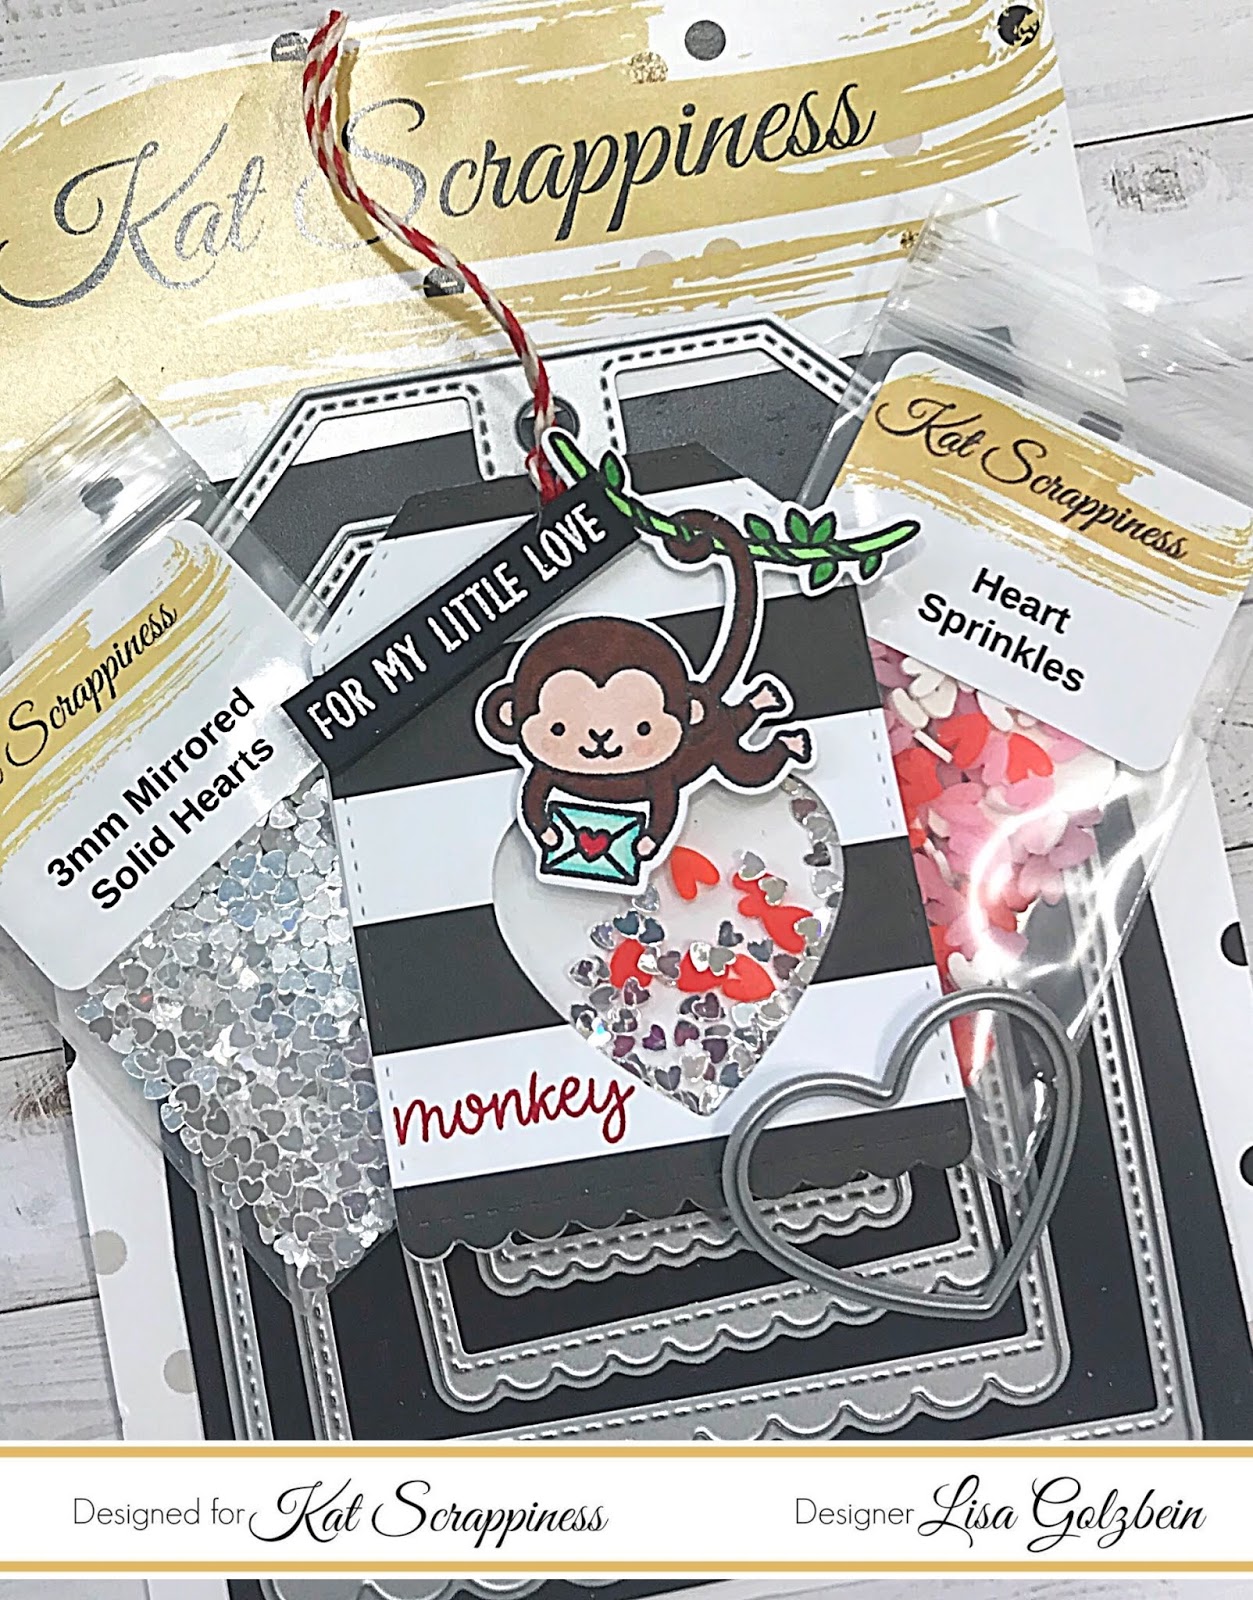
- Sequin and Sprinkle – Your Choice – Valued at a minimum of $15.00
- Toil & Trouble Layered Stamp Set & Coordinating Dies – Valued at $17.99
- Stitched Snowflake Swirl Border Backdrop Die – Valued at $19.99
- Wine Not Stamp and Dies – Valued at $20.00
- Crafter’s Essentials II Die Set – Valued at $24.99
- Crafter’s Essentials FALL Die Set – Valued at $24.99
- Condensed Uppercase Alphabet Dies – Valued at $36.99
And the Grand Prize Winner will receive:
A Gift Card in the Amount of $50.00 at the Kat Scrappiness Store.
Fine Print:
Raffle tickets will be sent out with every order placed between July 17, 2019 and July 31, 2019. The drawing will be held live on Facebook on August 10, 2019 at 11am PST. Winners will be announced during the video, as well as on our Facebook Page and our Blog. Winners will have 72 hours to claim their prize. We apologize but due to shipping costs, this promotion is only open for US customers only.