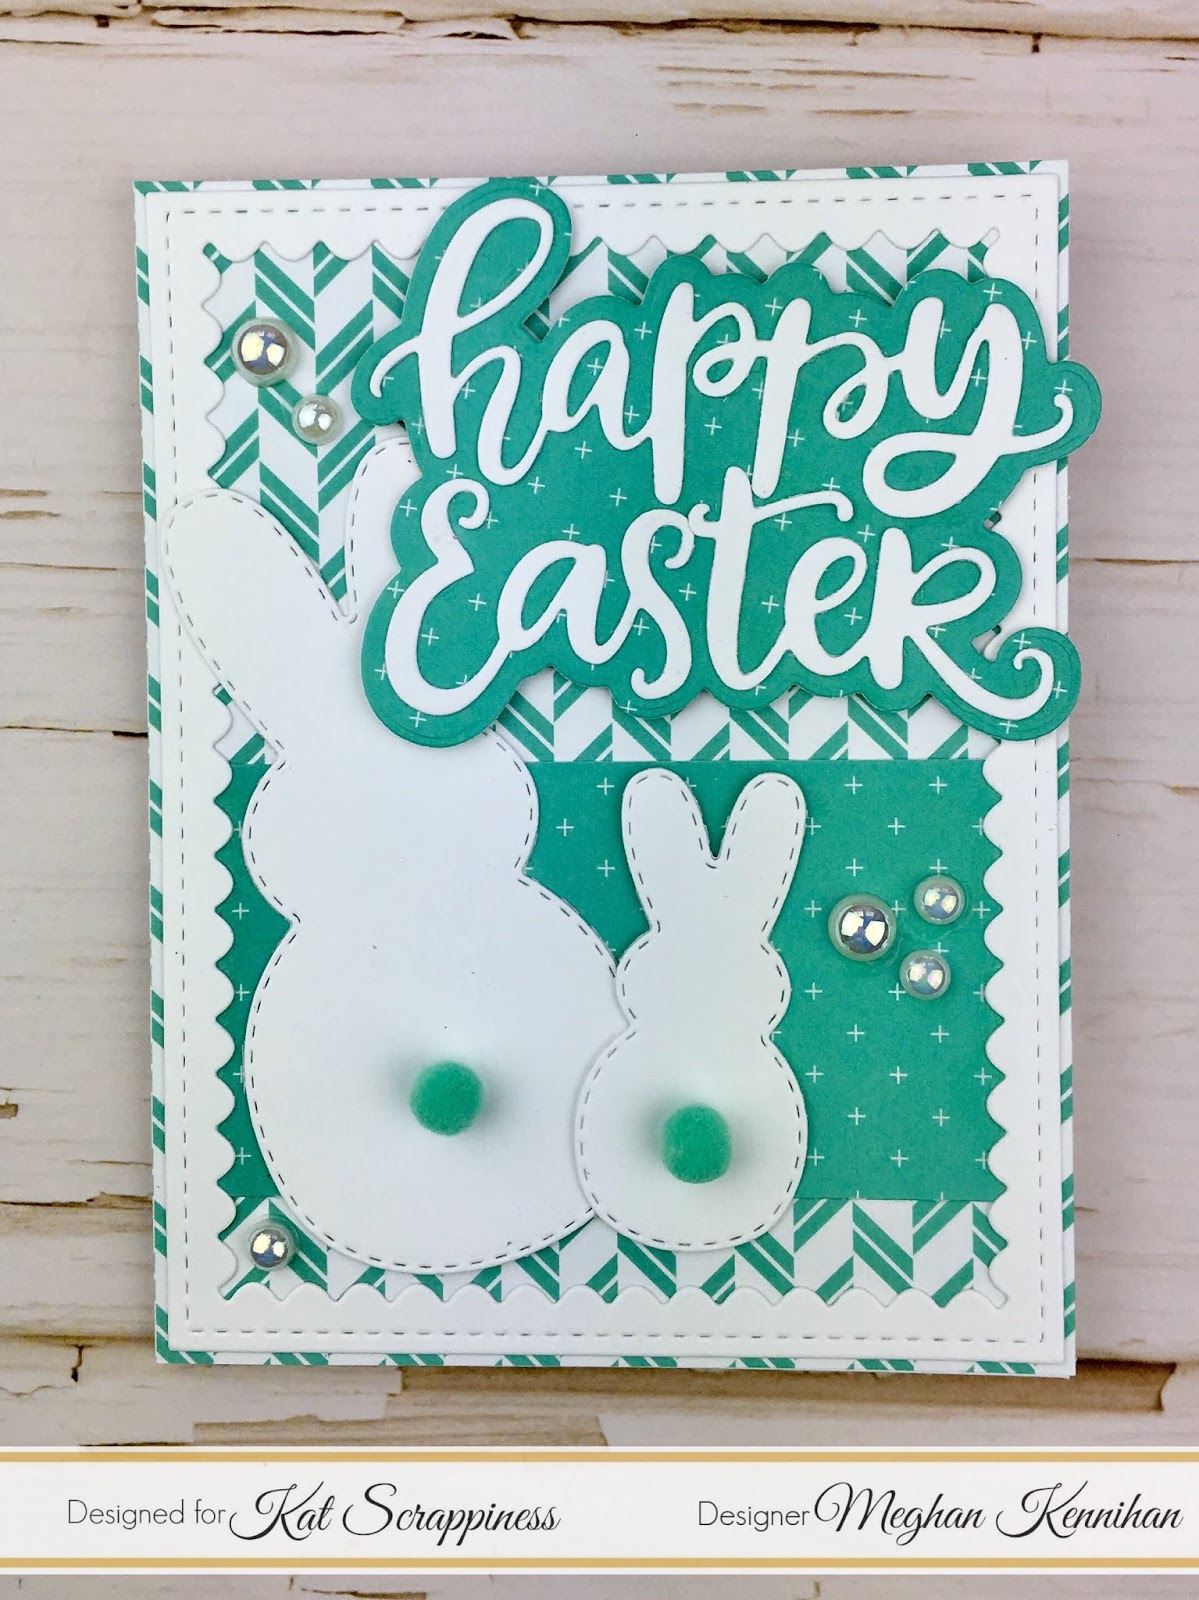
Hi Everyone, it’s Priscilla here. Today I have an Easter card of a solemn nature, which features a beautiful “Good Friday” sunset scene backdrop with the Kat Scrappiness “He is Risen Dies”and the newly released “He is Risen” sentiment. And stay tuned. At the end of this blog post, you can find out how to win the “He is Risen Dies” featured in this card on my blog, Nubble Light Designs.

I created the card front with an ink blended sunset background using Distress Inks- shades of yellow, orange, purple, blue, and black. I created the look of a heavenly light shining down by painting shimmer spray through a “spotlight” stencil from my stash. Then I splattered the front with Distress Ink in Picket Fence.
Next I die cut the crosses from the Kat Scrappiness “He is Risen Dies” using black card stock and then ran them through my Big Shot using a woodgrain embossing folder. I adhered the crosses and Kat’s “He is Risen” die sentiment cut from gold card stock, to the card front before adding the final touch of three “Sparkling Clear Jewels.”
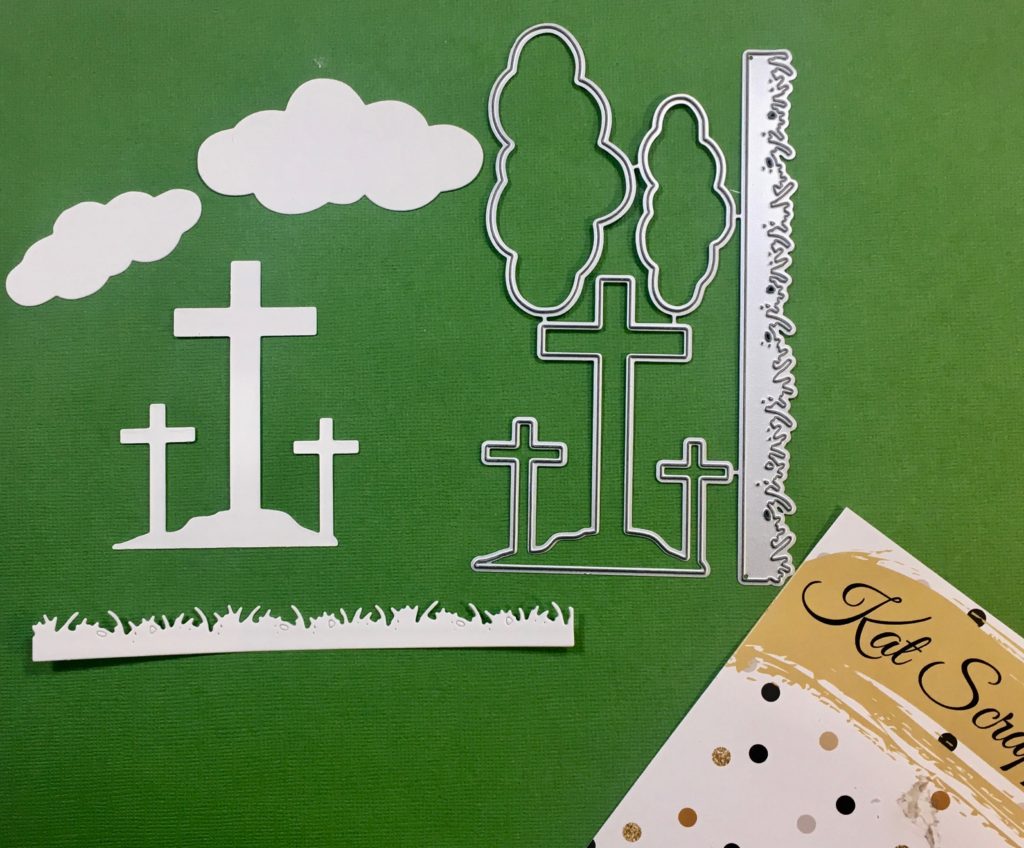
GIVEWAY TIME!!!!!
I have a duplicate set of the Kat Scrappiness “He is Risen Dies” pictured below to give away!
To enter the giveaway, simply:
- Leave a “Like” on my “NUBBLE LIGHT DESIGNS” Blog Post.
- Subscribe to my “Nubble Light Designs” blog.
- Post a comment over there.
One lucky winner will be mailed this prize. Good Luck!
Thank you so much for stopping by! Don’t forget to check out what’s NEW in Kat’s Shop, and follow my blog and Instagram for more “Kat Scrappiness Amazingness”!
Priscilla ✝?
The supplies I used are listed and linked below.
SUPPLIES