Follow:
    Design Team Projects

    Two Cards using the Newly Released Heart Die Sets

    Hi everyone, it’s Caren here on the blog today.  I have two cards to share with you today that use two new dies sets that were released this week – Love in Stitches and Scoop of Love.

    My first card is a shaker card that features the Love in Stitches dies.

    I used the largest two dies in the Love in Stitches die set to create the two pieces for my shaker card.  The back portion of the shaker and the striped paper are from the Heartfelt Wishes slimline patterned paper.  I filled the shaker with 3mm heart pink droplets, 50 Shades of Red sequins, and white seed beads from my stash.  The love and you sentiments are from the I Love You shadow die set.  I die cut the “you” three times from kraft paper to give it a little more dimension.  I then added a few hearts from the pink heart droplet sampler to finish the card.


    My second card features the Scoop of Love dies.

    This die set comes with a stitched heart (which I used) and a solid heart to pair with the drip die.  I think the stitched heart I used on my card looks like a chocolate dipped strawberry!  I die cut this two twice and added dimensional on the dripping chocolate to give the card some dimension.  I heat embossed the sentiment, from the Punny Snacks stamp set, on kraft paper and brown embossing powder.  I love how cute this simple card turned out.

    I love that these two new die sets can be used year round.  Thanks for stopping by!

    – – –– – –– – –– – –– – –– – –– – –– – –– – –– – –– – –– – –– – –– – –– – –– – –– – –– – –– – –– – –– – –– –

    Here is a link to the Kat Scrappiness shop and direct links for products I used on today’s cards.

    – – – SUPPLIES for today’s project– – – – – – – – – – – – – – – – – – – – – – – – – – – – – – – – – – – – – – –

    Card 1

    Card 2

    Design Team Projects

    Two Cards Using One DIY Background

    Hi everyone, it’s Tina here. I have two cards to share using one DIY Background along with the Kat Scrappiness Stitched Scalloped Hearts die and Layering Nested Heart dies. Below you will find the steps to create your own cards.

    Card #1

    Step 1 – Trim White Cardstock to 8 1/2” x 5 1/2”, score at 4 1/4” and fold in half for a vertical side fold card. (A2)

    Step 2 – Trim Copy Paper to 5 1/2” x 4 1/4”. Trim Cardstock strips in various colors and sizes. I trimmed the following. Red Cardstock 1/2”, Pink Cardstock 1/4” and Cream Cardstock 1/8”. Adhere the strips to the Copy Paper using adhesive of your choice. I used Nuvo Deluxe Adhesive. Let dry.

    Step 3 – Diecut Layering Nested Heart using the panel created in Step 2. Adhere a piece of Acetate to the backside using Nuvo Deluxe Adhesive. Adhere Foam Tape to the backside except the area of the window. Trim a piece of Red Cardstock and adhere to card front making sure it covers the area where the window will be. Add Talk About It Sprinkles to the center of the card front. Remove the release sheet from the foam tape of the panel and carefully adhere to the card front. You now have a shaker card.

    Step 4 – Diecut Stitched Scalloped Hearts using Cream Cardstock. Now diecut Layering Nested Heart using the Stitched Scalloped Heart diecut. This will create a frame. Adhere to the card front using Nuvo Deluxe Adhesive.

    Step 5 – Diecut I Love You With Shadow using Cream Cardstock for the word Love and Red Cardstock for the Love Shadow. Assemble and adhere to card using Nuvo Deluxe Adhesive.

    Step 6 – Stamp sentiment from your stash using Versafine Onyx Black Ink. Trim sentiment and adhere to card using Nuvo Deluxe Adhesive.

    Step 7 – Optional – For added interest randomly adhere Heart Sprinkles using an Embellishment Pick Up Tool and Nuvo Deluxe Adhesive.

    Card #2

    Step 1 – Diecut Stitched Scalloped Heart using Pink Cardstock and another in Cream Cardstock. Score 1/2” from the top of the Cream diecut. Add Nuvo Deluxe Adhesive to the top part only on the top side and add the Pink diecut on top. You now have a Scalloped Heart shape card.

    Step 2 – Adhere the DIY Heart DIY created from card #1 using Nuvo Deluxe Adhesive.

    Step 3 – Stamp sentiment from your stash on Cream Cardstock using Versafine Onyx Black Ink. Diecut the sentiment using Stitched Fishtail Banners. Adhere to card using Foam Tape.

    Step 4 – Optional – For added interest randomly adhere Heart Sprinkles using an Embellishment Pick Up Tool and Nuvo Deluxe Adhesive.

    These cards can be used for several occasions by changing the sentiment. Below is a link to all the products used. Thank you for stopping by and Happy Crafting!

    Products Used:

    https://linkdeli.com/widget.js?id=f5e8378456858c916708

    Design Team Projects

    Mini Slimline Dies with a Heart Shaker


    Hi there! It’s Lisa from Oh So Cute By Lisa and I’m up on the blog today with a fun Valentine Shaker Card!

    While most crafters love making Christmas cards, I actually love the crafty season that follows next!
    Valentine’s Day is my favorite crafty holiday! I’ve always loved hearts and pink and girly things ever since I was a little girl! The recent release at Kat Scrappiness brought with it the most awesome Mini Slimline Dies you’ve ever seen! There are so many different varieties which means there is something for everyone! My favorite of all of them is the Mini Stitched Scalloped Slimline Dies! Those dainty little scallops just make my heart go pitter patter! My second favorite Mini Slimline Die has to be the Mini Slimline Double Stitched Dies because it is the perfect layering dies for ALL the minis!

    I used both of my favorite minis today for my shaker card.


    For the shaker element on my card I used 2 different heart dies. The first is the Stitched Scalloped Heart Dies and the second is the Layering Nested Heart Dies. To make the shaker window I took the largest Stitched Scalloped Heart and I cut the middle out of it with the second largest Layered Heart Die. Once I had the scalloped frame I adhered a piece of acetate to that back of it that I cut out using one of the Layered Heart Dies.

    The next step was to add foam tape to the back of the frame. A tip to help you mold foam tape around a specific shape easier is to remove the backing tape before you start to adhere it. Once I had the entire frame lined with foam tape it was time to pick out the fun shaker bits to go inside the window.
    The back of the shaker heart is the largest Stitched Scalloped Heart  cut out and left whole.

    For my Valentine’s themed card I chose the adorable Cupid’s Arrow Sequin Mix and I stamped my Happy Valentine’s Day sentiment from the Valentine Quokka stamp set. I also used the beautiful Pink Heart Droplets around my sentiment in the 4mm and 6mm sizes.


    This card was so much fun to make and probably because I used so many of my favorite Kat Scrappiness products! Head on over to the shop and check out all of the new Mini Slimline Dies, the new Quokka stamp set and the hundreds of adorable sequins and sprinkles!

    Here is one more look at my card with all of the supplies used.

    In addition to all of this Valentine goodness Kat Scrappiness has just released some more awesome new Valentine dies and they are ADORABLE!! They make shaker cards so easy and one of them even has peekaboo flaps! You can check them all out here!


    Thanks so much for stopping by my blog today! If you love any of these products as much as I do than it would make me so happy if you clicked on any of my affiliate links throughout the post to purchase them and add them to your crafty collection!

    Have a great day, I already am!

    💓 Lisa 💓

    Challenges & Hops

    February Card Challenge: Love/Hearts & January Winners

    Welcome to the Kat Scrappiness February Card Challenge and the announcement of the January Card Challenge Winners! PLEASE READ THE RULES before ENTERING!

    First we would all like to thank everyone who entered last month’s Winter! The team really enjoyed seeing all of your creations.


    And NOW the WINNERS for January!

    1. The Winner of the Winter Challenge for January is:  Lucy E. – (Random.org Pick) and her prize is a $15.00 gift certificate to the Kat Scrappiness Store! because she used Kat Scrappiness Products on her card!  Lucy E., please email us at winners@KatScrappiness.com with your address so we can send out your prize!
    2. The Design Team’s Top Pick (shown below using our Winter Essential Dies and Slimline Wonky Die) and winner $5.00 Gift Certificate is Lagene, please save the badge below to your computer and upload it to your blog or website to show off your accomplishments!  You can link back to our blog here:  http://www.KatScrappinessBlog.com!


    February Card Challenge

    This month’s theme is “Love/Hearts” Kat Scrappiness has amazing Valentine stamps, heart dies, Valentine Sentiment Dies, and sprinkles. We want to see you use them.

    To enter our February Card Challenge all you need to do is share your Valentine, love, or heart creations. You can join at the bottom of this page and view the RULES, for your chance to win $$ to the  Kat Scrappiness Store! Try to use your Kat Scrappiness supplies we love to see our products in action and you will win a bigger gift card.

    You can also enter our social media challenge which is ALWAYS Anything Goes. Just use Kat Scrappiness products and enter your card on our Facebook Group page and Instagram using the hashtag #katscrappinessfan for your chance at a $5 Prize.

    We also have some great Stamps, Dies, Sprinkles to help you create beautiful tags and ornaments here are my favs:

    Rules:

    -Your project should be a new Creation. No Back Posting allowed.

    -Please follow the Challenge Theme. Any Entries not following the theme will be deleted.

    -We are a Multi Craft Challenge. As long as you follow the theme you may enter with any craft project.

    -You may use any product you like but Kat Scrappiness Products are encouraged and will get a better prize.

    -You may enter the Challenge 3 times but each must be with a new project.


    What’s Happening Next?

    Stay up to date on everything Kat Scrappiness!

    We want you to be the first to know about giveaways, sales, challenges and so on, and the best way to do that is to subscribe to us!  Here are a few ways you can keep in touch:

    • Subscribe to the Kat Scrappiness Newsletter HERE
    • Join the Kat Scrappiness Facebook Fan Group HERE
    • Subscribe to the Kat Scrappiness Instagram HERE

    Trust us, you don’t want to miss our releases and inspirations!


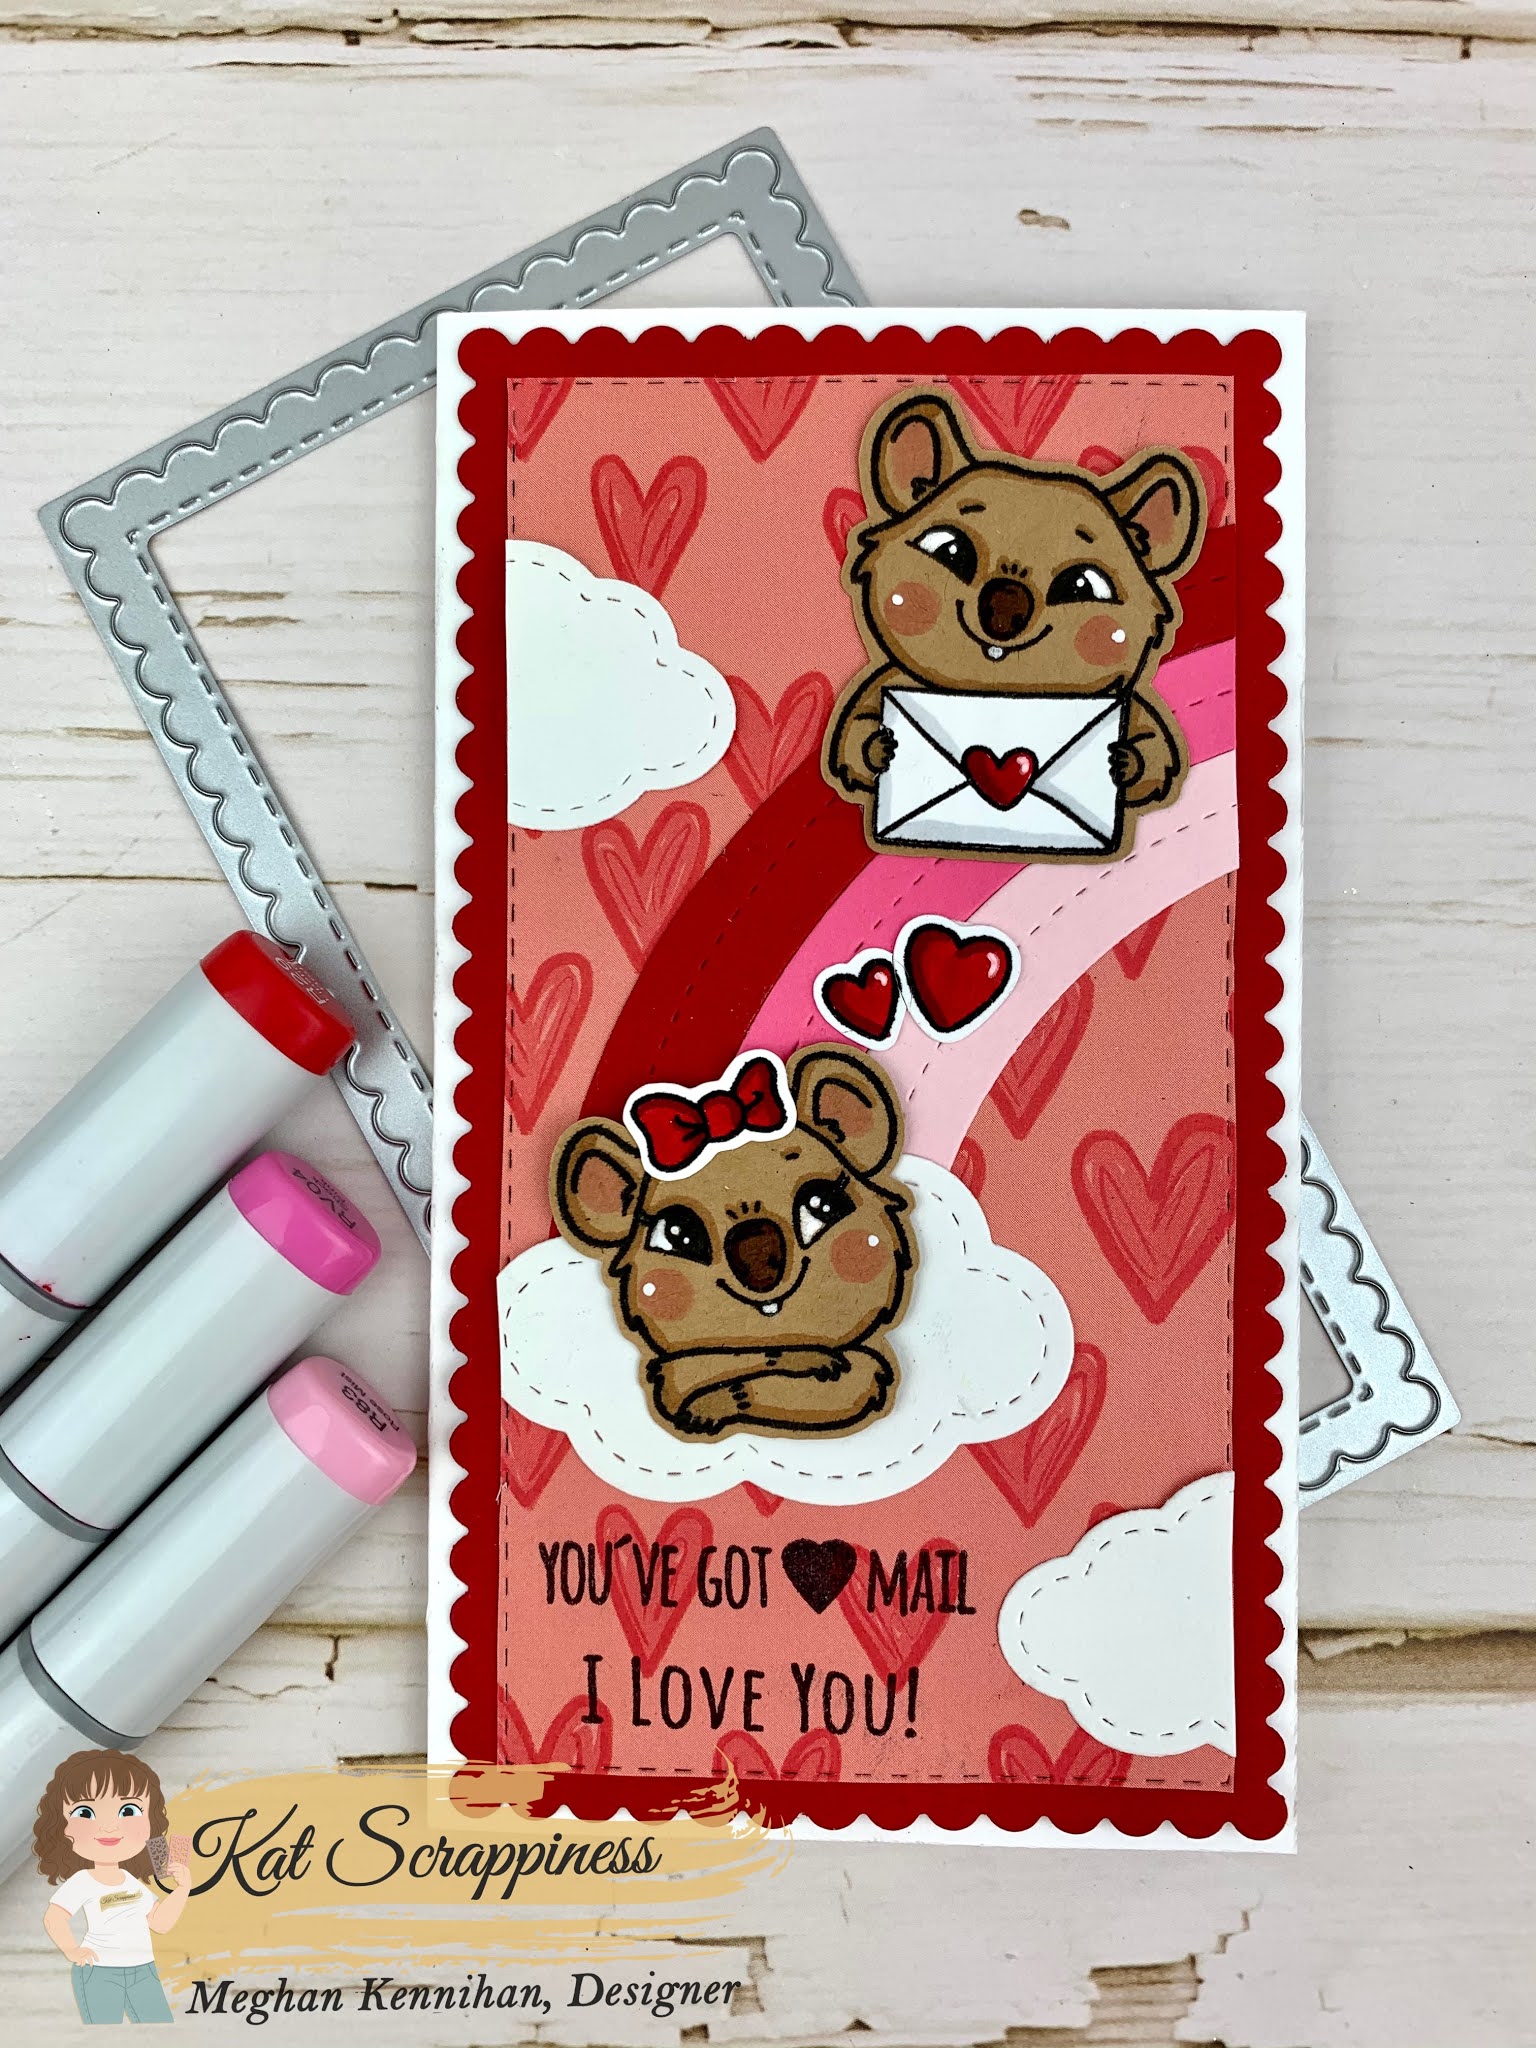
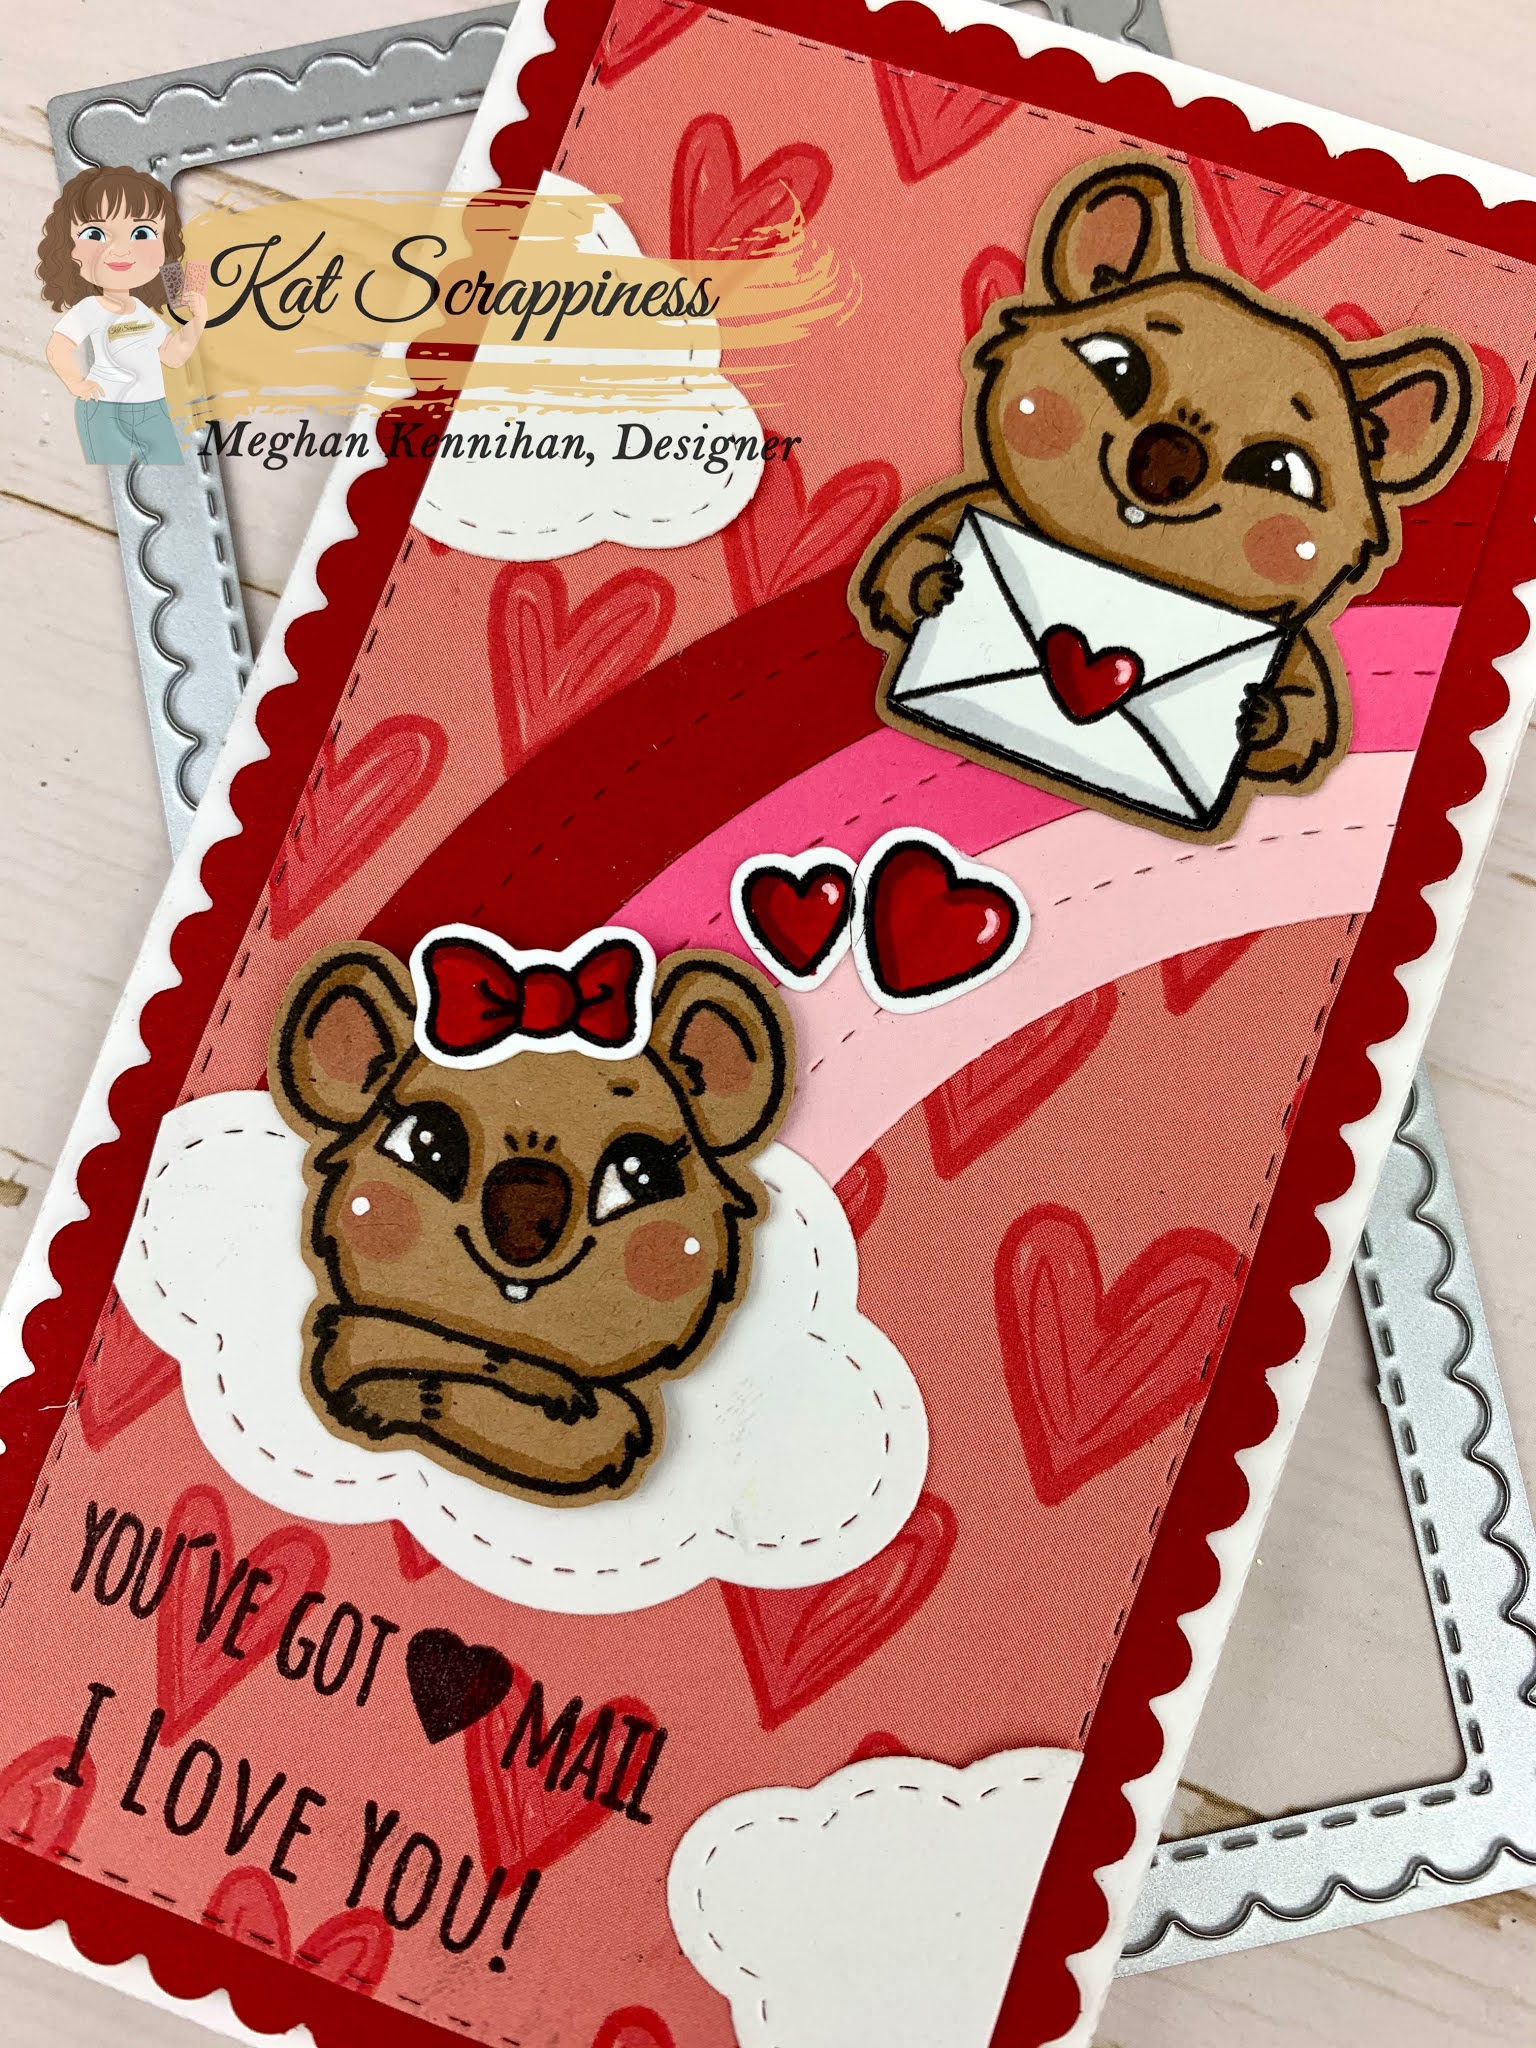
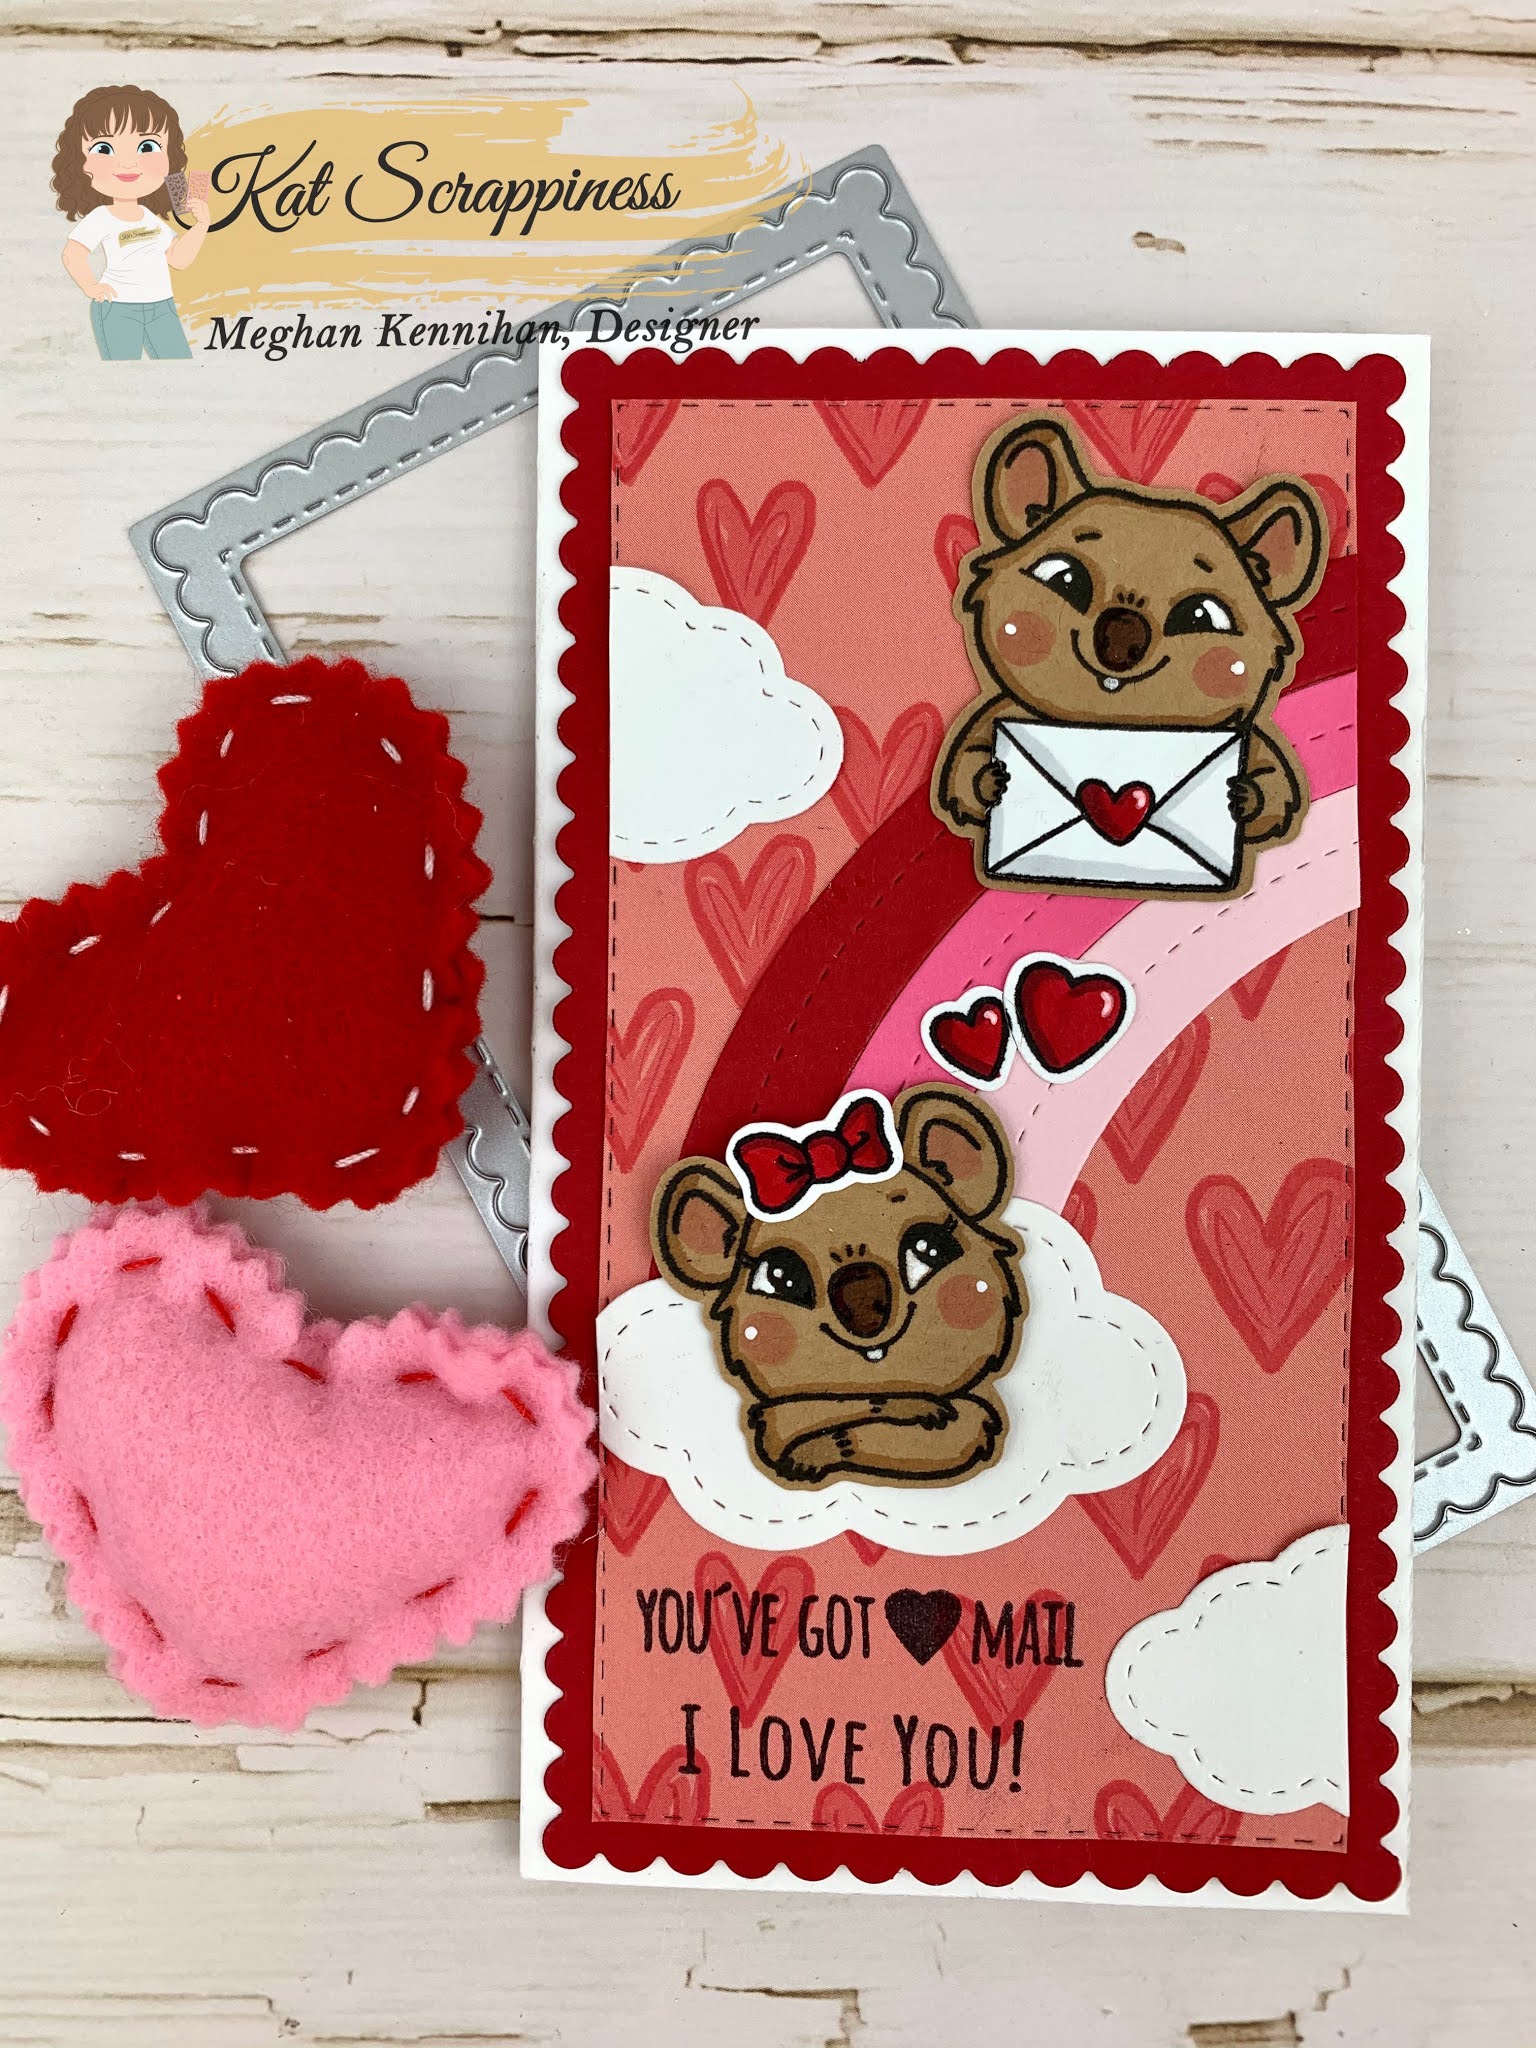
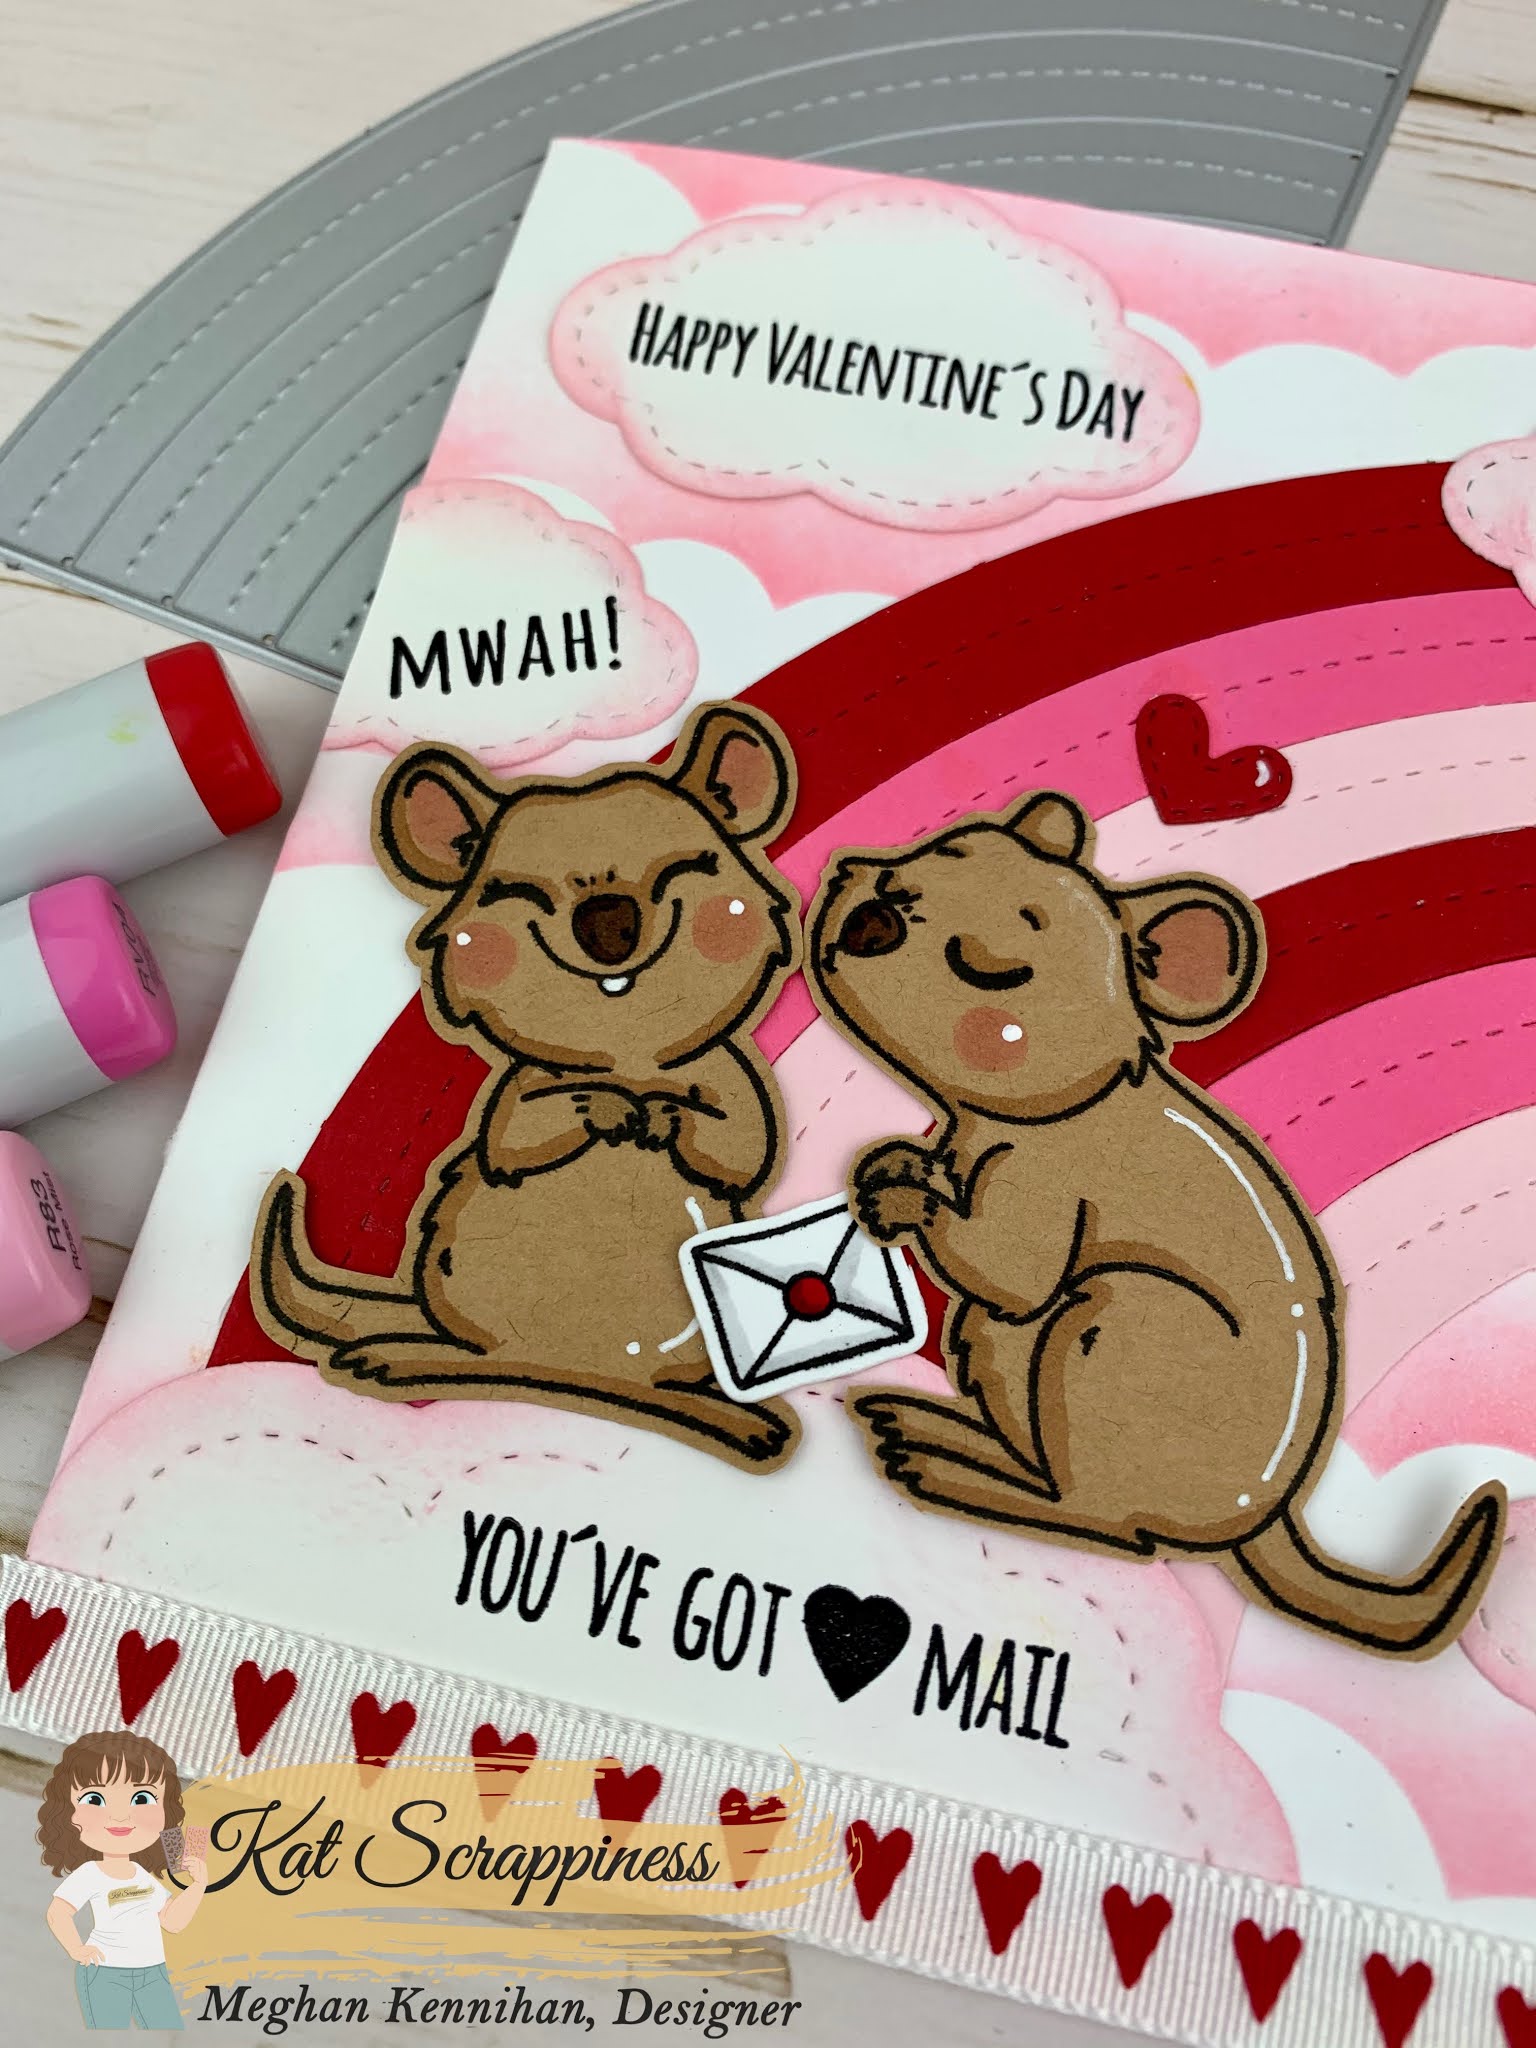
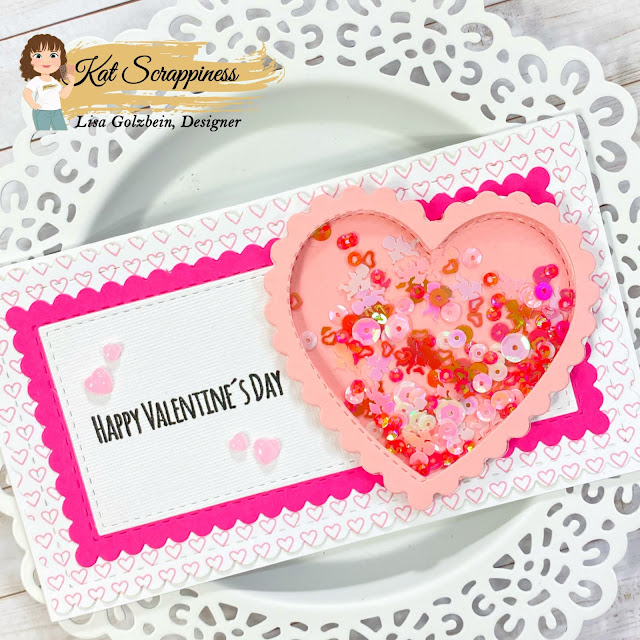
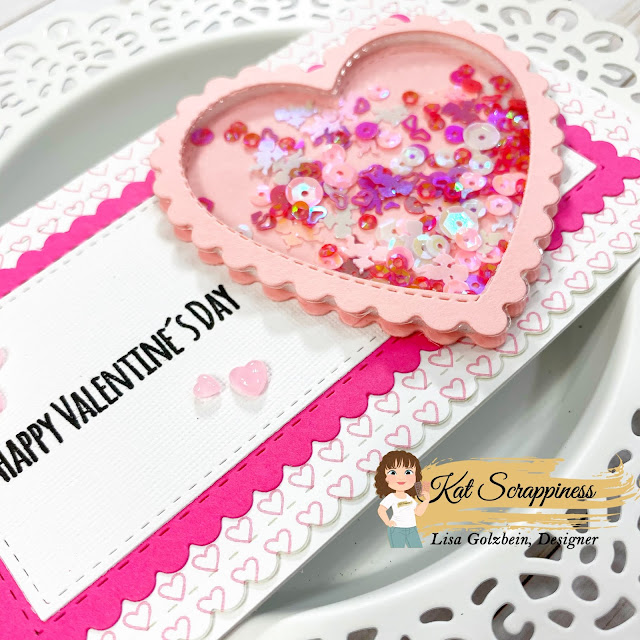
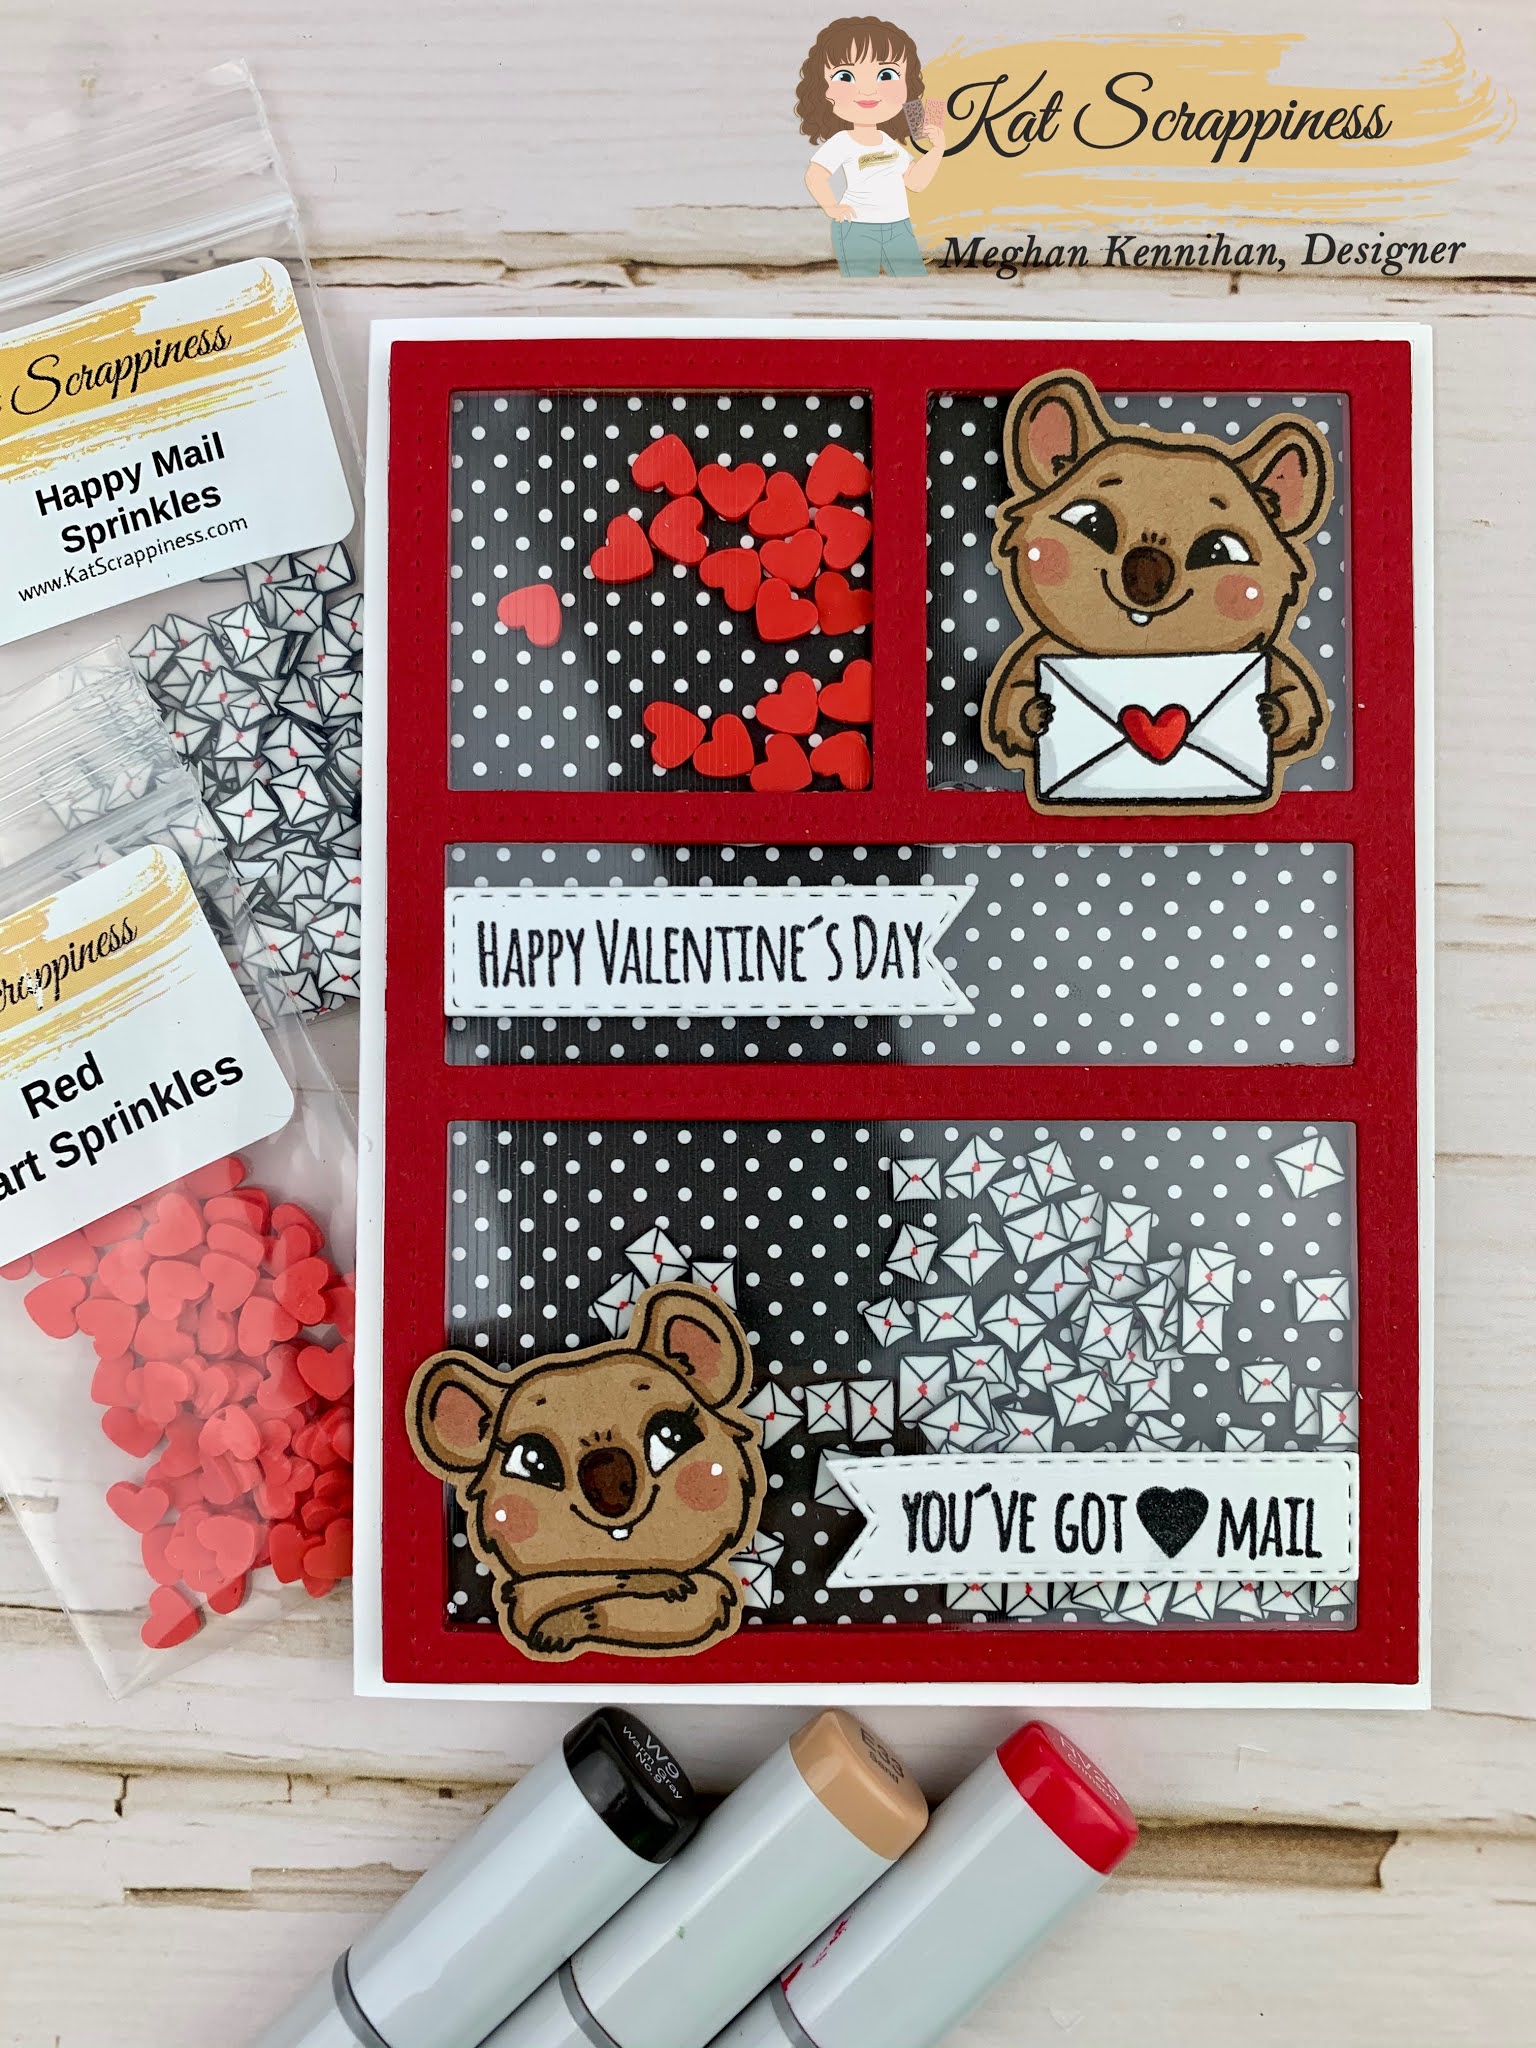
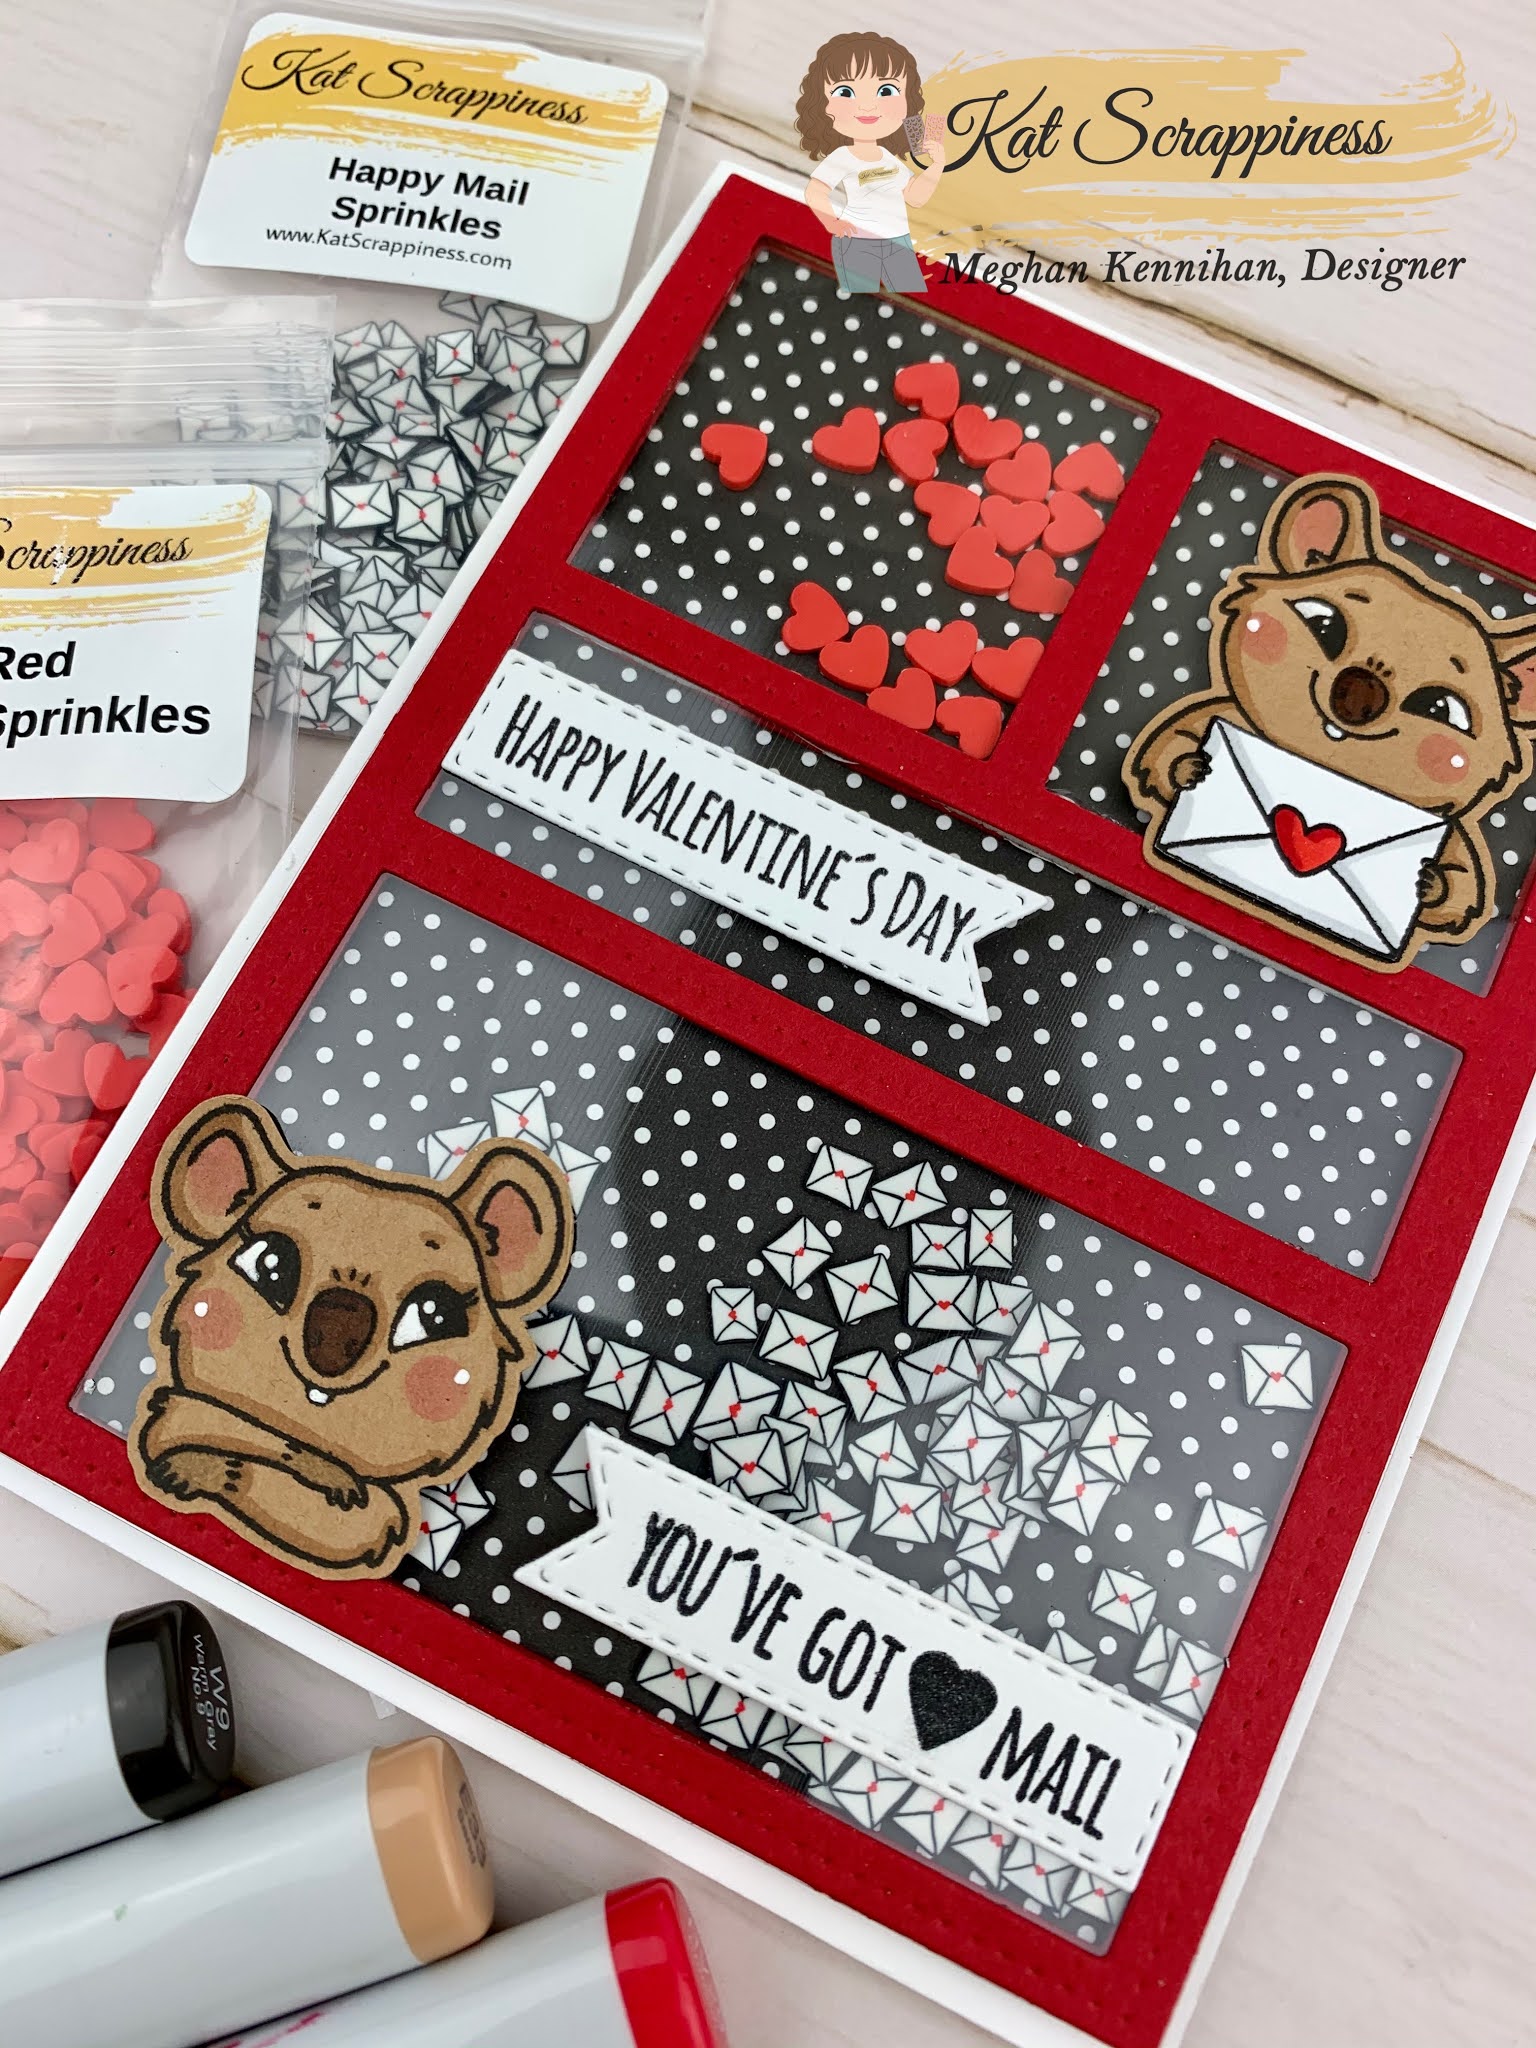
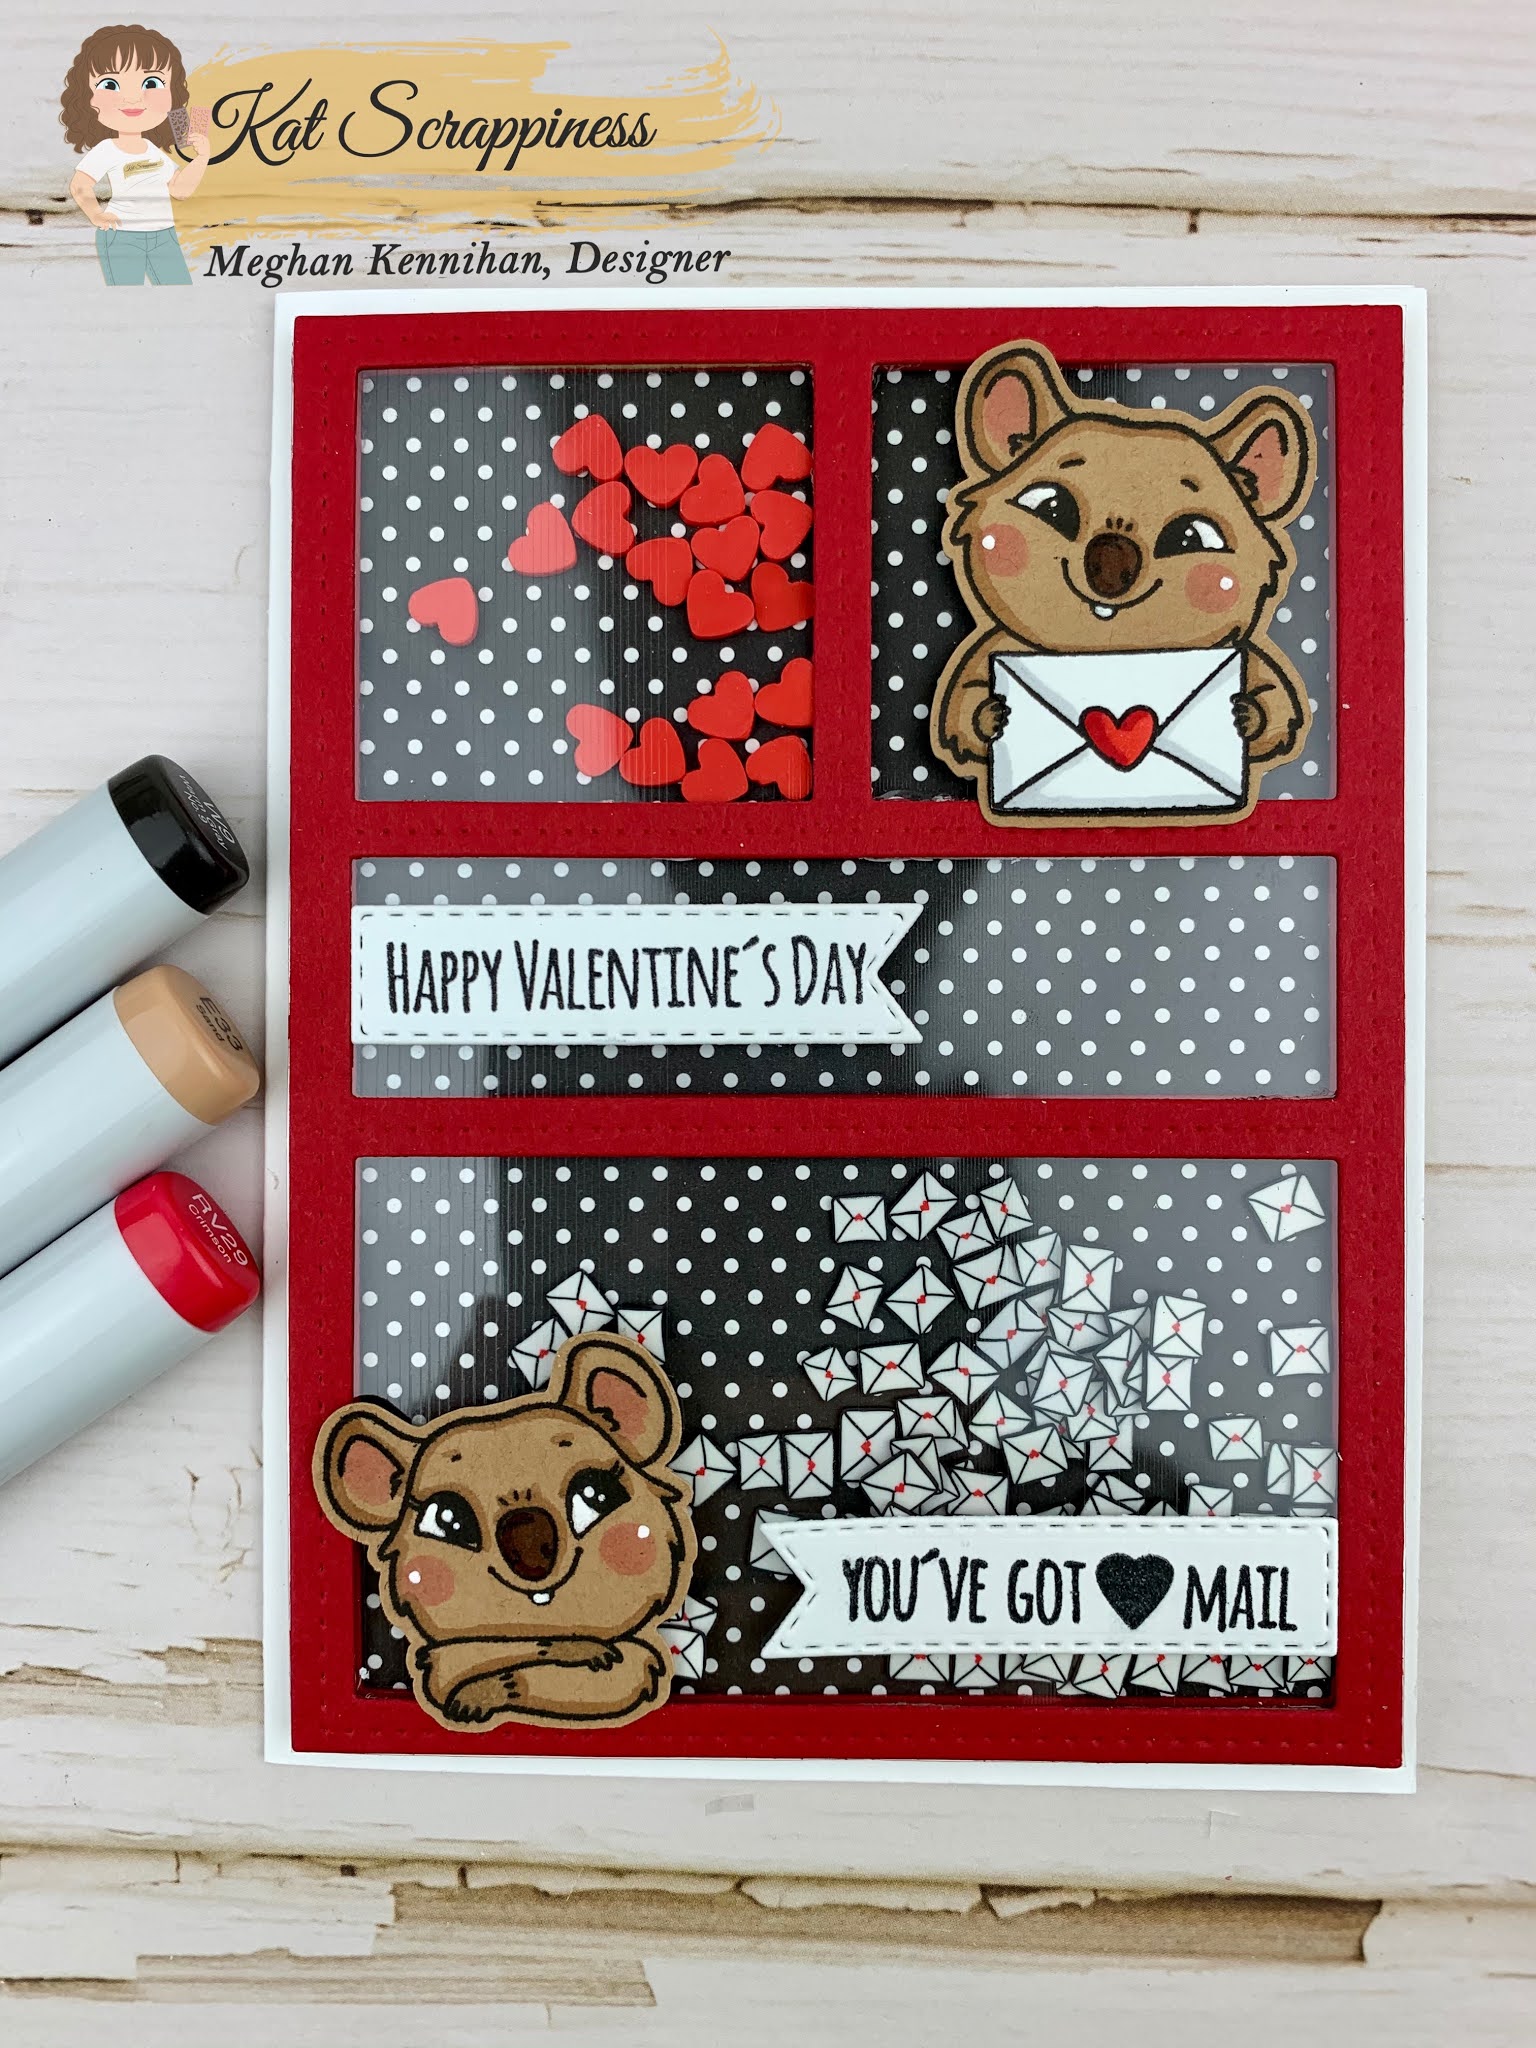
    February Card Challenge Inspiration

    I am sharing a fun shaker card to inspire you using the NEW Valentine Quokka Stamp set and NEW Happy Mail Sprinkles.

    Make Crafty Friends Q & A:
    Q: What is your favorite Valentine Heart color red or pink?
    A: Me? Red

    Please use the links below to grab your goodies, no extra cost to you and I appreciate it!

    Don’t forget to subscribe, follow, and comment on my blog for your chance to win my February Prize and for more giveaways and inspiration follow me on Instagram @MadeByMeghanK
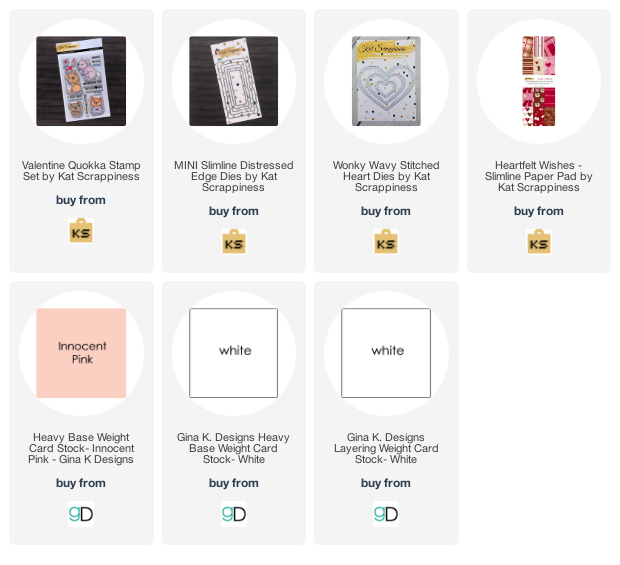
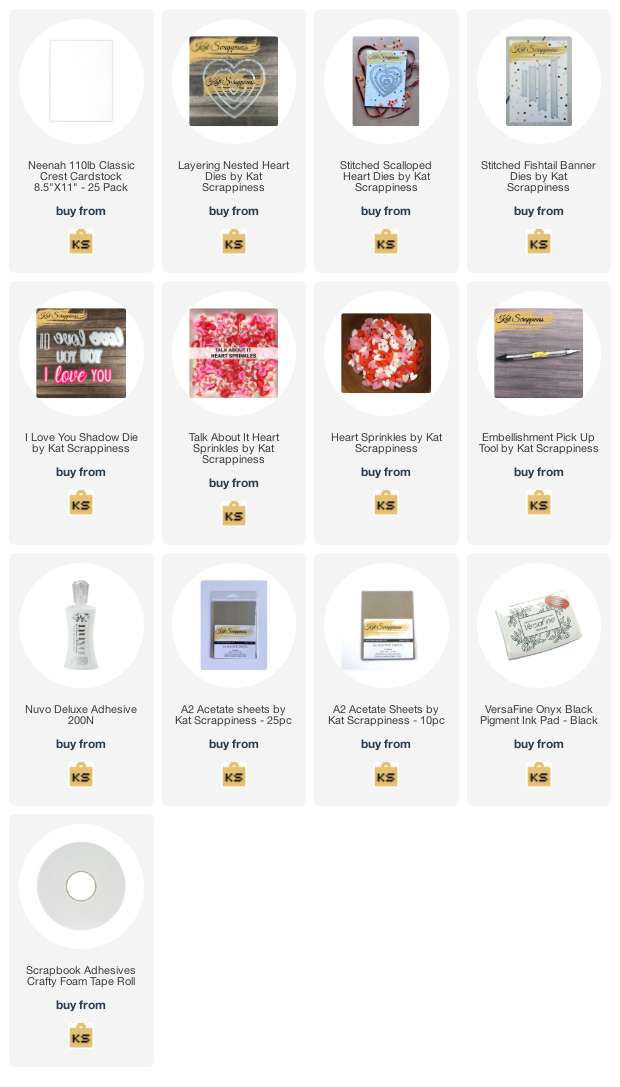
    Supplies:
    Kat Scrappiness Collage Frame Die
    Kat Scrappiness Valentine Quokka
    Kat Scrappiness Red Heart Sprinkles
    Kat Scrappiness Happy Mail Sprinkles
    Kat Scrappiness Acetate

    You are invited to the Inlinkz link party!

    Click here to enter


    Design Team Projects

    Under the Sea

    I Hello Friends!

    Today I am making a card with one of my favorite dies. It is the Under the Sea die by Kat Scrappiness. I love how it creates a beautiful back drop with so many options.

    I started this card by cutting a layer 1 in white card stock. I next color blended some blues and teals over the entire piece. Once satisfied with the color range I die cut the background. I cut a card base out of black card stock to mount the Under The Sea Background.

    Once the background was mounted I knew I needed to anchor the growing scene. I cut a piece of brown card stock free hand to create a sandy ocean floor. I dotted this sand with dark brown ink to add dimension to the sand. Now I questioned myself on what was needed to finish the scene. I knew it could use a bright color and a ‘yellow submarine ‘ came to mind. I picked out my sentiment next and embossed it in white on a black banner. Instead of fish I decided on some stingrays to complete the scene. I added some acrylic bubbles and the card was completed.

    I would suggest you use this Kat Scrappiness Die and create your own under the sea card. Enjoy your trip under the sea.

    supplies:

    ks – Under the Sea die

    ks – Acrylic Bubbles

    WOW white embossing powder

    Design Team Projects

    Love And Kisses Mini Slimline Card

    Hi everyone, it’s Tina here. When Kat Scrappiness came out with the Mini Slimline dies not long ago I found myself loving this new card size. And they work well with lots of product you already may have in your stash. Below you will find the steps to create your own Mini Slimline Card.

    Step 1 – Trim White Cardstock to 7” x 6”, score at 3 1/2” and fold in half for a vertical side fold card. (Mini Slimline)

    Step 2 – Diecut Mini Slimline Double Stitch and set aside. Diecut Heart Panel using light weight Cardstock. Place the Heart Panel diecut on top of the Double Stitch diecut to use as a stencil. Apply ink in various colors. I used Distress Oxide Inks in colors Worn Lipstick, Candied Apple, Dusty Concord. Optional – Apply Gina K GLitz Glitter for added interest and sparkle. Set aside to dry.

    Step 3 – Diecut Mini Slimline Scalloped Edge using White Cardstock. Apply Distress Oxide Worn Lipstick to the edges. Adhere to card using Nuvo Deluxe Adhesive. Adhere the Panel created from Step 2 using Nuvo Deluxe Adhesive.

    Step 4 – Diecut Layering Nested Hearts using Red Cardstock x 2. Score the middle of the heart and adhere to card sideways using Foam Tape. This will create lips.

    Step 5 – Diecut I Love You With Shadow die (word Love only) using Black Cardstock x 3. Adhere each layer and then adhere to the card using Nuvo Deluxe Adhesive.

    Step 6 – Stamp sentiment from your stash using Versafine Onyx Black Ink on White Cardstock. Trim out the sentiment and adhere to card using Nuvo Deluxe Adhesive.

    This card can be used for several occasions because I didn’t use the words Happy Valentine’s. Below you will find the link to all the products used. Thank you for stopping by and Happy Crafting!

    Products Used:

    https://linkdeli.com/widget.js?id=f5e8378456858c916708

    Giveaways

    KS January Release Winner


    Hello everyone and apologies for the delay.  Here’s our winner randomly picked through Random.Org for the January Release.  Thank you all for taking the time to leave a comment.   We love getting your feedback.

    If you didn’t win this time, come back next month for our New Release and we will have a giveaway again!  The next release will be epic!

    Please claim your prize within 48 hours and send an email indicating what you’ve won to: winners@katscrappiness.com

    Have a wonderful day!