Follow:
    Design Team Projects

    Bright Bold Slimline Sky Scenes

    Hi Crafty Friends,
    I’m sharing more inspiration using  Kat Scrappiness NEW Spring Release! I LOVE the new Slimline Cloud Dies. I made TWO cards using them. One features the NEW Gerda Steiner Hello Sunshine Stamp in store and the other is an explosion of pink!

    Make Crafty Friends Q & A:
    Q: Is it sunny where you are today?
    A: Me? Yep! Spring is finally here!

    Card #1: Happy Birthday Sunshine

    Card #2: Show Your Wings

    I would be so grateful if you use the affiliate links below to grab your Kat Scrappiness Goodies! No extra cost to you!

    Don’t forget to subscribe, follow, and comment on my blog for your chance to win my April Prize and for more giveaways and inspiration follow me on Instagram @MadeByMeghanK

    Supplies:
    Kat Scrappiness Slimline Cloud Dies
    Kat Scrappiness Slimline Tri Frame Dies
    Kat Scrappiness Slimline Double Stitched Rectangle Dies
    Kat Scrappiness Gerda Steiner Hello Sunshine Stamp Set
    Kat Scrappiness Stitched Flag Banner Dies
    Kat Scrappiness Enamel Dots

    Design Team Projects

    Rainbow Birthday

    If you’re like me,  you always need birthday cards in your stash.  I wanted to create something happy, yet a different type of birthday card that could be used for anyone!

    For my slimline card, I first cut light blue cardstock with one of the Never Ending Nesting dies and adhered to the card base.  I then cut two cloud borders from white cardstock using the Slimline Stitched Cloud Border Die Set for the top and bottom of the card.  Taking the Slimline Rainbow Die Set, I cut different, brightly colored cardstock and wove the rainbow through the clouds.  Cutting black cardstock with the Happy Birthday word die, I added the diecut to the corner of the card.  To finish, I added the light blue stars cut from the die included in the Slimline Rainbow Die Set and then some clear sequins.


    https://linkdeli.com/widget.js?id=f5e8378456858c916708

    Design Team Projects

    Quokka’n Up!

    Hello everyone!

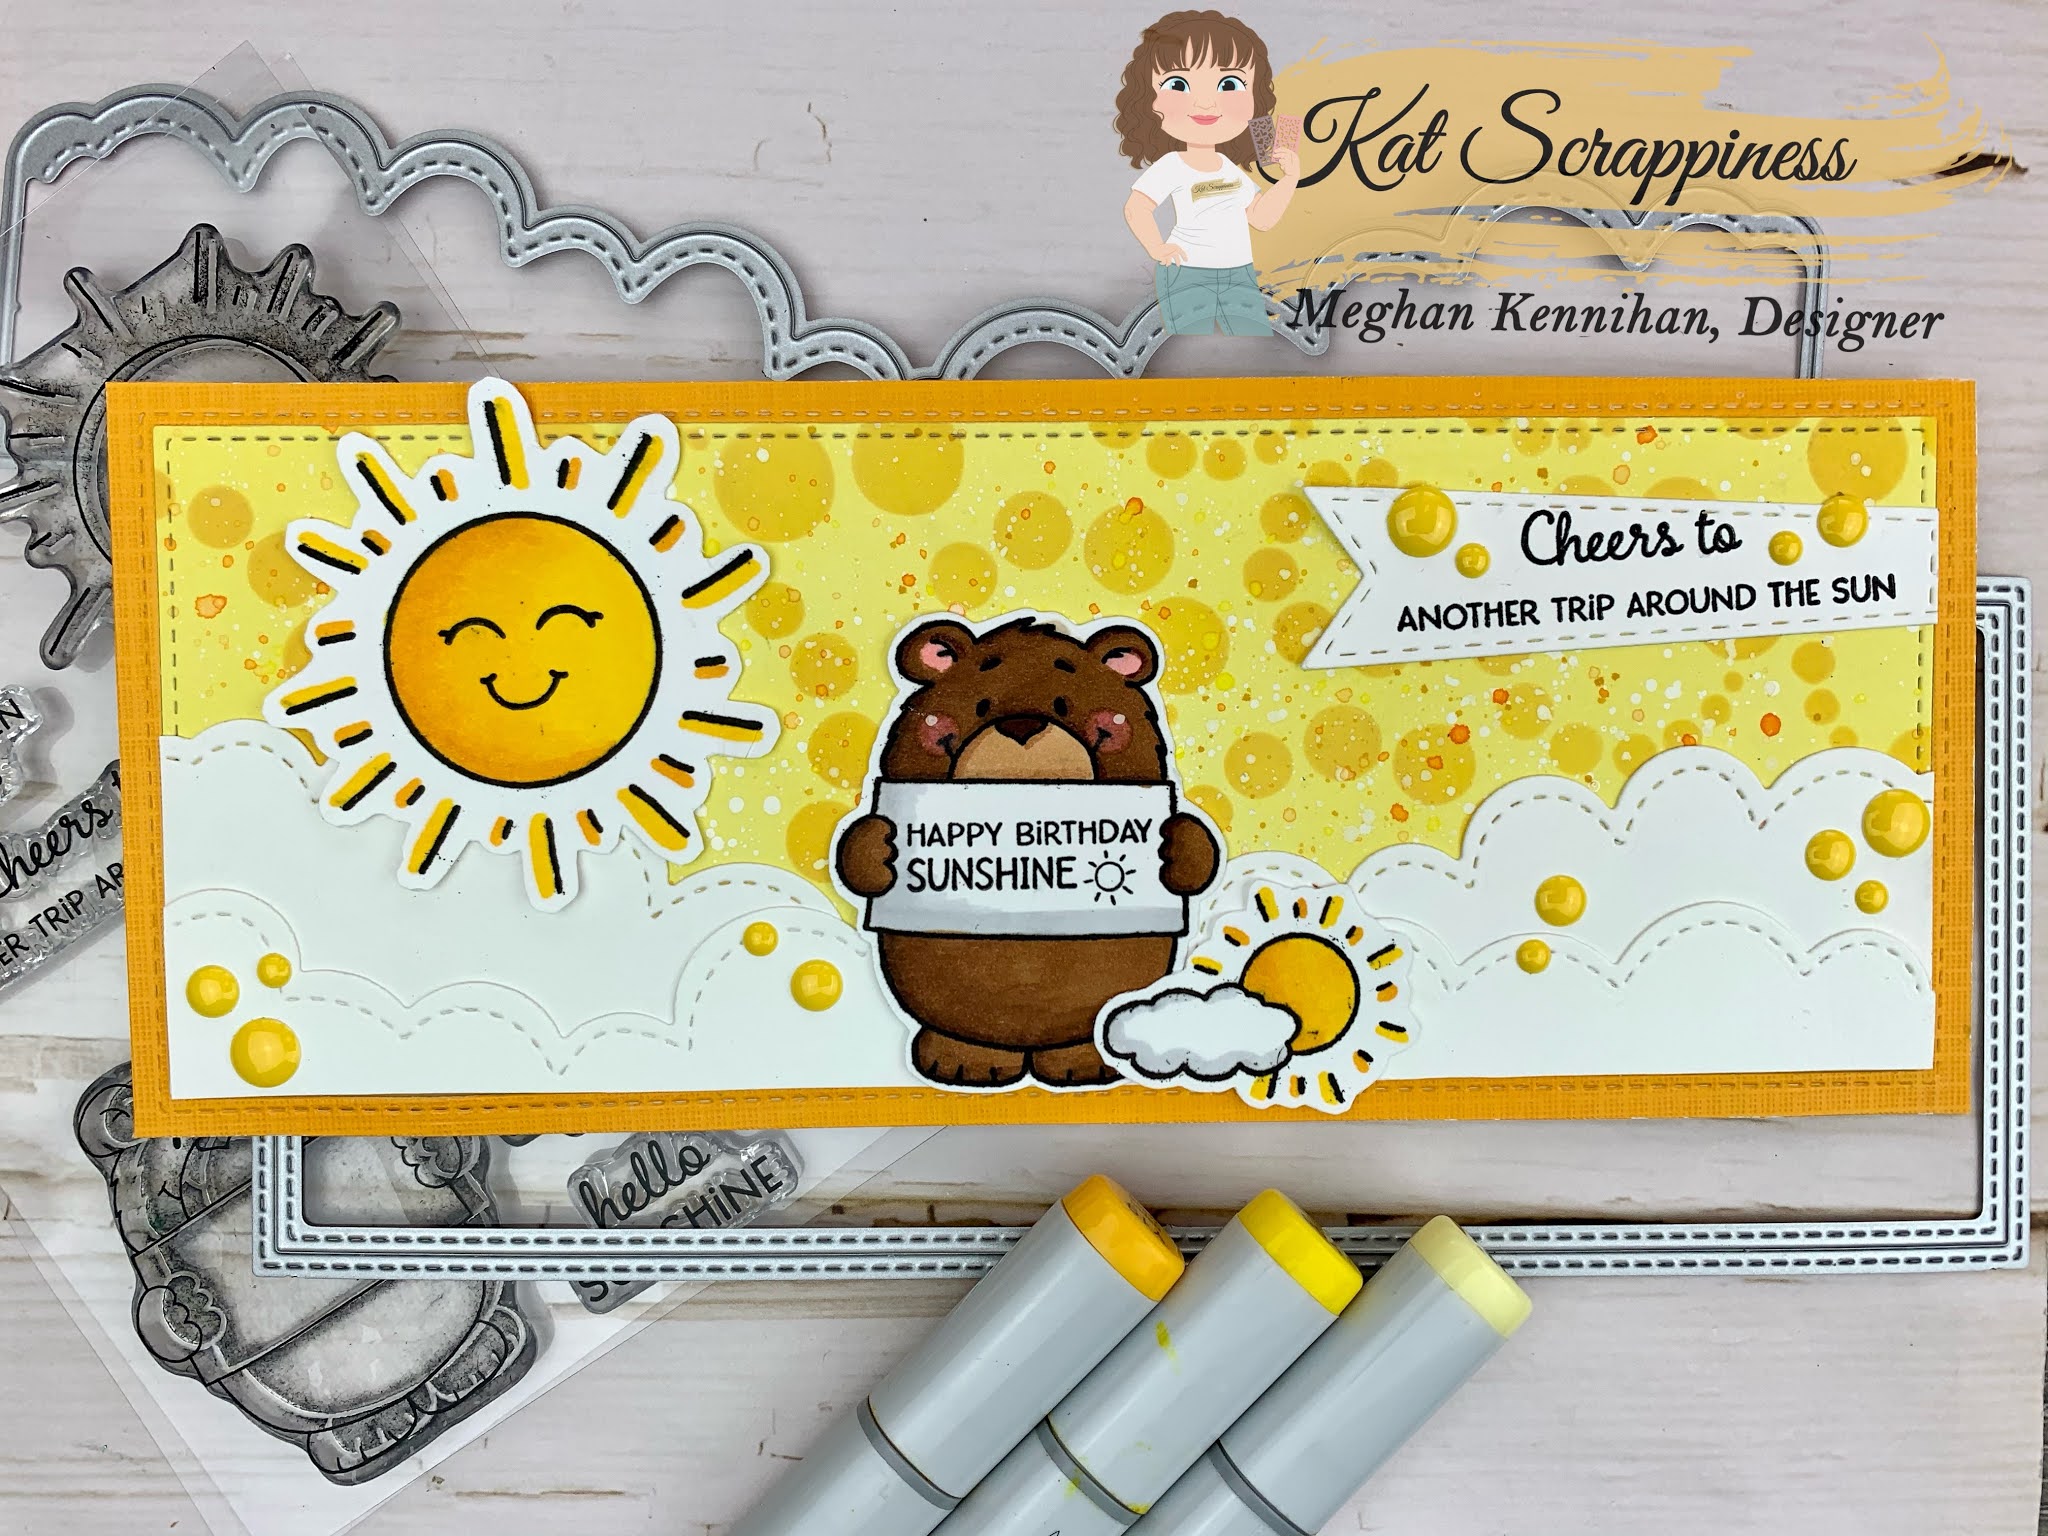
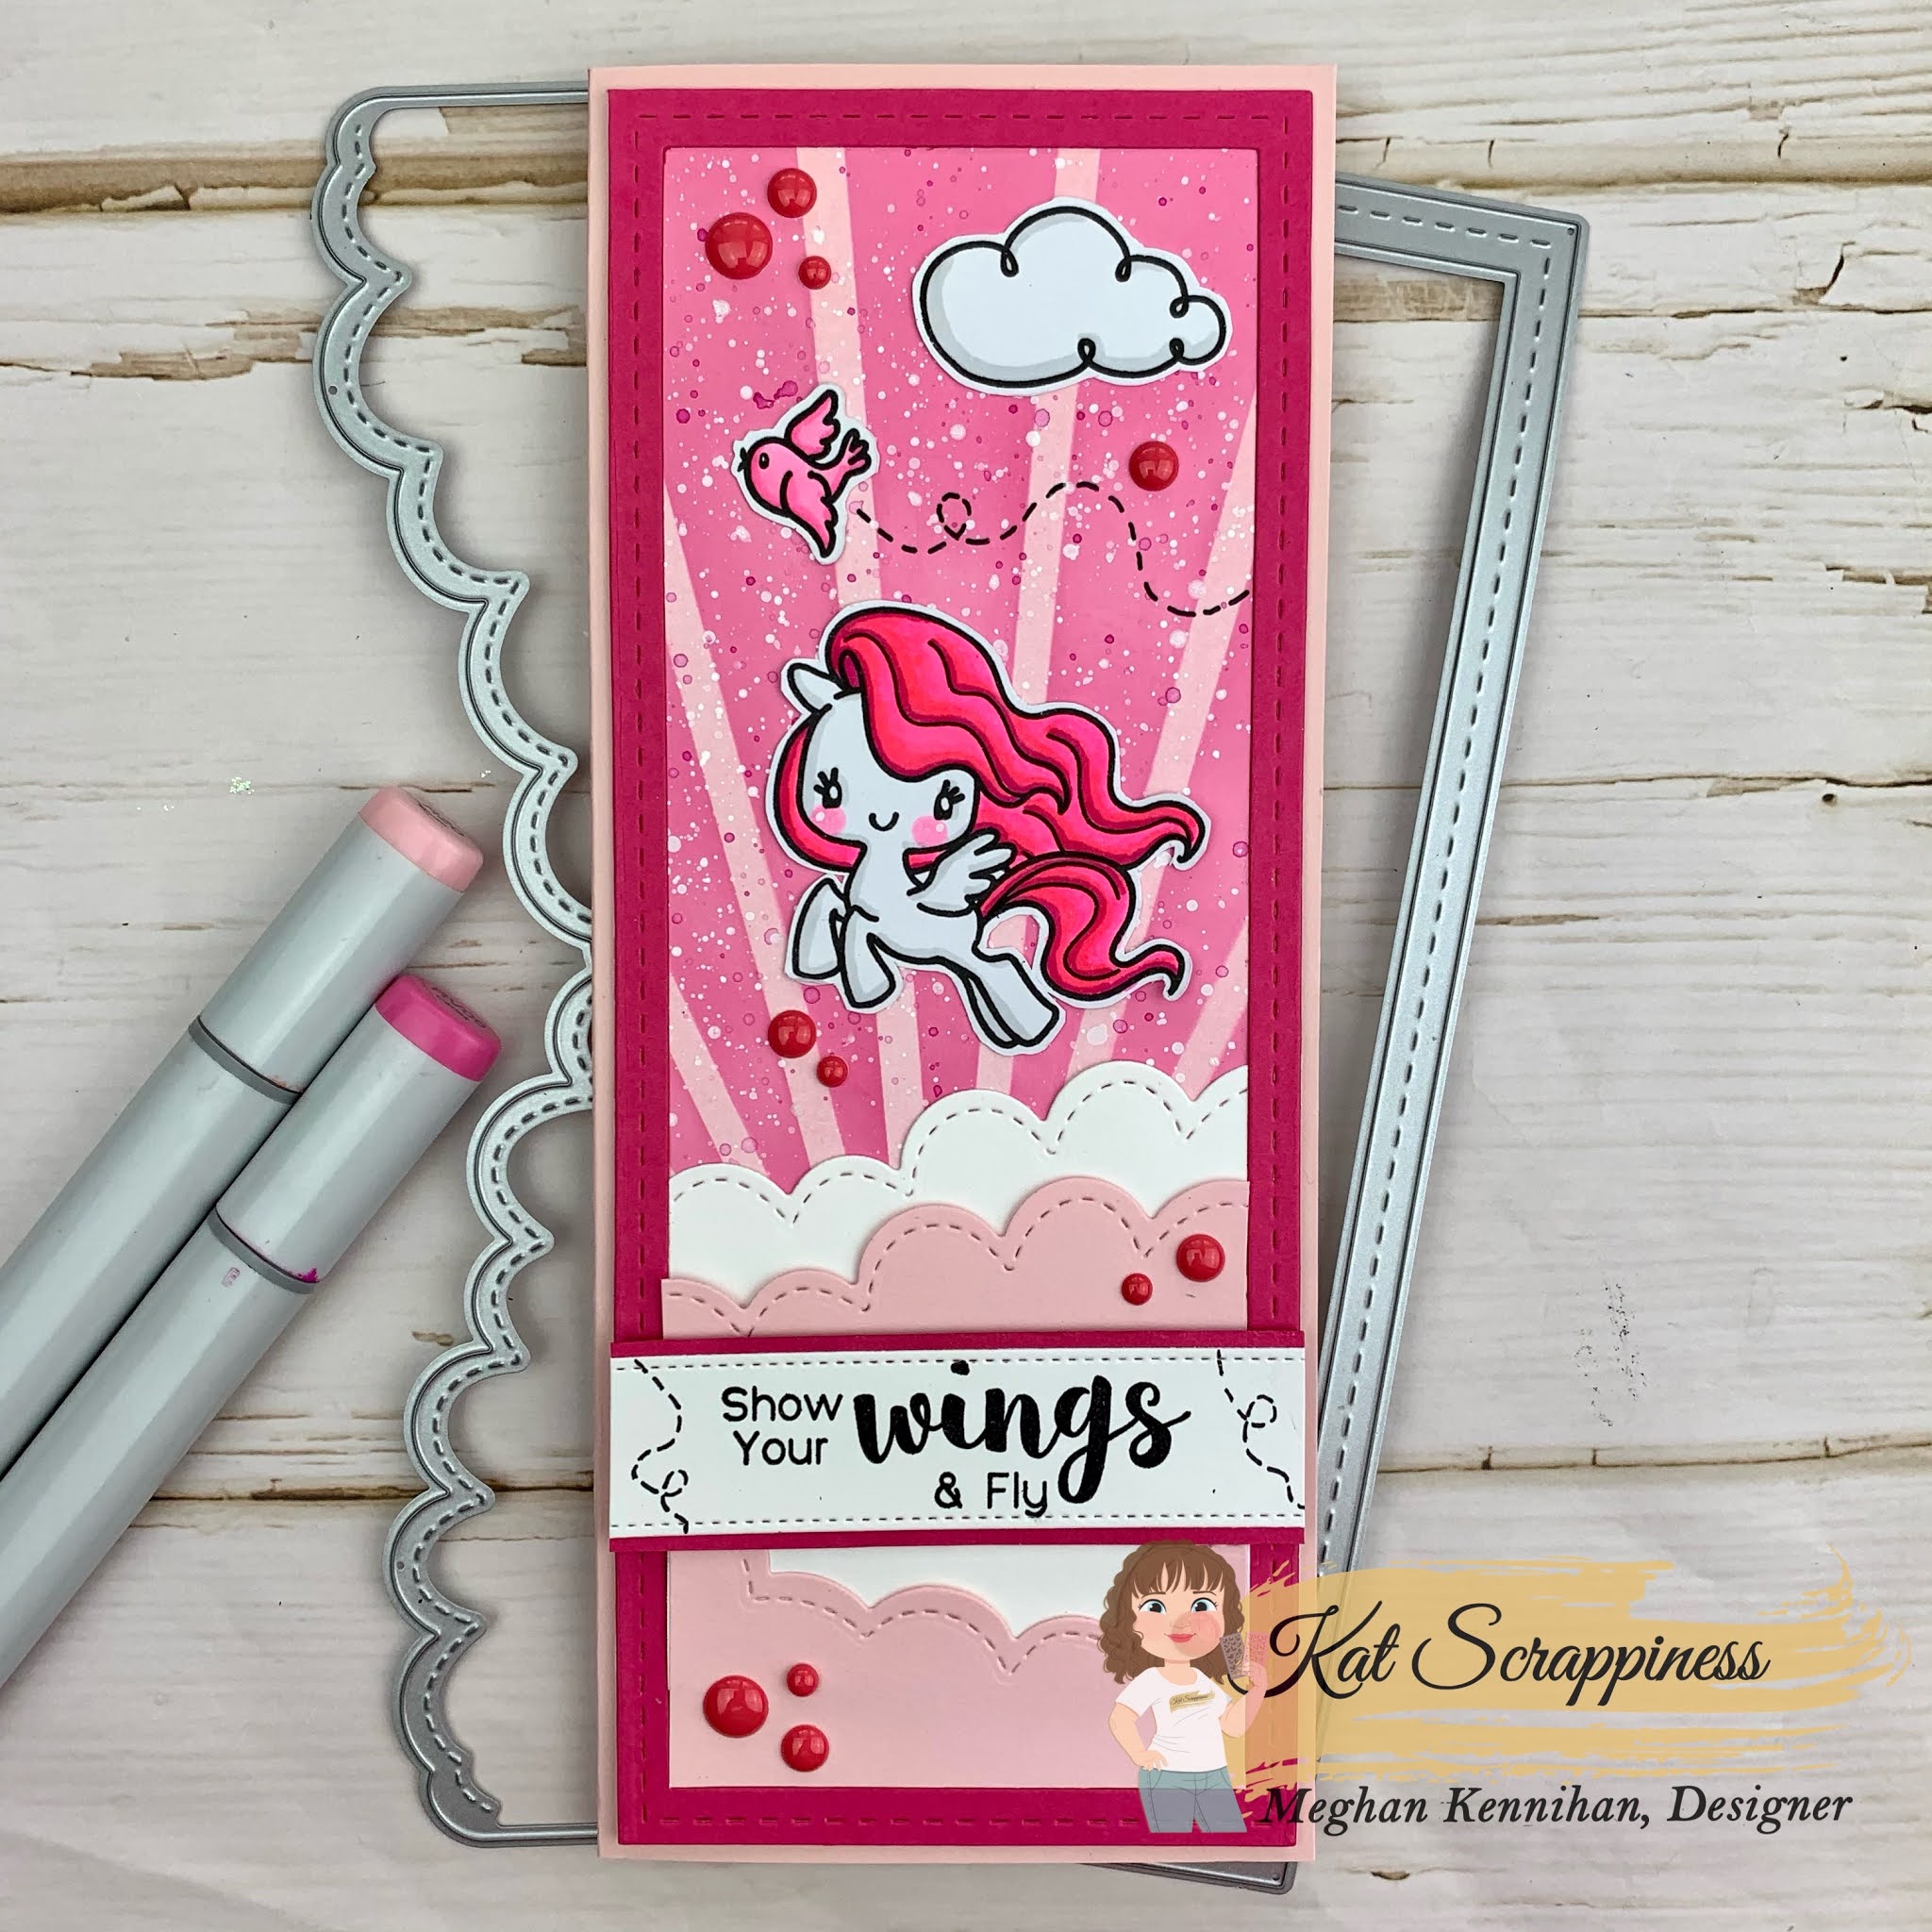
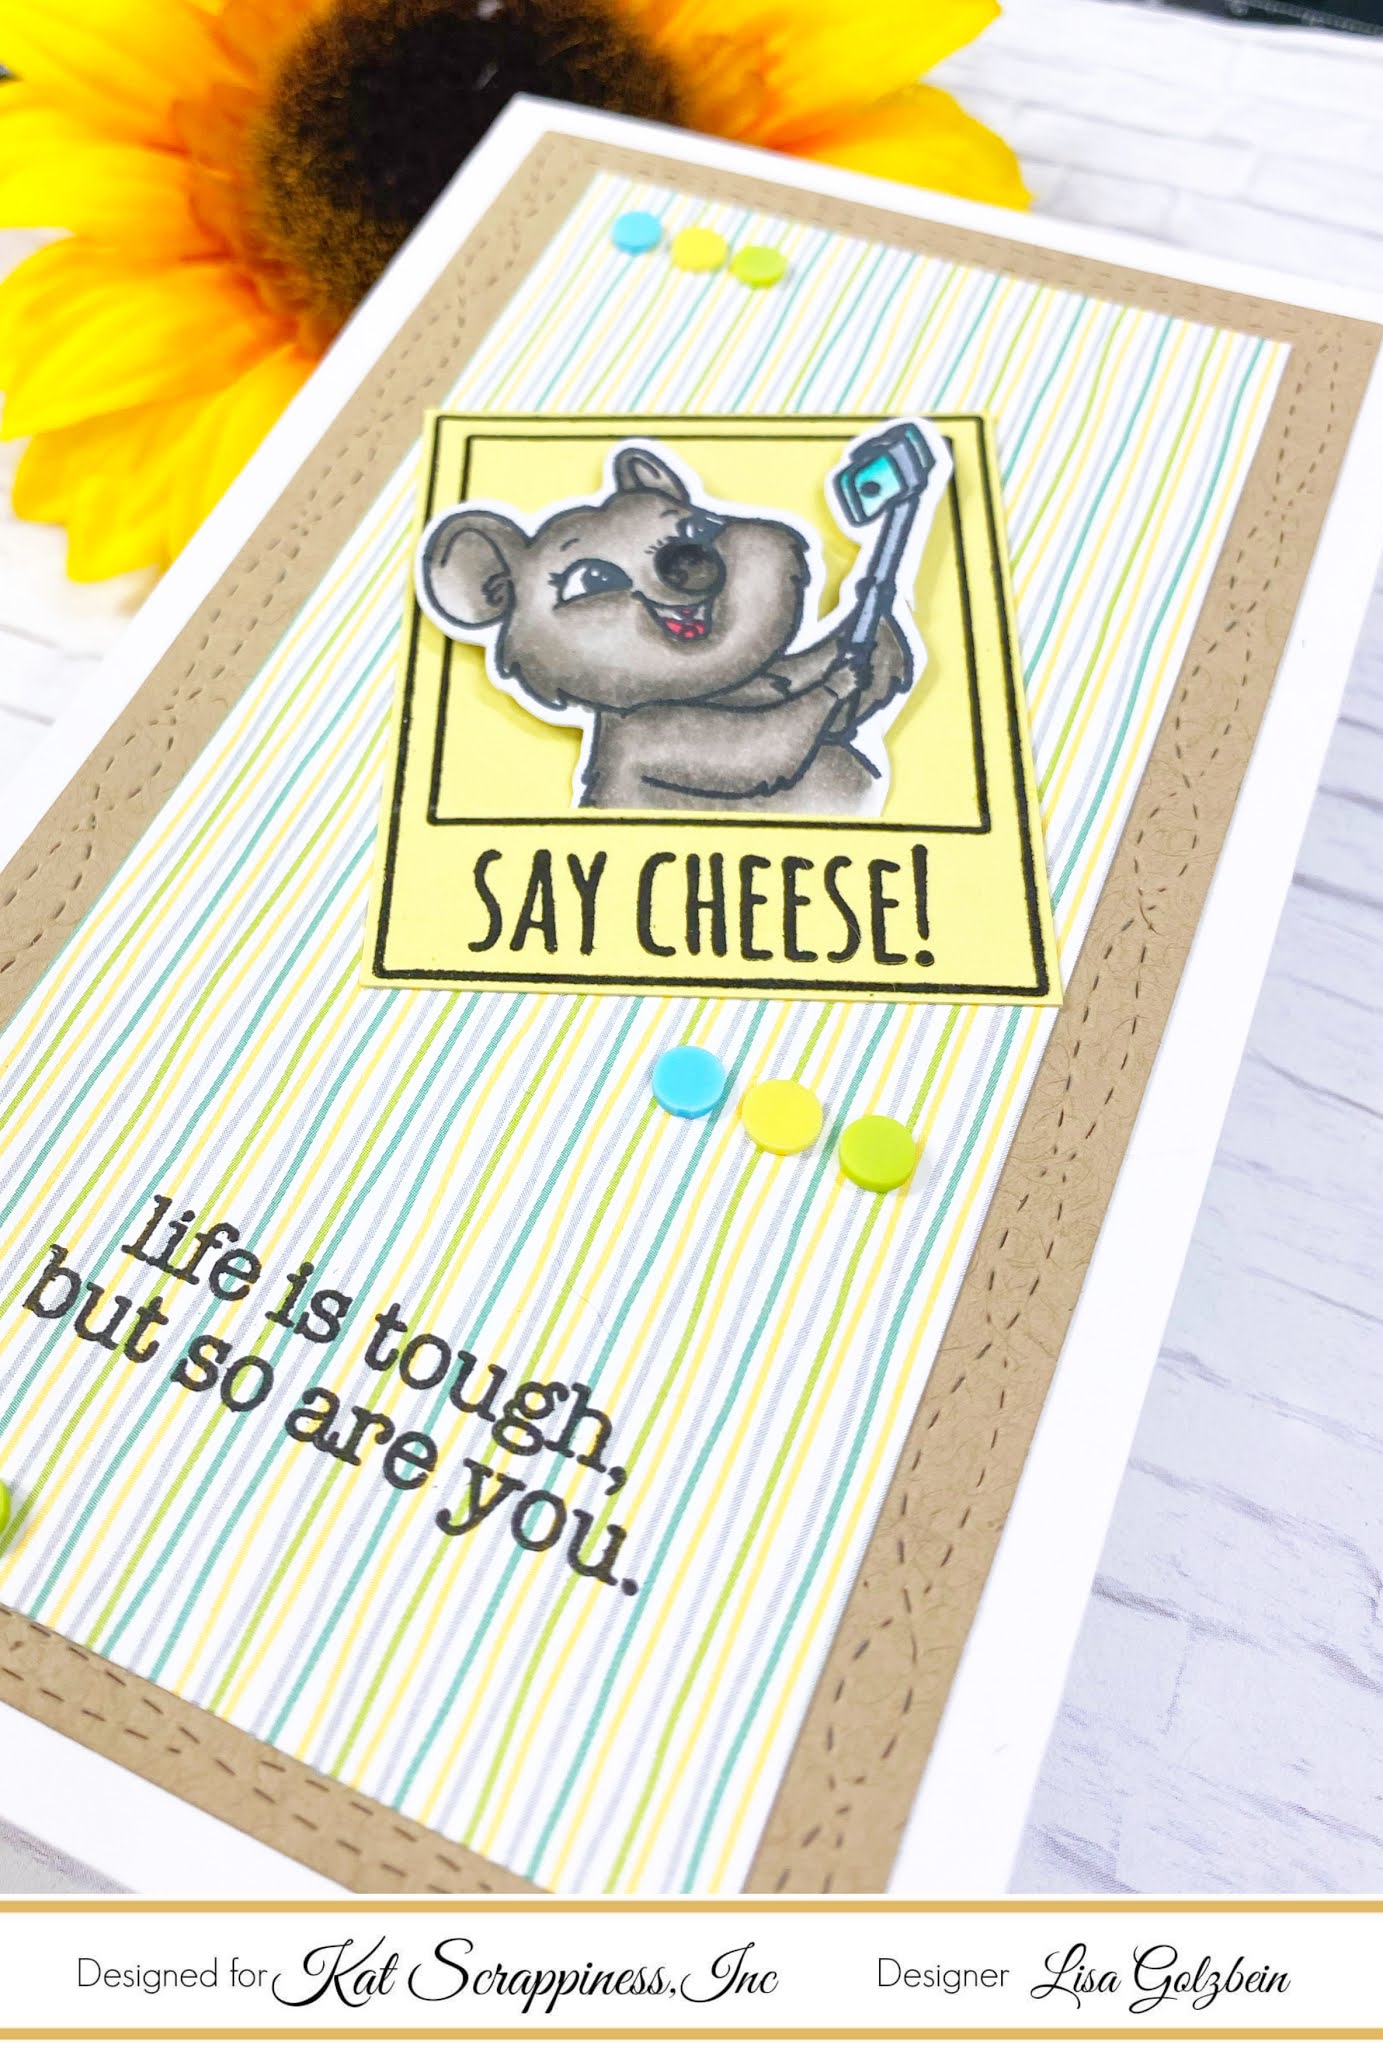
    It’s Donna here sharing this adorable slimline card I created using the Kat Scrappiness Stitched Peek-a-boo slimline die.  The stamp set I am using is the Kat Scrappiness Quokka’n Up stamp set.

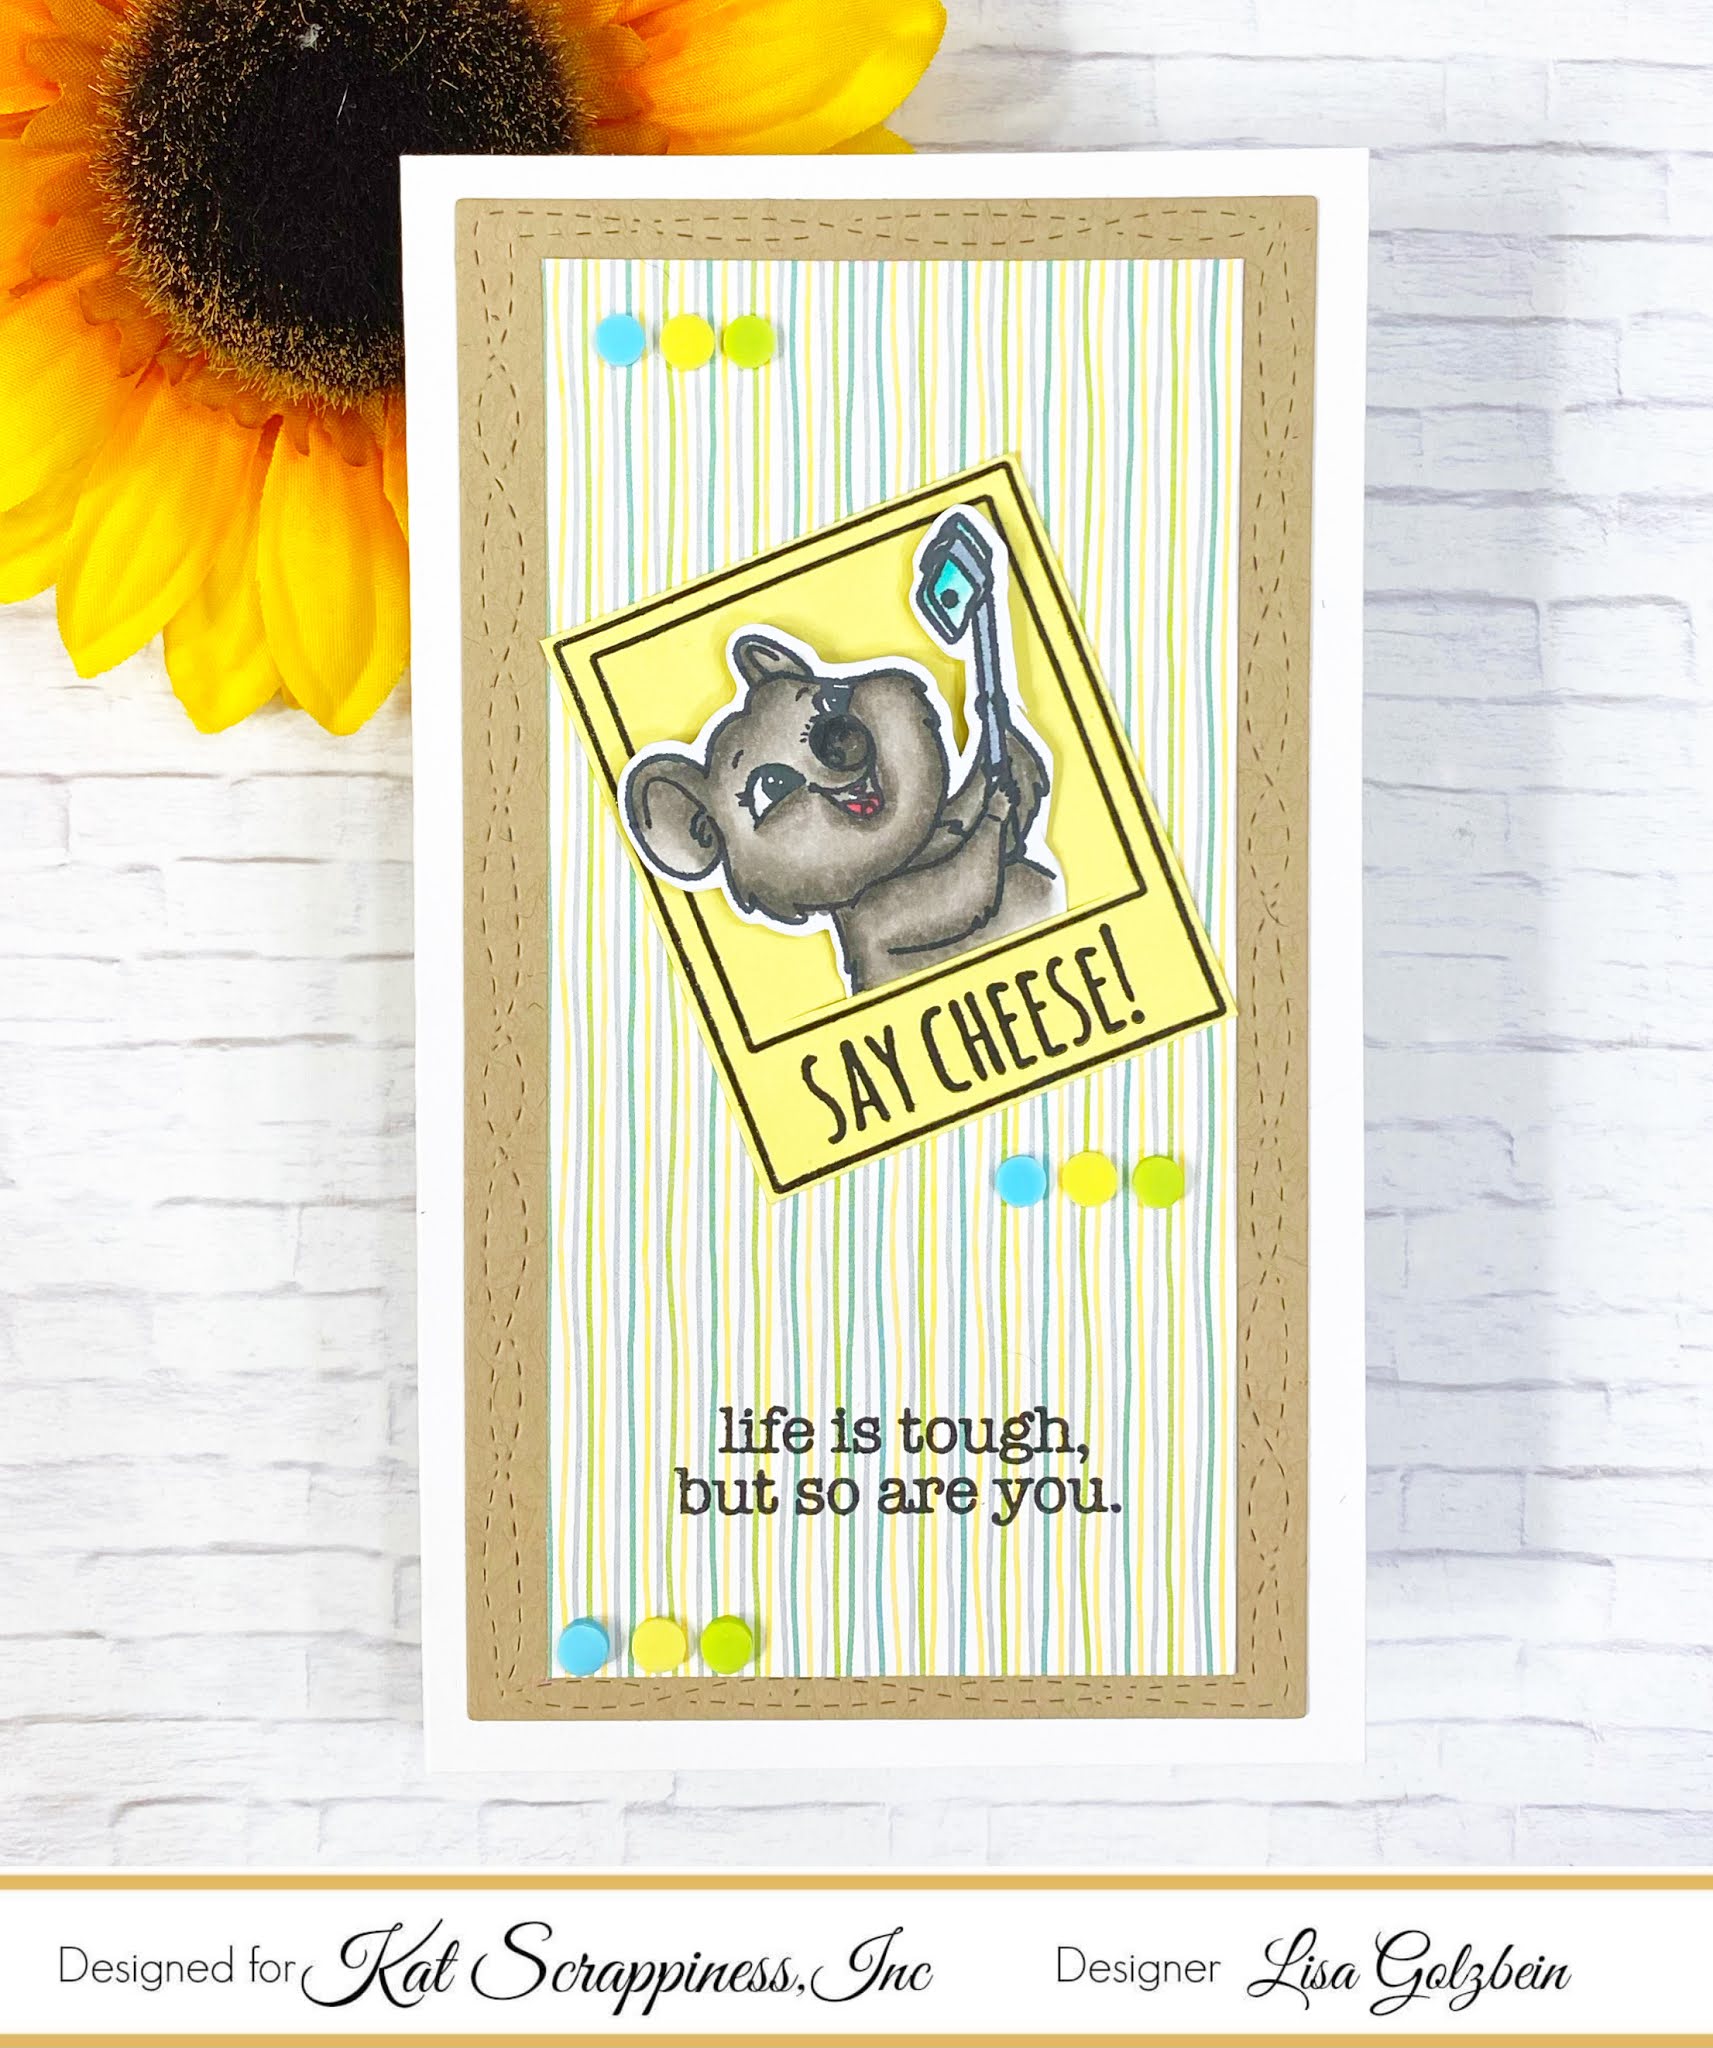
    My slimline card measures 3 1/2 x 8 1/4, I die cut the Stitched Peek-a-boo slimline die using Kat Scrappiness Heartfelt Wishes slimline pattern paper. I decided not to have use the peek-a-boo part of the die, I wanted these cut quokka’s standing in front.  I added some solid cardstock behind the panel and adhered it to the base of my card.  I stamped the quokka’s from the Kat Scrappiness Quokka’n Up stamp set and colored them with copics.  I then heat embossed the sentiments from the  Kat Scrappiness Quokka’n Up stamp set and used foam squares to pop them up onto my card.  To finish off my card, I used the Kat Scrappiness Heart Sprinkles to the card.
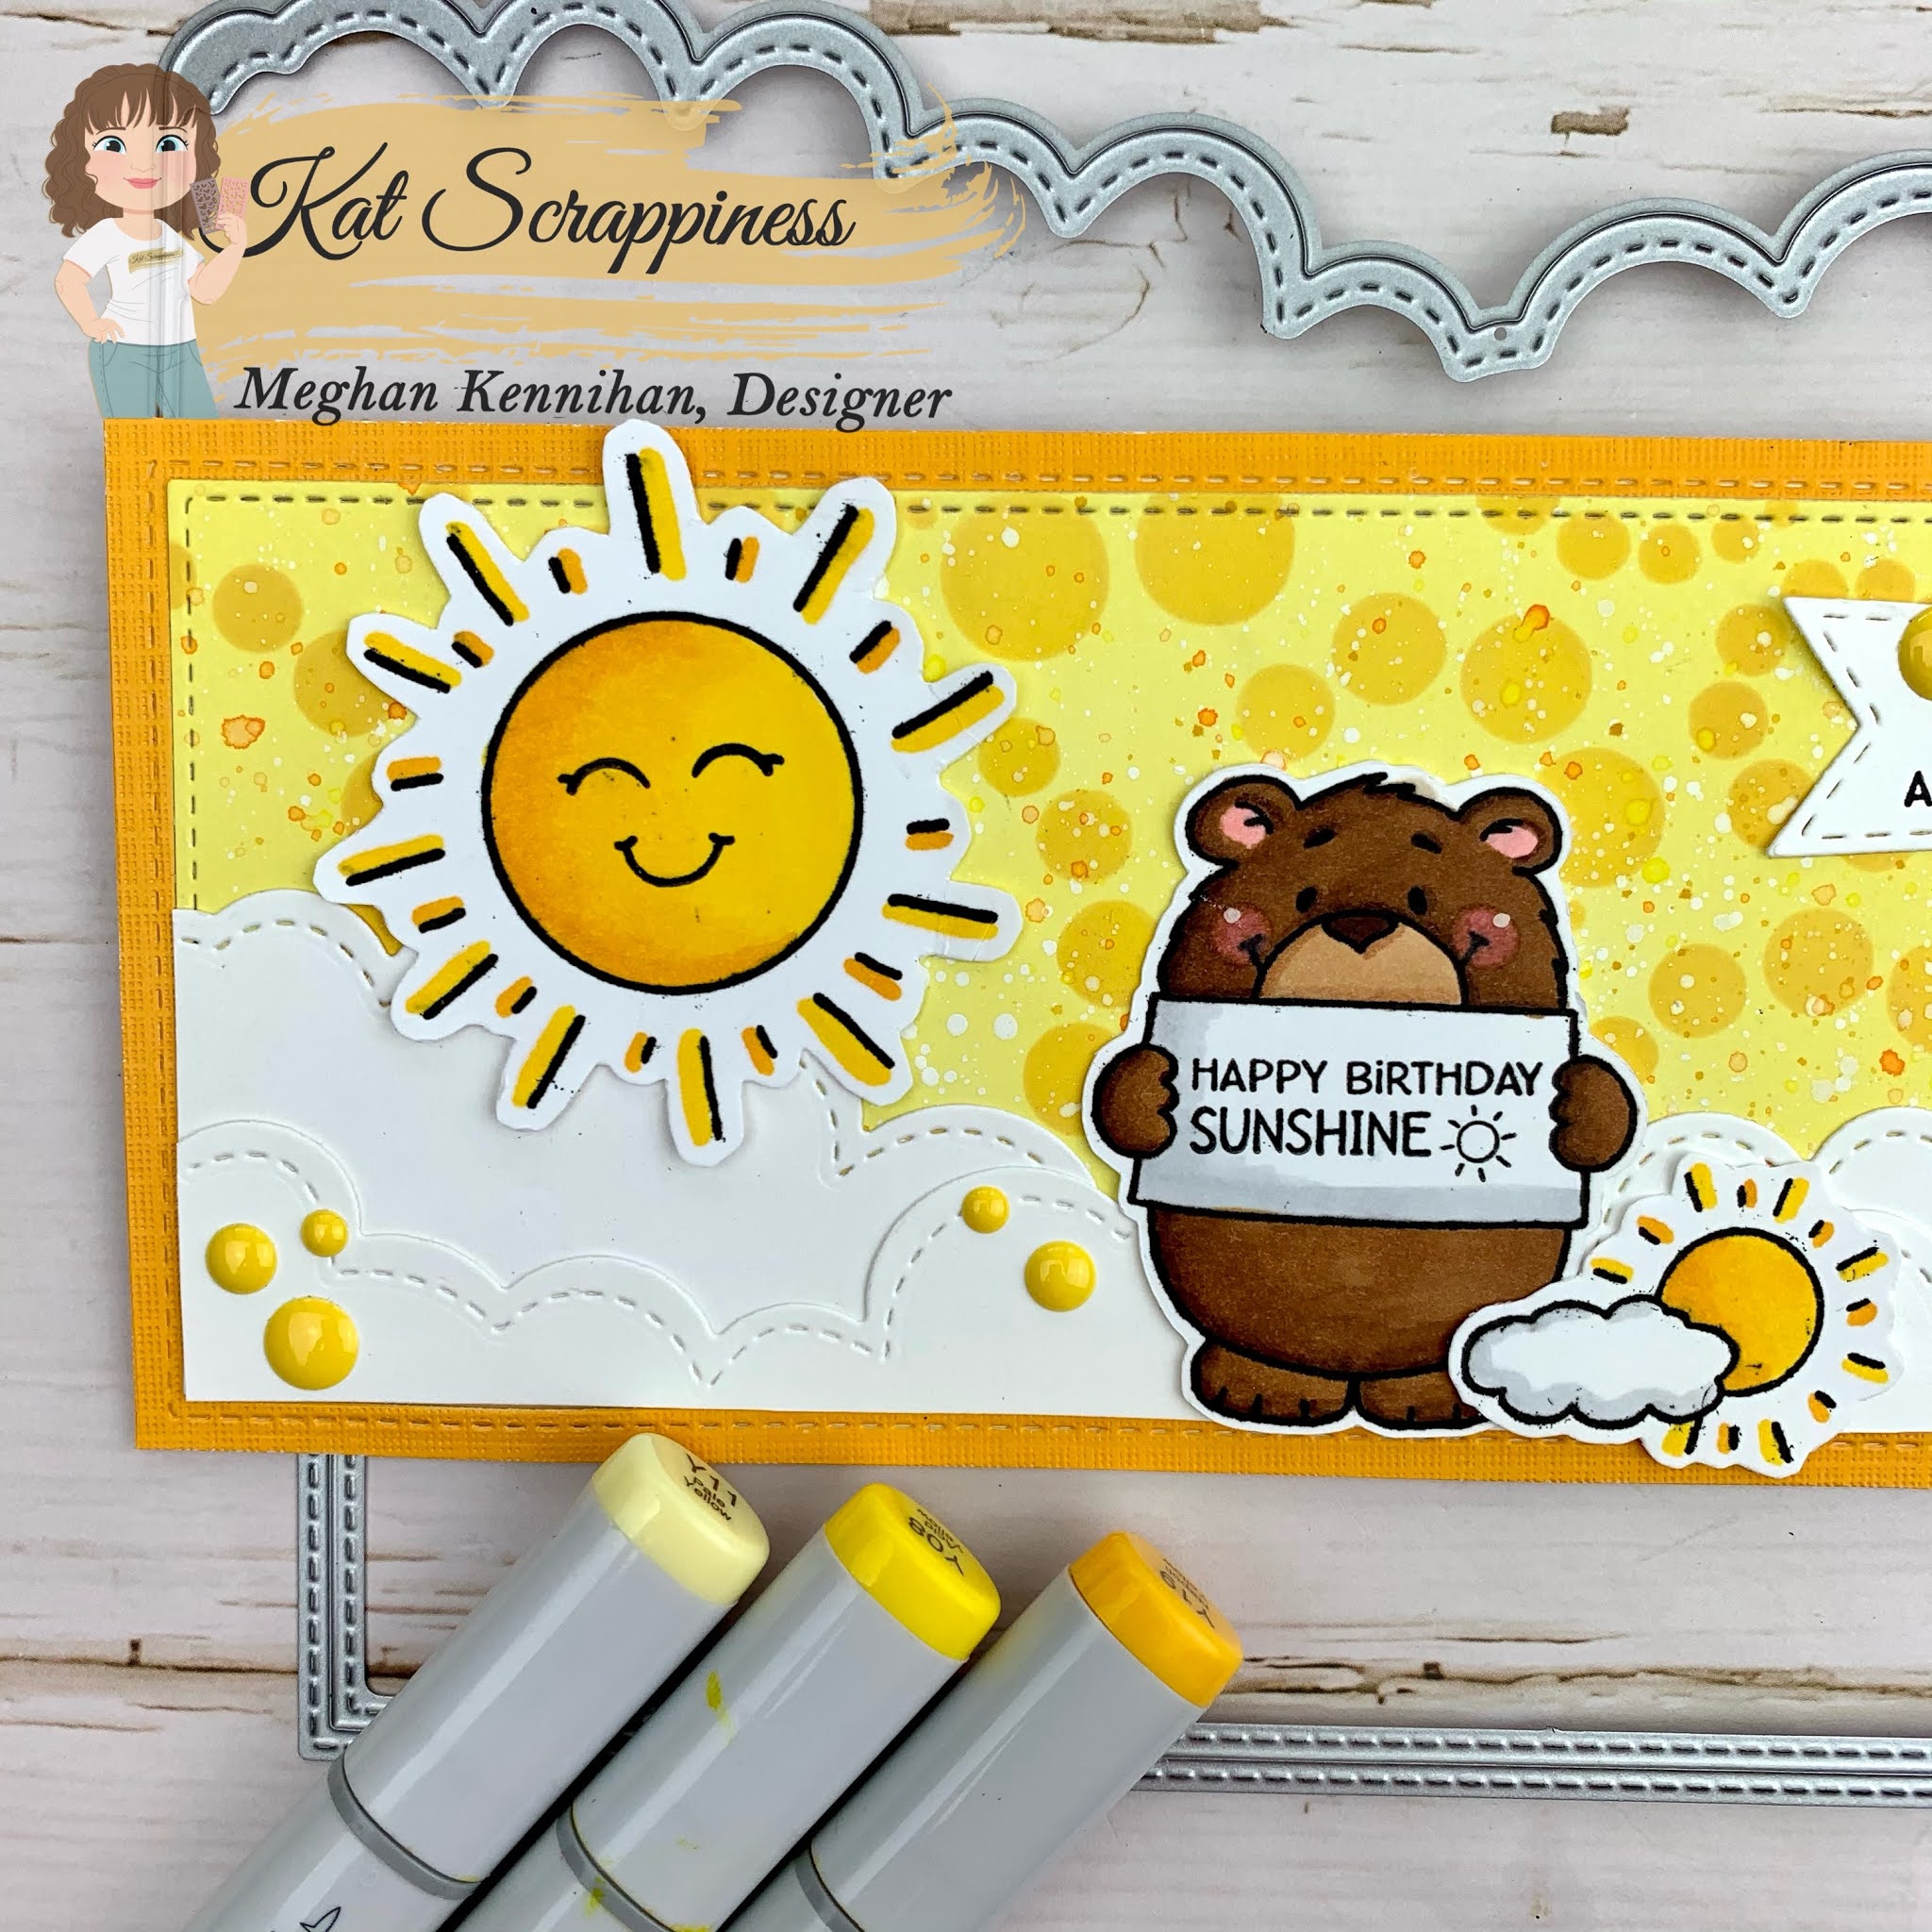
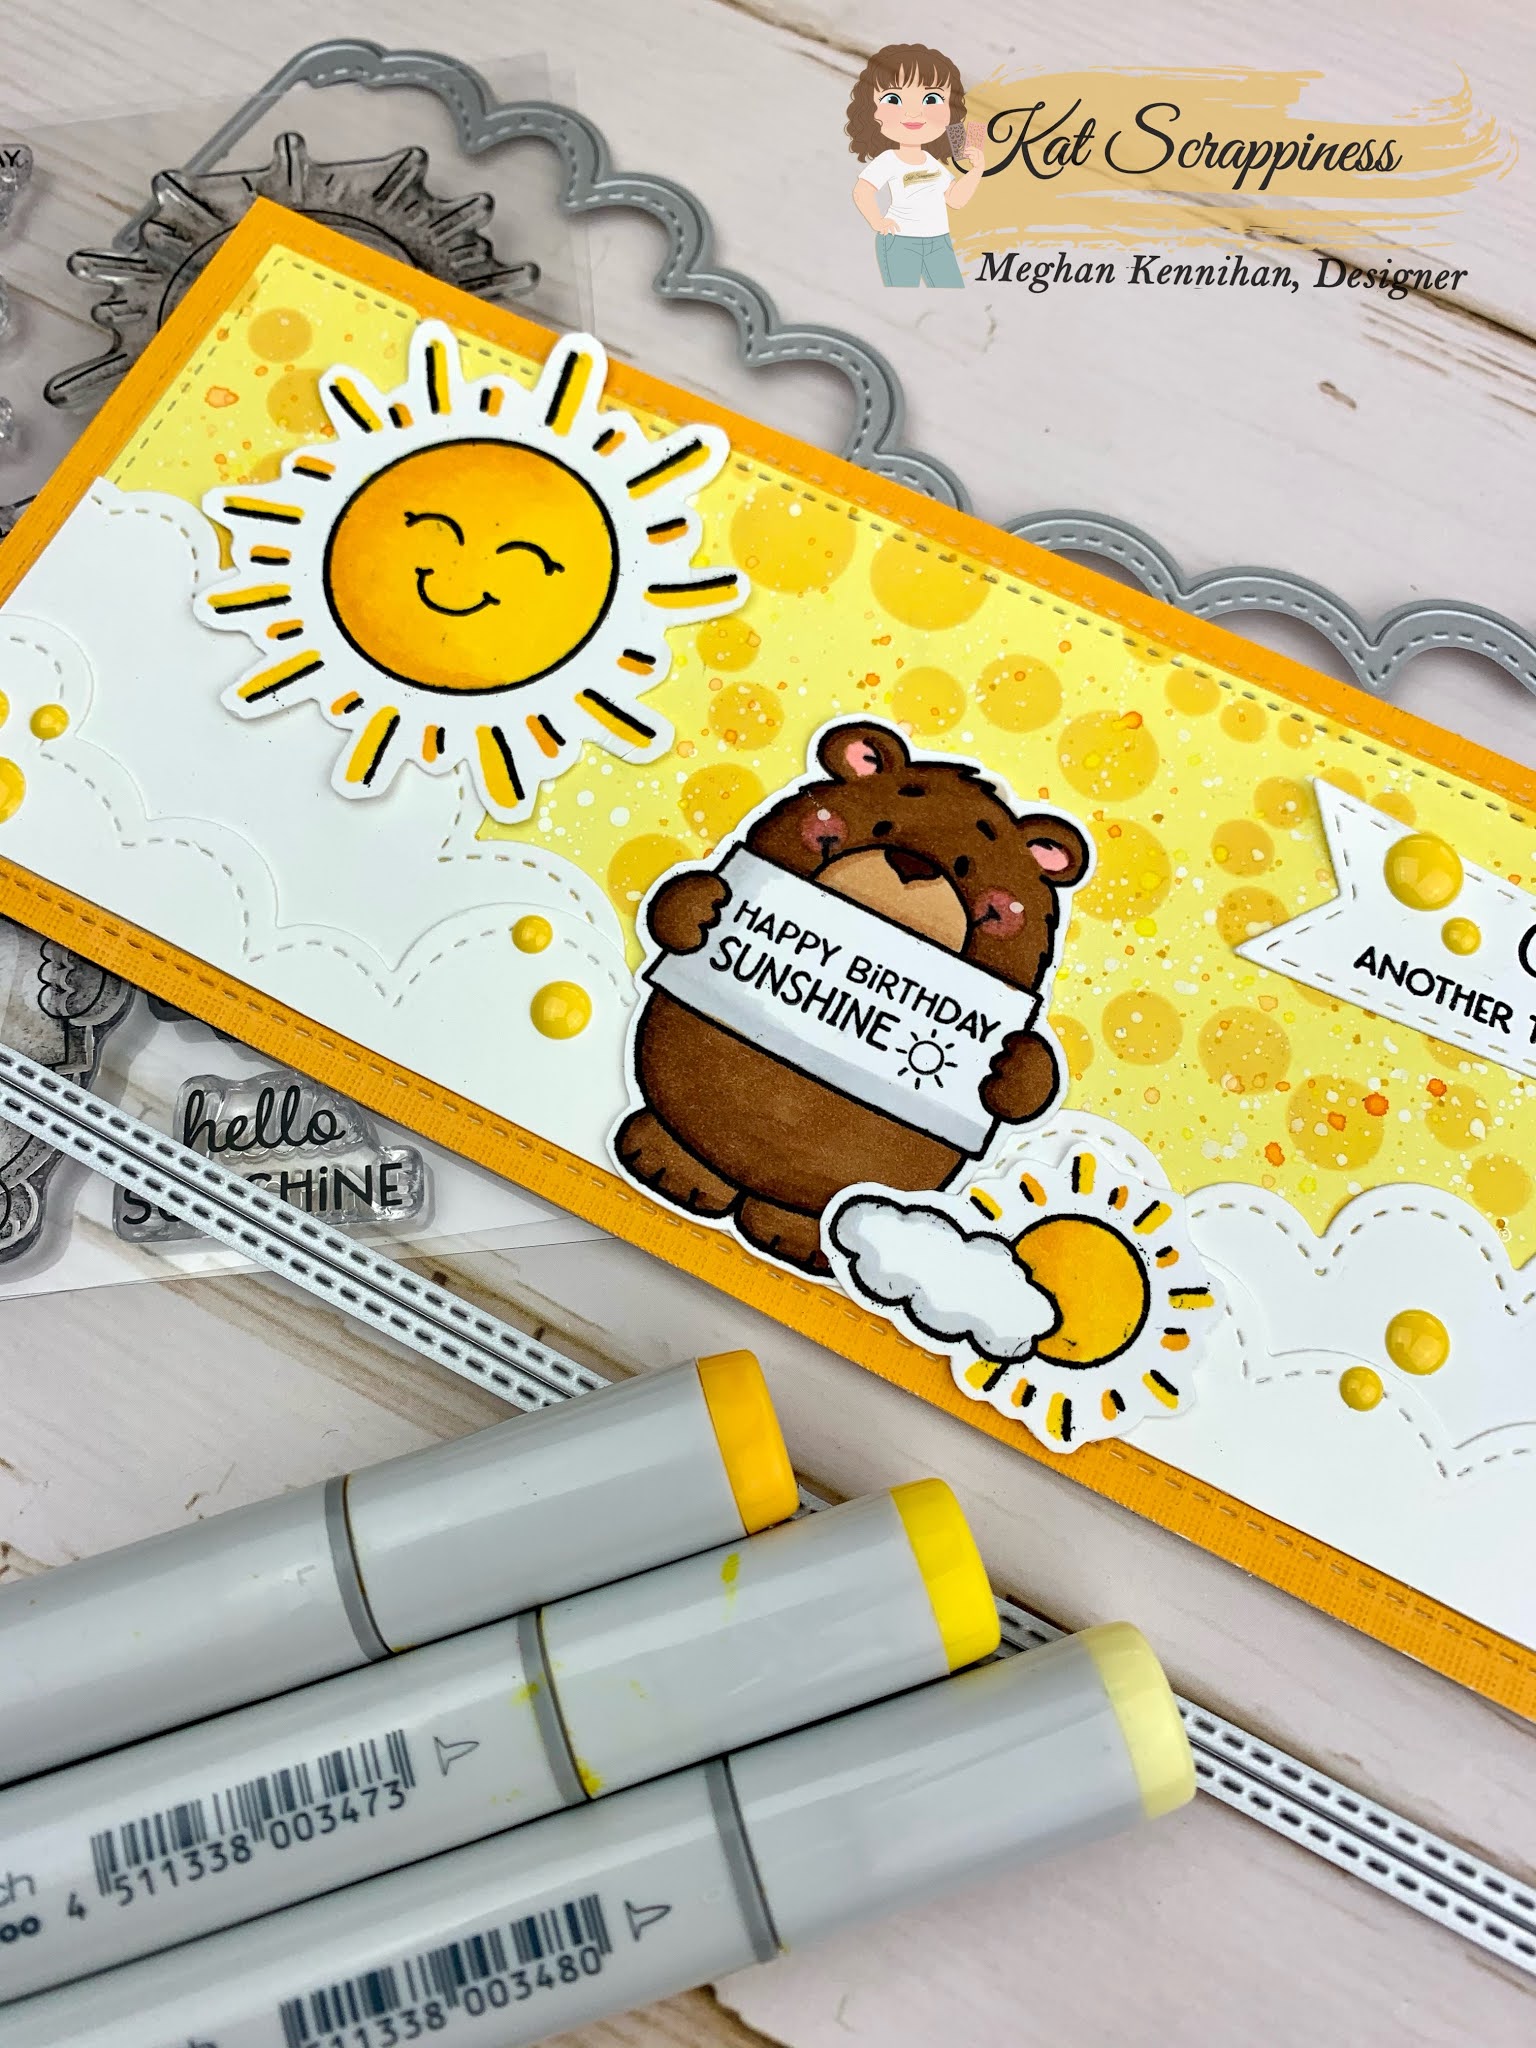
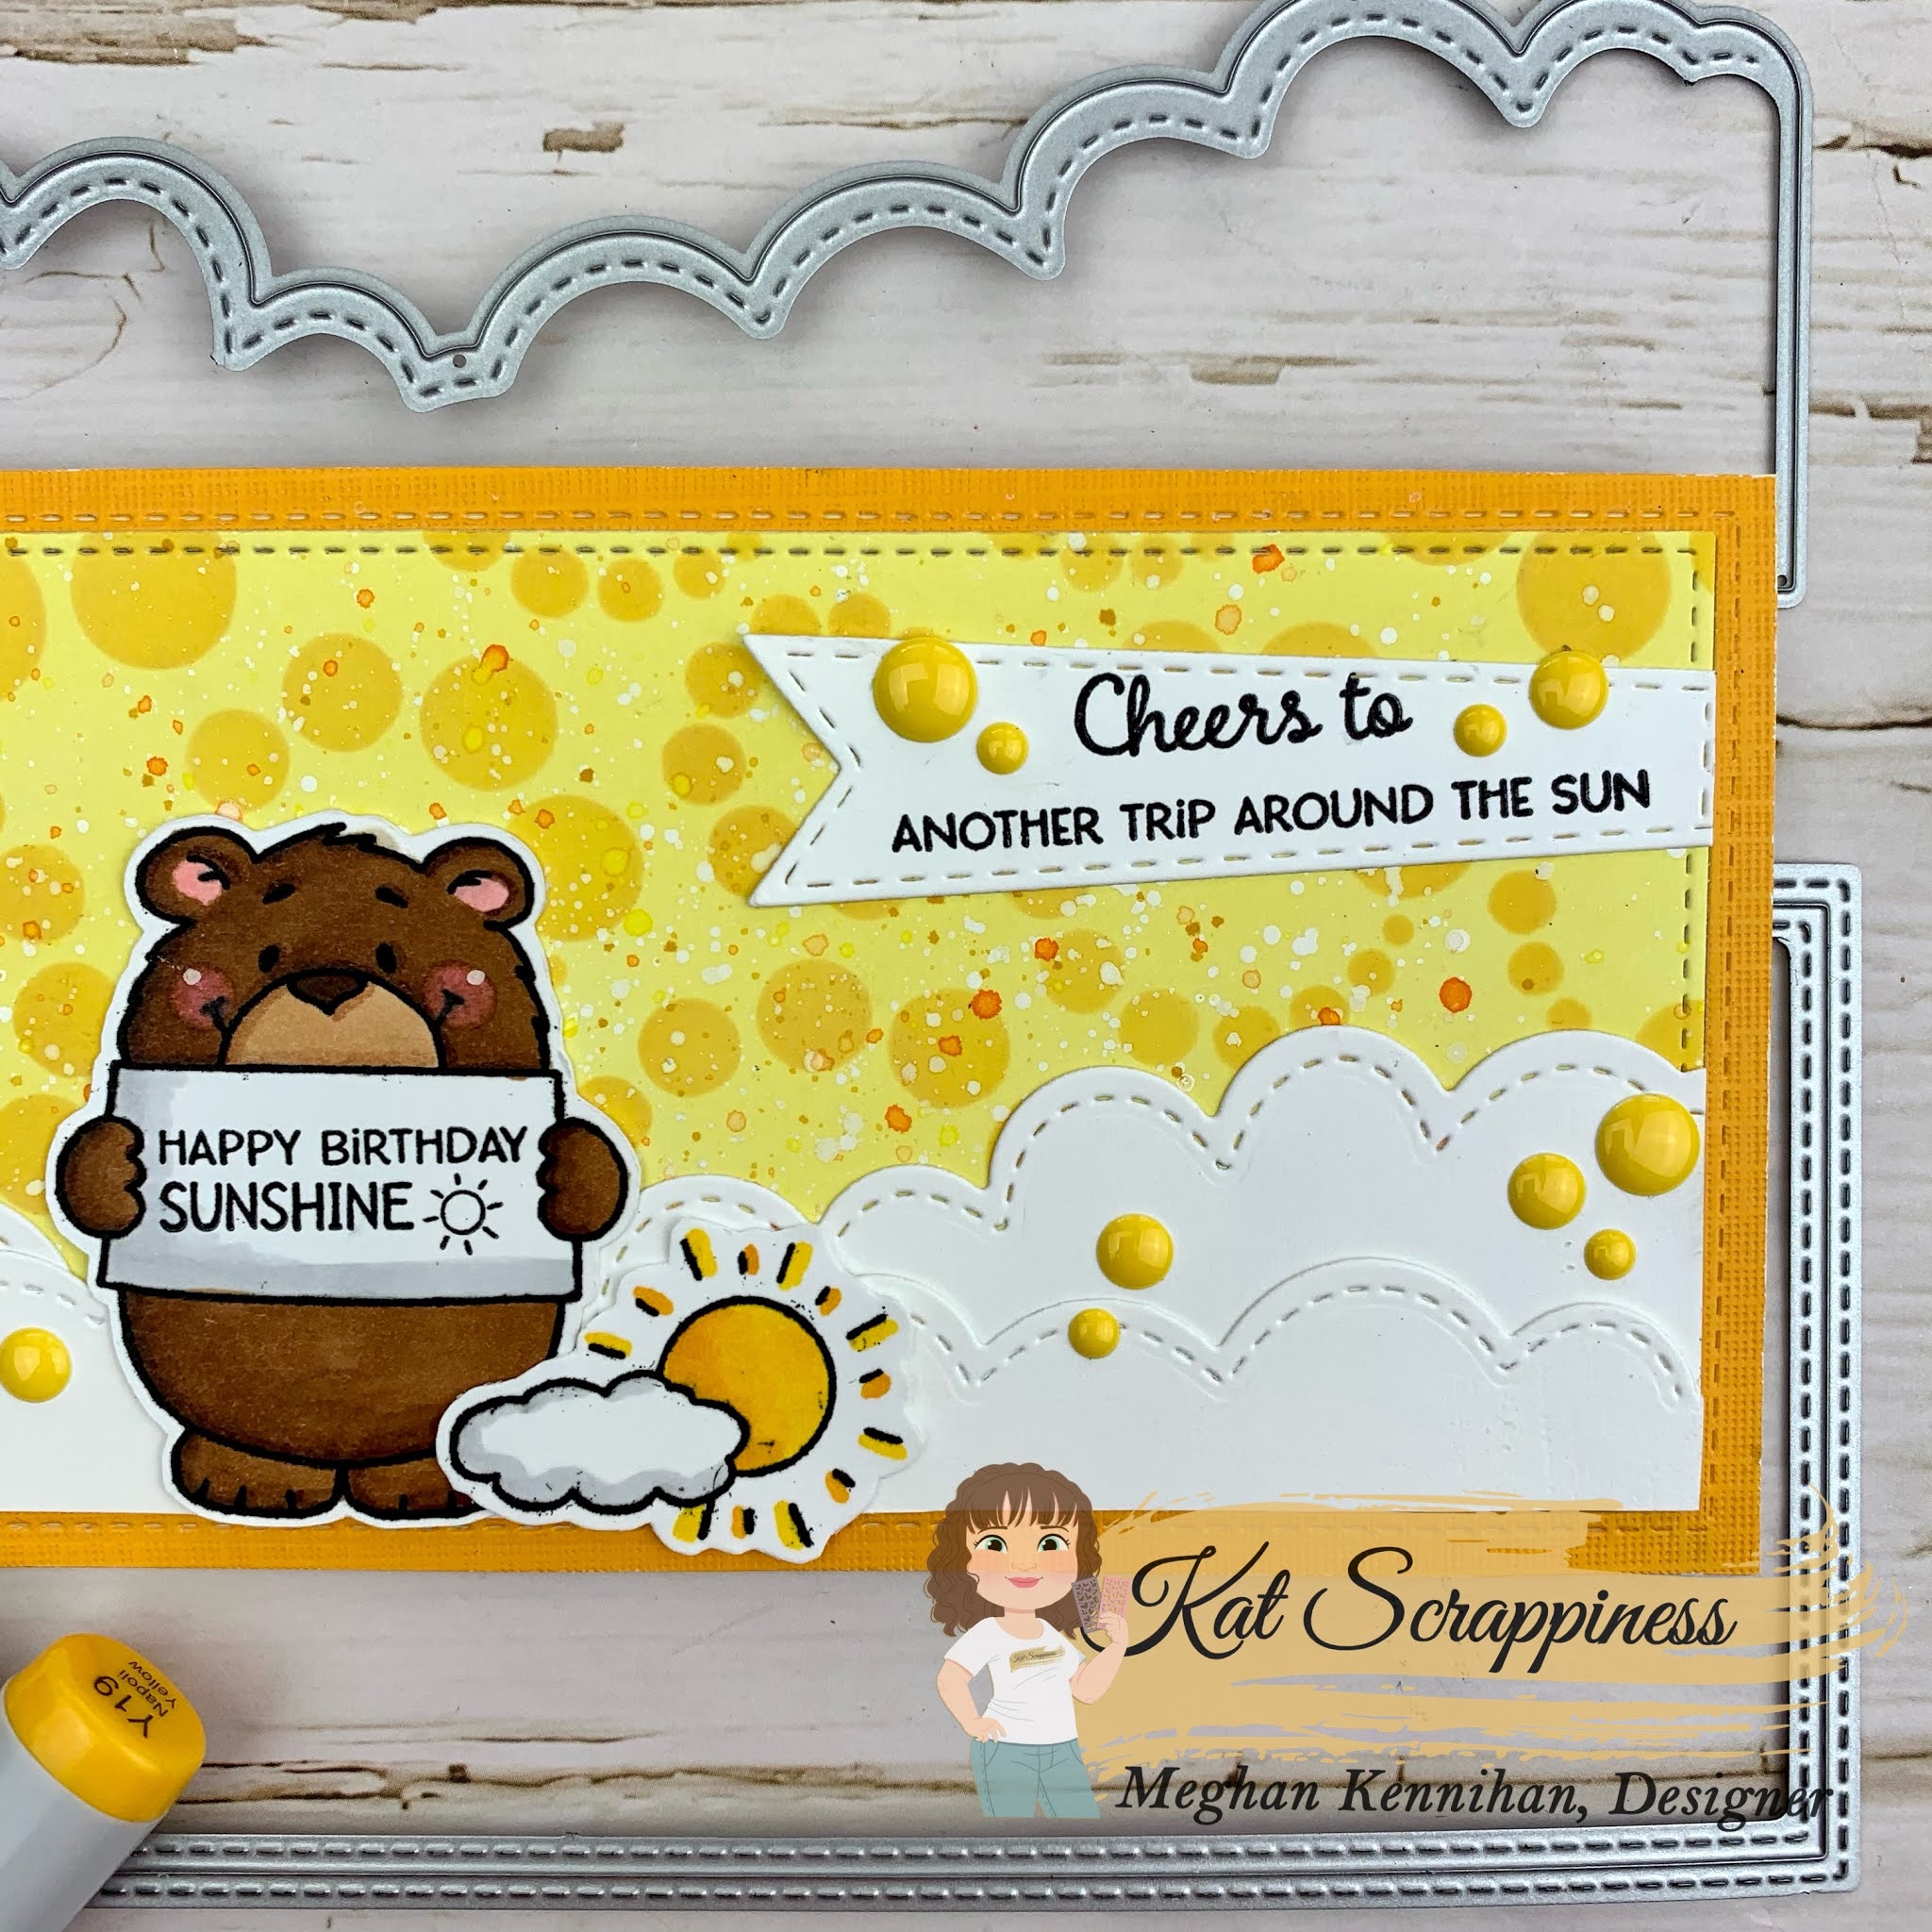
    Here is a closer look at the card.
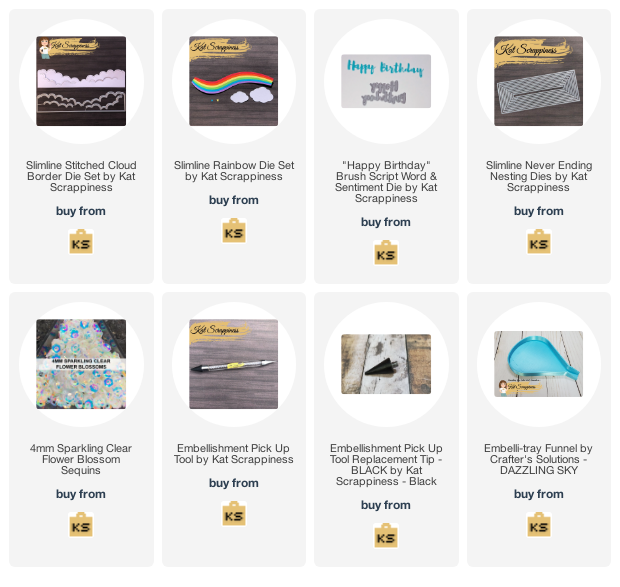
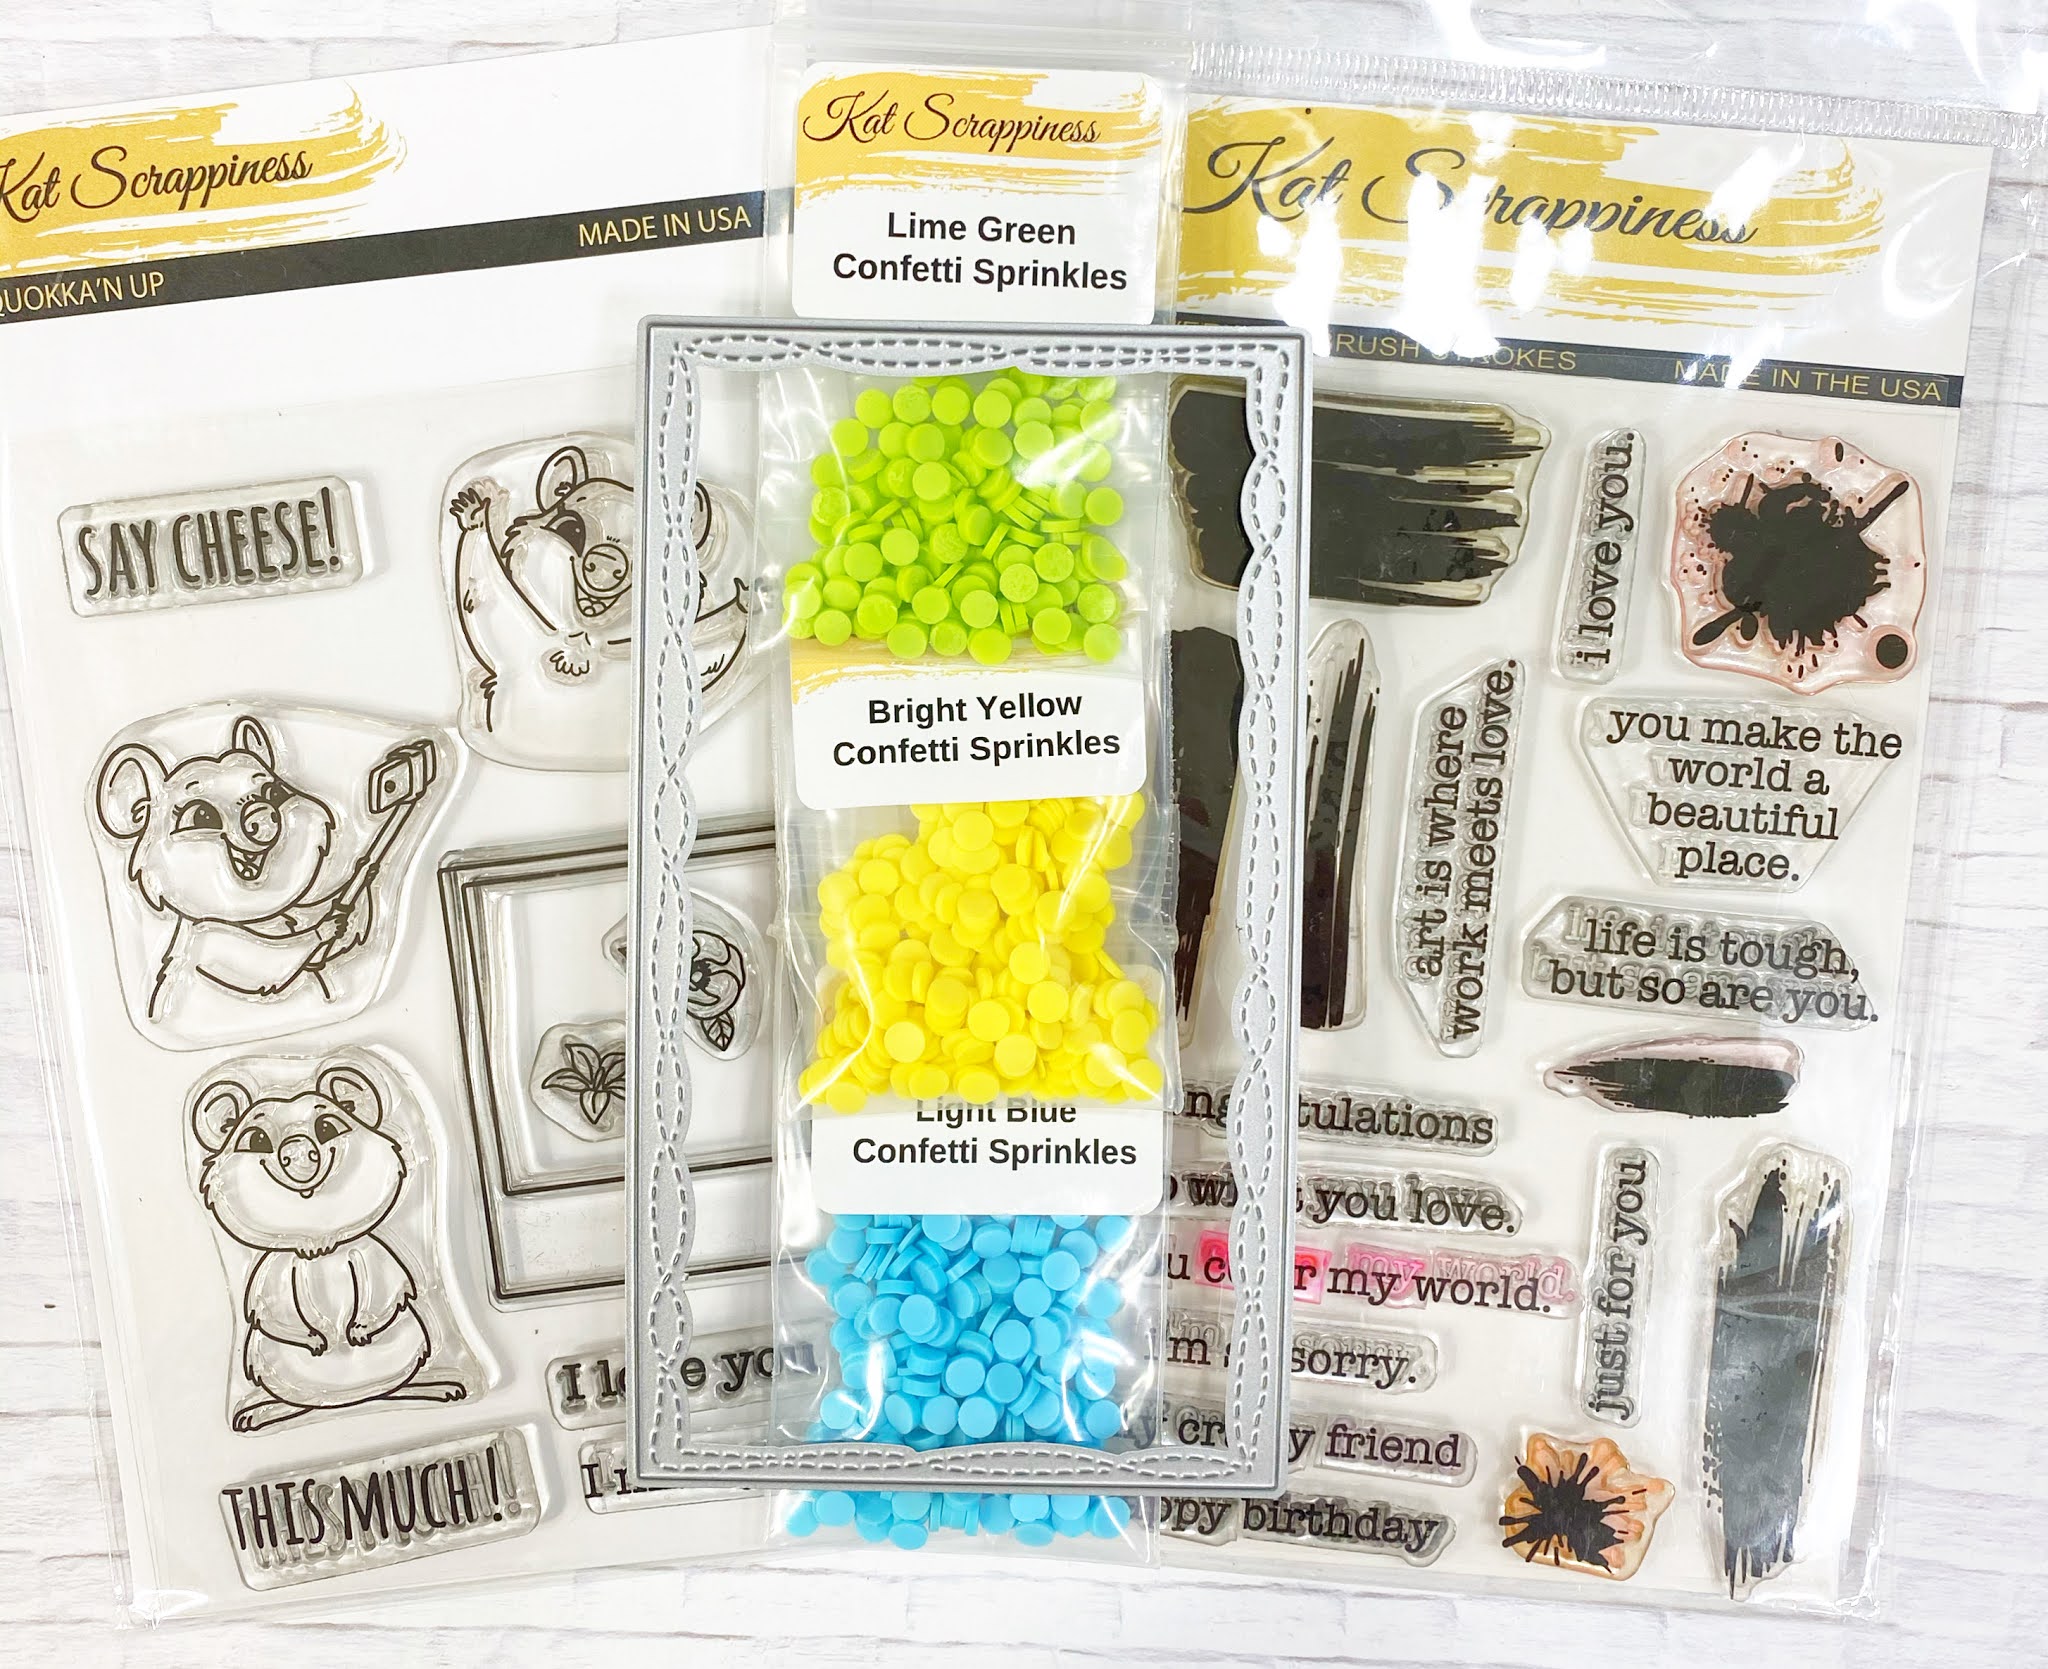
    Here is a picture of most of the supplies I used.  I love the Stitched Peek-a-boo slimline die, I will have to create another card soon, using this die.
    Thank you so much for stopping by, please come back this weekend, there is a new release coming and you will love it!

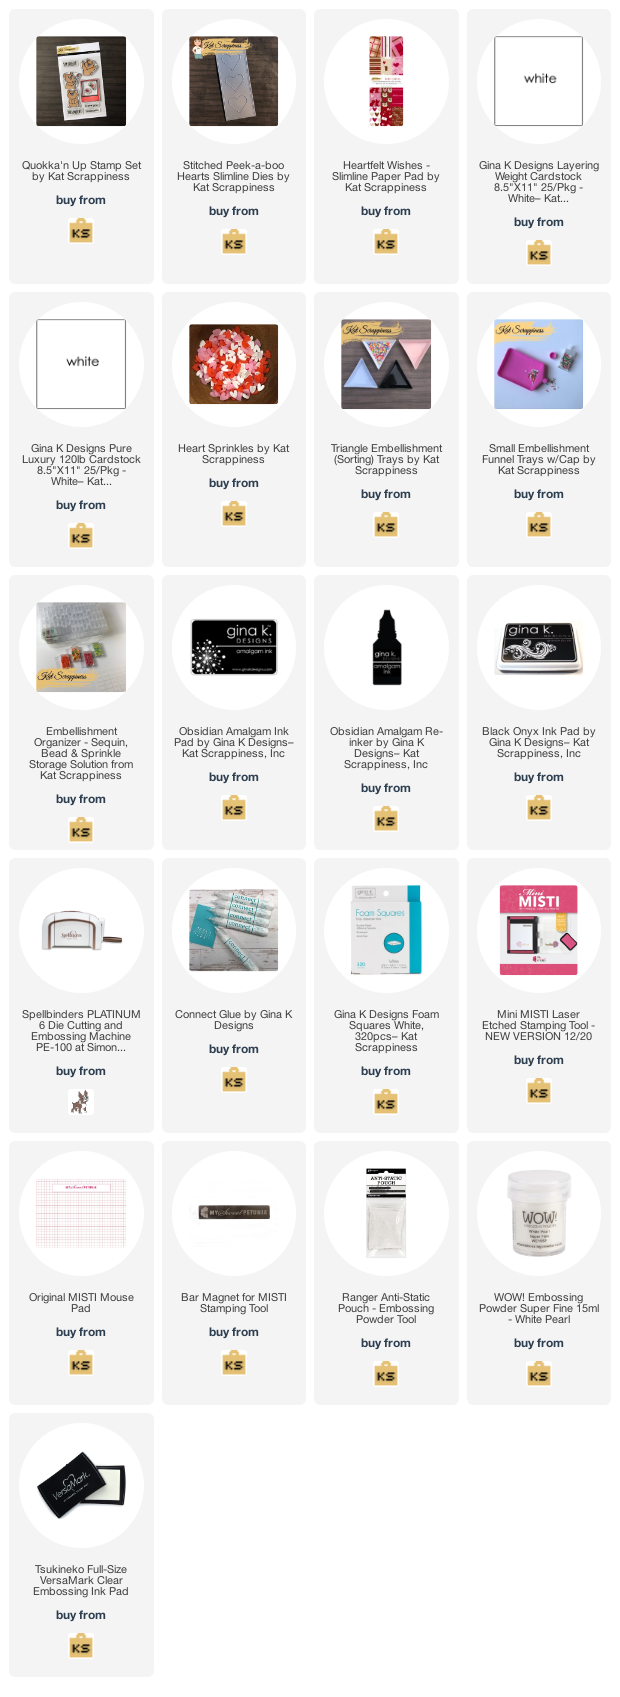
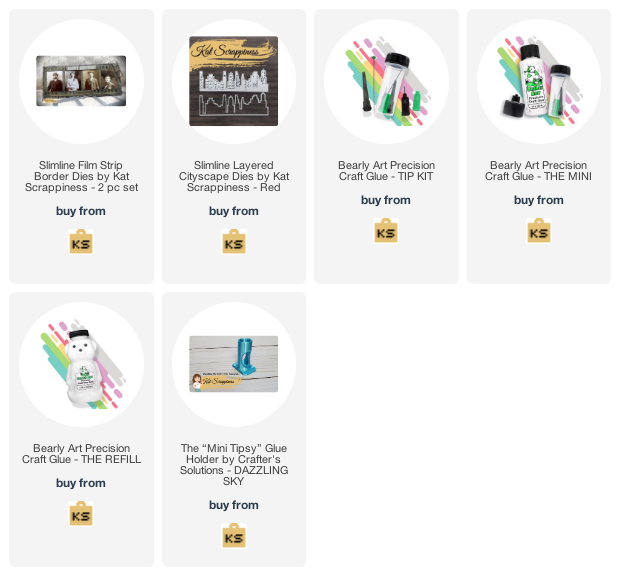
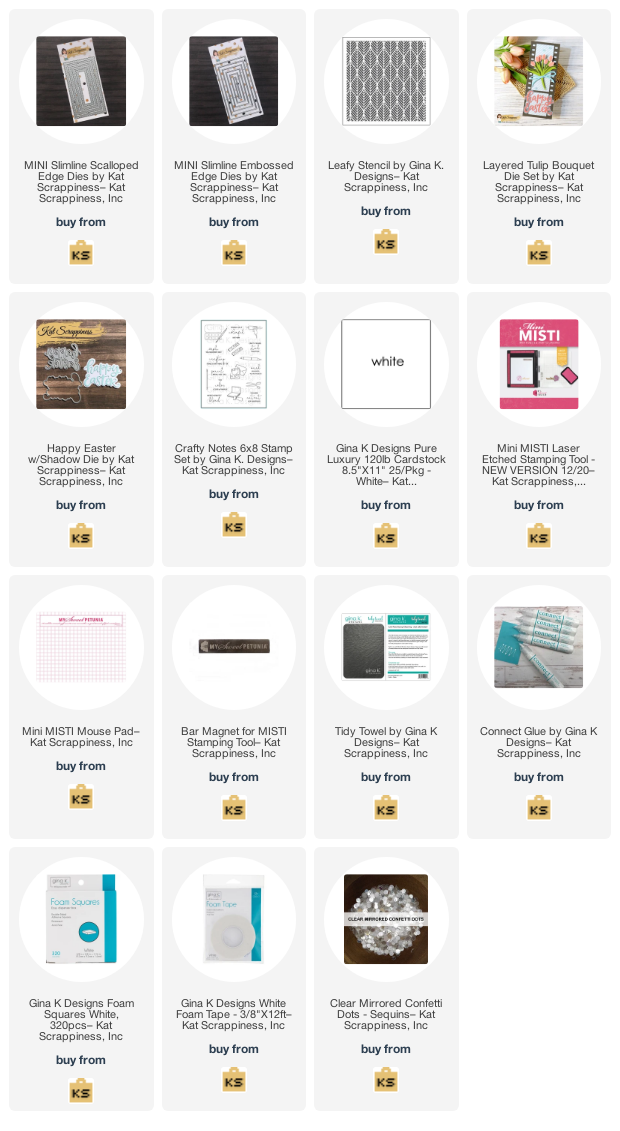
    Here is a list of supplies I used on my card, Affiliate Links used at no additional cost. Thank you for your support.  Also Kat Scrappiness has a clearance sale going on, please check it out, there are some great buys here.


    https://linkdeli.com/widget.js?id=f5e8378456858c916708

    Design Team Projects

    Say Cheese!

    Hello crafty friends, It’s Lisa here today I am up on the blog with another adorable quokka card for you! I used the selfie loving quokka stamp from the Quokka’n Up stamp set to make this mini slimline card.

    I just love how this little guy is taking a selfie with his selfie stick! I placed him in the polaroid frame stamp from the Quokka’n Up stamp set and the “Say Cheese” sentiment is from that set as well.
    I am loving the size of the mini slimline cards and  Kat Scrappiness has a great assortment of mini slimline dies. There are some new styles coming to the shop in mid April so make sure you join the Kat Scrappiness Insiders group on Facebook to stay alerted to new product releases, sales and coupons!
    Fort this card I used the Mini Slimline Wonky Stitched Dies and I layered a fun piece of patterned paper on top of it to match my polaroid frame.
    I also added an extra sentiment to the bottom of the card from the Everyday Brush Strokes stamp set. I thought it went well with the Say Cheese sentiment.
    To add a little more interest to my card I added some fun confetti sprinkles in 3 different colors to match my patterned paper.
     

    Lime Green Confetti Sprinkles

    Bright Yellow Confetti Sprinkles

    Light Blue Confetti Sprinkles

    I love to pour out my sprinkles into Kat’s Triangle Embellishment (Sorting) Trays to make them easy to pick up and apply to my cards. There is also an awesome Embellishment Organizer that can hold up to 64 different embellishments. It’s a great way to organize your sequins, confetti and sprinkles all in one place and to see them at a glance!

    Here’s a look at all of the supplies I used on my card today.

    Thanks so much for joining me today, make sure to check out  Kat Scrappiness for all of your crafty needs. There’s quokka’s and mini slimline dies and TONS of embellishments to choose from!
    Have a great day, I already am!
    🤳  Lisa  🤳 
    Design Team Projects

    Filmstrip Slimline Cards

    Hi Everyone! Priscilla here from Nubble Light Designs. Today I am sharing two slimline cards I made with the new Kat Scrappiness  Slimline Filmstrip Border Dies. This 2-piece die set includes a 4-opening film strip die and a 3-opening film strip die for both horizontal and vertical slimline cards.

    I went “full-on vintage” with my first card and use some sepia-toned photos and a filmstrip embellishment to create this birthday card from a group of friends.

    For my second card, I created a slimline card for a friend with a “Super Hero” feel to it. In addition to using the 3-opening filmstrip die this time, I also used the Kat Scrappiness Slimline Layered Cityscape Die to create my nighttime scene.

    Thank you so much for stopping by! Don’t forget to check out what’s NEW in Kat’s Shop, and follow my blog and Instagram for more “Kat Scrappiness Amazingness”!

    Stay Safe . . .

    Priscilla 📽📽

    The supplies I used are listed and linked below.

    SUPPLIES

    Design Team Projects

    Shaker Heart

    Hello Friends Waleska Galindo here to share with you a super fun and easy card to make to someone you love… I created this card using the Hearts of Love Shaker dies, you can use this dies for many different occasions not only for Valentines.

    CARD DETAILS:

    To create this card I die cut the biggest heart from the Hearts of Love Shaker dies from pink cardstock and adhere acetate to the back of it, I then added 3D Foam to create the shaker and added some gold sequin mix.  I adhere this shaker to a Mini Slimline card base I cut from the Doublee Stitched Mini Slimlimline.  I embossed one of the bases for more texture.  I added the word thanks with gold cardstock and I also glue some gold hearts to the shaker.


    This was a very easy card to make I am planning to make more with different colors to have on hand! I hope you like my card today and can be inspired to use some of your seasonal dies for other occasions too.


    Waleska

    Design Team Projects

    Layered Tulip Birthday

    Hello! My name is Sheri Gilson and I’m super excited to be a Guest Designer for the month of April & May!! Thank you so much for having me!!

    For my first card I created a Birthday card featuring a mix of some of my current favorite dies from the store. I don’t know about you but I’m loving the NEW Mini Slimline card size. So I pulled out the Mini Slimline Scallop Edge and Mini Slimline Embossed Edge die sets.

    Steps to create card:

    1. Cut Card Base: 7″ x 6″, scored at 3 1/2″
    2. Die Cut largest scallop panel from the Mini Slimline Scallop Edge die set.
    3. Cut out Pink Mat 2 7/8″ x 5 1/4″.
    4. Die Cut White Panel from Mini Slimline Embossed Edge die Set.
    5. Take White Panel and dry emboss it with the Gina K Leafy Stencil. Refer to your die cut machine manual for proper sandwich to dry emboss.
    6. Die Cut Layered Tulip Bouquet Die using Pink, Green & Dark Green card stock. You will also need to cut the Bow using White card stock.
    7. To add a little dimension to my tulips I ink blended the center pieces with coordinating pink ink. (Tip: Take a post-It note, flip over and attache the small petals to the sticky strip and you can ink blend holding onto the other end of the Post-It and not have to try holding them in place individually.)
    8. Attach Tulip to White Panel. I off set the two stem pieces for a shadow. I also attached the center pieces to the flowers with a piece of foam tape for dimension.
    9. Die Cut three “Happy” from the Happy Easter w/Shadow die three times (One Pink and two in white, stack them for added dimension).
    10. Heat Emboss the word “Birthday” from the Gina K Crafty Notes stamp set with white embossing powder and cut into a banner using scissors or your paper trimmer.
    11. Attach the “Happy” die cut to your card and add the “Birthday” embossed banner strip to your card panel.
    12. For final embellishment I added a little Glitter to the center of the tulips by running a Quickie Glue Pen to the edge and sprinkling a little glitter. I also added a few Clear Mirrored Confetti Dots with Gina K Connect Glue.


    I also added a little Gina K Foam Tape when I attached the card to the card base.  I love adding dimension to my cards!


    Here’s a list of all the supplies I used from the store:

    Happy Stamping!!