
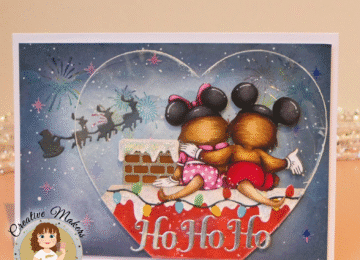
Hello everyone! It’s Juhi, today I’ll be sharing how I made this layered shaker ornament.

Each element in the ornament is adhered on separate layers giving it some great dimension. Here’s how I made it.

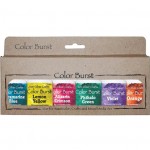
I first created a watercolor snowy background with Color Burst powders in blue and purple. Once dry I die-cut the panel with a circle die. Added some snow using a stencil and white pigment ink. I cut out 9 scalloped circles from white heavy weight cardstock. Stuck 2 of those circles onto the base circle as shown in the photo.

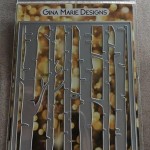
I then cutout birch trees from white card stock and inked thier edges with Iced Spruce Distress Ink. Layered the birch tree die-cut on the circle and trimmed off the extras.

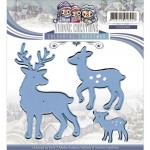
Stuck 2 more die-cut scalloped circles on top, then stuck a blue satin ribbon loop and the reindeer and stuck another 2 die-cut scalloped circles on top of them. Then added another layer of birch trees and trimmed the extras. Finally added another 2 die-cut circles, after this I poured in the Kat Scrappiness Snow Day sequin mix and covered up the ornament with a circular die-cut piece of acetate and the final scalloped die cut circle.
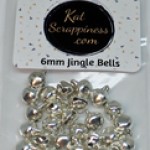
To finish the ornament I tied on a few Kat Scrappiness 6mm Jingle Bells in blue and silver around the ribbon loop with some twine. The bells make the cutest jingling sound!
Here’s the finished shaker ornament, just check out the gorgeous layers!


1 Comment
Beautiful!!
November 18, 2016 at 3:05 pm