Hello everyone! It’s Donna Idlet here featuring the NEW Mini Slimline Heart Sunburst Die. I hope you have enjoyed all the…
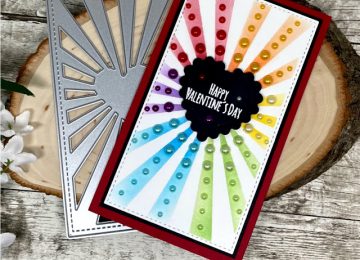

Hello everyone! It’s Donna Idlet here featuring the NEW Mini Slimline Heart Sunburst Die. I hope you have enjoyed all the…
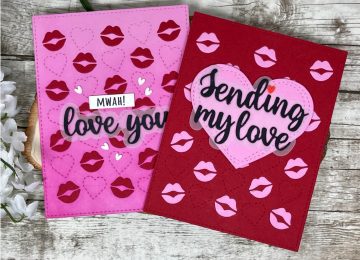
Hello everyone! It’s Donna Idlet here featuring the NEW A2 Smooches Coverplate Die, Love You Sentiment W/Shadow and Sending My…

Hello everyone! Happy New Year a couple of days early! I am here with Kat Scrappiness sharing a New Year mini slimline…
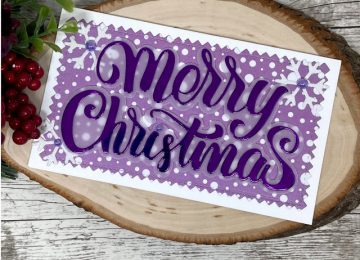
Hello everyone! It’s Donna Idlet here sharing a Christmas mini slimline card. I love the color purple and I really…
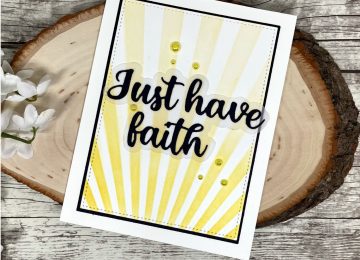
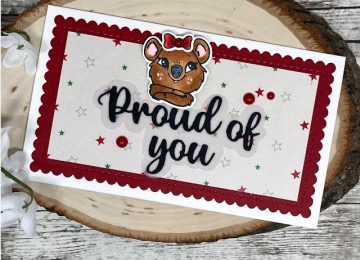
Hello everyone! It’s Donna Idlet here sharing a card that could be given to someone for a Sympathy or Encouragement…
Hello everyone! It’s Donna Idlet here, before I get started sharing my project, I wanted to remind you Kat Scrappiness…
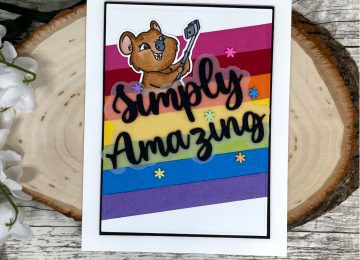
Hello everyone! It’s Donna Idlet here sharing this FUN Rainbow card featuring products from the NEW October 2021 Release! I’m…