Tag: Valentine Quokka dies

  • Quokka Hugs and Kisses Valentine

    Quokka Hugs and Kisses Valentine

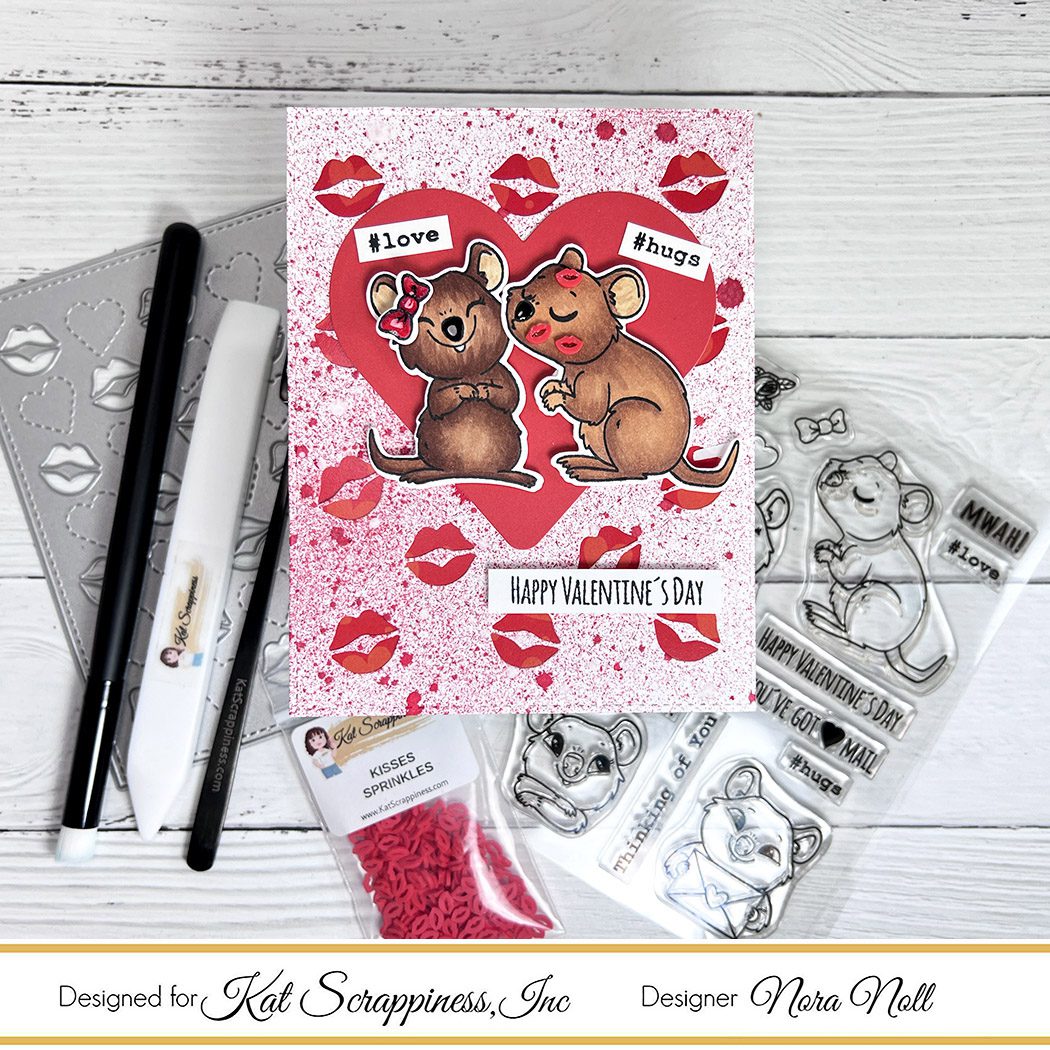
    Hello everyone!! Nora Noll here on the blog today with a fun card featuring the Smooches Coverplate, Spectrum of Love Paper, and Kisses Sprinkles from the January release combined with the Valentine Quokkas Stamps and Dies.

    Card Details:

    1. Cut down a piece of the red heart paper from the Kat Scrappiness Spectrum of Love slimline paper pack into a to 4″ by 5 1/4.” Adhere this pattern paper to a white, A2, top folding card base.
    2. Die cut the Kat Scrappiness Smooches Coverplate out of a piece of white cardstock. Splatter red ink across the front and when dry, adhere over the red paper.
    3. Add a red heart that was die cut using the largest heart from the Hearts of Love Shaker Die Set and red cardstock.
    4. Stamp the Quokkas from the Valentine Quokka Stamp Set and die cut them with the coordinating Valentine Quokka Dies. Color the Quokkas in and adhere them over the heart using foam adhesive.
    5. Stamp, color and die cut the bow from the Kat Scrappiness Valentine Quokka Stamp set. Adhere it onto the left Quokka.
    6. Cover the bow and the Quokka’s noses using Glossy Accents for a bit of shine.
    7. Using white cardstock strips, stamp sentiments in black and adhere to the card front.
    8. The last step is to adhere some red lips from the Kisses Sprinkles over the right Quokka’s face.

    I hope this inspires you to create some Valentine’s of your own. Visit the Kat Scrappiness Shop for all your Valentine needs!!!

    Below are a list of links of the products I used for this card. Affiliate Links are used at no additional cost to you. Thank you for your support.

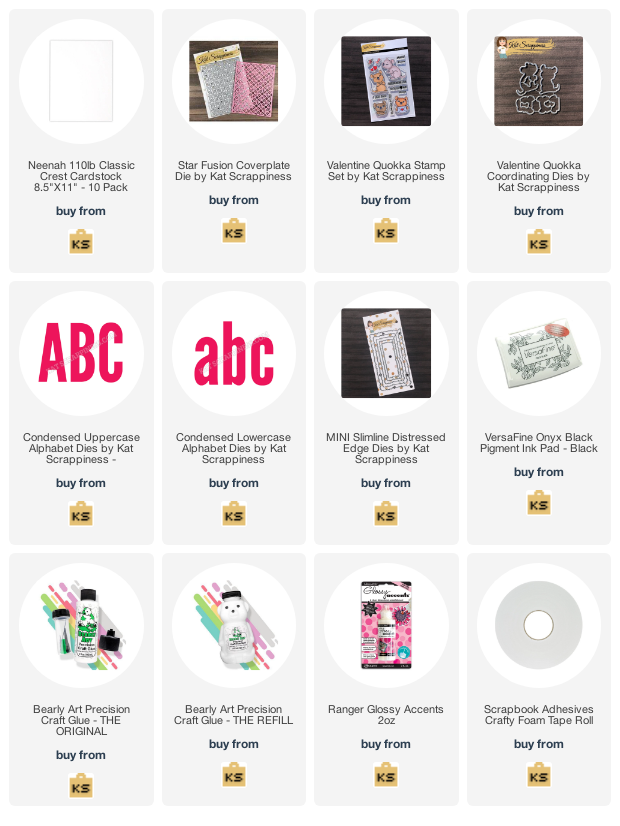
    All supplies used from the Kat Scrappiness Shop:

    Thank you for taking the time to stop by today. Be sure to check in on the Kat Scrappiness Blog for more fabulous Design Team Inspiration!!

  • Quokka Valentine Mini Slimline

    Quokka Valentine Mini Slimline

    Sheri here today with a a SWEET Mini Slimline card!

    For my card I pulled out the Valentine Quokka stamp and coordinating die set along with a bunch of dies to create this card using my favorite Valentine color combo (Red, Pink & White).

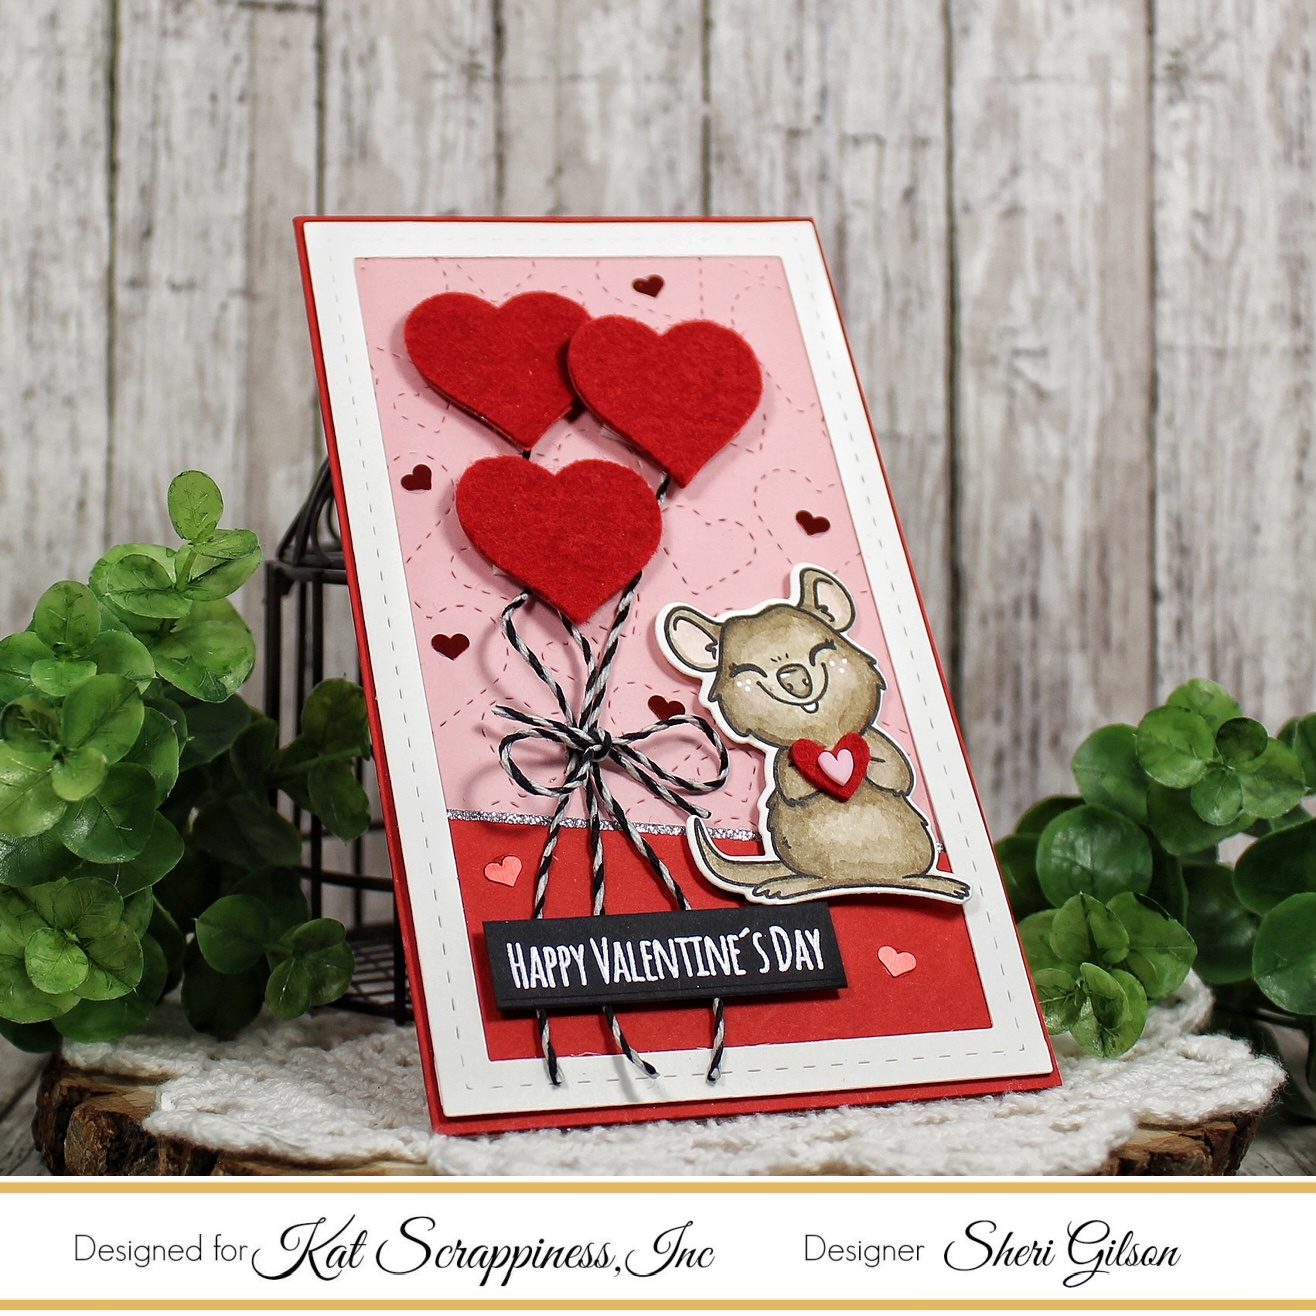
    Steps to Crate Card:

    • Create Red Mini Slimline card base: 3 1/2″ x 6″ (3 1/2″ x 7″, scored at 3 1/2″ on the 7″ side).
    • Cut two White Frames using the largest die in the Mini Slimline Tri-Frame die set.
    • Cut Pink Panel slightly smaller than 3 1/2″ x 6″ and use to the Stitched Hearts Coverplate to add texture.
    • Cut small Red Strip 3 1/4″ x 1 1/2″ to anchor your Quokka and sentiment. I them cut a angle at the top for a little interest.
    • Cut Silver Glitter Card stock strip 3 1/4″ x 1/2″. You will add this to the very top of the Red Strip.
    • Cut 3 Hearts in Red Felt from the Say It With Hearts die. To add a little support I cut of 3 additional Red Hearts from card stock and attached them with glue. I also cut out the smallest heart from the Layering Heart die set for the quokka to hold.
    • Stamp Quokka from Valentine Quokka stamp set and color with your favorite coloring medium. I used Gina K. Designs Amalgam Obsidian ink as it is alcohol friendly and colored with Copic markers.
    • Stamp Sentiment on a scrap of Black card stock and emboss your sentiment with White Embossing Powder. Then trim out with the smallest die from the Boxed Sentiment Strip die set.
    • Assemble card. For the balloons attached the twine to the back of the heart for the strings.
    • For embellishment I added a few 4mm Metallic Red Solid Heart Sequins. I also added a pink clay heart from the Hearts Sprinkle mix to the small heart the the Quokka is holding

    I just LOVE the texture that the felt added to the card along with the stitched background!

    Here’s a list of the supplies I used from the store.
    Affiliate Links used at no additional cost to you. Thank You so much for your support!


    To Shop, CLICK HERE

    Happy Stamping!!

  • Sending Love Mini Slimline Card

    Sending Love Mini Slimline Card

    Hi everyone, it’s Tina here. I love creating stencils from Background dies. I used the Star Fusion Coverplate with the Valentine Quokka Stamps, Mini Slimline Distressed Edge die, and the Condensed Alpha dies to create this sending love card. Below are the steps to create your own card.

    Step 1 – Trim White Cardstock to 7” x 6”, score at 3 1/2” and fold in half for a horizontal top fold card. (Mini Slimline)

    Step 2 – Diecut Star Fusion Coverplate using White Cardstock. This will be used as a stencil. Place on top of a White panel measuring 3 1/2” x 6”. Apply Distress Oxide Ink. I used Worn Lipstick.

    Step 3 – Diecut Mini Slimline Distressed Edge using the panel created from Step 2. Apply Distress Oxide Ink to the edges. I used Aged Mahogany.

    Step 4 – Diecut the word Love using Condensed Uppercase for L and Condensed Lowercase for V and E leaving a space where the O would be. Adhere the panel to the card front using Bearly Art Precision Glue. Adhere the letters back into the negative space using Foam Tape.

    Step 5 – Stamp Valentine Quokka (Image) using Versafine Onyx Black Ink on White Cardstock. Color in image. I used Prismacolor Pencils with gambol. Diecut it using the matching die and adhere to card where the O would be using Foam Tape.

    Step 6 – For added interest diecut little hearts you may have in your stash and adhere to card using Glossy Accents. Or adhere Heart Enamel or whatever you have in your stash.

    This card can be used for several occasions such as Anniversary, Just Because, etc. Below you will find the link to all products used. Thank you for stopping by and Happy Crafting!

    Products Used:
    https://linkdeli.com/widget.js?id=f5e8378456858c916708