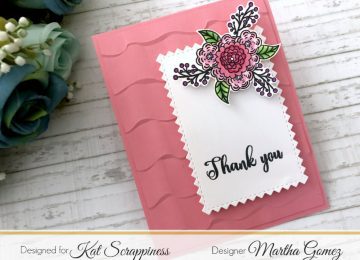
Hello crafty friends! Martha Lucia here to share two cards during this weekend. I had some fun playing with the Mandala…
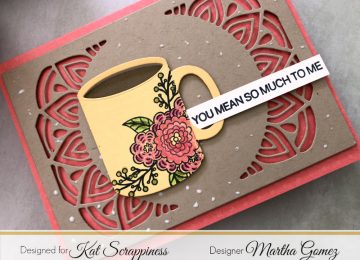

Hello crafty friends! Martha Lucia here to share two cards during this weekend. I had some fun playing with the Mandala…
Hello inky friends, Martha Lucia here with you! Today I have some inspiration with the new release of Kat Scrappiness….
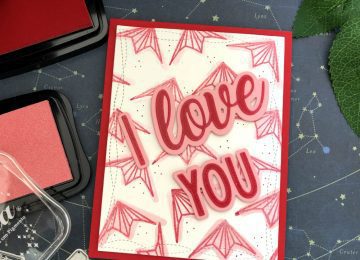
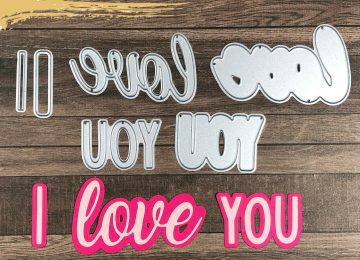
Hello dear friends, Martha Lucia here with you to share another of my cards using the I Love You Shadow…
Hello again Kat Scrappiness fans! It is the second day of the January reveals and today we are showcasing the…

Hello Kat Scrappiness fans! It is the first day of the January reveals and we are super excited to show…
Hello everyone! Maria here on the blog today. Have you joined our Blog Hop to benefit the Coffee Oasis Youth…
Hello my crafty friends! I hope you all had a wonderful Thanksgiving holiday! I meant to post on November…