Tag: Nuvo Deluxe Adhesive

  • Bokeh Background And Zig Zag Border Dies

    Bokeh Background And Zig Zag Border Dies

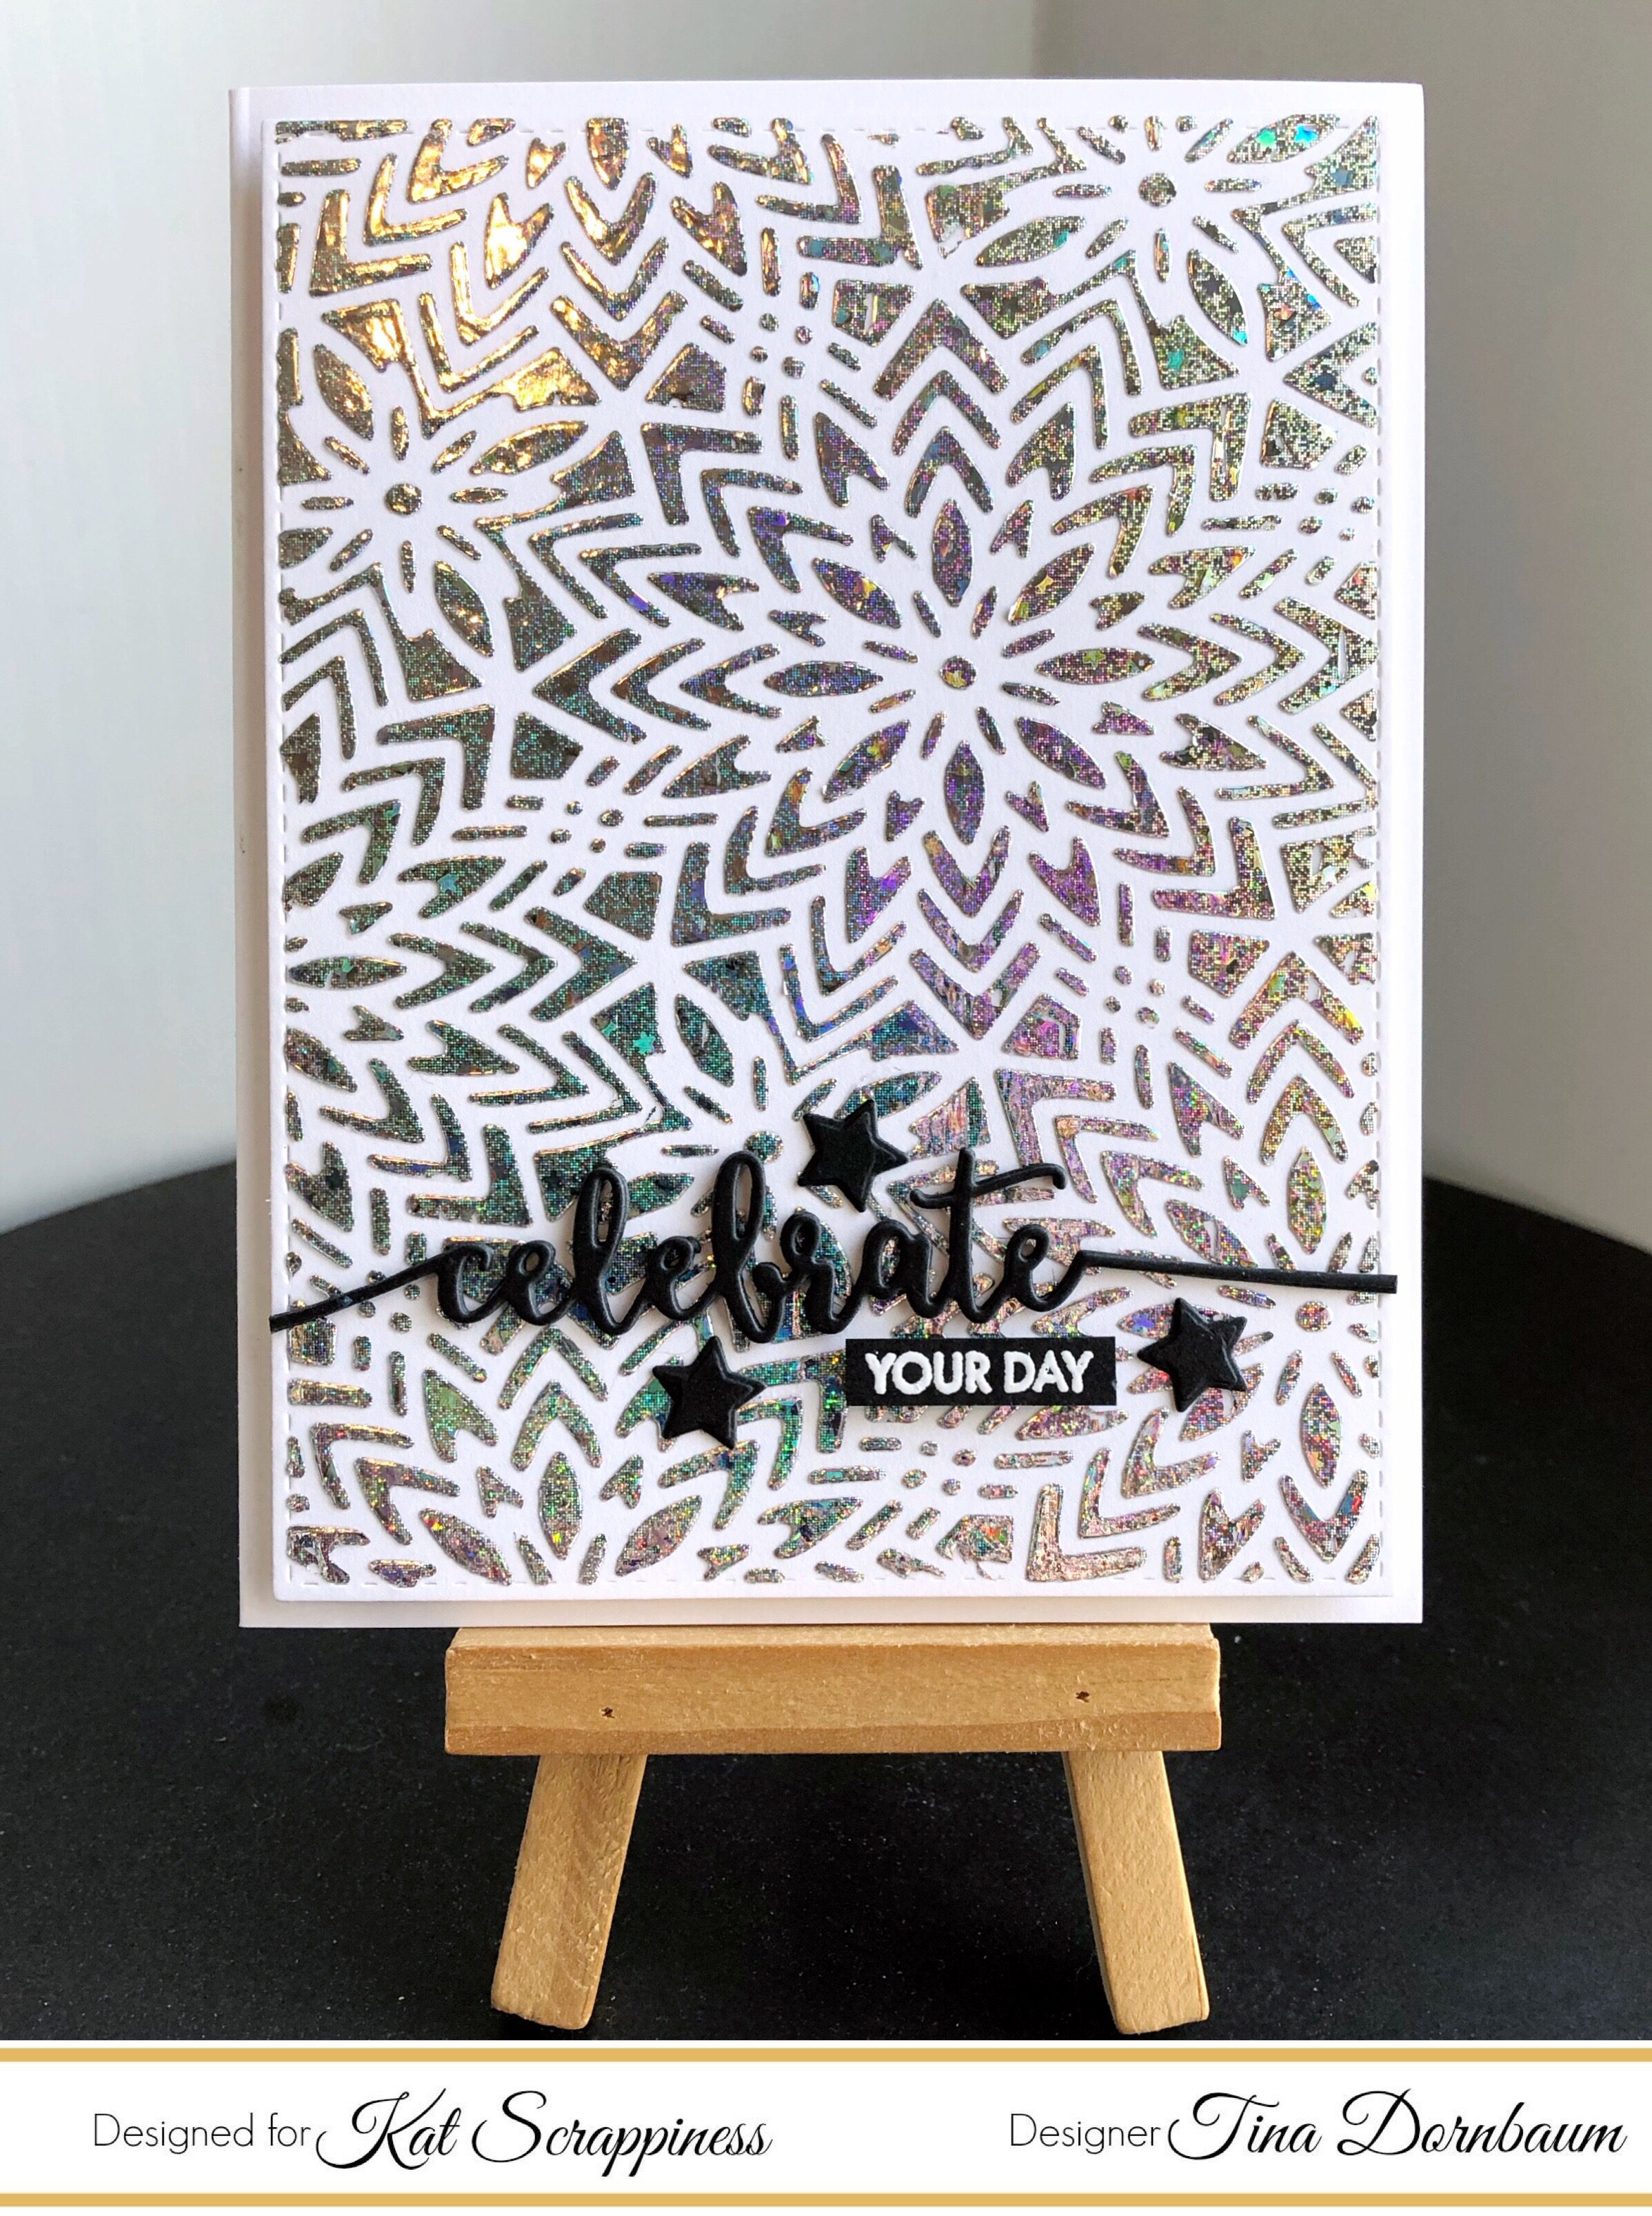
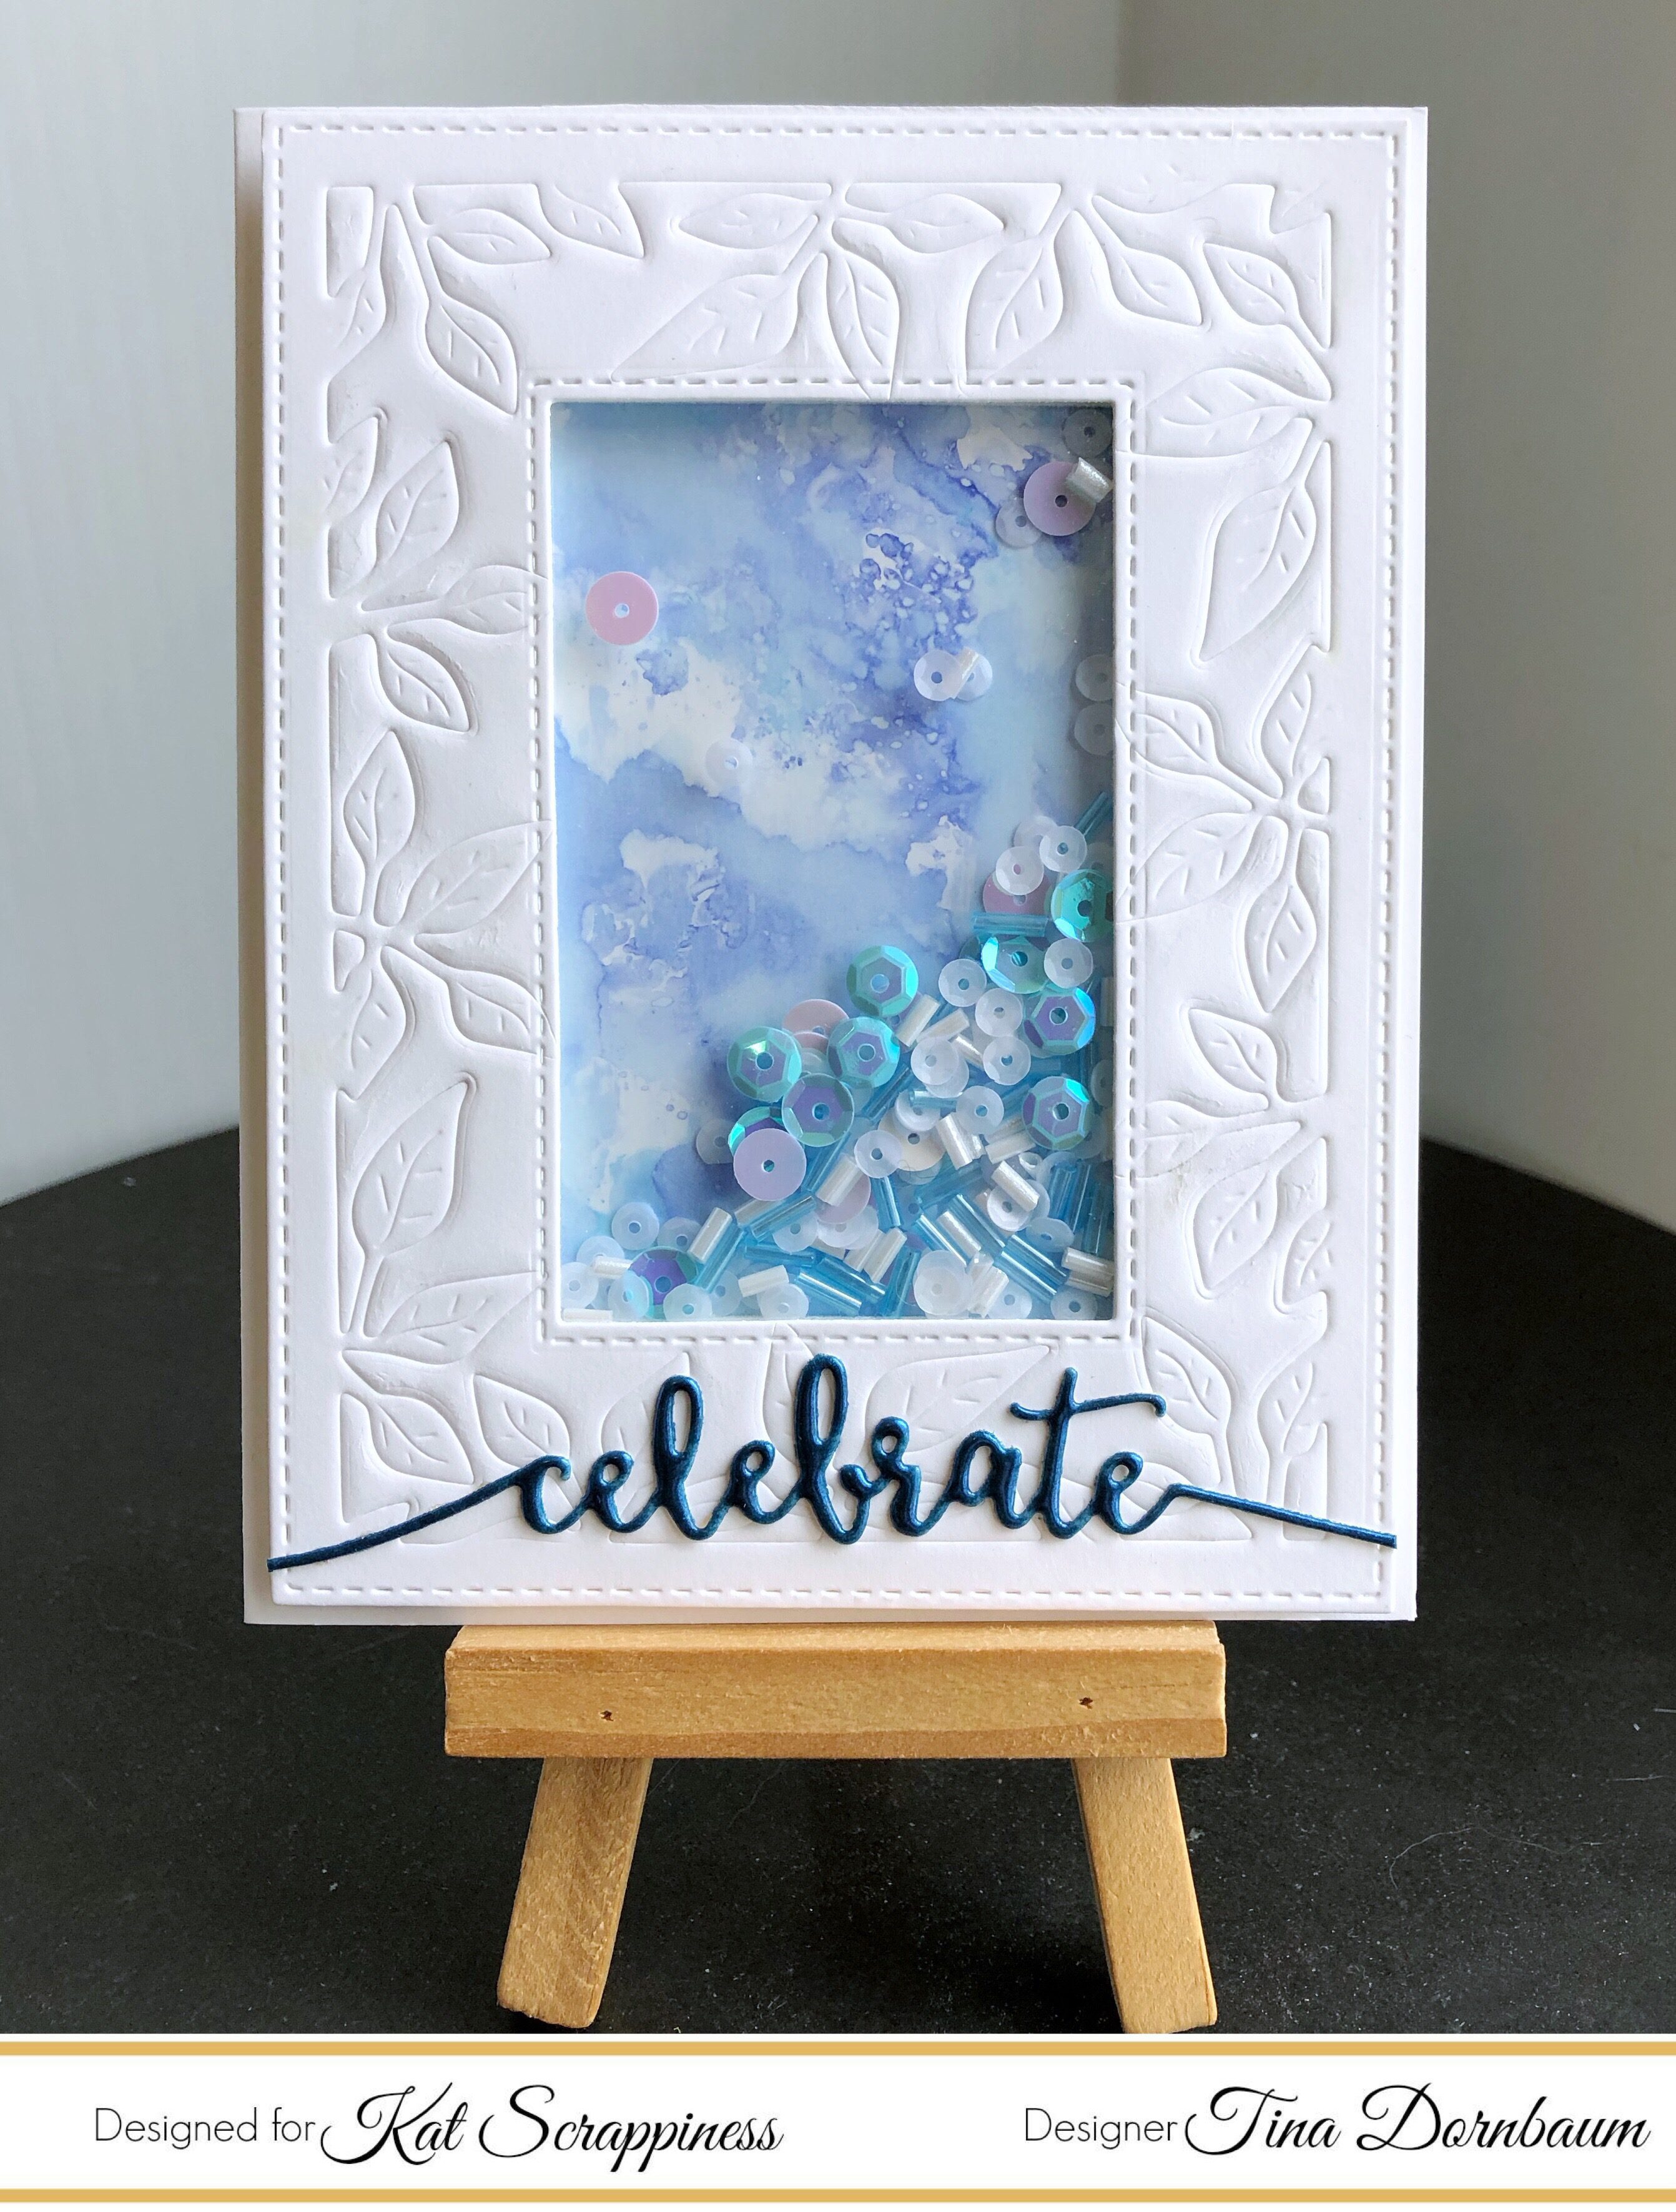
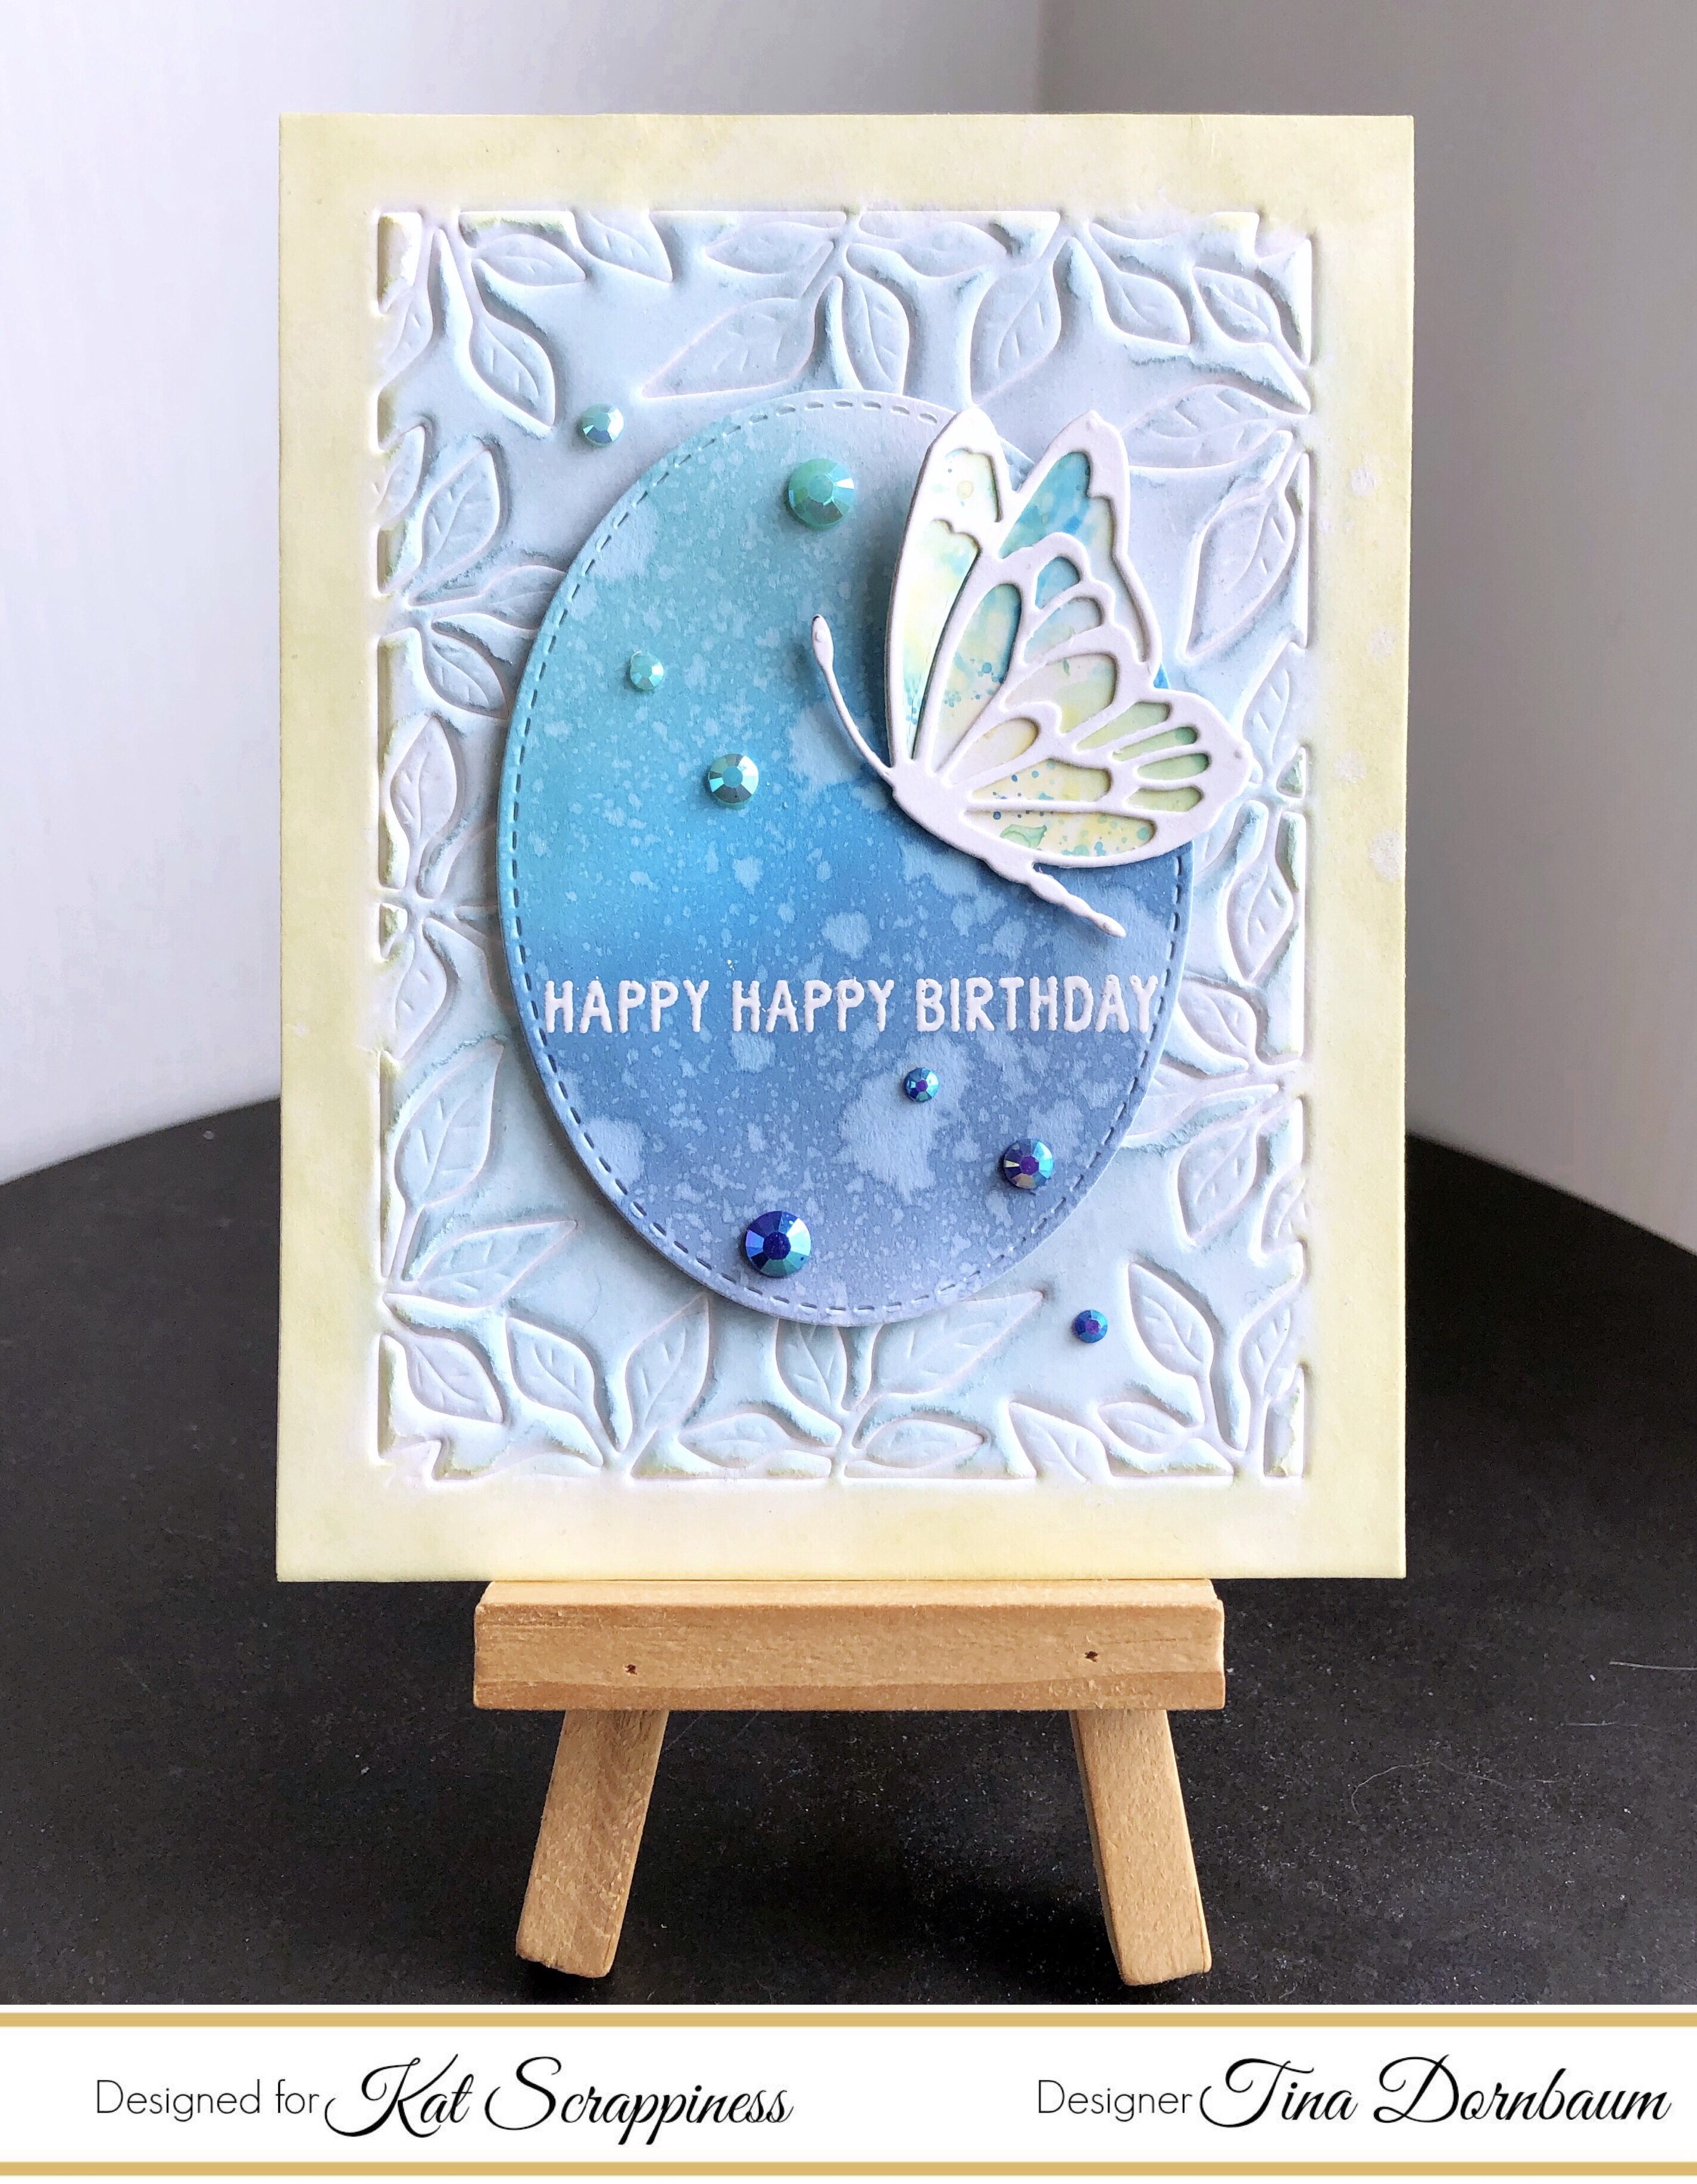
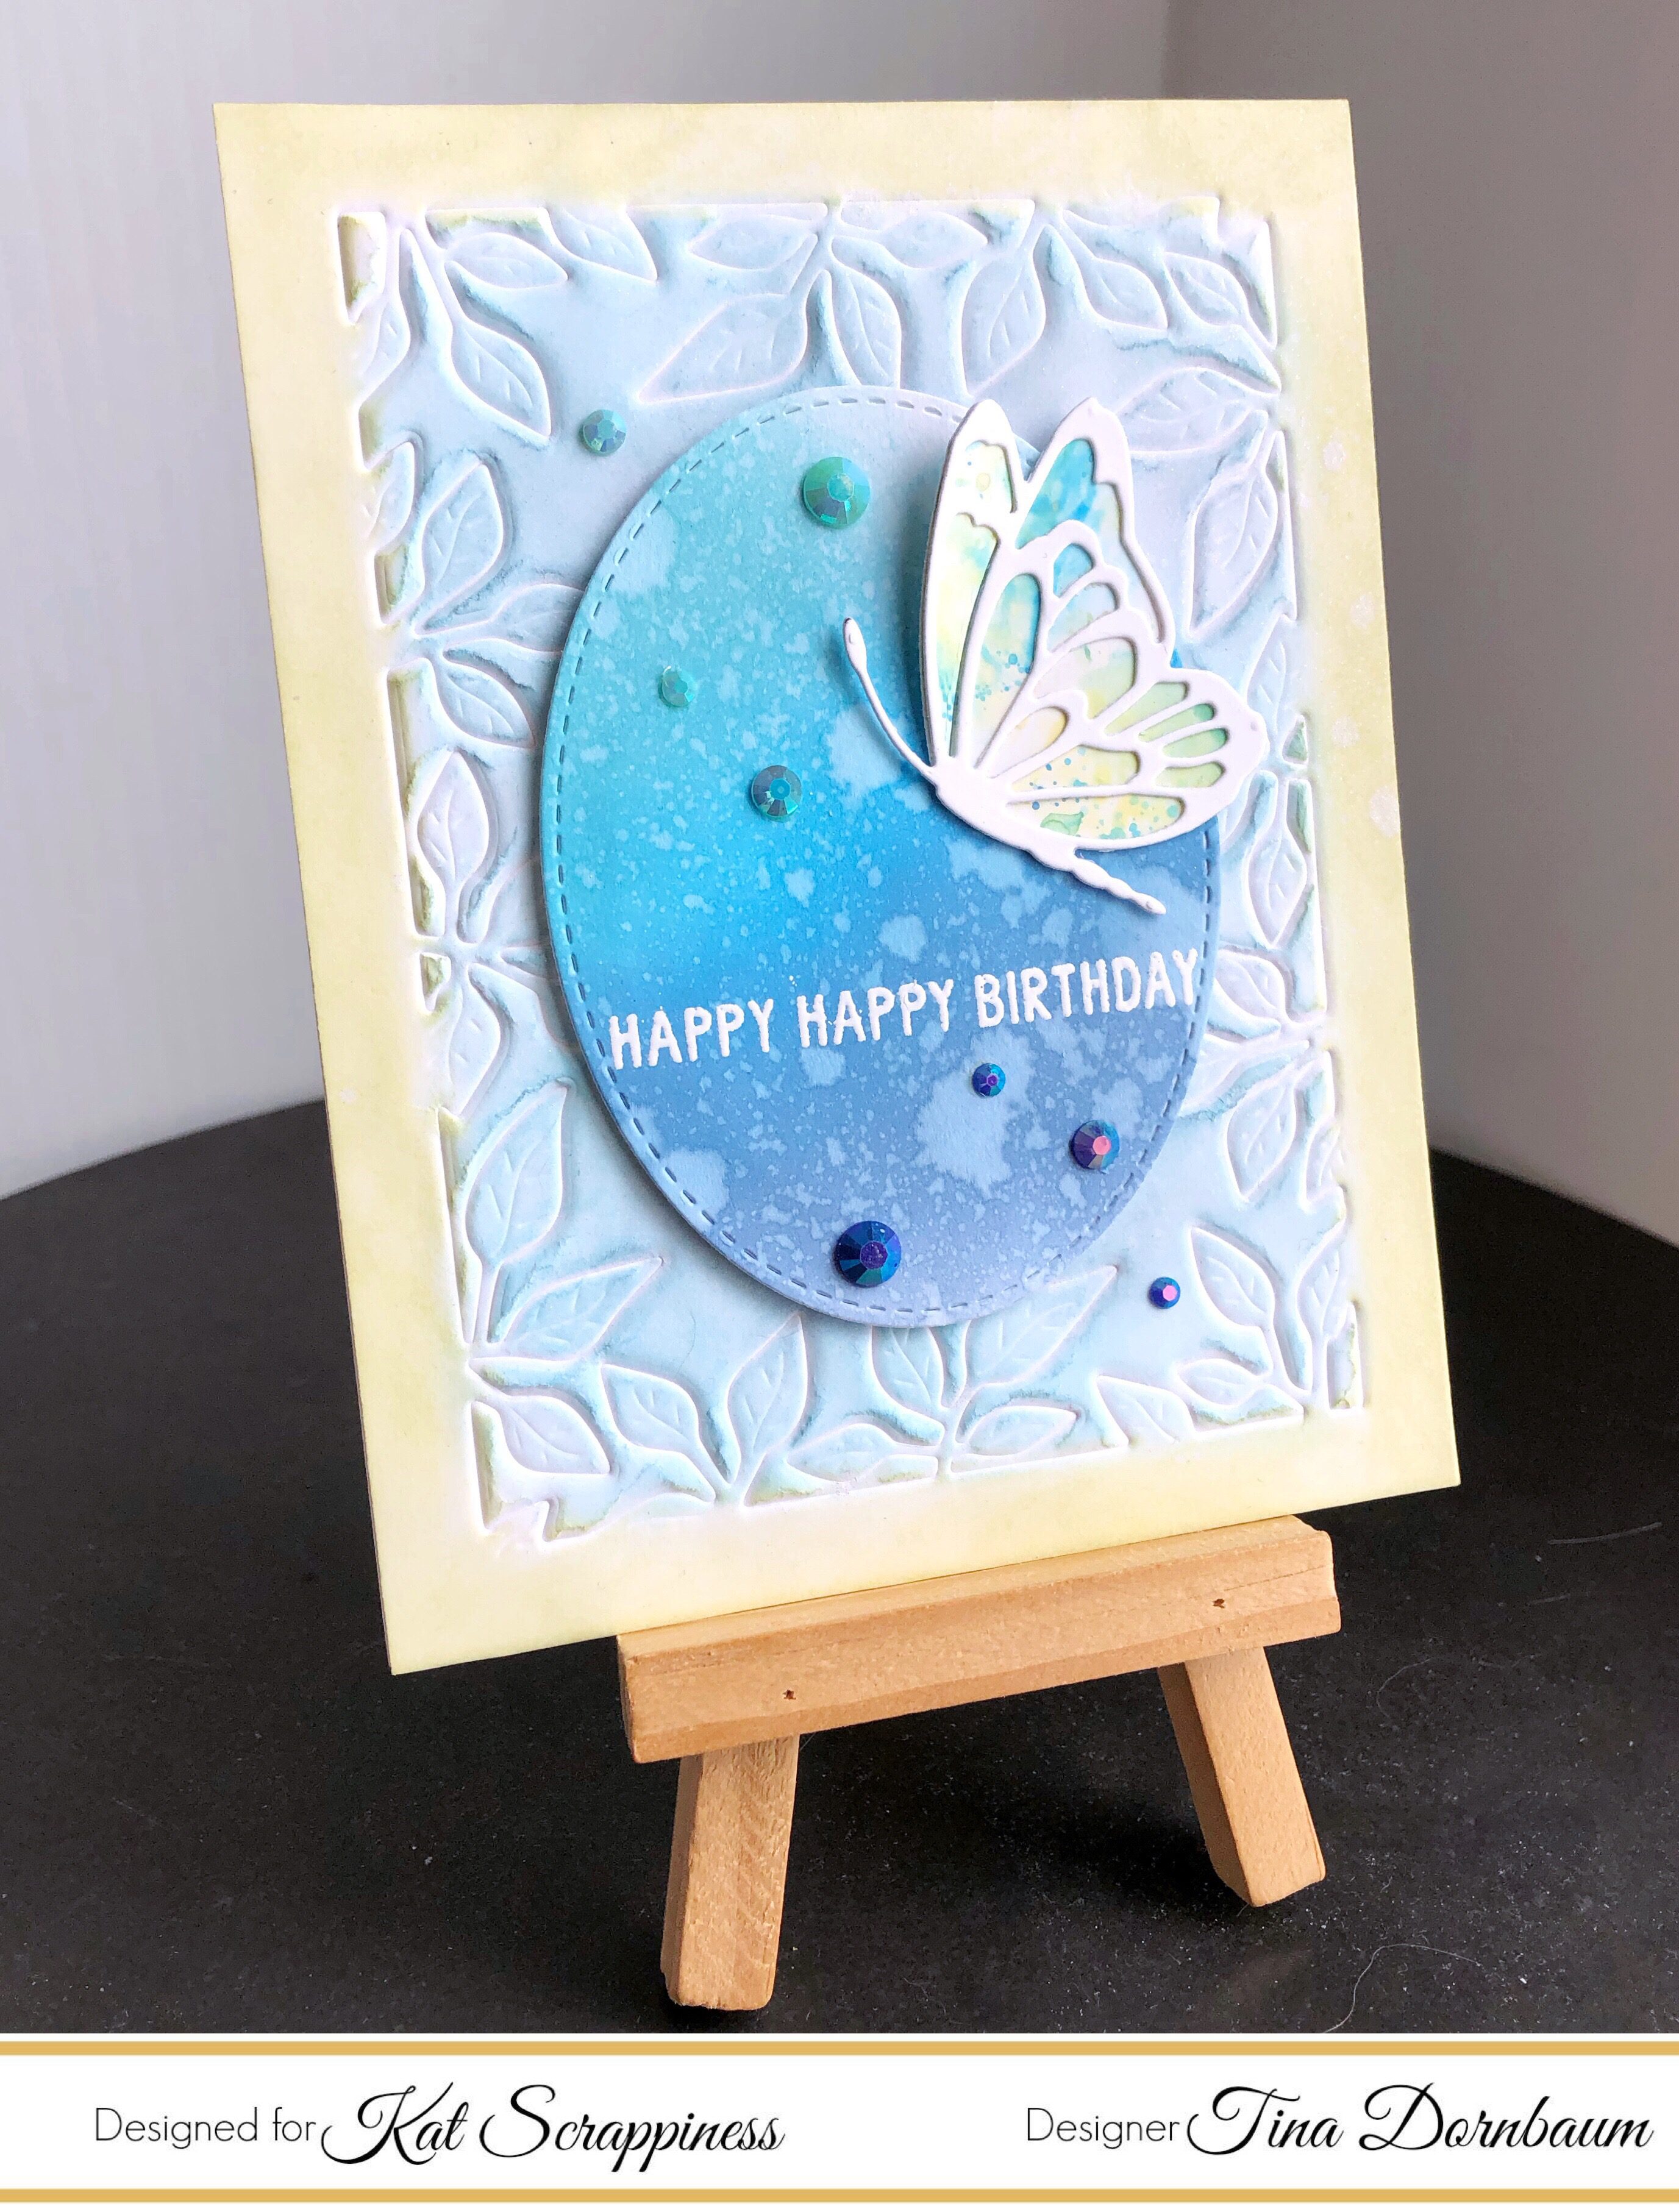
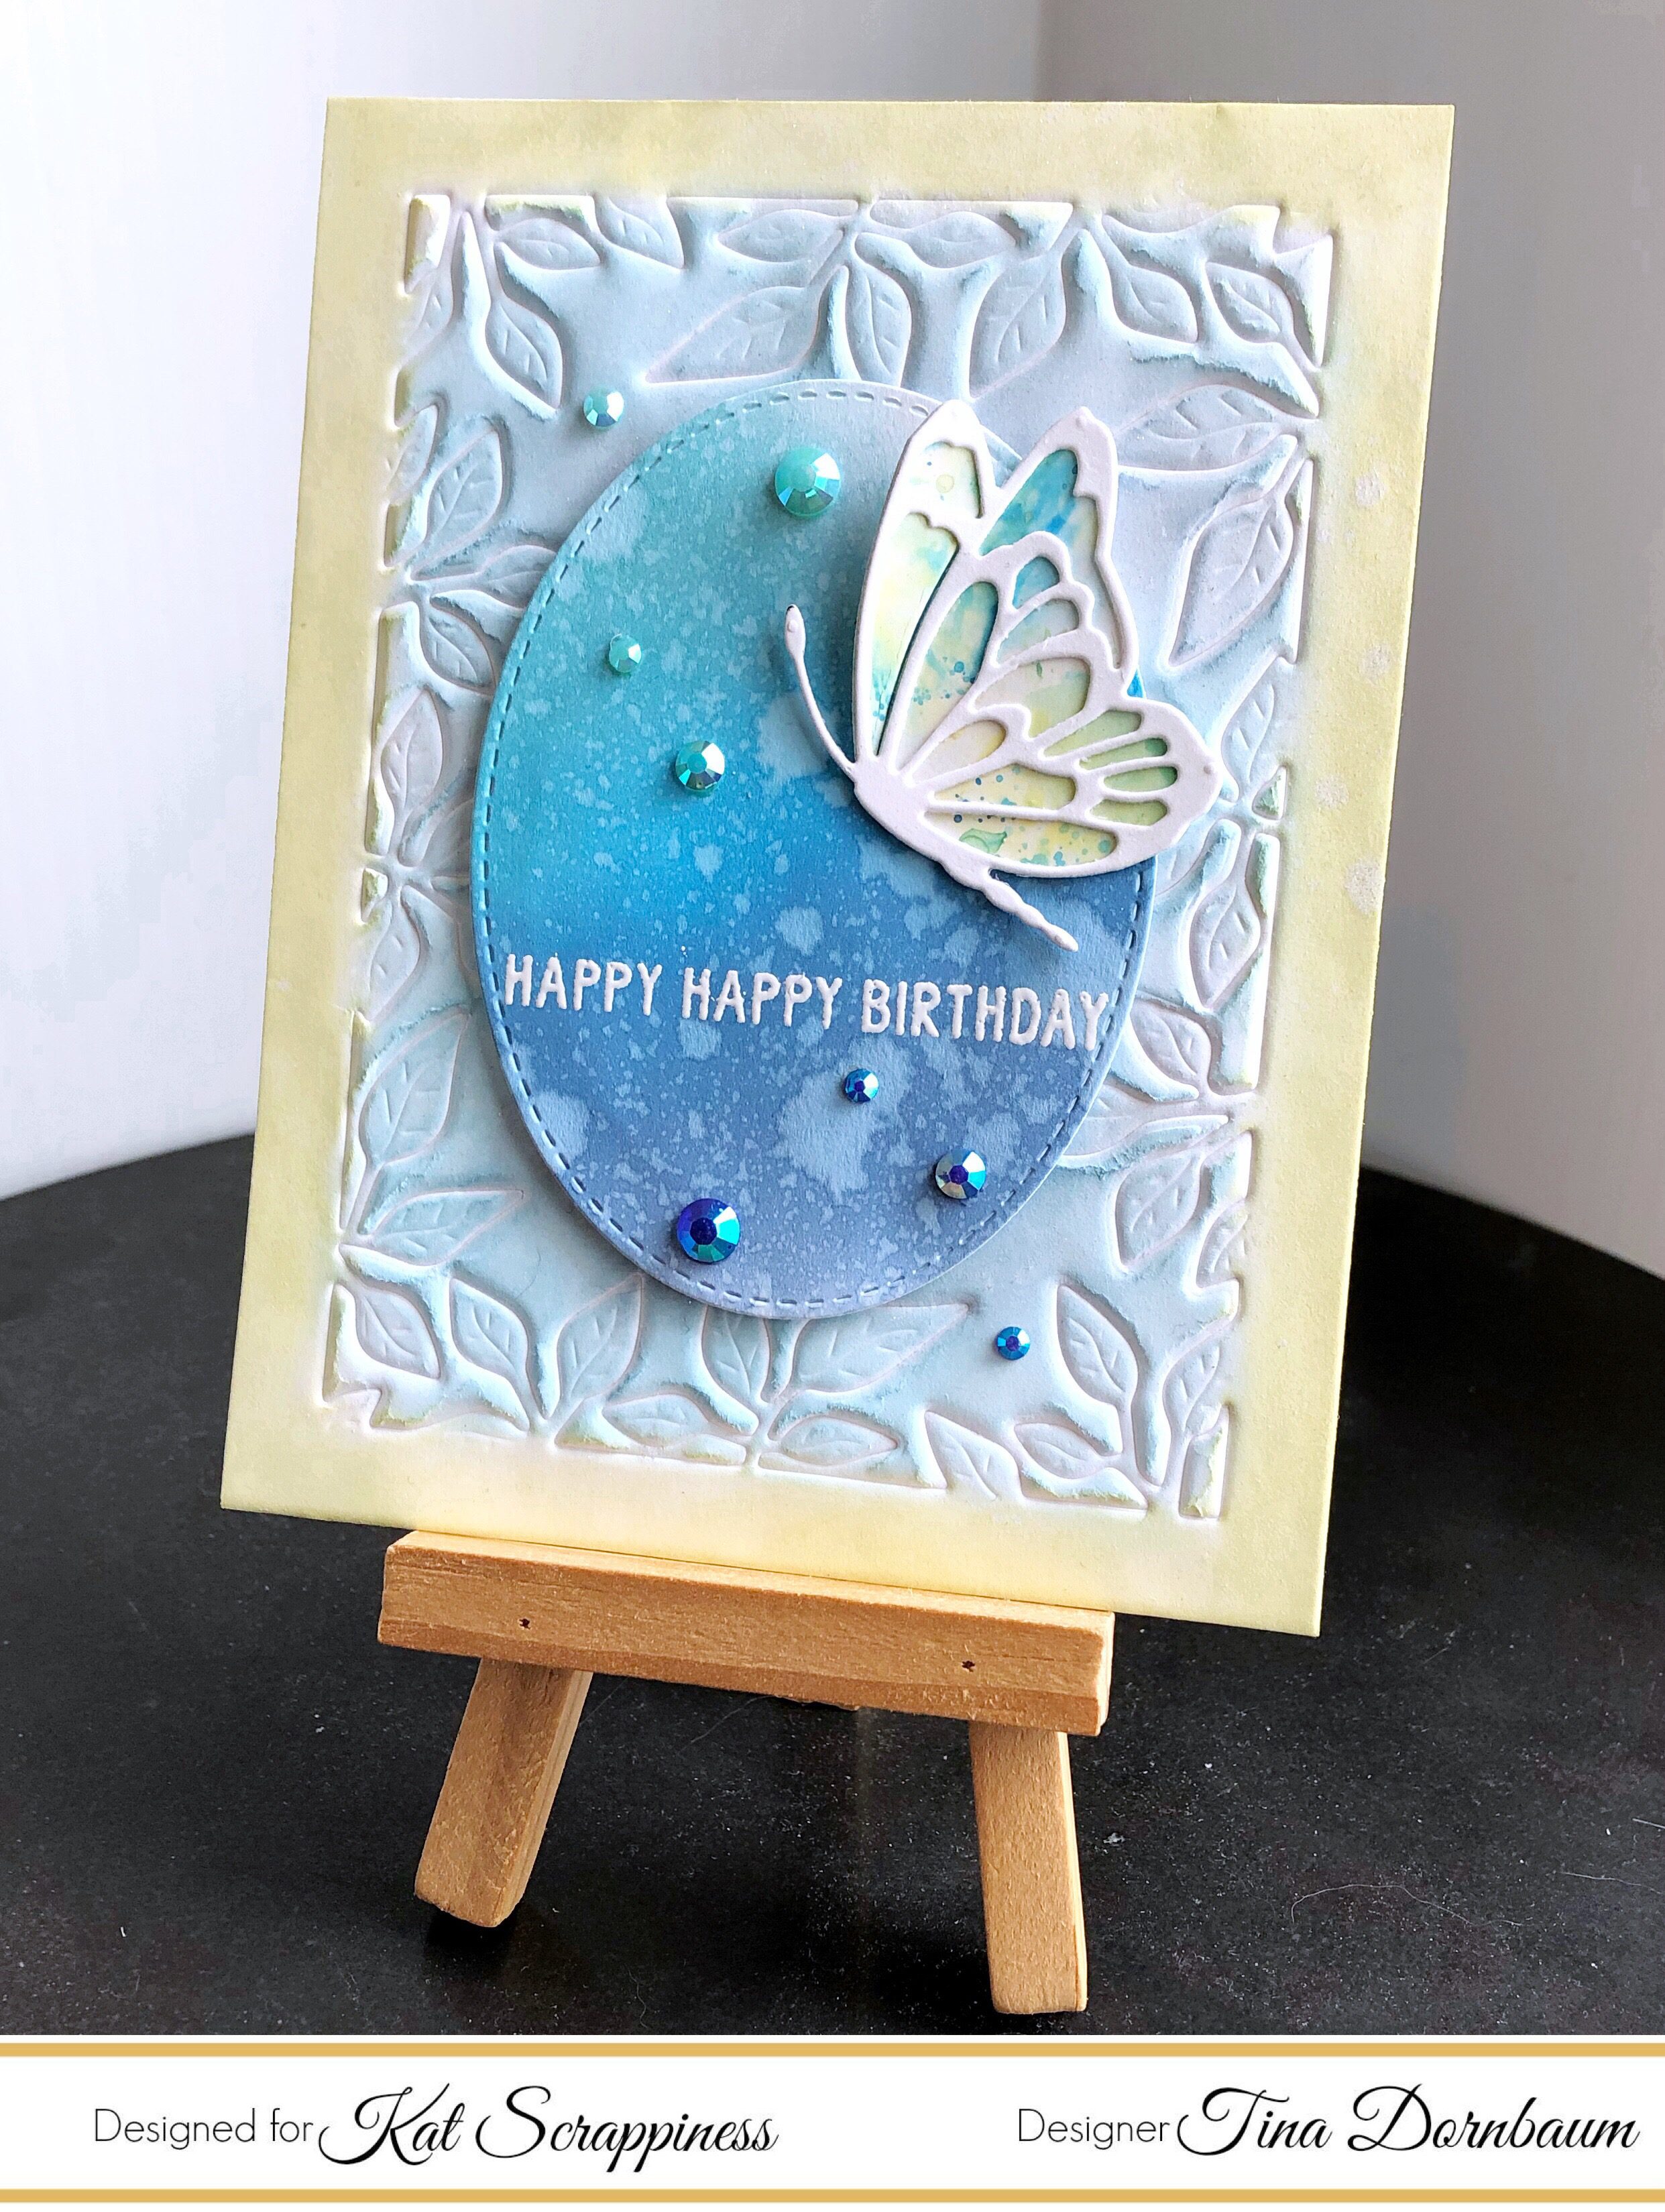
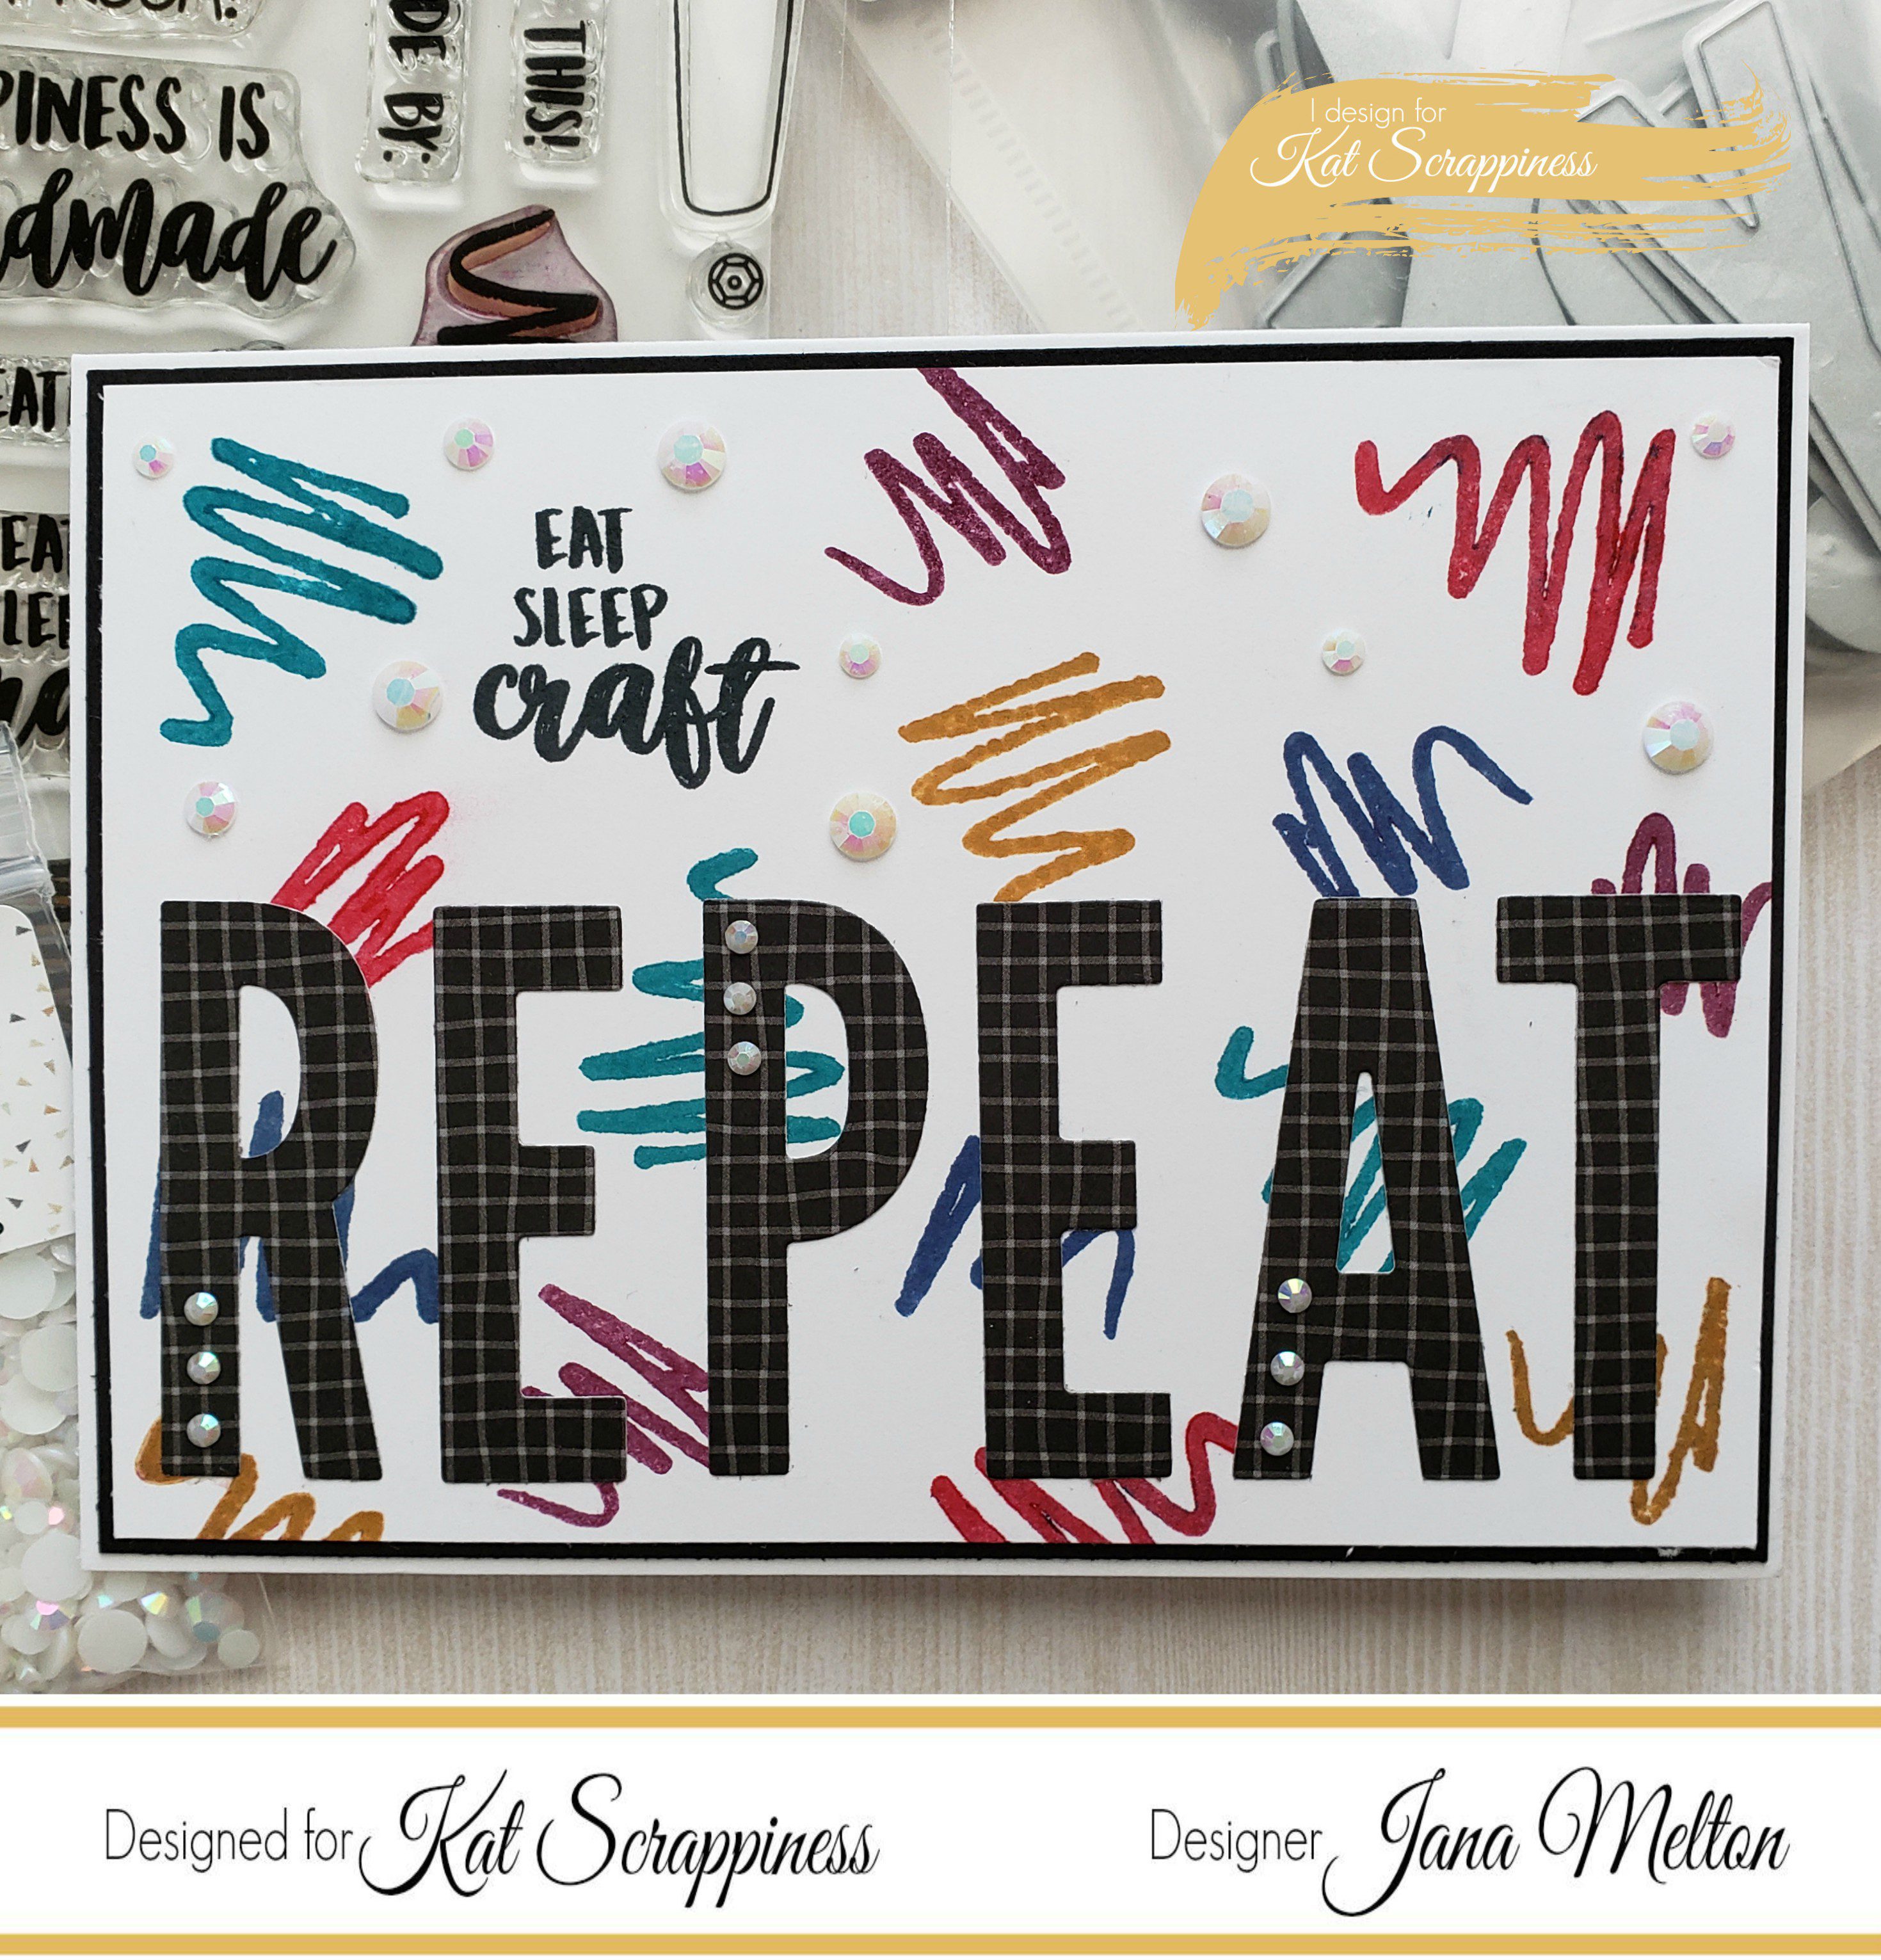
    Hi Everyone, its Tina here. I have a card to share with you using a Bokeh Background and the new Zig Zag Border dies. I used the Zig Zag Stitch Border dies to tone back my background. Below you will find the steps to create your own card.

    Step 1 – Trim White Cardstock  to 8 1/2″ x 5 1/2″, score at 4 1/4″ and fold in half for a vertical side fold card. (A2)

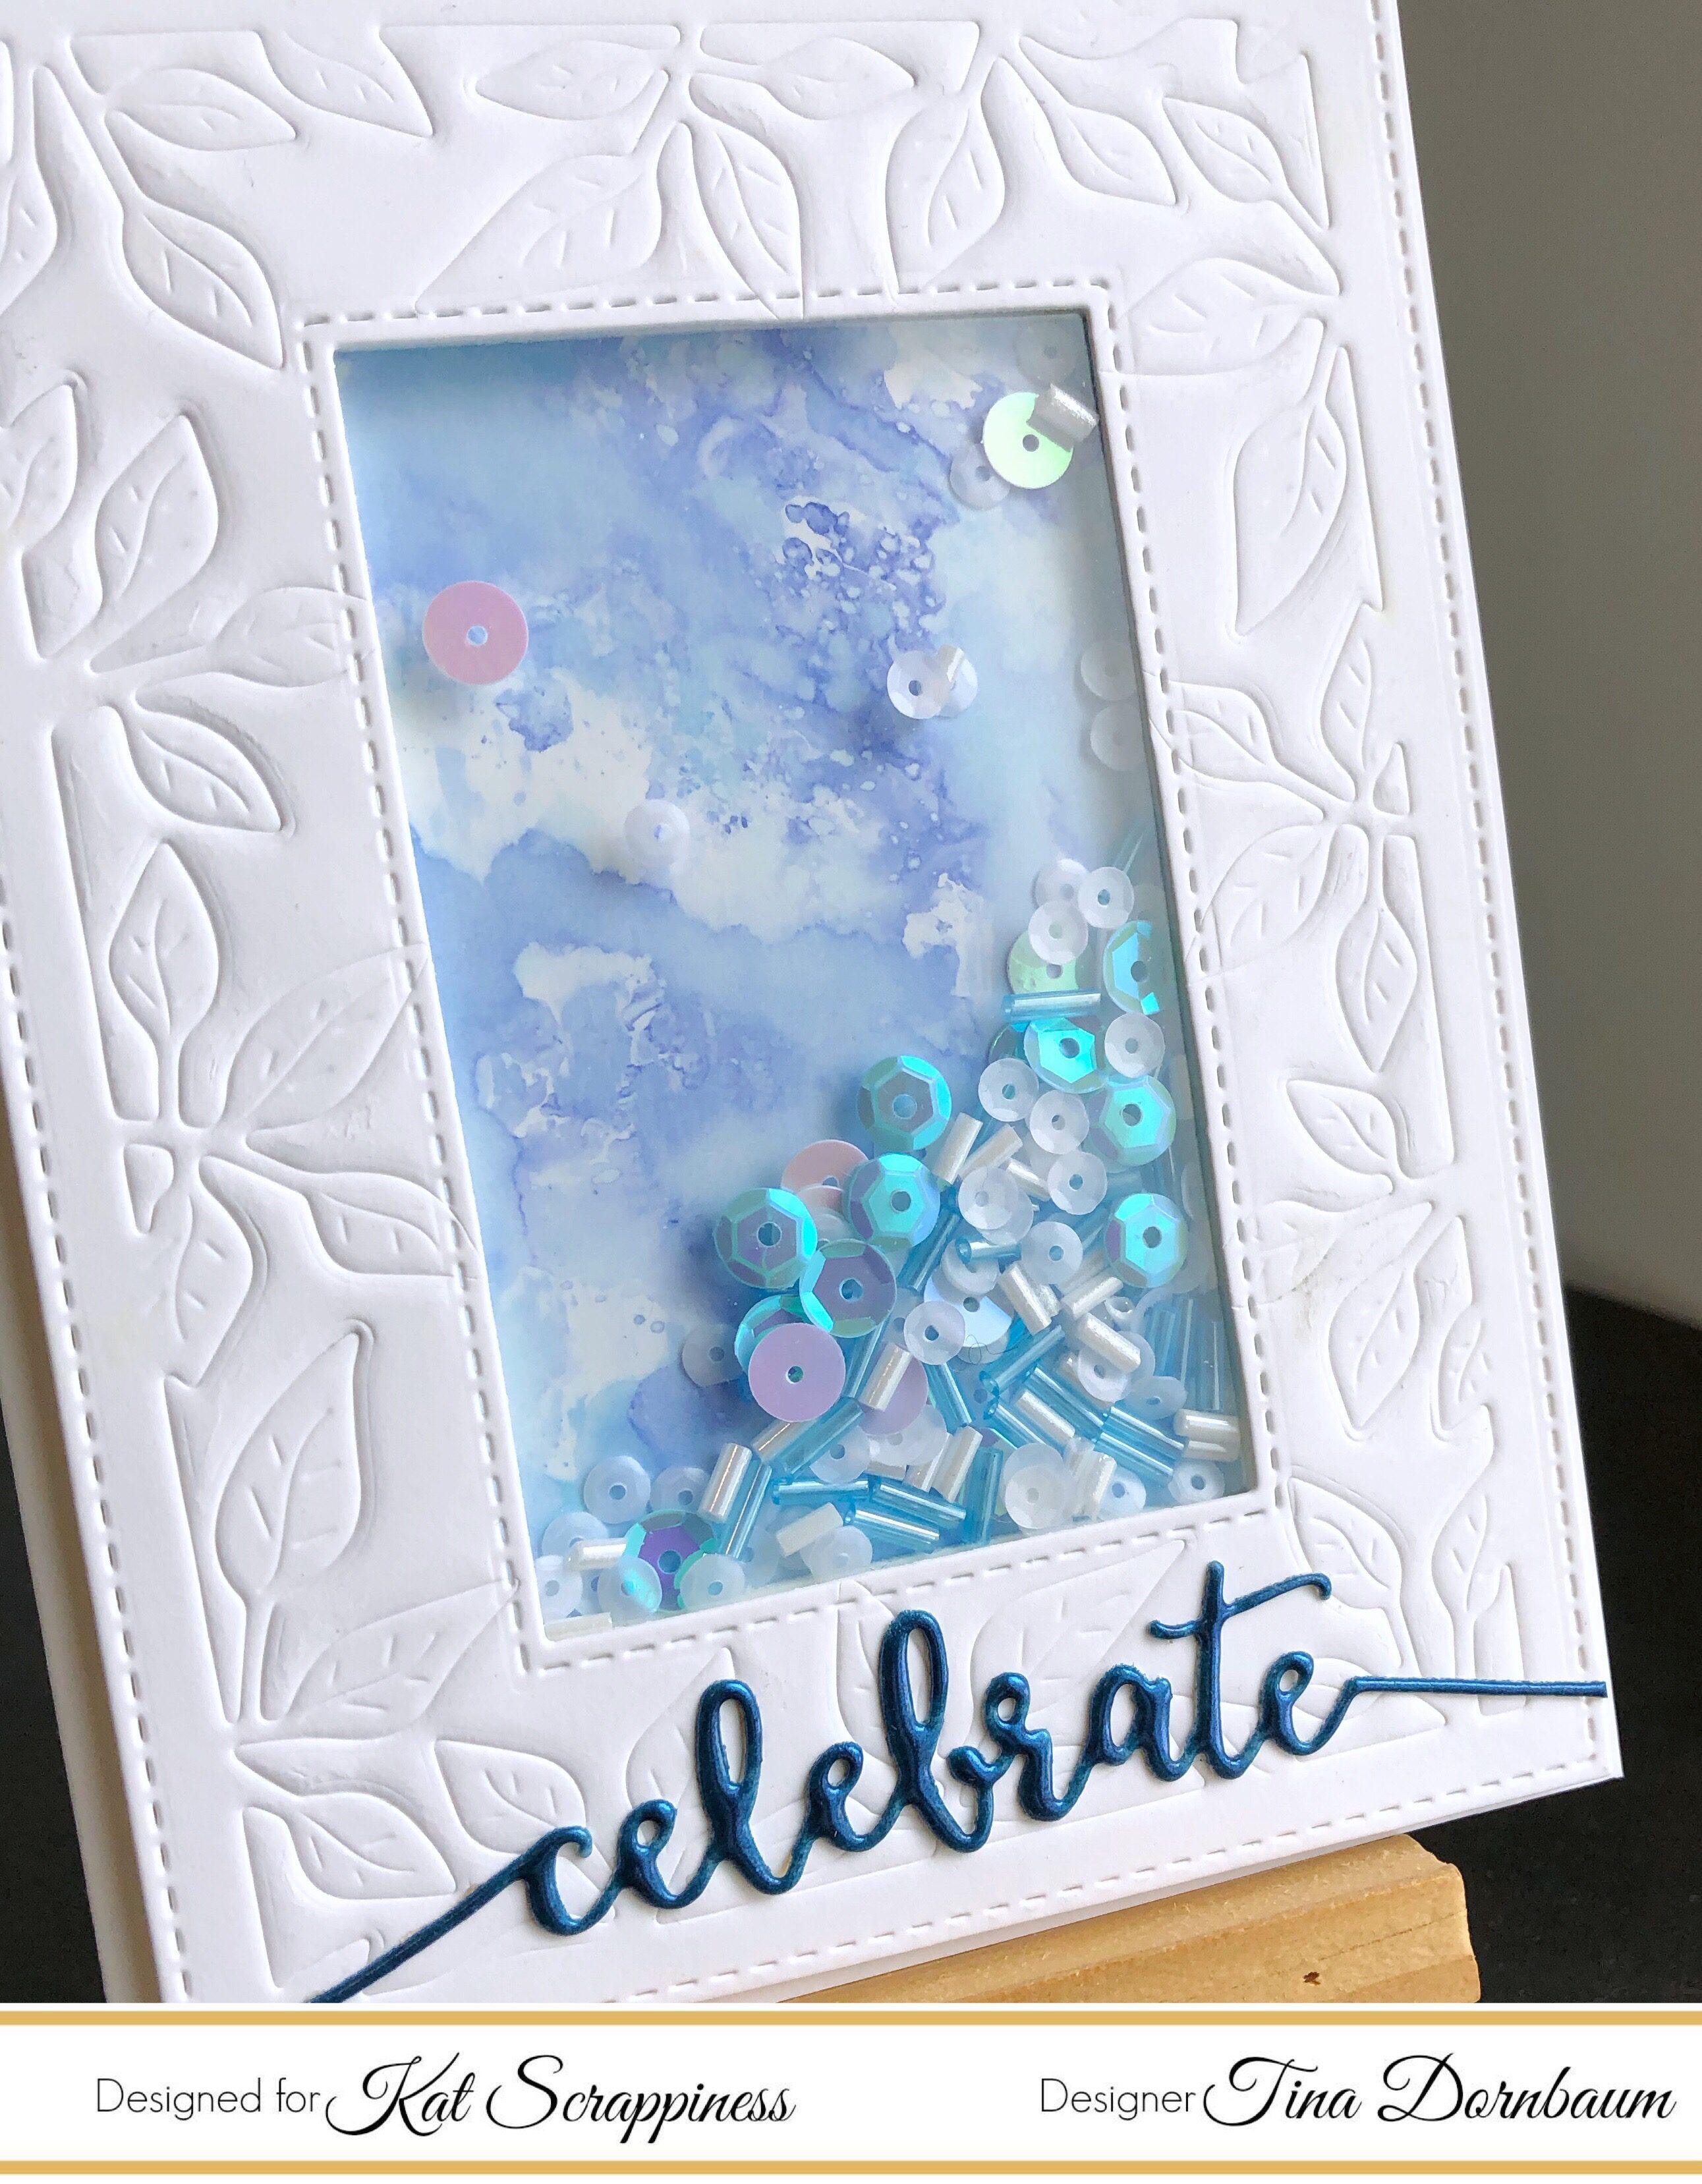
    Step 2 – Trim White Cardstock to 5 1/2″ x 4 1/4″. Using the Picket Fence Life Changing Brushes apply Distress Oxide Inks in various sizes of circles. I used Seedless Preserves, Antique Linen, Picked Raspberry, Spiced Marmalade, Barn Door.

    Step 3 – Diecut Never Ending Circles to create a stencil of various size circles. For a smaller circle use any punch or circle you have from another set. Randomly apply various sizes of circle using White Ink and a mini ink blending tool to the background created from Step 2. See photo below for finished Bokeh Background. Let Dry then adhere to card using Nuvo Deluxe Adhesive.

    Step 4 – Diecut Zig Zag Stitch Border two times using White Cardstock. Adhere to card one on top and one on the bottom using Nuvo Deluxe Adhesive. The white helps to tone down the background.

    Step 5 – Diecut sentiment and adhere to card using Collage Medium.

    Step 6 – For added interest adhere Fuschia Jewels using a Crystal Katana and collage medium.

    This card can be used for any occasion by changing the sentiment and colors. There are many new Zig Zag Stitch Dies in the store in various shapes. To receive 10% off your next order use code: TINA10 at checkout. Below is a link to all products used. Thank you for stopping by and have a wonderful day.
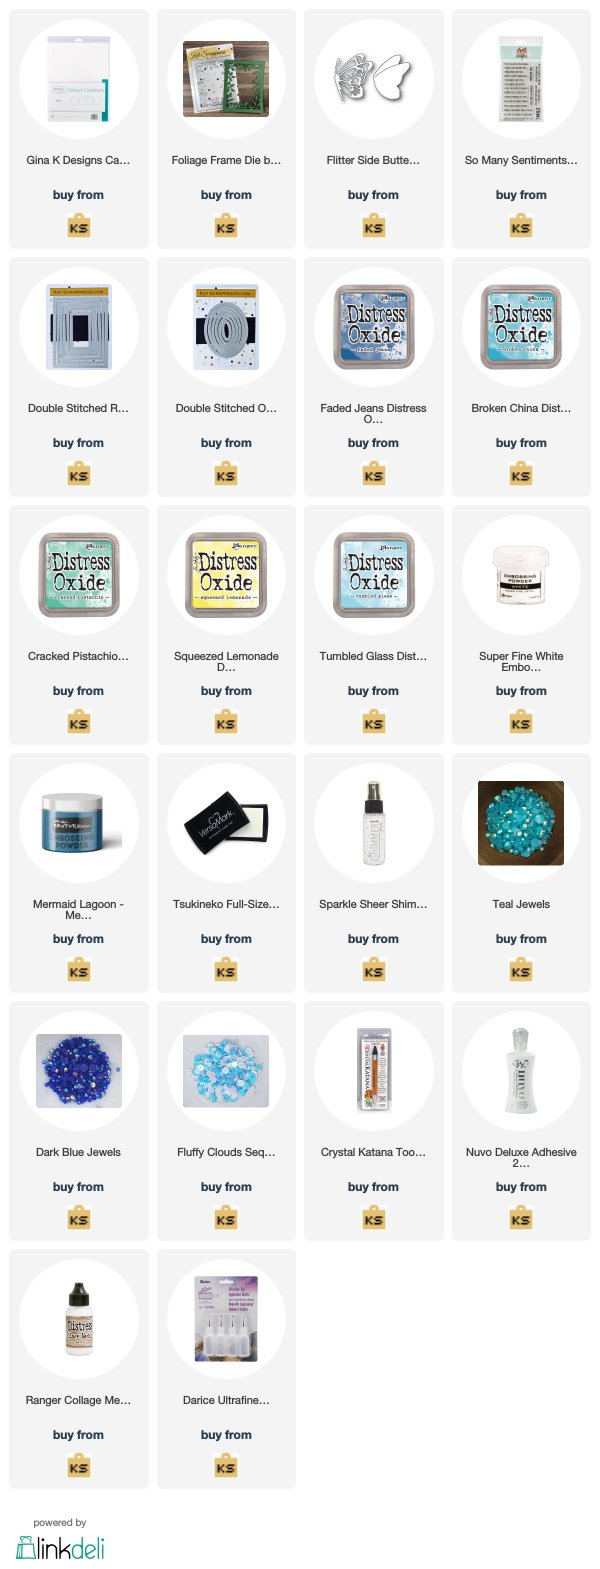
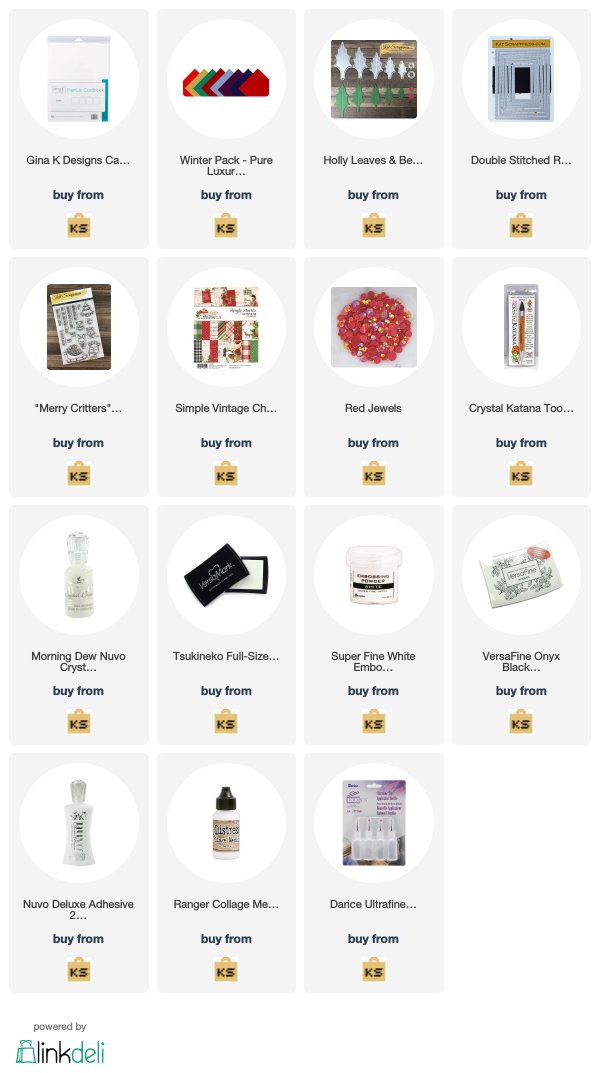
    Products Used:
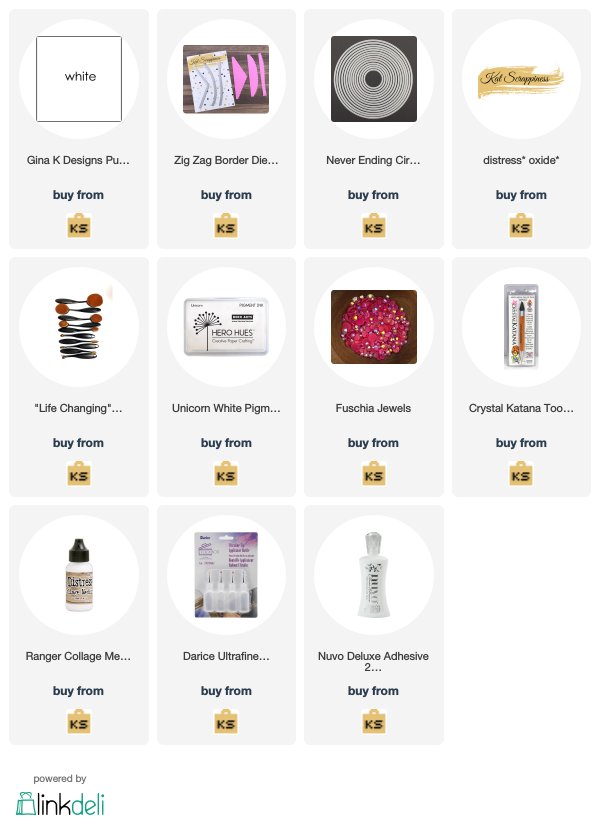
    https://linkdeli.com/widget.js?1551106829638

  • How To Foil Using Your Background Dies

    How To Foil Using Your Background Dies

    Happy New Years Everyone, it’s Tina here. I wish you all an awesome year ahead! By now the holidays have passed and life is returning to normal. Today I wanted to share a card with you using your Background Dies to create a foiled background. Below you will find the steps to recreate this fun technique and how I used the Fancy Floral Coverplate Die.

    Step 1 – Trim White Cardstock to 8 1/2” x 5 1/2”, score at 4 1/4” and fold in half for a vertical side fold card (A2)

    Step 2 – Diecut Fancy Floral Coverplate using White Cardstock. Place the diecut on White Cardstock and secure it with Painter’s Tape. Using Deco Foil Transfer Gel apply with a Palette Knife over the stencil created. Once stencil is thoroughly covered gently remove the stencil. Let the background dry for an hour or until the Transfer Gel has turned clear.

    Step 3 – Place Foil Paper over the background and insert it into a folded photocopy paper. Pass it in your laminator. I passed it twice. Remove the Foil Paper and what you have is a beautiful foiled background. See photos below.

    Step 4 – Diecut Double Stitched Rectangles to the background created from Step 3 – Adhere to card using Foam Tape.

    Step 5 – Diecut sentiment 3 times and adhere all layers using Collage Medium and adhere to card.

    Step 6 – Stamp sentiment using Versamark on Black Cardstock. Sprinkle White Embossing Powder and remove the excess. Heat set it with a heat tool. Trim and adhere to card using foam tape.

    Step 7 – Optional – For added interest Diecut Stitched & Layered Christmas Tree (the star) 3 times and adhere to card using Nuvo Deluxe Adhesive.

    I hope you enjoyed another way to use your background dies. This card can be used for any occasion by changing the background, color and sentiment. Below is a link to all the products used. Thanks for stopping by and have a wonderful day!

    Products Used:

    https://linkdeli.com/widget.js?1543923411530


  • Fancy Floral Cards

    Fancy Floral Cards

    Hi Everyone, it’s Tina here. Today I have 2 cards to share with you using the Fancy Floral Coverplate die and word sentiments. Below you will find the steps to replicate this card.

    Step 1 – Trim white cardstock to 8 1/2″ x 5 1/2″, score at 4 1/4″ and fold in half for a vertical side fold card.

    Step 2 – Trim white cardstock to 5 1/2″ x 4 1/4″. Apply Distress Oxide Ink using an ink applicator. For the Awesome card use Seedless Preserves, Tattered Rose and Antique Linen. For the Happy card use Chipped Sapphire, Peacock Feather and Tumbled Glass.

    Step 3 – Diecut Fancy Floral Coverplate (x2) using Silver Glitter Cardstock. Adhere to backgrounds from Step 2 and then adhere the entire panels to the card front using Nuvo Deluxe Adhesive Glue.

    Step 4 – Diecut Stitched Fishtail Banners (x2) using Black Cardstock. Stamp sentiment using versamark. Sprinkle White Embossing Powder, remove the excess and heat set it with a heat tool. Adhere to cards using Nuvo Deluxe Adhesive Glue.

    Step 5 – Diecut Word die (x3) using Black Cardstock. Diecut the shadow word die using White Cardstock. Adhere all the layers using collage medium and then adhere to the card slightly overlapping the sentiment banner.

    I hope you enjoyed today’s cards. These cards can be used for any occasion by changing the colors and sentiments. Below is a link to all the products used. To receive 10% off your order at Kat Scrappiness use code: TINA10 at checkout. Thank you for stopping by and have a wonderful day.

    Products Used:


    https://linkdeli.com/widget.js?1543923411530

  • Snowman Holiday Card

    Snowman Holiday Card

    Hi Everyone, it’s Tina here. Can you believe Christmas is around the corner?!?!? Do you still have some holiday cards to make? Today I have a fun card to share with you using old and new product from Kat Scrappiness. The Stitched & Layered Snowman die along with the Stitched Winter Swirl Backdrop Die makes it super easy to create those last minute holiday cards. Below are the steps to replicate this simple Snowman Holiday Card.

    Step 1 – Trim White cardstock to 8 1/2” x 5 1/2”, score at 4 1/4” and fold in half for a vertical side fold card. (A2)

    Step 2 – Diecut Winter Swirl Backdrop Die using Blue folded cardstock. Adhere to the front of card using Nuvo Deluxe Adhesive Glue.

    Step 3 – Diecut Stitched & Layered Snowman Die in colors of your choice. Adhere to card using Nuvo Deluxe Adhesive Glue.

    Step 4 – Diecut Merry Christmas Brush Script die using Glitter Cardboard. Adhere to card using Collage Medium.

    Step 5 – Optional – apply Glossy Accents over the sentiment.

    I hope you enjoyed this fun holiday card which takes little time to make. Below is a link to all the products used. To receive 10% off your order at Kat Scrappiness use code: TINA10 at checkout. Thank you for stopping by and have a wonderful day!

    Products Used:


    https://linkdeli.com/widget.js?1543923411530

  • Holiday Cards With Crafter Essentials Winter Dies

    Holiday Cards With Crafter Essentials Winter Dies

    Hi Everyone, it’s Tina here. Today I have a couple of holiday cards to share with you using the new Crafters Essentials Winter dies. You can make those last minute cards with these dies and use some fancy cardstock to give it that extra festive feel. Below I will show you the steps to create these cards using Foiled Cardstock and Glitter Cardstock. Please note that it is extremely hard to photograph the Foiled Card but it is stunning in real life.

    Card #1 using Foiled Cardstock

    Step 1 – Trim White Cardstock to 8 1/2″ x 5 1/2″, score at 4 1/4″ and fold in half for a horizontal side fold card. (A2)

    Step 2 – Diecut Crafters Essentials Winter using Teal Foiled Cardstock for background, Green Foiled Cardstock for trees, and Silver Foiled Cardstock for hills. Adhere background and bottom layered hill using Nuvo Deluxe Adhesive glue. Adhere the trees using Nuvo Deluxe Adhesive glue.

    Step 3 – Stamp Merry Critters sentiment to the top layer of hill created from step 2 using Versamark. Use an anti static powder tool before you stamp. Sprinkle White Embossing Powder and remove the excess. Heat set it with a heat tool. Adhere the top layer hill using Nuvo Deluxe Adhesive glue.

    Card #2 using Glitter Cardstock

    Step 1 – Trim White Cardstock to 8 1/2″ x 5 1/2″, score at 4 1/4″ and fold in half for a horizontal side fold card. (A2)

    Step 2 – Diecut Crafters Essentials Winter using Soft Blue Cardstock for background, Green Cardstock for trees, and Silver Glitter Cardstock for hills. Adhere all diecuts using Nuvo Deluxe Adhesive glue.

    Step 3 – Stamp Merry Critters sentiment just above the hill on the left side 2 using Versamark. Use an anti static powder tool before you stamp. I shaped the sentiment to follow the shape of the hill. Sprinkle White Embossing Powder and remove the excess. Heat set it with a heat tool.

    I hope you enjoyed today’s cards. You can try other versions of these cards by using patterned paper Christmas themed. To receive 10% off your order use code: TINA10 at checkout. Below is a link to all the products used. Thank you for stopping by and have a wonderful day.

    Products Used:
    https://linkdeli.com/widget.js?1543923411530

  • Foliage Frame Cards

    Foliage Frame Cards

    Hi Everyone, it’s Tina here. Today I am excited to share with you 2 cards using the new Foliage Frame Die which I designed. I wanted to thank Kat for having faith in my design. Below you will finds the steps used to create these cards.

    Card #1

    Step 1 – Trim White Cardstock to 8 1/2″ x 5 1/2″, score at 4 1/4″ and fold in half for a vertical side fold card. (A2)

    Step 2 – Trim White Cardstock to 4 1/4″ x 5 1/2″. Lightly spray the cardstock, as this will prevent cracks when you emboss. Dry Emboss Foliage Frame using the slightly sprayed cardstock through your diecutting machine. Diecut Double Stitched Rectangles for the edge and another for a window.

    Step 3 – Trim Acetate slightly larger than the window and adhere to the inside of panel using double sided adhesive glue. Apply foam tape around the window (2 layers). Add Fluffy Clouds Sequins Mix inside the window. Seal it with a slightly larger background panel using patterned paper or a DIY background. I created the background using Distress Oxide Inks Faded Jeans and Broken China by applying the inks on a craft mat. I sprayed it with water and dipped the cardstock, heat set it and repeated until I was happy with the design. Adhere the entire panel to the front of the card.

    Step 4 – Diecut word sentiment using White Cardstock. Add versamark directly on the sentiment and sprinkle Brutus Monroe Mermaid Tail. Heat set it with a heat tool. Repeat this step 2 more times. Adhere to card using collage medium.

    Card #2

    Step 1 – Trim White Cardstock to 8 1/2″ x 5 1/2″, score at 4 1/4″ and fold in half for a vertical side fold card. (A2)

    Step 2 – Trim White Cardstock to 4 1/4″ x 5 1/2″. Lightly spray the cardstock, as this will prevent cracks when you emboss. Dry Emboss Foliage Frame using the slightly sprayed cardstock through your diecutting machine. Apply Distress Oxide Ink using an ink applicator. I used Squeezed Lemonade for the edge and worked in Tumbled Glass to the center. For added interest and sparkle I sprayed Shimmer Spritz. Let dry.

    Step 3 – Create a background on scrap piece of White Cardstock. I applied Distress Oxide Inks Faded Jeans, Broken China and Cracked Pistachio on a craft mat. I sprayed it with water. I dipped the cardstock into the ink and heat set. I repeated this step until I was happy with the background.

    Step 4 – Diecut Double Stitched Ovals using the background created from Step 3. Stamp sentiment using Versamark towards the bottom of the diecut background. Sprinkle White Embossing Powder. Heat set it with a heat tool. Adhere the panel to the front of the card using foam tape.

    Step 5 – Diecut Flitter Side Butterfly using White Cardstock to the Detail die and Patterned Paper or DIY background to the Solid die. Assemble the butterfly using collage medium and adhere to card.

    Step 6 – For added interest and sparkle adhere Teal and Dark Blue Jewels using a Crystal Katana and adhering it with collage medium.


    These cards can be used for any occasion by changing the colors, diecut images and sentiment. Below is a link to all the products used. To receive 10% off your next order use code: TINA10 at checkout. Thank you for stopping by and have a wonderful day.

    Products Used:

    https://linkdeli.com/widget.js?1542972592847

  • Holly and Berries Holiday Cards

    Holly and Berries Holiday Cards

    Hi Everyone, it’s Tina. I have 2 cards to share with you using the new Holly and Berries dies, Double Stitched Rectangles Dies, Merry Critters Stamp Set, Simple Stories 6×8 Paper Pad Simple Vintage Christmas and Red Jewels.

    Below is a process video showing how I made one of the cards. I also show how to make the holly shaped.

    YouTube Process Video

    https://youtu.be/qd38pSXyeRU>

    I hope you enjoyed these 2 simple yet elegant Holiday Cards using the new Holly & Berries dies. Below is a link to all the products used. To receive 10% off your order at KatScrappiness.com use code: TINA10 at checkout. Have a wonderful day and see you again soon.

    Products Used:
    https://linkdeli.com/widget.js?1540275216575

  • Merry Christmas Critters

    Merry Christmas Critters

    Hi Eveyone, it’s Tina here today. I have a Holiday card to share with you using the new Merry Critters Stamp Set and the Double Stitched Rectangles Die. Below you will find the steps to replicate this card.

    Step 1 – Trim White Cardstock to 8 1/2″ x 5 1/2″, score at 4 1/2″ and fold in half for a vertical side fold card. (A2)

    Step 2 – Trim White Cardstock to 4 1/2″ x 5 1/2″. Apply Distress Oxide Ink using an ink applicator to create a sky. I used Tumbled Glass starting from 1 1/2″ from the bottom and working up to Stormy Sky. I sprayed it with water to create some droplets. I sprayed som Shimmer Spritz for some added sparkle. Once dry I placed the Snowed In Stencil and applied Nuvo Glimmer Paste Moonstone. Let dry.

    Step 3 – Stamp Merry Critters images using Memento Tuxedo Black Ink. Color in the images with medium of your choice. I used Winsor and Newton Promarkers. Fussy cut the images or use a scan n cut.

    Step 4 – Dry Emboss the scene from Step 2 using the 2 largest dies. Spray a little water to help prevent cracking of the paper. Adhere to the card front using Nuvo Deluxe Adhesive Glue.

    Step 5 – Optional – Create hills – Stamp sentiment in bottom right corner using Versafine Onyx Black Ink. Adhere to card front using Nuvo Deluxe Adhesive Glue and foam tape for the last layer.

    Step 6 – Adhere the images from Step 3 using collage medium and foam squares for the tree. Using a white gel pen add some snow to the tree.

    Step 7 – For added interest and sparkle adhere Dark Blue Jewels using a Crystal Katana Tool and collage medium.

    I hope you enjoyed today’s card. The Merry Critters Stamp set is a fun way to create your holiday cards. Below is a link to all the products used. Thank you for stopping by and have a wonderful day.

    Products Used:

    https://linkdeli.com/widget.js?1540275216575

  • Coffee Card with a Video

    Coffee Card with a Video

    Good morning Kat Scrappiness fans!  It’s Lisa here today and I wanted to share a coffee card that I made that has a fun technique to go with it! I used the Fabrika Decoru Enamel Drops to make that cute heart embellishment for the front of the coffee cup.  I have a video for you to watch that shows exactly how I made it.  Some of the artisan coffee shops have the ability to put cool designs into the foam that you see on top of their drinks.  This technique I will show you mimics that look and can be reproduced on your cards!  The Fabrika drops are available in so many colors so the sky is the limit to what you can create!
    For my card I used one of the new stamp sets that was just released in the shop called
    Let’s Get Caffeinated.  I stamped one of the cute sentiments onto a
    Stitched Scalloped Nesting Tag die with some Distress Ink in Ground Espresso.  I tied a twine bow with multiple layers so it would really have some dimension.  I placed the Layered Coffee Cup die with the Fabrika heart embellishment on the front of the card and the sentiment on some foam tape and the card was done.  The background of the card was cut with the largest die from the Stitched Scalloped Rectangles in some pretty polka dot paper.
    The assembly of the card was fairly easy so I won’t go into too much detail in this post.  The technique with the Fabrika enamel drops is easier explained in the video.
    [youtube https://www.youtube.com/watch?v=kaeLiAocn0I]
    Thank you so much for stopping by today!  Don’t forget to use code Lisa10 to save 10% on your purchase in the shop!
    Also please check out our September challenge this month.  The theme is wine and you could win a $25.00 gift certificate to the shop.  Please stop by and play along!
    Have a great day everyone, I already am!
    ☕️Lisa ☕️

    PRODUCTS USED ON CARD

  • Eat Sleep Craft Repeat….

    Eat Sleep Craft Repeat….

    Hello everybody! Today I am excited to share another quick and easy card tutorial with you all using some amazing Kat Scrappiness products. This month Kat Scrappiness released some amazing new products and I really just can’t get enough of the new stamp set “Crafters Gonna Craft”. So let’s get started…

    To begin, I created my card base, which is an A6 sized card (4 1/2″ x 6 1/4″) using 110lb. white Recollections card stock. I then cut down a piece of black card stock to measure 4 3/8″ x 6 1/8″ and then cut down another piece of white card stock to measure 4 2/8″ x 6″. These will be my card mats.

    I then used the Condensed Uppercase Alphabet Dies by Kat Scrappiness to spell out the word “REPEAT” and die cut the letters out of Doodlebug Design Inc. classic double-sided card stock.

    Using the Crafters Gonna Craft 4″ x 6″ Clear Stamp Set by Kat Scrappiness, I stamped my sentiment, “Eat Sleep Craft” on to the white card mat using Memento Tuxedo Black Dye Ink. I then took the two “scribbled lines” stamps from the set and stamped them in various spots throughout the card mat using six different colored ink cubes from Hero Arts which I had in my stash from a kit that I had received from them.

    After I was satisfied with my stamp placement, I used Nuvo Delexe Adhesive to adhere the die cut letters to the bottom portion of my card mat.

    I then adhered the mats onto the card base, but I wasn’t done yet. It is a crafty card, and in my opinion, a crafty card is nowhere near complete without some type of added embellishment or bling. So of course I reached for some White Jewels by Kat Scrappiness and adhered them throughout the card using Nuvo Deluxe Adhesive.

    And there you have it….. another completed crafty card using amazing and fun new products from Kat Scrappiness.

    I hope that you enjoyed this quick tutorial that I put together for you today and it has inspired you to create some of your own crafty cards as well.  A list of the supplies and products I used are listed below for your reference. Please remember, when shopping at the Kat Scrappiness Store, use Code: Jana10 at checkout to receive 10% off of your order. Thank you for stopping by and as always…. Have a Fabulously Crafty Day!!!

    Products & Supplies Used:

    110lb. ReCollections White Card Stock (Card Base)

    65lb. ReCollections Black and White Card Stock (Card Mats)

    Doodlebug Designs Inc. Double-Sided Cardstock – 3080 Meadow

    Condensed Uppercase Alphabet Dies by Kat Scrappiness

    Crafters Gonna Craft 4″ x 6″ Clear Stamp Set by Kat Scrappiness

    Memento Tuxedo Black Dye Ink Pad

    Various Hero Art Ink Cubes

    White Jewels by Kat Scrappiness

    Nuvo Deluxe Adhesive 200N