
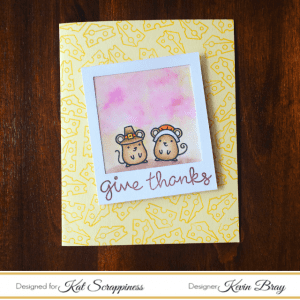
Hello everyone, it’s Juhi with my very first post for 2017. I moved to the United States from Singapore last month. All my craft supplies are still in transit, which means I have to make do with minimal supplies and a really tiny desk. So the first thing I did to cheer myself up was place an order with Kat Scrappiness.
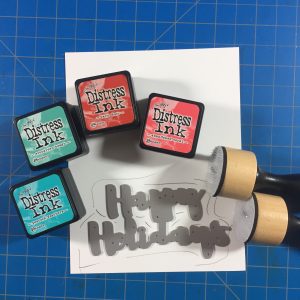
I got a set of the awesome Clarity Stencil Brushes and boy, am I in love!! I have never been good at distress ink blending, no matter how hard I try I always land up with ink splotches; but not with these brushes! These brushes make ink blending a breeze!
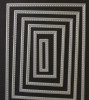
I created the background sky for my card by brushing on Peacock Feathers distress ink with the brush.

I love how I could get such even coverage with such ease! I then masked out the sky and inked the fallen snow in the same manner.
![]()
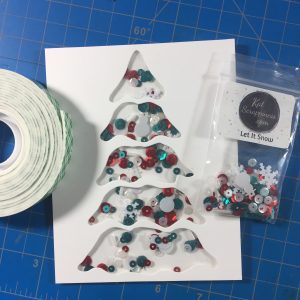
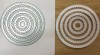
I also tried the Marvy Snow Marker for the first time, since I don’t have a heat gun I used a toaster with satisfactory results. Just look at that amazing dimension!
![]()
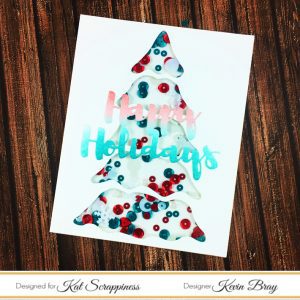
I did cover the mishap at the top right corner. I also added a paper pieced signboard on top of the one in this picture as I didn’t quite like it.
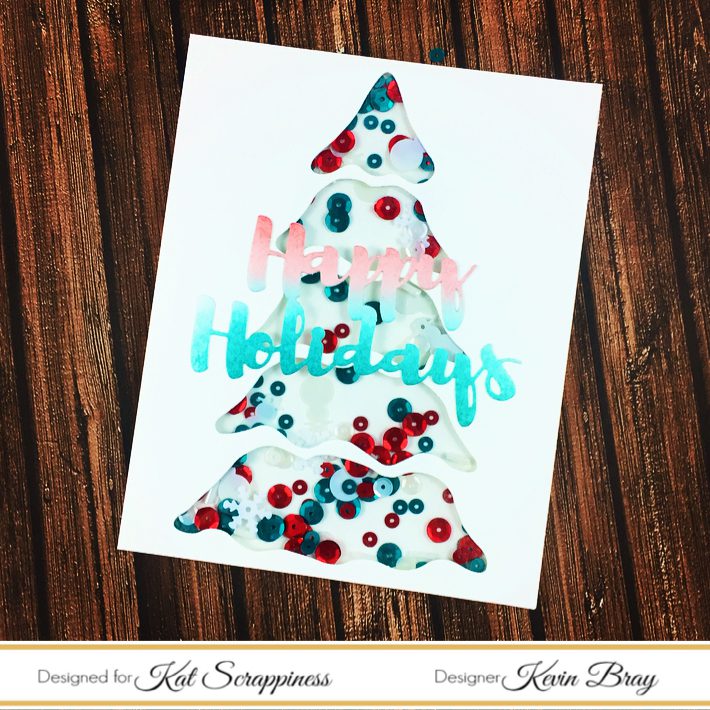
Here’s how I finished the card. I added some extra dimension by stamping and fussy cutting just the head and sticking it with double sided foam tape.

Here’s closer look at the awesome dimension.

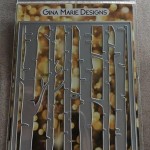
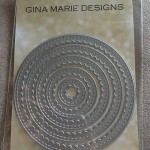
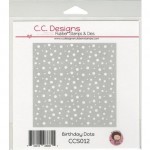
Supplies Used:


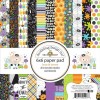


 Hey crafty people! I’m back with another fun Halloween card! I used some new Lawn Fawn products as well as some other items from the Kat Scrappiness store! Let’s get started!!!
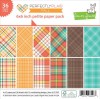
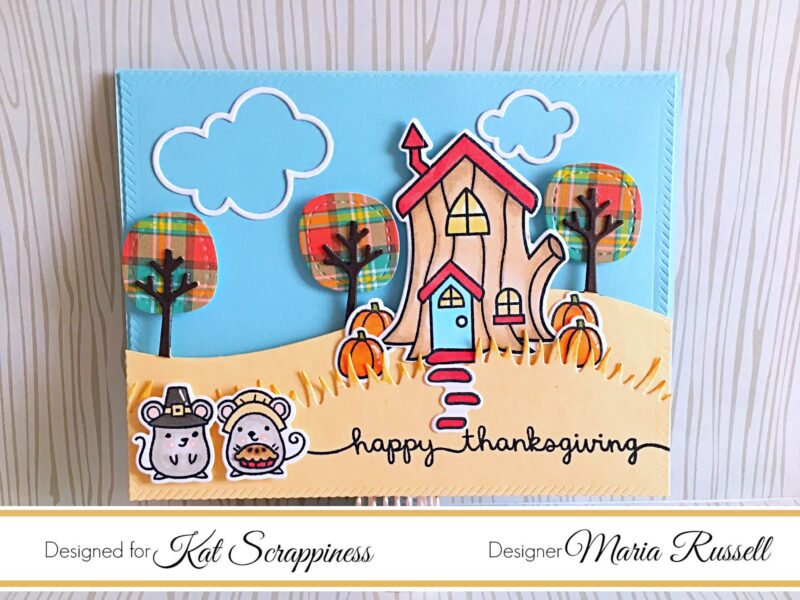
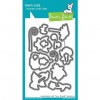
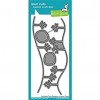
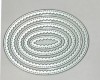
 I began by doing some die cutting with Kat’s stitched square dies. I cut my card base and a piece of pattern paper from the Lawn Fawn Perfectly Plaid-Fall paper pack with the largest stitched square die. I also cut a smaller square from some plain white card stock to do my stamping.Tip: If your using a piece of precious LF paper as a background- die cut the middle portion that will be covered and use it for another project!
 could color in the images with my Zig Clean Color Real Brush Markers. I also used the sticky part of a Post-It note to mask off the smaller monster, that way when I stomped the larger one, it looked like it was behind the smaller. The I chose some coordinating colors to color in the monsters. After everything was dry, I popped up the white panel with some foam dots onto my card base. This was a super fun card to make- especially with all of the new products!!! Hope you got some inspiration and don’t forget to check out the other designers projects while you’re hear! Here are the links to all the products used from the Kat Scrappiness store!


