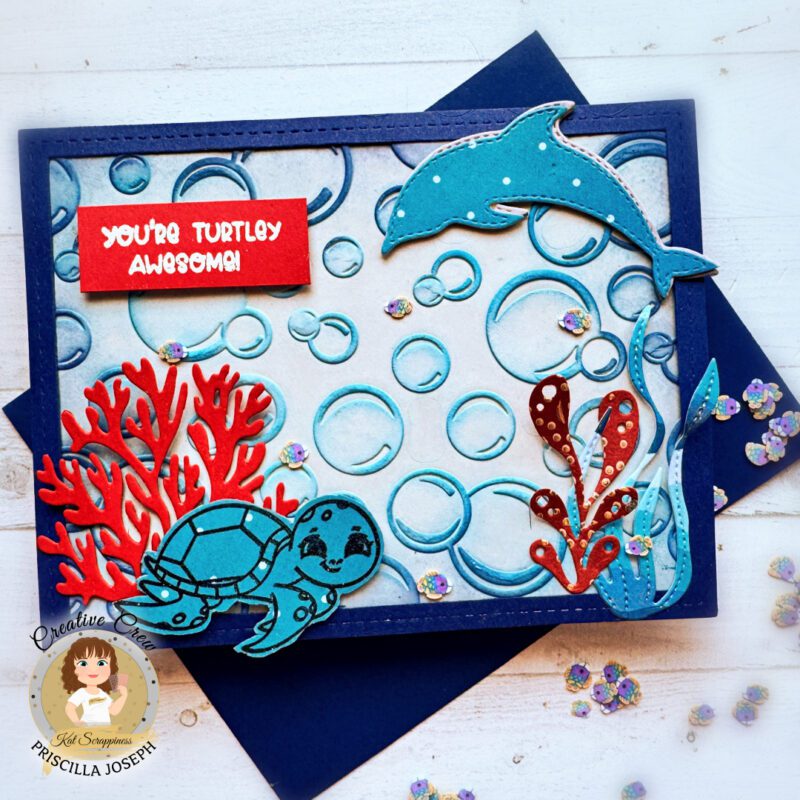
Hello Crafty Friends! Priscilla here from Nubble Light Designs. Today I am sharing an adorable ocean-themed card for someone “Turtley Awesome” in your life. I used several Kat Scrappiness products from the “Friends Under the Sea” stamp/die/paper collection along with Kat‘s “Stitched Dolphins” and “Life Under the Sea” craft dies.
Click to check out all of Kat’s Ocean-themed products in her store.
Card Details:
- Created an A2 side-folding white card base.
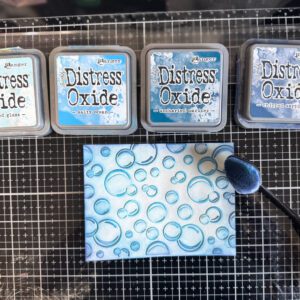
- Ran a white cardstock layer through my Big Shot using a bubbled-textured embossing folder from my stash.
- Brushed on several shades of blue Distress Oxide inks over the embossed bubble background.
- Adhered the bubble layer to the card base.
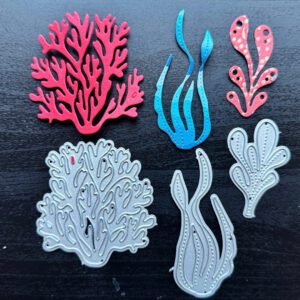
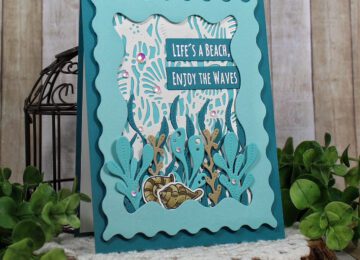
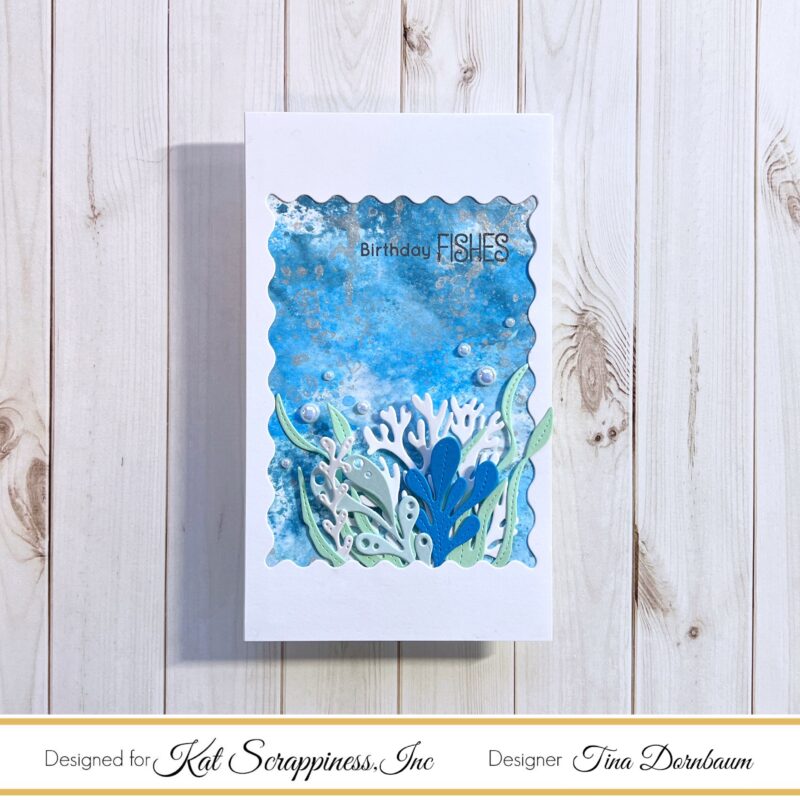
- Using colored cardstock and patterned paper from the Friends Under the Sea paper pad, die cut the ocean coral and vegetation using the Kat Scrappiness Life Under the Sea Craft dies.
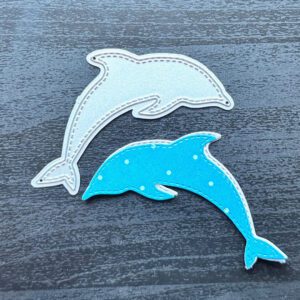
- Die cut blue dotted paper from the Friends Under the Sea paper pad using Kat‘s Stitched Dolphin die set.

- Stamped and die cut the turtle image from the Friends Under the sea set using the same blue dotted paper.
- Assembled and adhered all the ocean elements onto the front of the card before adding a navy stitched frame from the Underwater Adventures Craft dies.
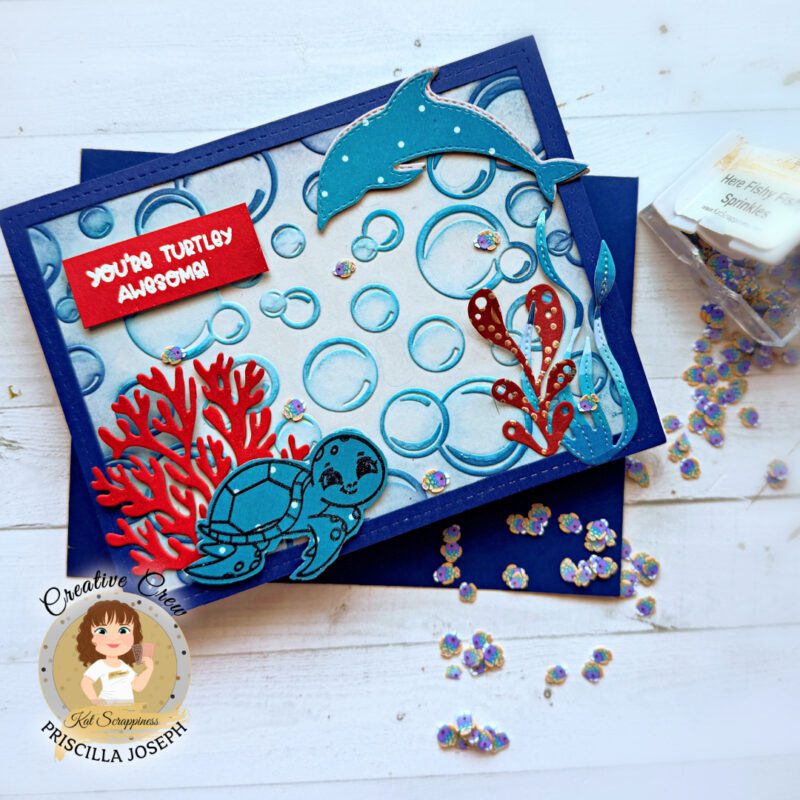
- White heat-embossed the sentiment “You’re Turtley Awesome” onto red cardstock and foam mounted it to the top left corner of the card.
- Added several Here Fishy Fishy Sprinkles for the perfect finishing touch!
Thank you so much for stopping by! Don’t forget to check out what’s NEW in Kat’s Shop, and follow my blog,Instagram, and Facebook for more “Kat Scrappiness Amazingness”!
Priscilla 🐬
I would be so grateful if you use my affiliate links in this post to grab your Kat Scrappiness Goodies! No extra cost to you!