Tag: katscrappiness design team

  • Make A Wish-Die-Cut Wobble Card

    Make A Wish-Die-Cut Wobble Card

    Do you like interactive cards? do you like easy cards? This is Kathy with the Design Team.  I am up on the Kat Scrappiness Blog with just that! Recently I have fallen in love with the Birthday Essentials die set from Kat Scrappiness and wobbles! These cards are so easy to make. So let me show you how!
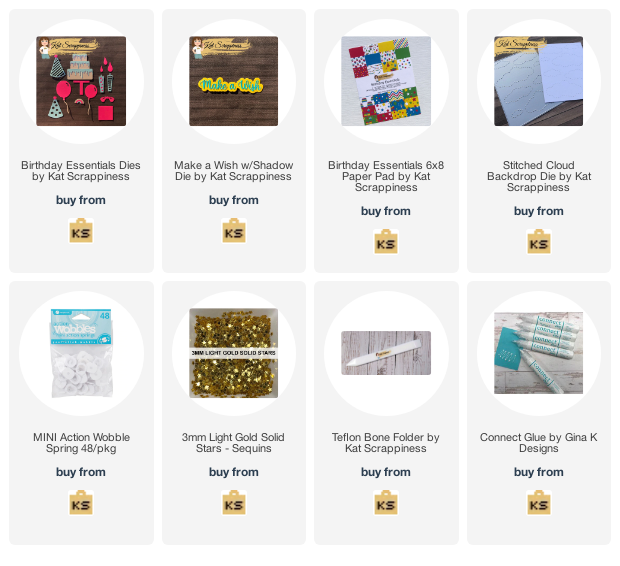
    [youtube https://www.youtube.com/watch?v=NuHLs4eejwg]

    • Cut, score, and fold a standard A2 card base.
    • Cut the background panel from the Birthday Essentials Paper Pack. Size 4″ x 5.25″
    • Die-cut a 4.25″ x 5.5″ white panel with the Stitched Clouds Cover Die. We will trim this to 3.5″ x 4.75″.
    • Die-cut the Make A Wish sentiment from a card stock that coordinates with your patterned paper.
    • Cut a piece of vellum to 1.25″ x 4″.
    • Put liquid glue on the back of sentiment, center, and adhere to vellum. I let the glue dry for about 30 seconds or tap some of the glue before applying it to the vellum.
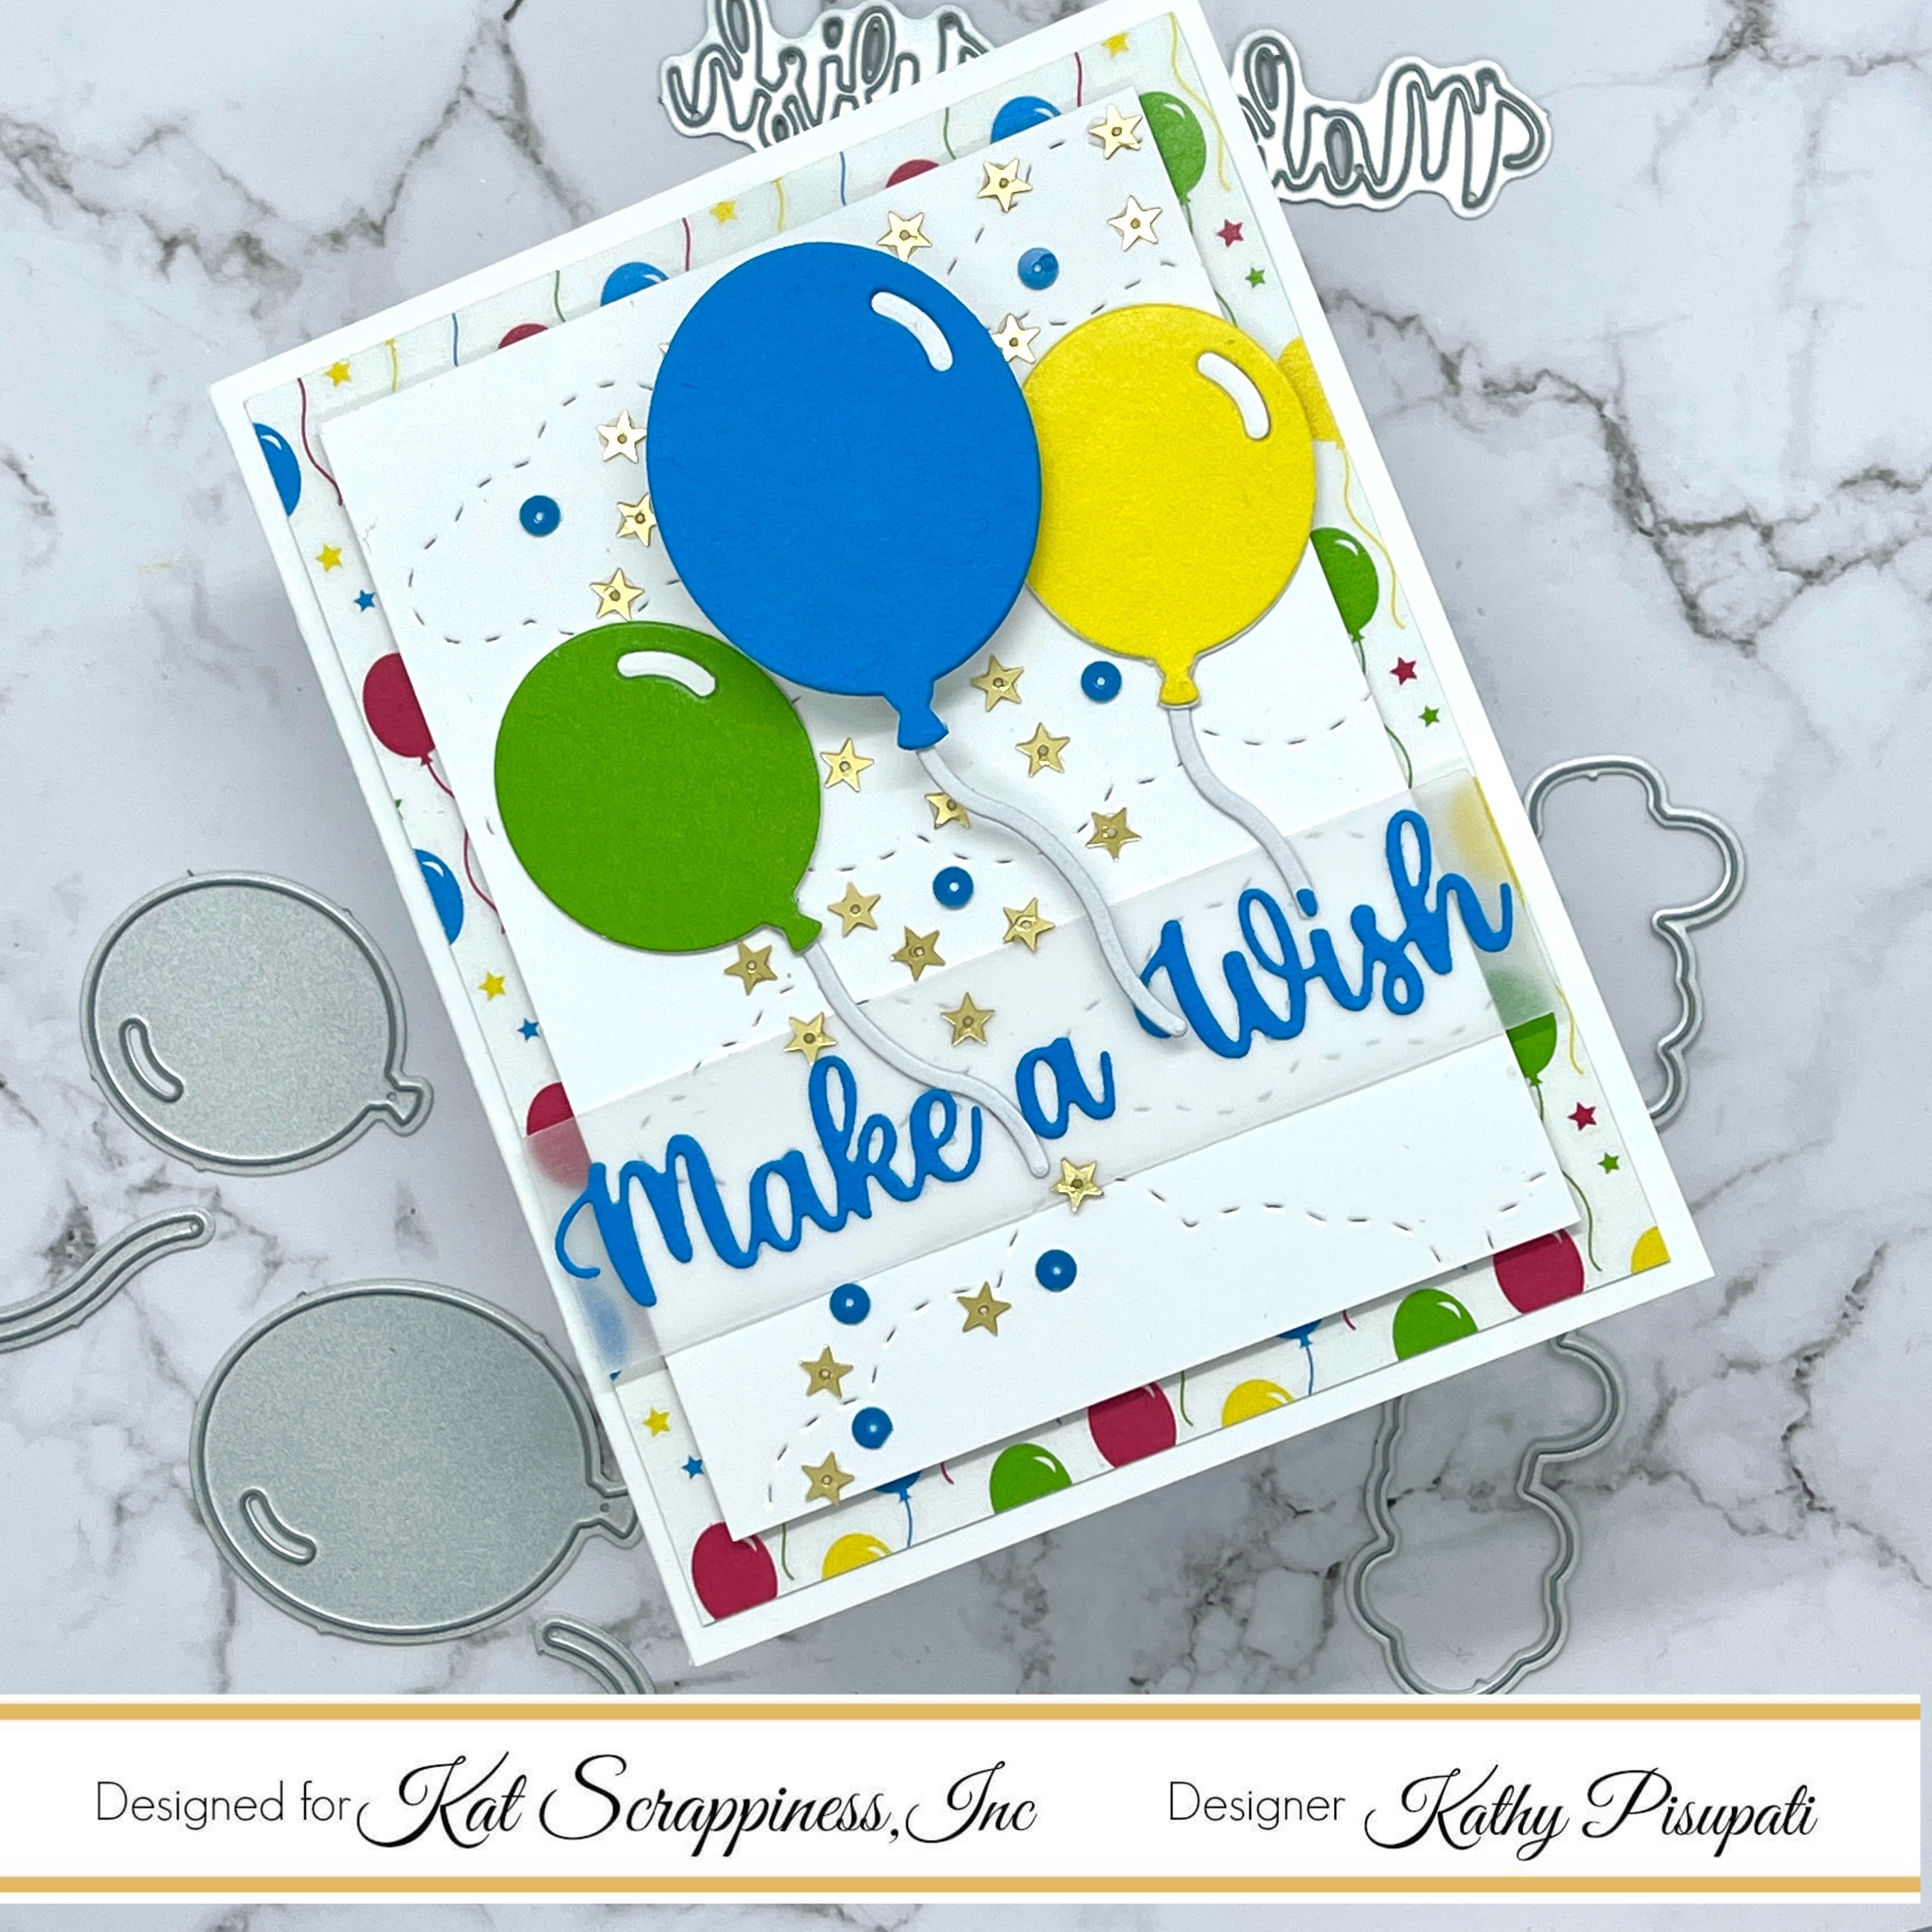
    • Die-Cut your balloons in a solid color card stock. Don’t lose the litte highights. These will be inlaid after we glue the balloon pieces together.
    • I also cut an additional white piece for each balloon. Glue the colored piece to the white piece. Allow drying.
    • I put a tiny piece of tape on the back of each balloon where the highlight was cut from. Then I glued both highlights in. White highlight gets glued on top.
    • The strings were cut from white card stock as well.
    • I added a wobble to the largest balloon.
    • Decide where you want your balloons to go. It helps to adhere to your sentiment first. You can cut the strings of the balloons if needed.
    • Glue the smaller balloons directly to the white panel. Remove the tape from the wobble, add a bit of glue and glue the largest balloon down.
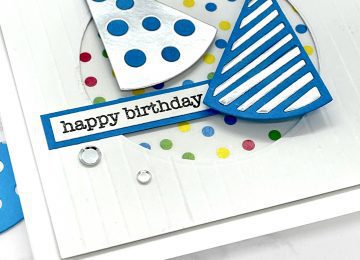
    • Now go crazy with sequins 🙂 I wanted the sequins to draw your eye upward.
    • I used double-sided adhesive to attach these two layers to the card base. That’s it the card is done!

    Thank you for stopping by the Kat Scrappiness Blog today.  Please subscribe to receive daily inspiration from our design team.  Have a great day and keep on crafting!  (Affiliate links are provided below at no additional cost to you.)


    https://linkdeli.com/widget.js?id=f5e8378456858c916708

  • Absolute Birthday Card Essentials!

    Absolute Birthday Card Essentials!

    Good Morning, Kathy here with some new inspiration for you.  The new Birthday Essentials die set from Kat Scrappiness provides many elements to create beautiful birthday cards. Today’s card is a bit interactive as I added a wobble. I think it is so fun and hope you do too! This was easy to create and a load of fun. Drop a comment below and let me know what you think of this card. The Birthday Essentials die set can be found here and I encourage you to check it out as I don’t think it will be available for long! Now it’s time to make a card!

    CARD SUPPLIES

    [youtube https://www.youtube.com/watch?v=zSsBl0gtNjQ]

    CARD DETAILS

    • Cut, score, and fold a 5″ x 5″ card base.
    • Cut a panel from white card stock measuring 4.5″ x 4.5″.
    • Add some interest to this panel by using an embossing folder or just score lines every 1/4″ like I did.
    • With a 3″ circle die, center, and die-cut from the smaller panel.
    • With a slightly larger die, cut a circle from the Birthday Essentials Paper Pack.
    • Die-cut your birthday hats from the Birthday Essentials die set. I cut 4 hats. Two from silver and two from blue card stock. But if you just want to use patterned paper behind your hats you only need two.
    • Trace the hat onto a piece of white card stock and cut it out two times. This will be glued to the back of the hat if you are inlaying your small die-cut elements. If you are using patterned paper trace the hats and glue the patterned paper to the back of the die-cut hats.
    • I took the inside die pieces from one hat and inlaid them into the other hat. So on this card I took the blue dots and inlaid them into the silver hat with dots, then the silver stripes were inlaid into the blue hat.
    • Tape your larger patterned circle to the back of the main card panel with low-tack tape. Add glue ONLY to the circle. Then, center the main panel onto the card base and press down on the circle. This will get you perfect placement for the larger circle. (Remember to remove the low tack tape)
    • Layout your hats. To one of the hats, I added foam tape to pop it up. I added a little wobble piece to the second hat and adhered to that.
    • I stamped the sentiment in Versafine Nocturne Clair black ink from the Everyday Brushstrokes stamp set. I then embossed with clear embossing powder and heated. I cut the sentiment with my paper cutter then cut a slightly larger rectangle from blue card stock. Glue these together and add to your card. Where the sentiment was touching the card I used liquid glue. Then I put a small piece of foam behind the area touching the patterned circle.
    • Add a few silver confetti and the card is done.

    As always, I thank you for visiting my blog today and would love for you to subscribe to it. Make sure you stop over and check out the new release at the Kat Scrappiness Shop. It is an amazing release!