Good morning Kat Scrappiness fans! I hope everyone who celebrates the 4th of July had a safe and enjoyable day yesterday! In…

Good morning Kat Scrappiness fans! I hope everyone who celebrates the 4th of July had a safe and enjoyable day yesterday! In…
Hello, crafters! I hope that you’re all enjoying your Summer, and looking forward to your July 4th celebrations. Today…
*** EDITED TO ADD RANDOM WINNER *** CONGRATULATIONS SHONA CHAMBERS! SHE IS THE WINNER OF OUR JULY CARD CHALLENGE…
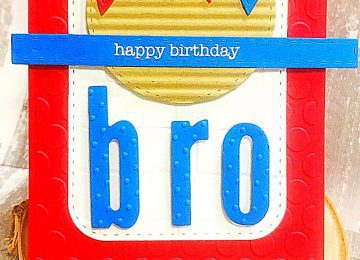
Good morning crafty friends! Design Team Member Jana stopping in today to share how I have created this simple but…
Hello, crafters! I’m back today with a brand new card using the Kat Scrappiness Stitched Scalloped Circle Dies and Lawn…
Hello crafty Friends! I am super excited to stop in today to share a card I created using the newly…

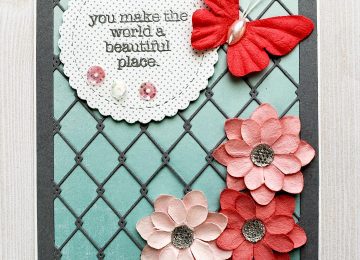
Have you seen the new Wood Grain Framed Diamond Wire Background Die that was just released from Kat Scrappiness? I absolutely…