Hello crafty friends! Martha Lucia here with you! Today I’m excited to share with you a new card that I…
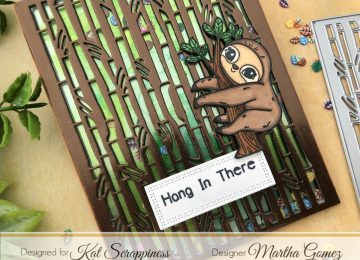

Hello crafty friends! Martha Lucia here with you! Today I’m excited to share with you a new card that I…
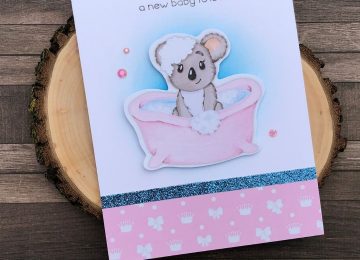
Hi Crafters! Kat recently added some mini scrapbook kits to the shop. For my post today, I have a video…
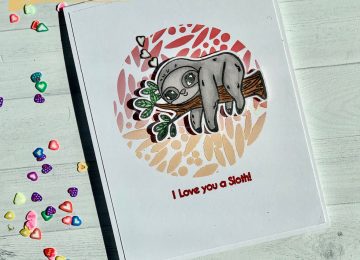
Hey Crafters! Priscilla here! Today I’ll be using the new “Stewart the Sloth‘” stamp set now available in Kat’s shop…

Hi everyone! Hope everyone here in the US had a good 4th of July. I created a bridge card today…
Happy Monday everyone, hope everyone is enjoying the start of summer! Today I have a fun shaker card that uses…

Hello crafty friends, Martha Lucia here with you! Today I’m sharing this colorful card featuring the Hoppy for You stamp set…
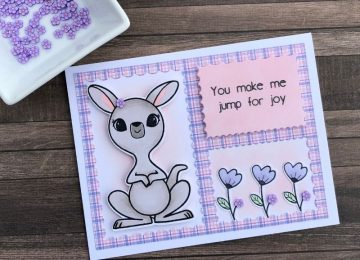
Hi everyone! I’ve got another card using the Hoppy for You stamp set and one of the new sprinkle mixes…