Hello crafty friends and Happy Holidays!! We are so close to Christmas and I wanted to share one more Christmas…


Hello crafty friends and Happy Holidays!! We are so close to Christmas and I wanted to share one more Christmas…
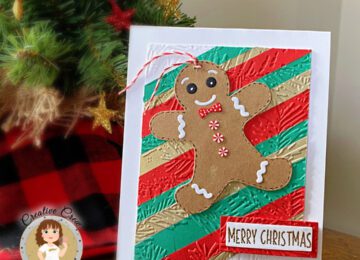
Happy Monday Crafty Friends! Priscilla here from the Kat Scrappiness Design Team. Today I am sharing a holiday card that showcases an adorable Gingerbread…
Hi friends! Creative Crew Kim, here with you today, and I am so excited to share a card I made…
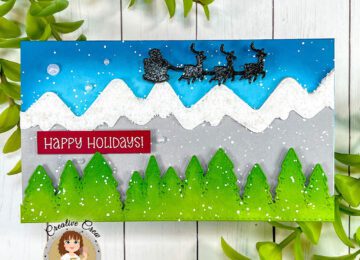
Hey crafty friends! Today I am sharing a Christmas card showcasing the Slimline Mountainscape dies from Kat Sprappiness paired with…

Hello Friends!! Have you started your Christmas shopping yet? Are your friends and family bugging you for some ideas? Nora…
Hello crafty friends!! Sammi here sharing a card made with goodies from the NEW RELEASE just released this weekend!! I…
Happy Friday, crafty friends! Kim here, and today I am sharing a fun Christmas card, perfect for someone that you…