Tag: I Love You Shadow Dies

  • Lovely Layered Floral Heart

    Lovely Layered Floral Heart

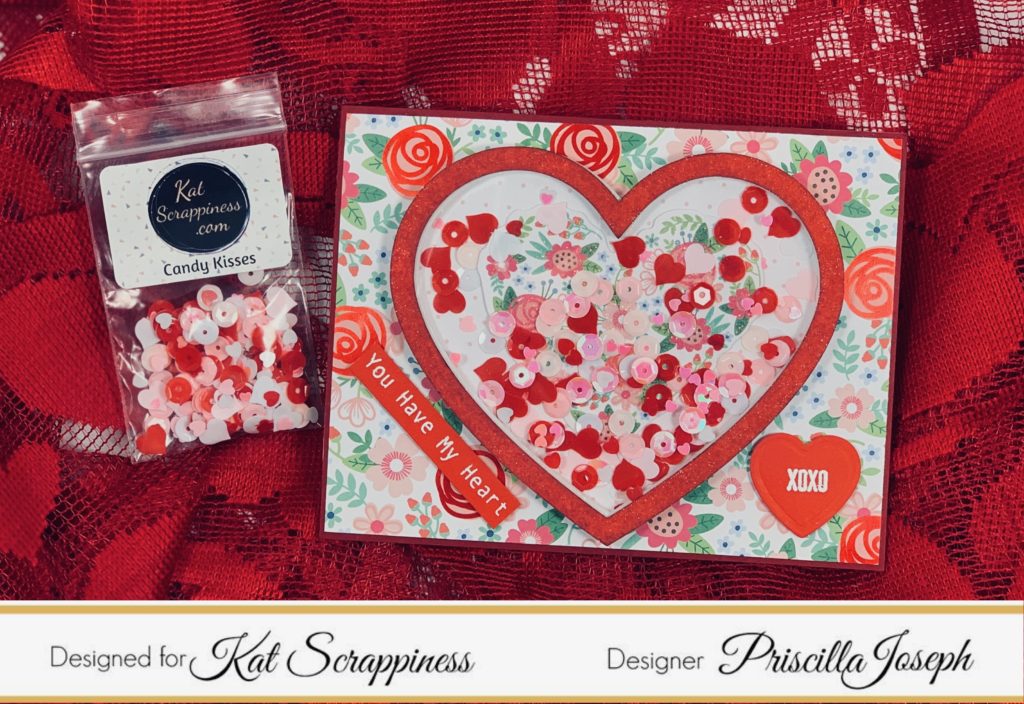
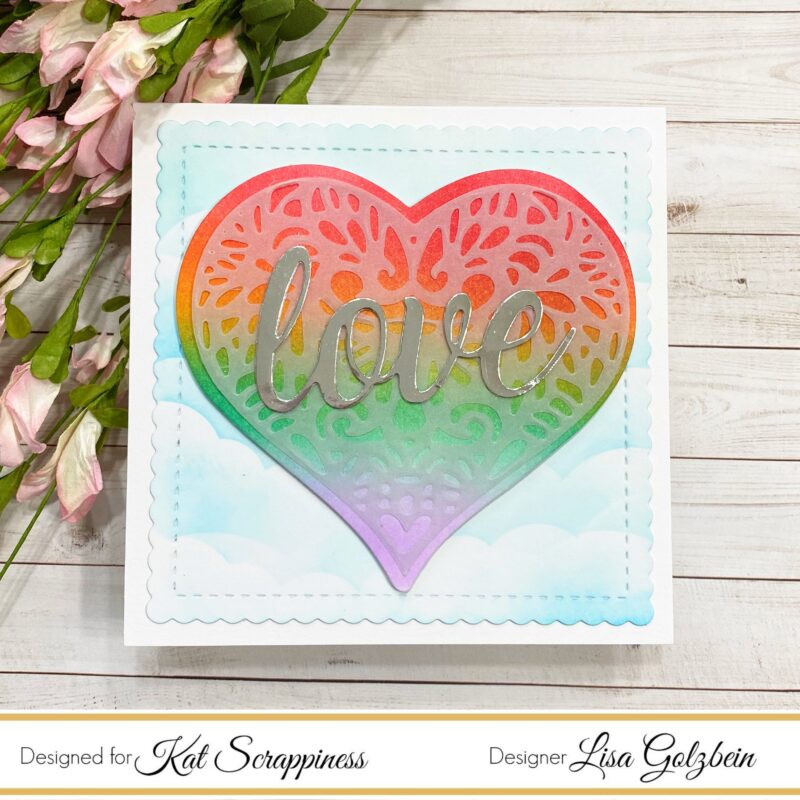
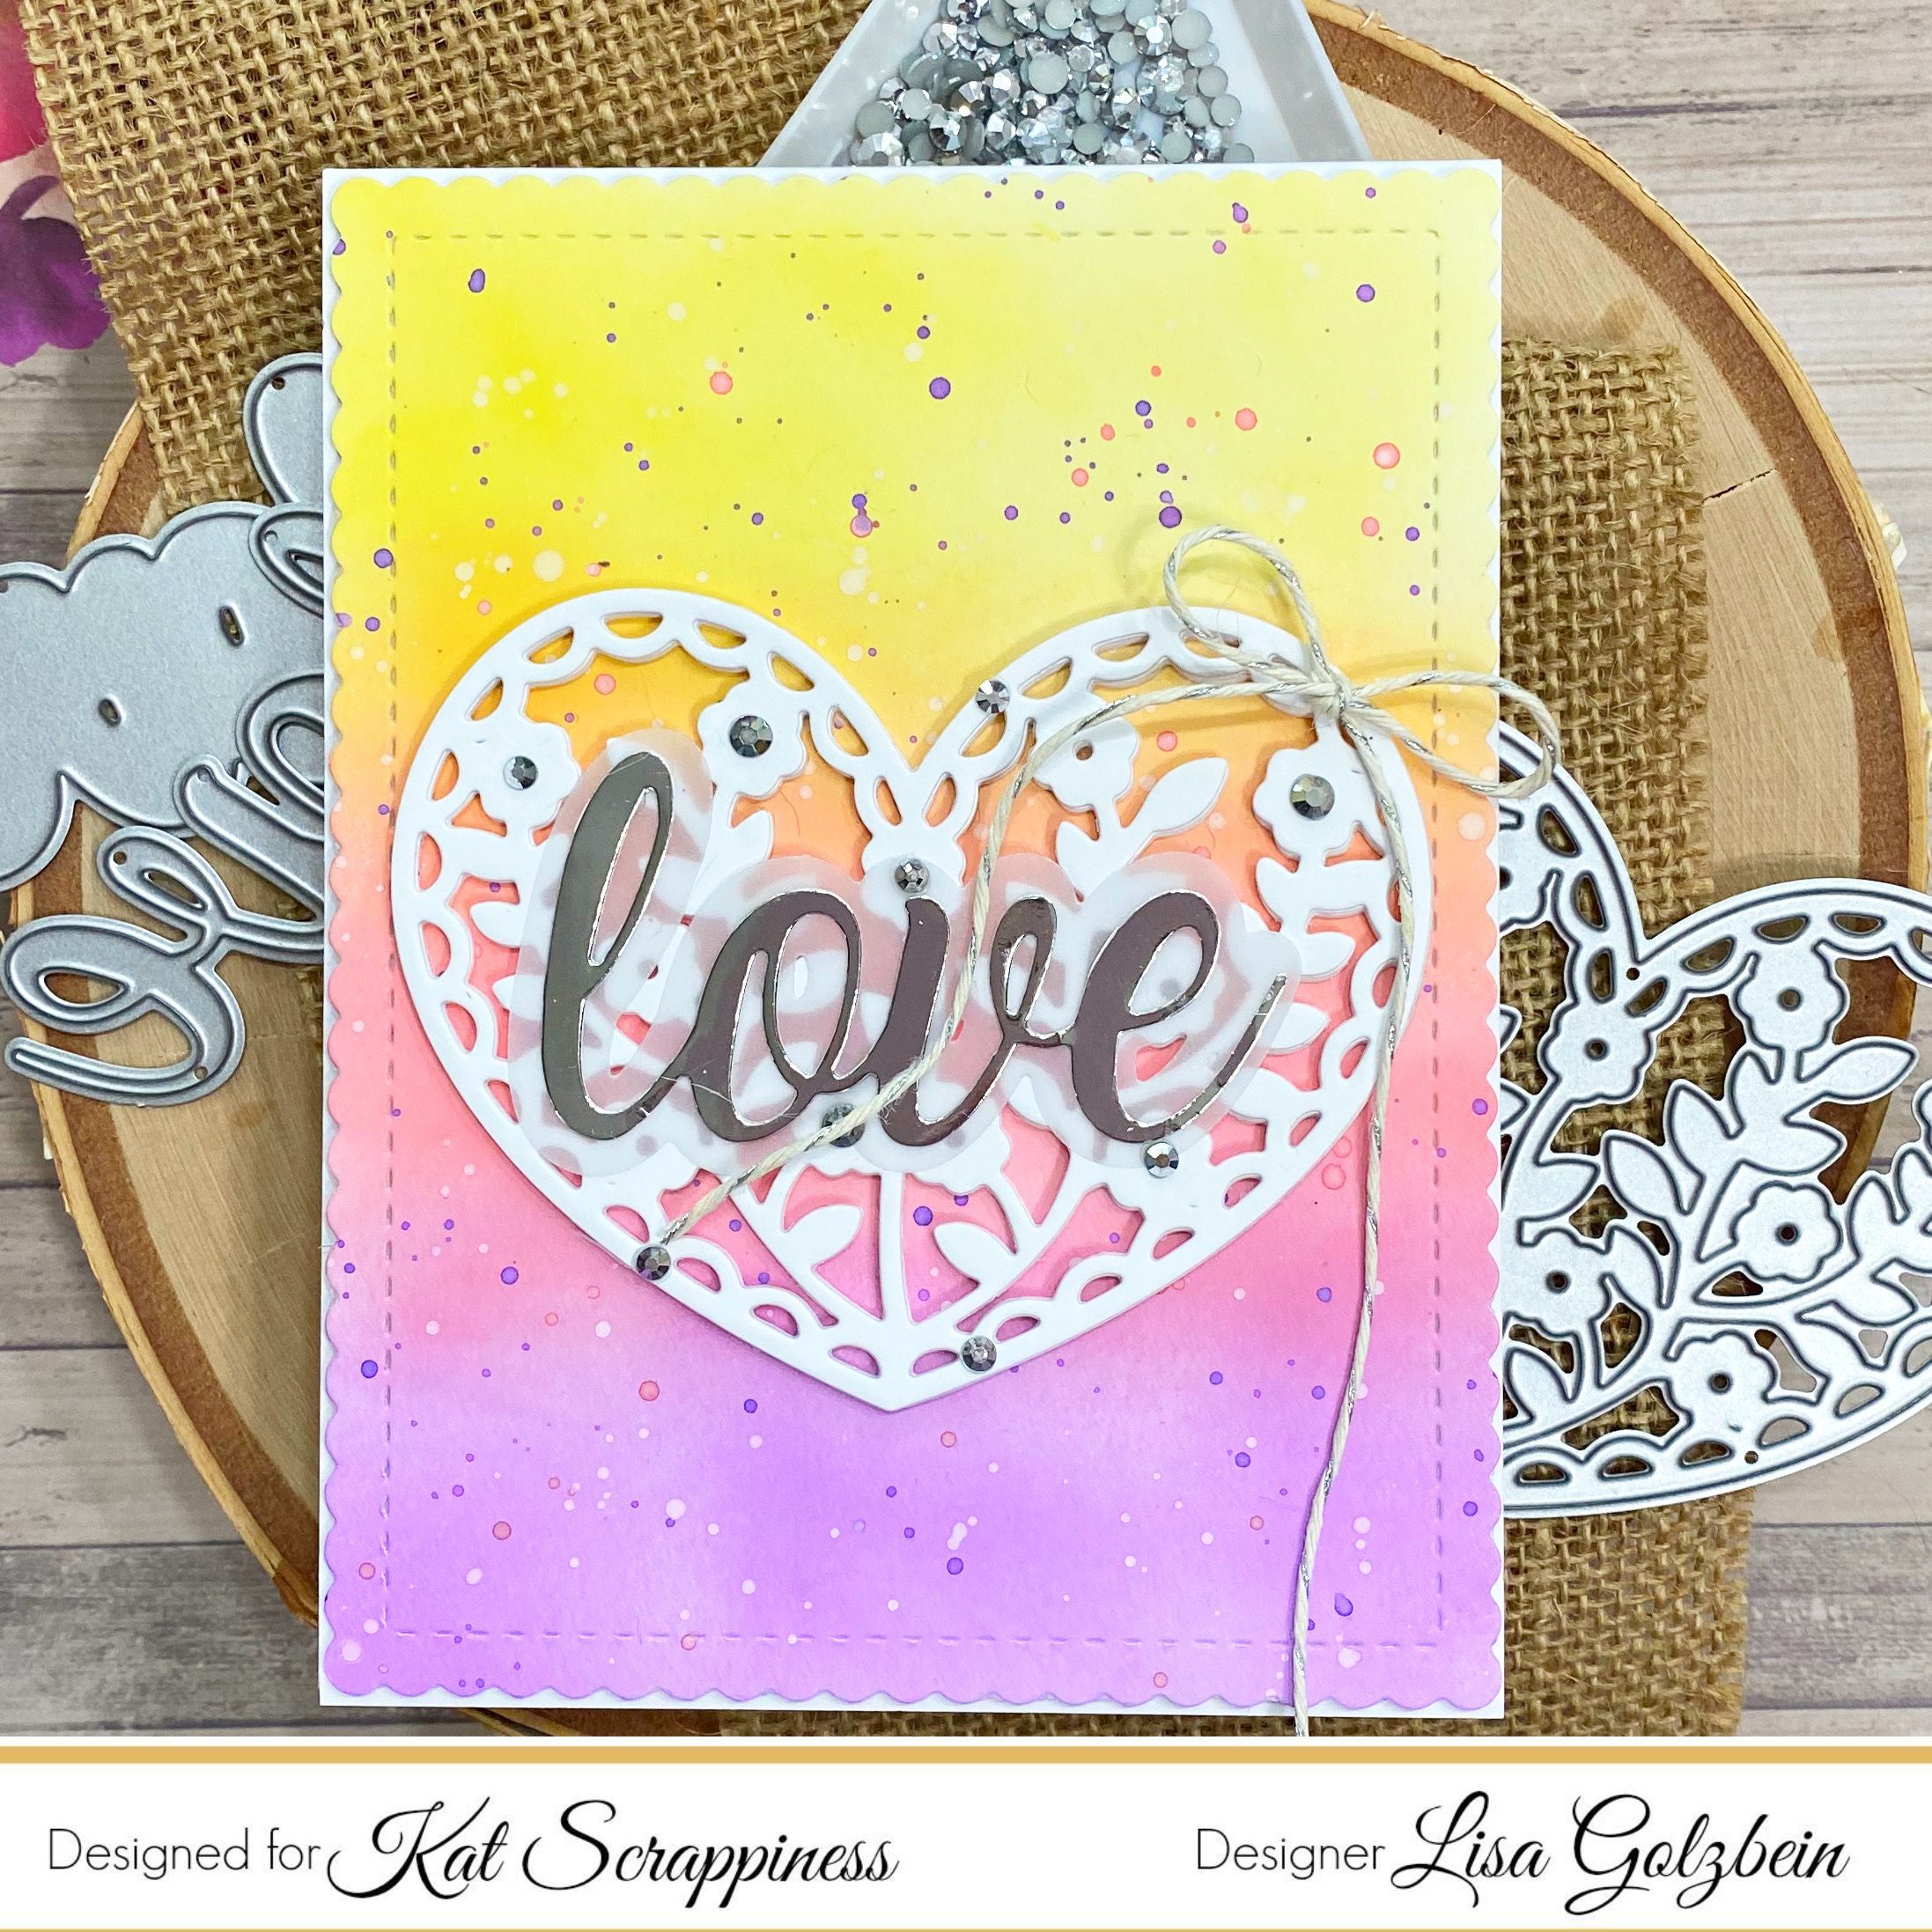
    Good morning! It’s Lisa up on the blog today and with Valentine’s Day right around the corner I’ve been busy creating my favorite types of cards.  I love all things heart related so this holiday is one of my favorites. I’ve always been drawn to the more feminine and frilly style of cardmaking. My card today was inspired by a card I saw Laura Bassen make while I was scrolling through Instagram. I am in love with the Floral Heart Die from Kat Scrappiness and for today’s card I die cut about 6 of them out of heavy white card stock and layered them on top of each other with Nuvo Liquid Adhesive. I just love that added dimension it gives to the focal point.

    I just love that look you get when you layer dies on each other.

    It gives so much dimension to your card.

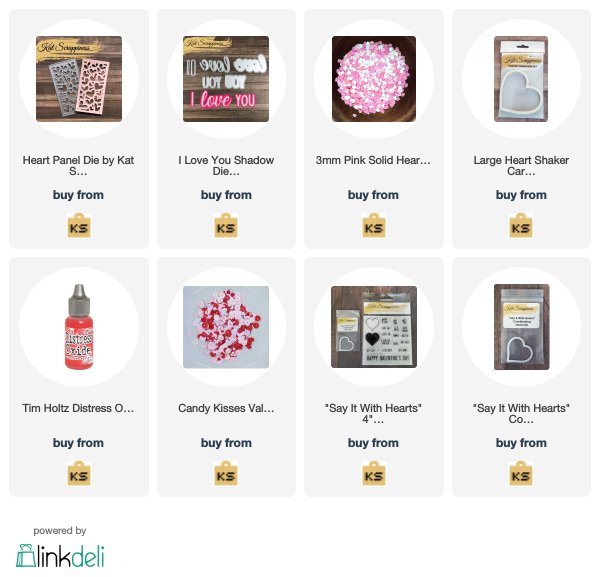
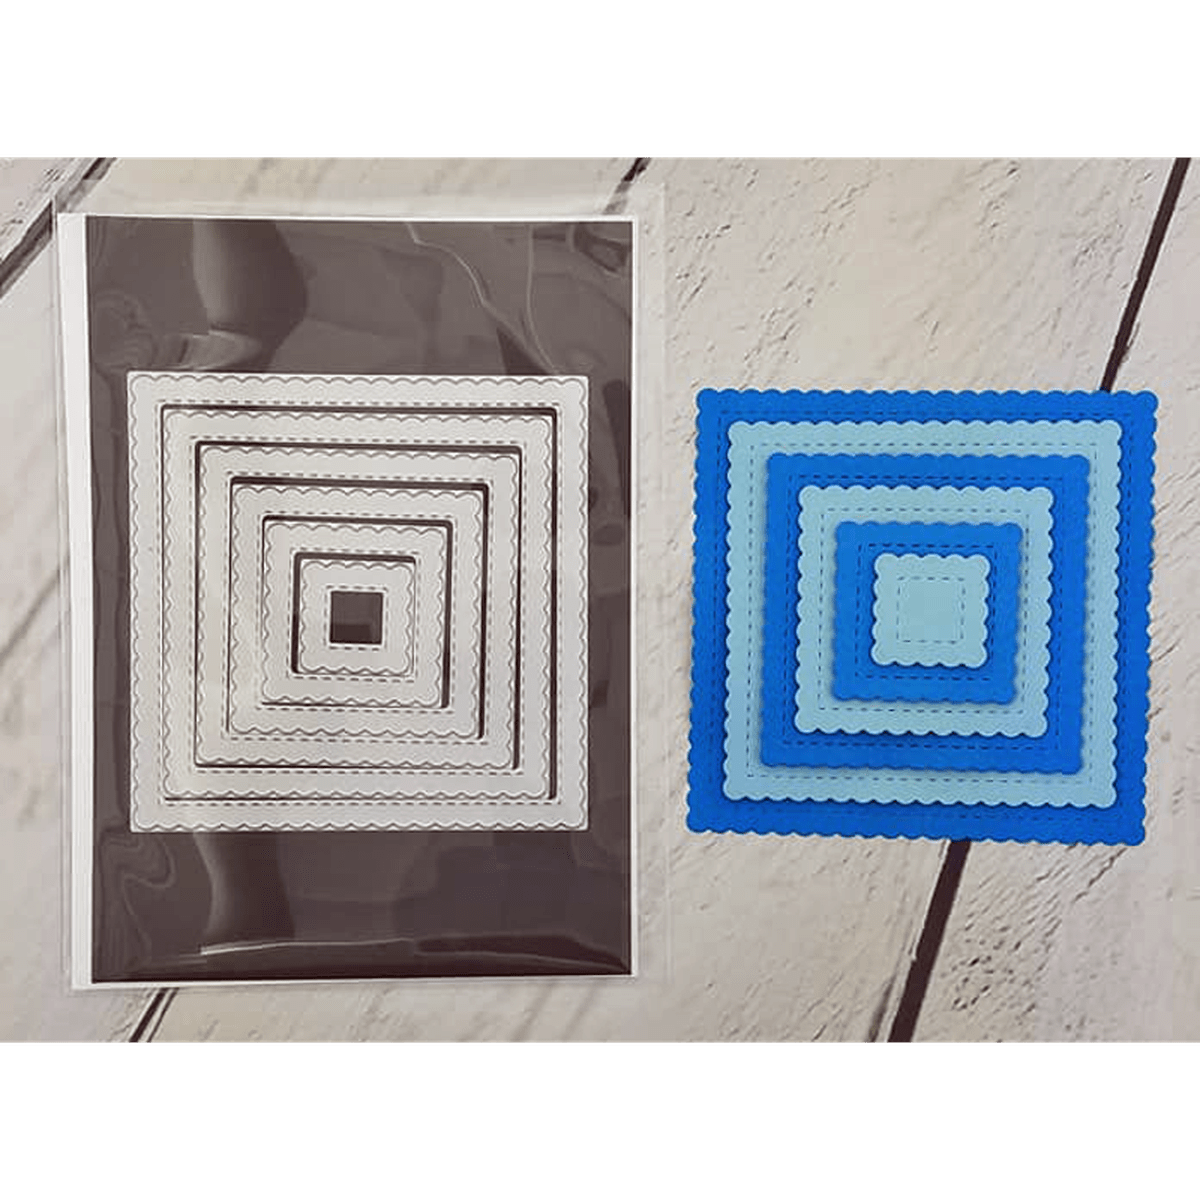
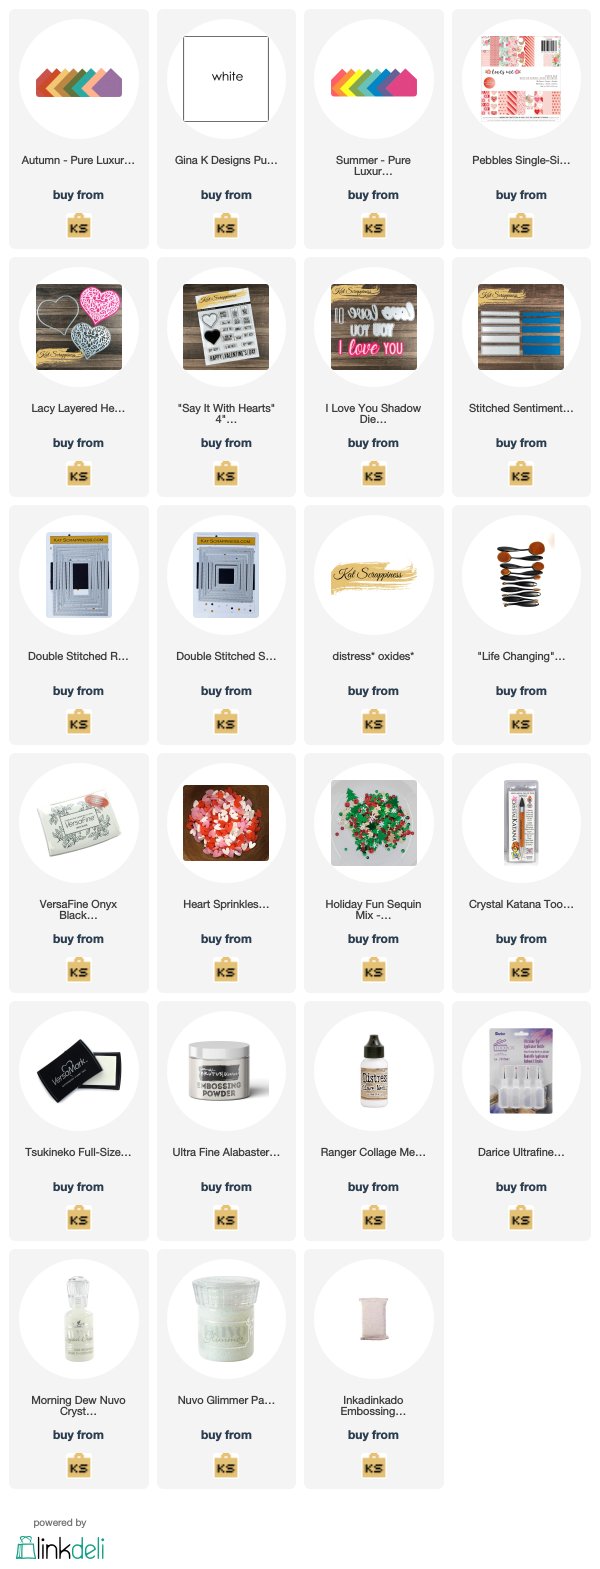
    For the background of the card I cut out a panel of Bristol Smooth card stock with the largest Stitched Scalloped Rectangle Die and did some ink blending with these 3 Distress Oxide Inks:

    Fossilized Amber Distress Oxide Ink

    Worn Lipstick Distress Oxide Ink

    Wilted Violet Distress Oxide Ink

    I added some paint splatters over the panel with the same colors

    plus some white paint for added interest.

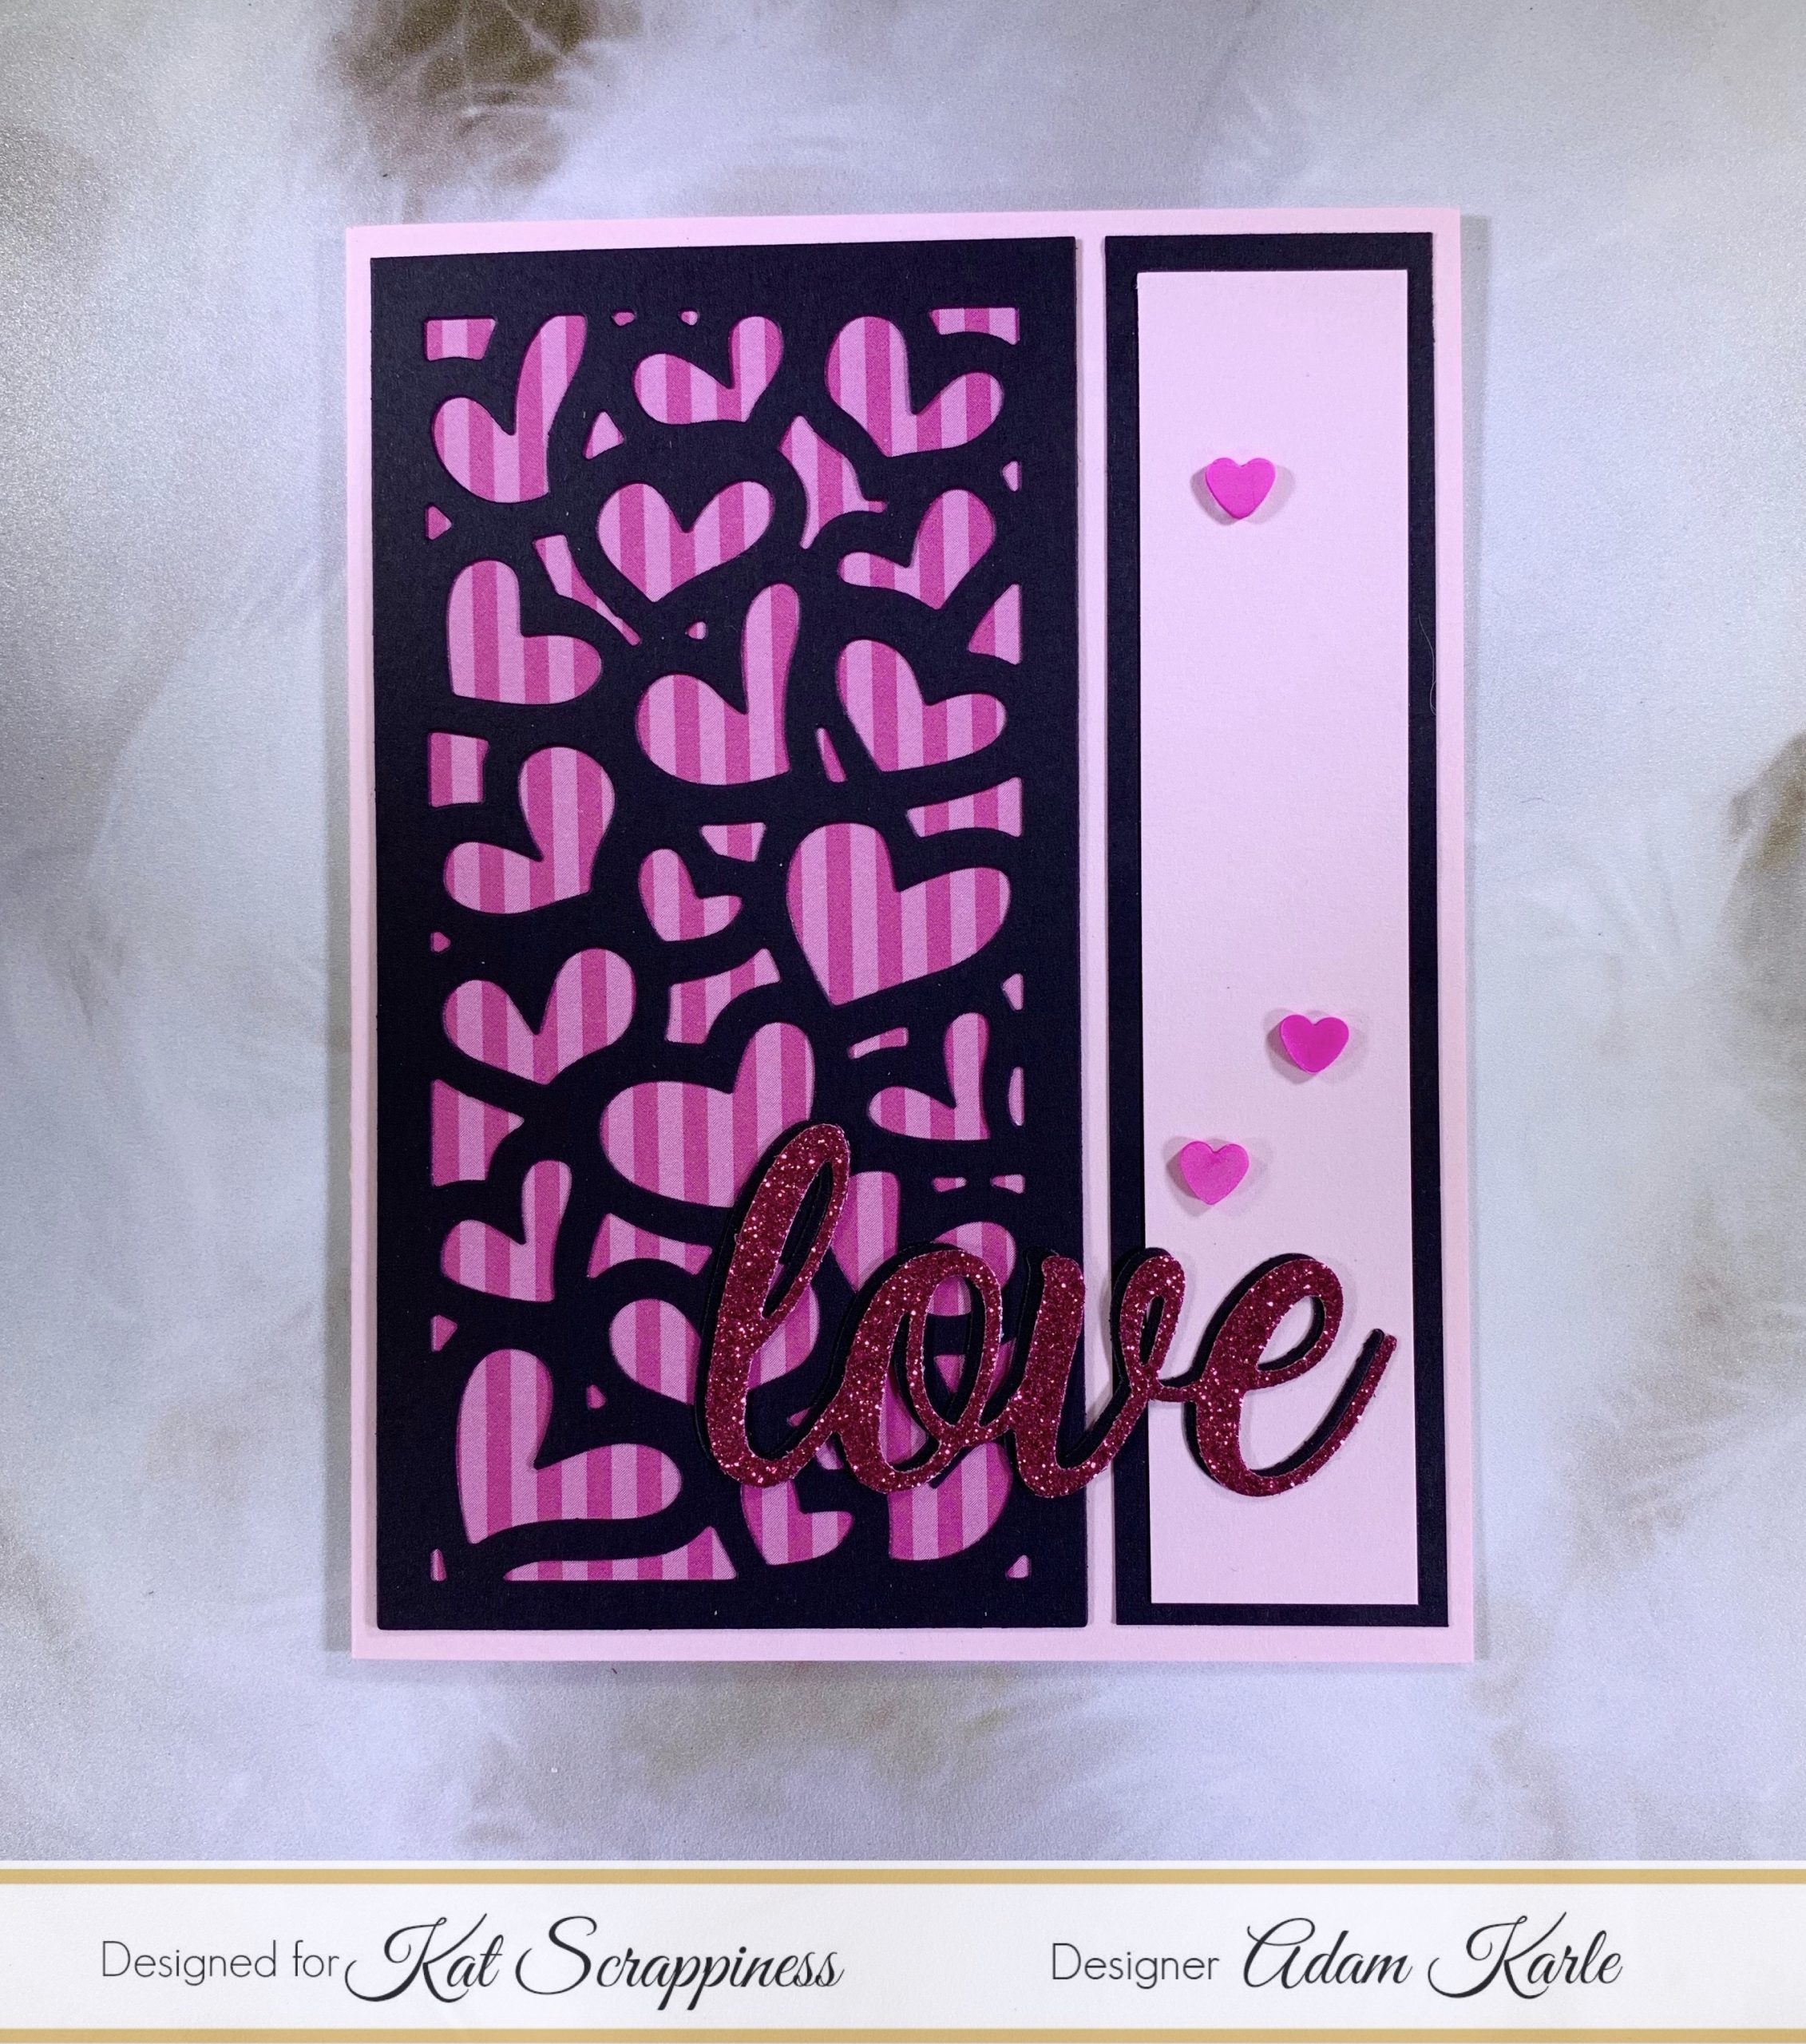
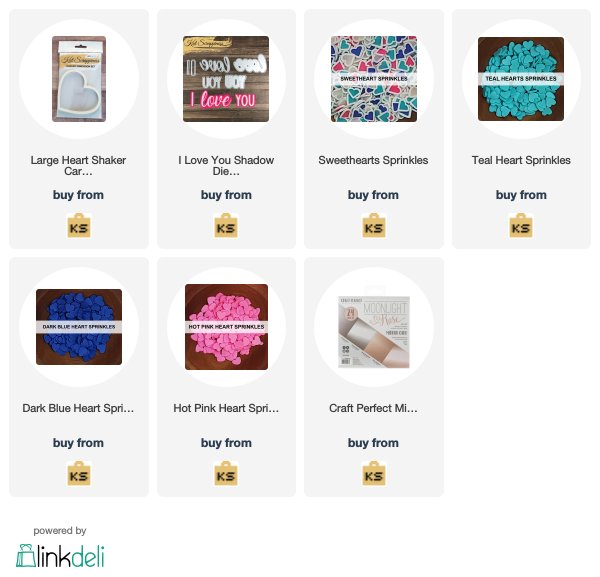
    I used the I Love You Shadow Dies for the simple sentiment on top of the heart. I cut the word “Love” out using silver foil card stock and I used vellum for the shadow die backing. I love using vellum on my projects because I think it adds a very elegant look to my projects. For some extra shine and fun I added Silver Jewels all around the heart to match the silver foil card stock.

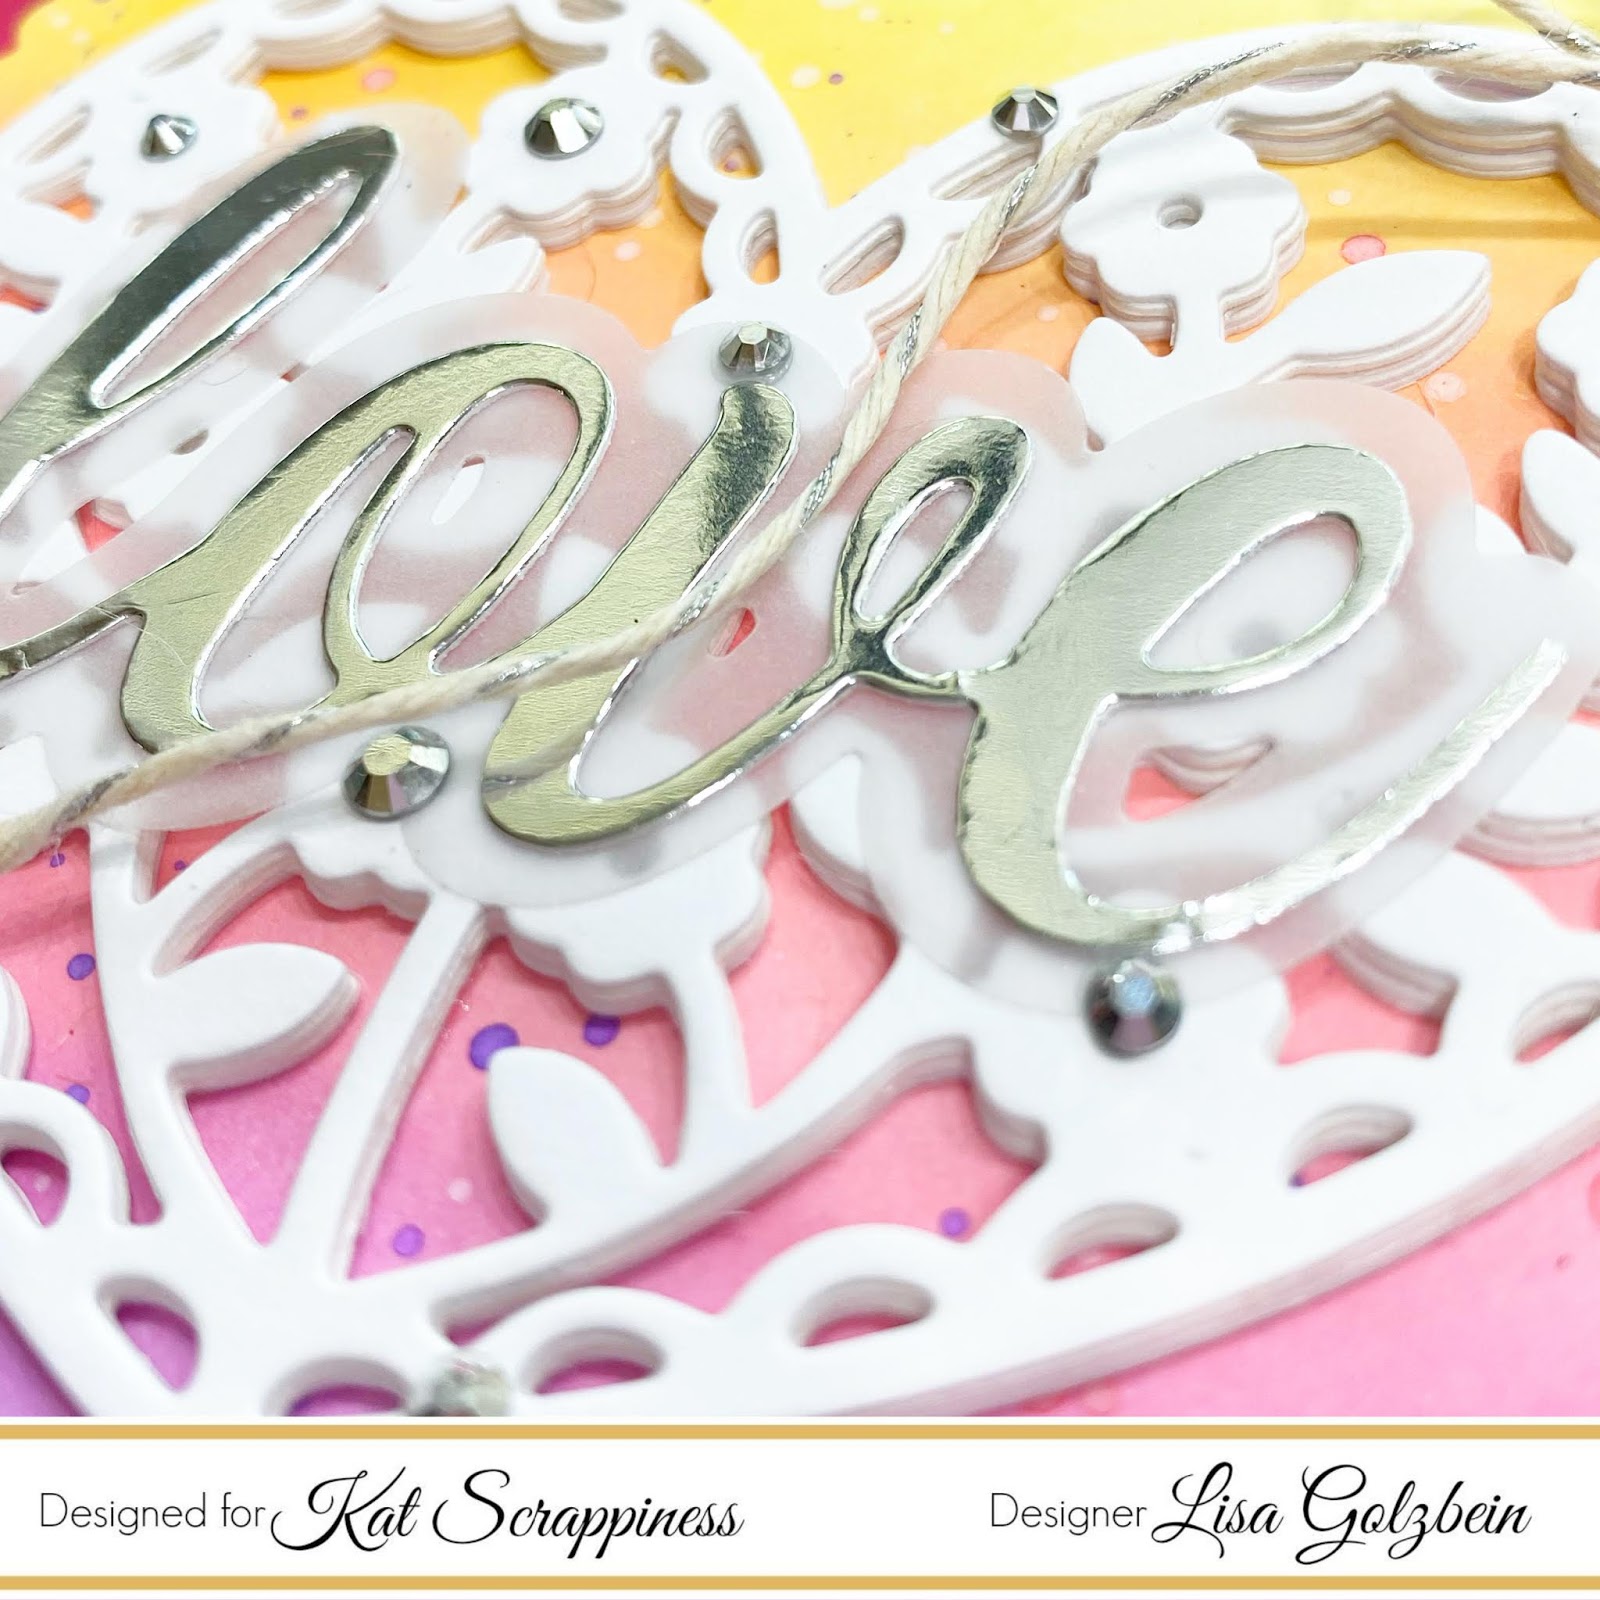
    To finish off my card I tied a bow using some Lawn Fawn Silver Sparkle cord with a glue dot.

     Here is one more look at my card with all of the dies I used on the card.  I really love how this card turned out. The ink blended background just makes me happy. I love how all the colors blend into each other to make new colors.

    Thank you so much for stopping by today, I love sharing my cards on my blog and I hope you’ll come back often to see more of my cards! I also post my cards on my FB page and my Instagram account.

    Don’t forget to follow Kat Scrappiness on all

    social media platforms to be alerted to new releases, sales and giveaways!

    Kat Scrappiness YouTube Channel

    Have a great day, I already am!

    ?Lisa ?

  • Heart Panel Valentine Card

    Heart Panel Valentine Card

    Hello crafty friends,

    This Kat Scrappiness Heart Panel Die is a great way to make fast and easy Valentine cards.

    The trick to making several cards the same way look different is the paper choices and paper layering. I used a stripe paper to back the cute heart die panel.

    I also used the Kat Scrappiness Die Set called I Love You for my sentiment. I only cut the love word out of black and dark pink glitter stacking them to create a thicker word die.

    Finally, I assembled the pieces and added some Kat Scrappiness Magenta Hearts sprinkles.

    By changing the paper patterns and colors you can make this card again and it will look totally different.

    Supplies:

    Kat Scrappiness Heart Panel Die

    Kat Scrappiness I Love You Die

    Kat Scrappiness Magenta Hearts Sprinkles

  • “love U” | Watercolored Valentine Card

    “love U” | Watercolored Valentine Card

    Hi Everyone, it’s Priscilla here. Today I have another Valentine’s Day card, this time featuring the new “Heart Panel Die” by Kat Scrappiness and a watercolor “wash” backdrop. Plus, scroll down to the end of this post for a bonus “Heart Shaker Kit” card!


    I created the background for this card a little differently from my usual manner – I watercolored the entire panel with the “Corn Flour Blue” Zig Clean Color Real Brush Marker. Putting the panel aside to dry, I die cut the “Heart Panel Die” using white card stock and then watercolored the cute little girl image that I had in my stash with Zig Markersalso. Then I die cut the “love U” sentiment from Kat’s “I Love You Shadow Die.”

    I assembled and adhered all the pieces on to the from of an A2 card base and added Kat’s “Pink Solid Heart Confetti”around the little girl to give the illusion that confetti was tumbling to the ground as she hung the heart.


    My BONUS card features the Kat Scrappiness “Large Heart Shaker Kit” card filled with Kat‘s “Candy Kisses” sequin collection.

    I “stained” the heart frame with “Candied Apple” Distress Oxide Ink and added a red die cut heart and the “XOXO” sentiment from Kat’s “Say it With Hearts” stamp and die bundle. These Shaker Kits are so easy to assemble!


    Thanks for stopping by! And don’t forget to check out what’s NEW in Kat’s Shop, and follow my blog and Instagramfor more “Kat Scrappiness Amazingness”!

    Priscilla ???

    The supplies I used are listed and linked below.

    SUPPLIES

  • All Shook Up

    All Shook Up

    Hey, Friends!  Kathy here to share a card that has me all shook up!  The Kat Scrappiness Acetate & Shaker Card Kits and fabulous assortment of Sprinkles and sequin mixes create THE most adorable cards in a matter of minutes!


    For my card, I first layered Silver Craft Perfect Mirror Cardstock and a heart pattern paper to the card base.  Using the Large Heart Shaker Card Kit, I silver embossed the outside of the heart, adhered the acetate that comes in the kit and filled with Sweethearts, Teal Heart, Hot Pink Heart and Dark Blue Heart Sprinkles.  I then covered the back with Silver Craft Perfect Mirror Cardstock, cut to the heart shape.

    To finish, I used the I Love You Shadow dies cut from cardstock, placing the ‘love’ over the shaker and the ‘you’ at the bottom.

    Check out the Acetate & Shaker Card Kits!  I guarantee you’ll get ‘all shook up’ with how fun and easy they are to put together!!


    https://linkdeli.com/widget.js?1559654439292

  • Lacy Layered Love card and an Announcement

    Lacy Layered Love card and an Announcement

    Good morning crafty friends! It’s Lisa here on the blog with you today and

    I have some exciting news to share! As of today I am

    re-joining the Kat Scrappiness design team. I am so happy to be back on the team

    and designing for Kat again! Those of you who shop at Kat Scrappiness often know

    what a variety of crafty products she carries in her online shop, not to mention the

    growing number of products being released under the Kat Scrappiness brand name.

    And all of this at excellent prices!

    All of my nested background dies are from Kat and I reach for them

    on almost every card I make!

    For my first project back on the team I made a Valentine’s Day

    inspired card to put you in the mood for the new release!

    You’re definitely going to want to check back in the shop on

    January 17th, 18th and 19th to see all of the wonderful new Valentine’s products

    being released!

    Here is the recipe for today’s card:

    1) Cut a panel of white Bristol Smooth Cardstock with the largest die in the

    Stitched Scalloped Square Dies.

    2) With a cloud stencil, blend some

    Tumbled Glass Distress Oxide Ink on your scalloped panel

    in varying heights. Adhere stenciled panel to square card base.

    3) Die cut the solid heart from the Lacy Layered Heart Die

    from Bristol Smooth Cardstock and the Lacy cover die from vellum.

    4) Do some ink blending in rainbow colors on the solid heart and then

    lay the lacy vellum over the rainbow heart.  It looks so pretty to see the

    pretty rainbow colors peaking through the lace.

    5) Lastly adhere the heart shaped die to the cloud blended background

    and die cut the word “love” from the I Love You Shadow Dies

    out of silver foil cardstock. Adhere the “love” die cut over the lacy heart.

    Here are the Kat Scrappiness products used on my card:

    Lacy Layered Heart Die

    I Love You Shadow Dies

    Stitched Scalloped Square Dies

    That’s all for today’s card, don’t forget to follow Kat Scrappiness on all

    social media platforms to be alerted to new release, sales and giveaways!

    Kat Scrappiness Shop

    Kat Scrappiness Blog

    Kat Scrappiness FB Fan Page

    Kat Scrappiness Instagram

    Kat Scrappiness YouTube Channel

    Have a great day, I already am!
    ? Lisa ?

  • Color Splash Valentine’s Card

    Good morning, crafters!  Design Team Member Cynthia here with a final project featuring several of the latest Kat Scrappiness goodies.  For this card, I have used the gorgeous Lacy Layered Heart Dies, and the I Love You Shadow Dies.  Let’s go ahead and start walking through the steps I used to create my project.


    My first step was to do some ink blending with a variety of Distress Oxide inks.  For the background of the “love” die I used Worn Lipstick fading into Picked Raspberry.  For the “you” die I selected Abandoned Coral fading into Candied Apple.  There are two tips I can give when it comes to creating a soft fade.  One: Use a very smooth card stock.  For this I chose Neenah’s Solar White 80-lb card stock.  Two: Start at the bottom with your lightest color and blend upwards, letting the ink fade as your sponge runs out of color.  Then come in with the darkest color and, starting at the bottom, blend up into the first color.  Using less ink in your sponge and repeating application is better than over-saturating your paper, too.


    And now comes the ink splattering!  If you haven’t tried this technique, I don’t know what you’re doing with your life (haha!)  But honestly, this is so much fun to do.  I used regular dye Distress Inks in both Worn Lipstick and Candied Apple.  I smooshed the ink onto one of my acrylic blocks, spritzed it with a bit of water, then mixed it right into the bristles of a chubby paintbrush.  The thirsty fibers will draw up a bunch of color, then you just tap your brush over your paper.  I used a piece of Canson watercolor card stock for this because it’s best suited for handling the water and giving you great results.  Another key bit of info is to let the first color fully dry before flicking on the second color.  If the first layer is still wet, the inks will blend together and it will all look the same in the end.  NOTE: You will want to protect your work area from the ink because it WILL splatter all over the place – trust me!


    I definitely wanted to use the gorgeous Lacy Layered Heart Die on my card, so I cut it out of a piece of black card stock.  I can’t get enough of this die!  It cuts out perfectly every single time, and it has the perfect amount of lacy-ness.  It’s delicate, but holds up beautifully.  I honestly encourage you to get this die set for yourself – you’ll be reaching for it again and again 🙂


    Now it’s time to assemble some layers.  I used a standard A2 size card base in White, then added a layer of black card stock to act as a mat for my ink-splattered panel.  I decided to trim down my heart a bit at the edge, which lets the pretty ink colors get more attention.  When adhering a lacy die such as this, I like to dip my fingertip into a paste adhesive and gently rub it across the back of the die.  The paste isn’t as wet as a standard liquid adhesive so there’s less squishing, and using your finger helps give you a nice thin layer.


    My final step was to paste my ombre-inked words down to their shadow layers, then adhere them to the card using a layer of foam tape.  Since the entire card is flat, popping up the words helps them stand out very well.  I hope that you had fun with this project, and that you’ll give these techniques a try.  Be sure to head on over to Kat Scrappiness and grab these dies for yourself.  I’ve included a shopping link below, and don’t forget about the coupon code “CYNTHIA10” that will save you 10% off your entire purchase.  Have a wonderful day!


    Kat Scrappiness shop


  • Lacy Layered Heart Madness

    Lacy Layered Heart Madness

    Hi Everyone, it’s Tina here. I have 5 cards to share with you today using the new Lacy Layered Heart Dies. I sort of went crazy lol. This die is so versatile and below you will see the possibilities are endless. This post will be a little long and I will give brief descriptions on how I created each one. All cards are A2 size (5 1/2″ x 4 1/4″). So let’s get started.

    For this card I diecut the Lacy Layered Heart Die (pattern) will foil cardstock and fun foam, the solid with white cardstock. I adhered the foil diecut on top of the fun foam and adhered it to the solid white diecut. I diecut the Double Stitched Rectangles using white cardstock. I added the sentiment from the Say It With Hearts stamp set and stamped mini hearts before adhering the whole panel to a card front. For some added interest I adhered sequins.

    For this card I used the pattern paper from American Crafts Loves Me 6×6. I diecut a Double Stitched Rectangles using white cardstock and adhered to the card front. I diecut Lacy Layered Heart the solid using patterned paper and adhered to the card front. I diecut Double Stitched Squares using the pattern paper which included a sentiment and adhered to the card. I diecut Stitched Sentiment Strip using the patterned paper and adhere to card. For added interest I adhered some Heart Sprinkles.

    For this card I embossed a piece of white cardstock and diecut it with the Double Stitched Rectangles die and adhered it to the card front using foam tape. Using a scrap piece of cardstock I added Distress Oxide Inks and diecut it using the Lacy Layered Heart solid and white cardstock for the pattern. I adhered both to the card. I diecut I Love You Shadow colored for the shadow and white for the sentiment. I adhered both to the card stock. I kept this one clean but you could add some Crystal Nuvo Drops Morning Dew for some added interest.

    For this card I used the Nuvo Glimmer Paste Moonstone with a Heart Stencil on white cardstock. Once dry I diecut it with the Double Stitched Rectangles and adhered it to the card front. I diecut the Lacy Layered Heart solid and pattern using red cardstock and adhered it to the right edge of card. I trimmed off the excess.  I stamped and colored an image and adhered it using foam tape. I diecut some little hearts and covered them with Crystal Nuvo Drops Morning Dew. I stamped the sentiment from the Say It With Hearts Stamp Set.

    For my last card I used the Life Changing Brushes to create a soft pastel background. I diecut it with the Double Stitched Rectangles and adhered it to the card front landscape. I diecut the Lacy Layered Heart pattern in white cardstock and adhered over the inked background. I inked on a scrap piece of cardstock one of the colors from my background and stamped the sentiment from the Say It With Hearts using versamark and heat embossing. I adhered it to the card using foam tape.

    I hope you enjoyed the many ways you can use the Lacy Layered Heart dies. You can also use it as a stencil or dry emboss it in your diecut machine. Below is a link to all the products used. Thank you for stopping by and have a wonderful day!

    Products Used:

    https://linkdeli.com/widget.js?1547805645855

  • ?Love Is In The Air?

    ?Love Is In The Air?

    Happy New Year Kat Scrappiness Fans!

    I want to wish you all a happy early Valentine’s Day as well

    since this post will be centered around our new

    “Love” themed products!

    There was recently 4 new products released in the shop and if you

    haven’t seen them yet, WHAT ARE YOU WAITING FOR?

    Kat Scrappiness just released 3 new dies and 1 new stamp set to help

    get you in the Valentines mood!

    Valentine’s Day has always been one of my favorite holidays

    mostly because of the color scheme and pretty hearts.

    I’ve always loved the decorations and the way the stores look

    at this time of year.  It’s a wonderful sea of pink and hearts!

    ???????

    I created 3 cards with the new products that I’ll share today and I have

    some process pictures to share with you for one of them.

    Here is the first card I made using the I LoveYou Shadow Dies

    and I’ll share the process with you.

    For this card I made my own background by ink blending

    3 different distress inks in the following colors:

    Broken China

    Picked Raspberry

    and

    Twisted Citron

    Even though I only used 3 colors it looks like so much more

    because of the blending properties of the distress inks!

    This is my favorite color combo right now and I

    am reaching for them a lot!

    Once I got the background blended just the way I wanted it

    I pulled out a heart stencil from my stash and used it to

    cover the background in soft white hearts.

    I had an old makeup brush on hand that worked perfectly

    to apply the white ink.

    After the hearts were stenciled in I hit the panel with my heat gun

    so it wouldn’t smear in my Vagabond.

    I used the Stitched Scalloped Rectangle Dies to cut

    out the panel for the front of my card.

    The next step was to pick out colors that I wanted to die cut

    the I Love You Shadow Dies out of.

    I knew I wanted the shadow pieces to be black since

    it makes the rainbow colors pop.

    I decided on some sparkly pink paper for the actual words.

    Once I adhered the words to their black shadows I popped them

    all up on foam tape so they would really stand out on the card.

    And of course I needed to add some Sparkling Clear Jewels to the card

    for some extra BLING!

    I really love how this card turned out and I am planning on making a lot

    more ink blended cards in the near future.

    Here are all 3 cards that I made for the new release and I can tell there

    will be a lot more LOVELY HEART cards very very soon!

    As you can also see I used the ink blending technique on all 3 of

    these cards in different ways.

    Thanks for stopping by today and letting me share my cards with you!

    I am enjoying the new stamps and dies and I know you will too!

    Please use my code Lisa10 to do some crafty shopping and

    you can save 10% on your order.

    Have a great day, I already am!

    ?Lisa?

  • Winners of the January Product Release

    Winners of the January Product Release

    Hello Kat Scrappiness fan! Since we released 4 products this week, I decided to pick four (4) winners!  I am back today to announce the lucky commenters! To give everyone a chance, winners were randomly picked through www.random.org.

    WINNERS, please leave your email addresses on the comments section below. Kathleen will be contacting you for your mailing address so she can send you the prize. Are you ready? Here are the winners:

    Lacy Layered Heart Die – Dumontier Marjorie

    Stitched Sentiment Strip Dies – Arianna Barbara

    I Love You Shadow Dies – Andre M.

    Say it with Hearts stamp set – Meghan Kennihan

    I’d like to take this opportunity on behalf of Kathleen and the rest of the design team to THANK YOU ALL for showing your support during our release week. We will be doing this again next month so please stay tuned. I hope you all have a wonderful weekend and happy crafting!

  • Love You!

    Love You!

    Has everyone seen the release that has been happening over the last three days?  There are some great new products that can be used on a variety of cards.

    For today’s card, I used two new products from Kat Scrappiness – the I Love You Shadow dies and the Say It With Hearts stamp set.

    I used the solid heart from the Say It With Hearts stamp set.  I stamped the heart six times onto a piece of white card stock.  I used a stamping positioning tool to get the hearts aligned perfectly.  I cut out the shadow part of the I Love You Shadow dies with vellum and for the letters I used some Lawn Fawn patterned paper.

    – – –– – –– – –– – –– – –– – –– – –– – –– – –– – –– – –– – –– – –– – –– – –– – –– – –– – –– – –– – –– – –– –

    Use code caren10 for a 10% discount in the Kat Scrappiness shop.

    Thanks for stopping by and happy stamping!

    – – – SUPPLIES for today’s project– – – – – – – – – – – – – – – – – – – – – – – – – – – – – – – – – – – – – – –