Tag: I Love You Shadow Dies

  • Clean & Simple “Love” A2 Card

    Clean & Simple “Love” A2 Card

    Sheri here today with a CAS (clean and simple) Valentine card idea!

    I love the look of Clean & Simple cards but sometimes struggle with leaving all the white space.

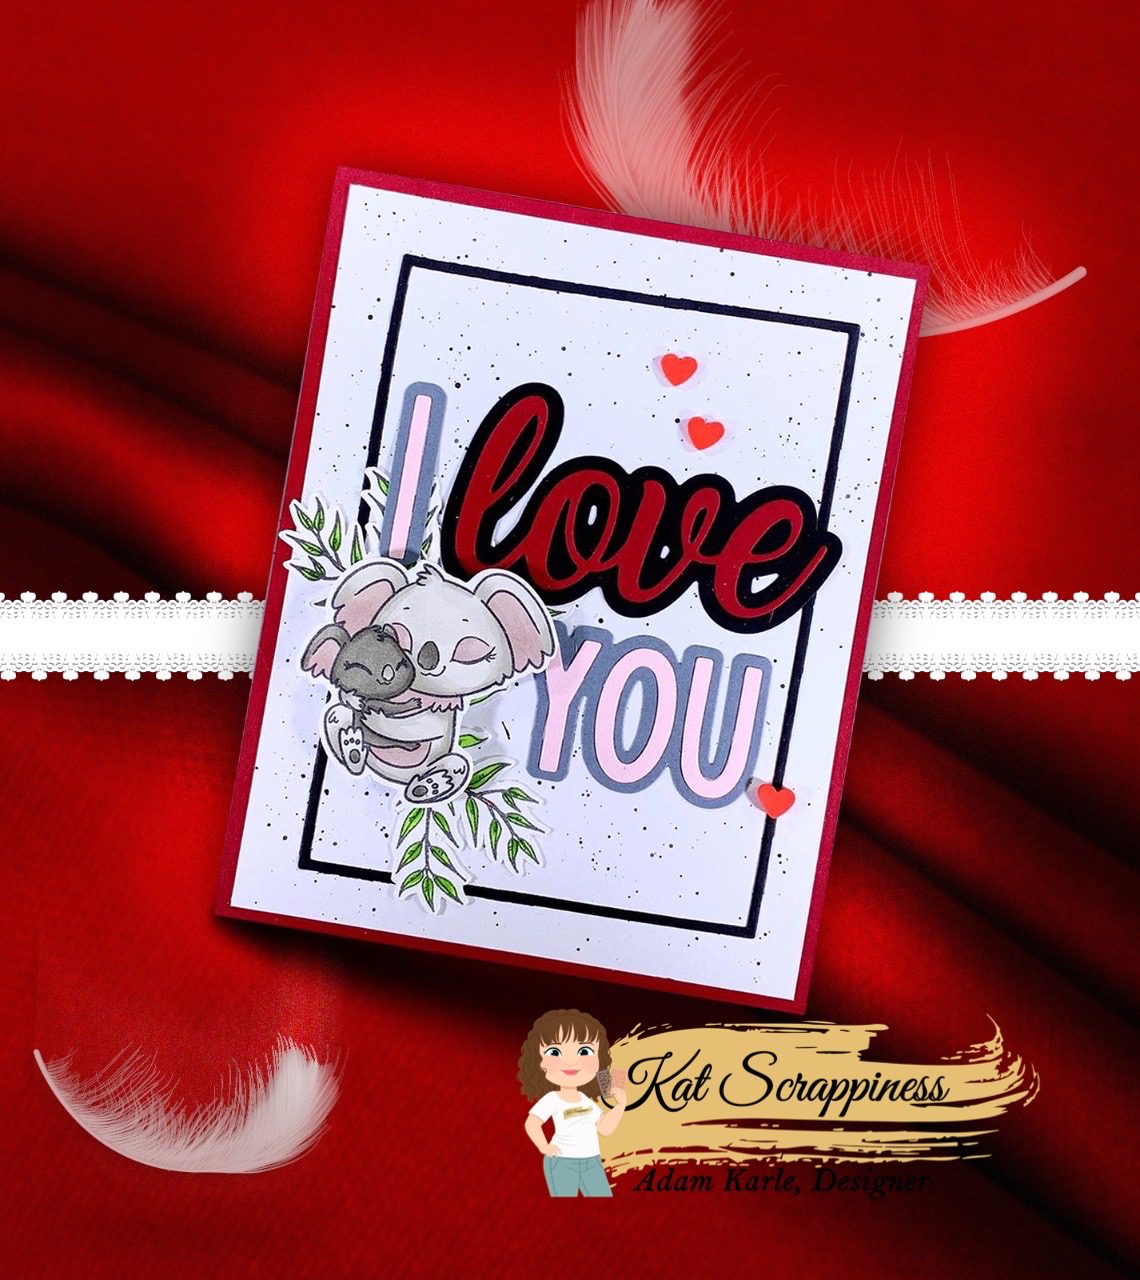
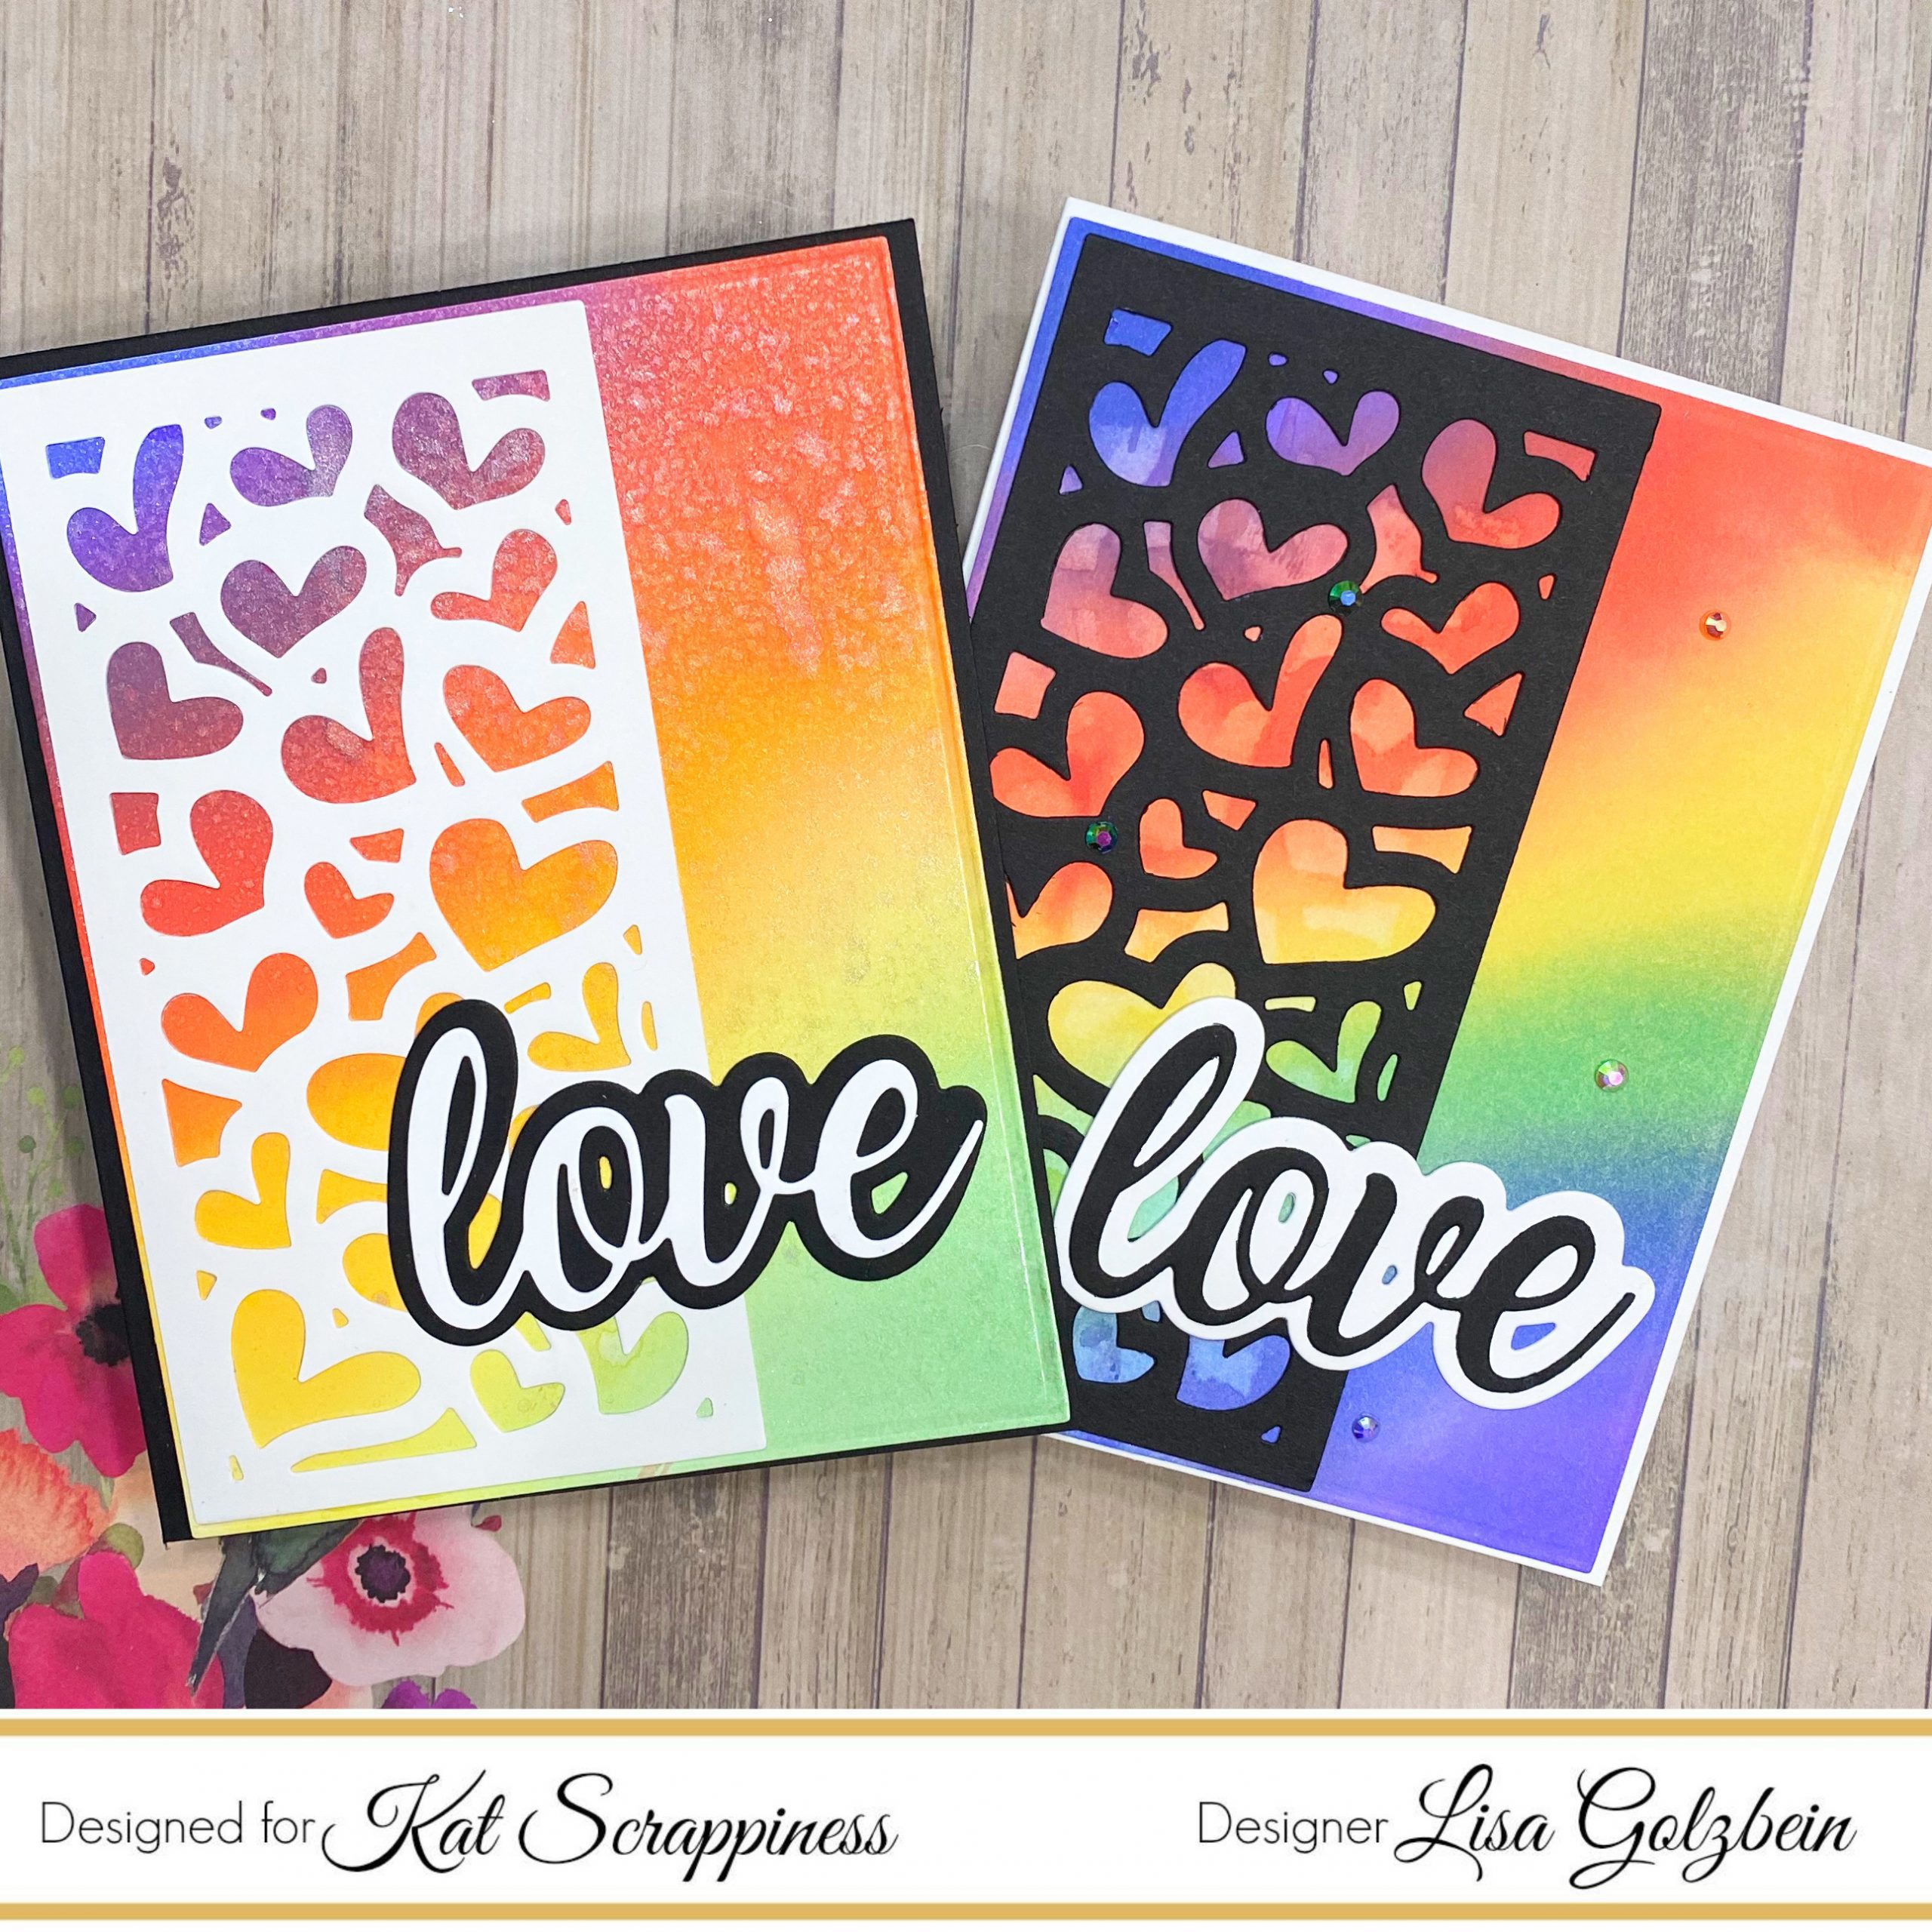
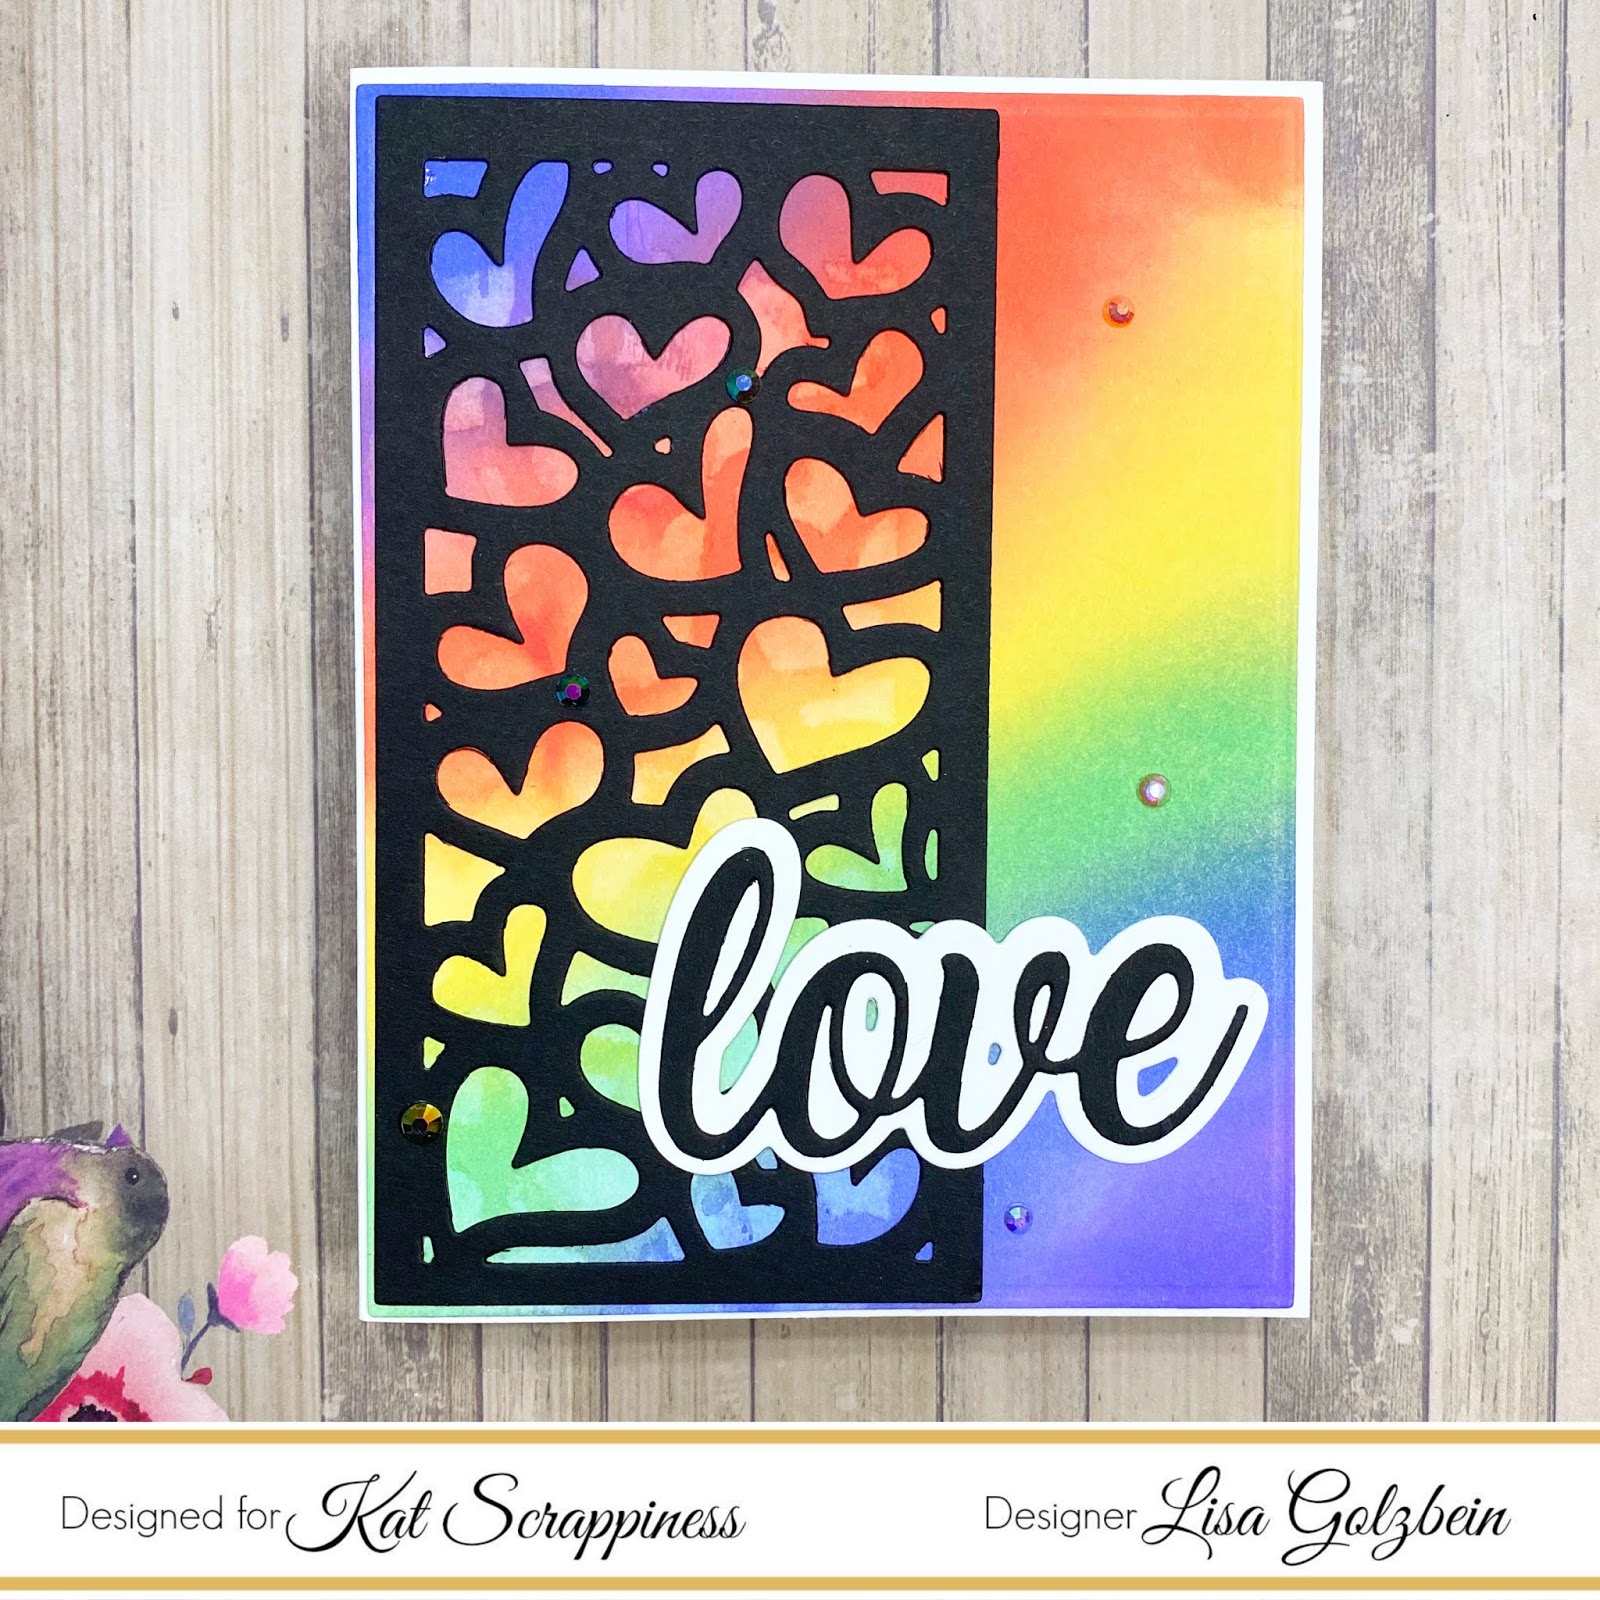
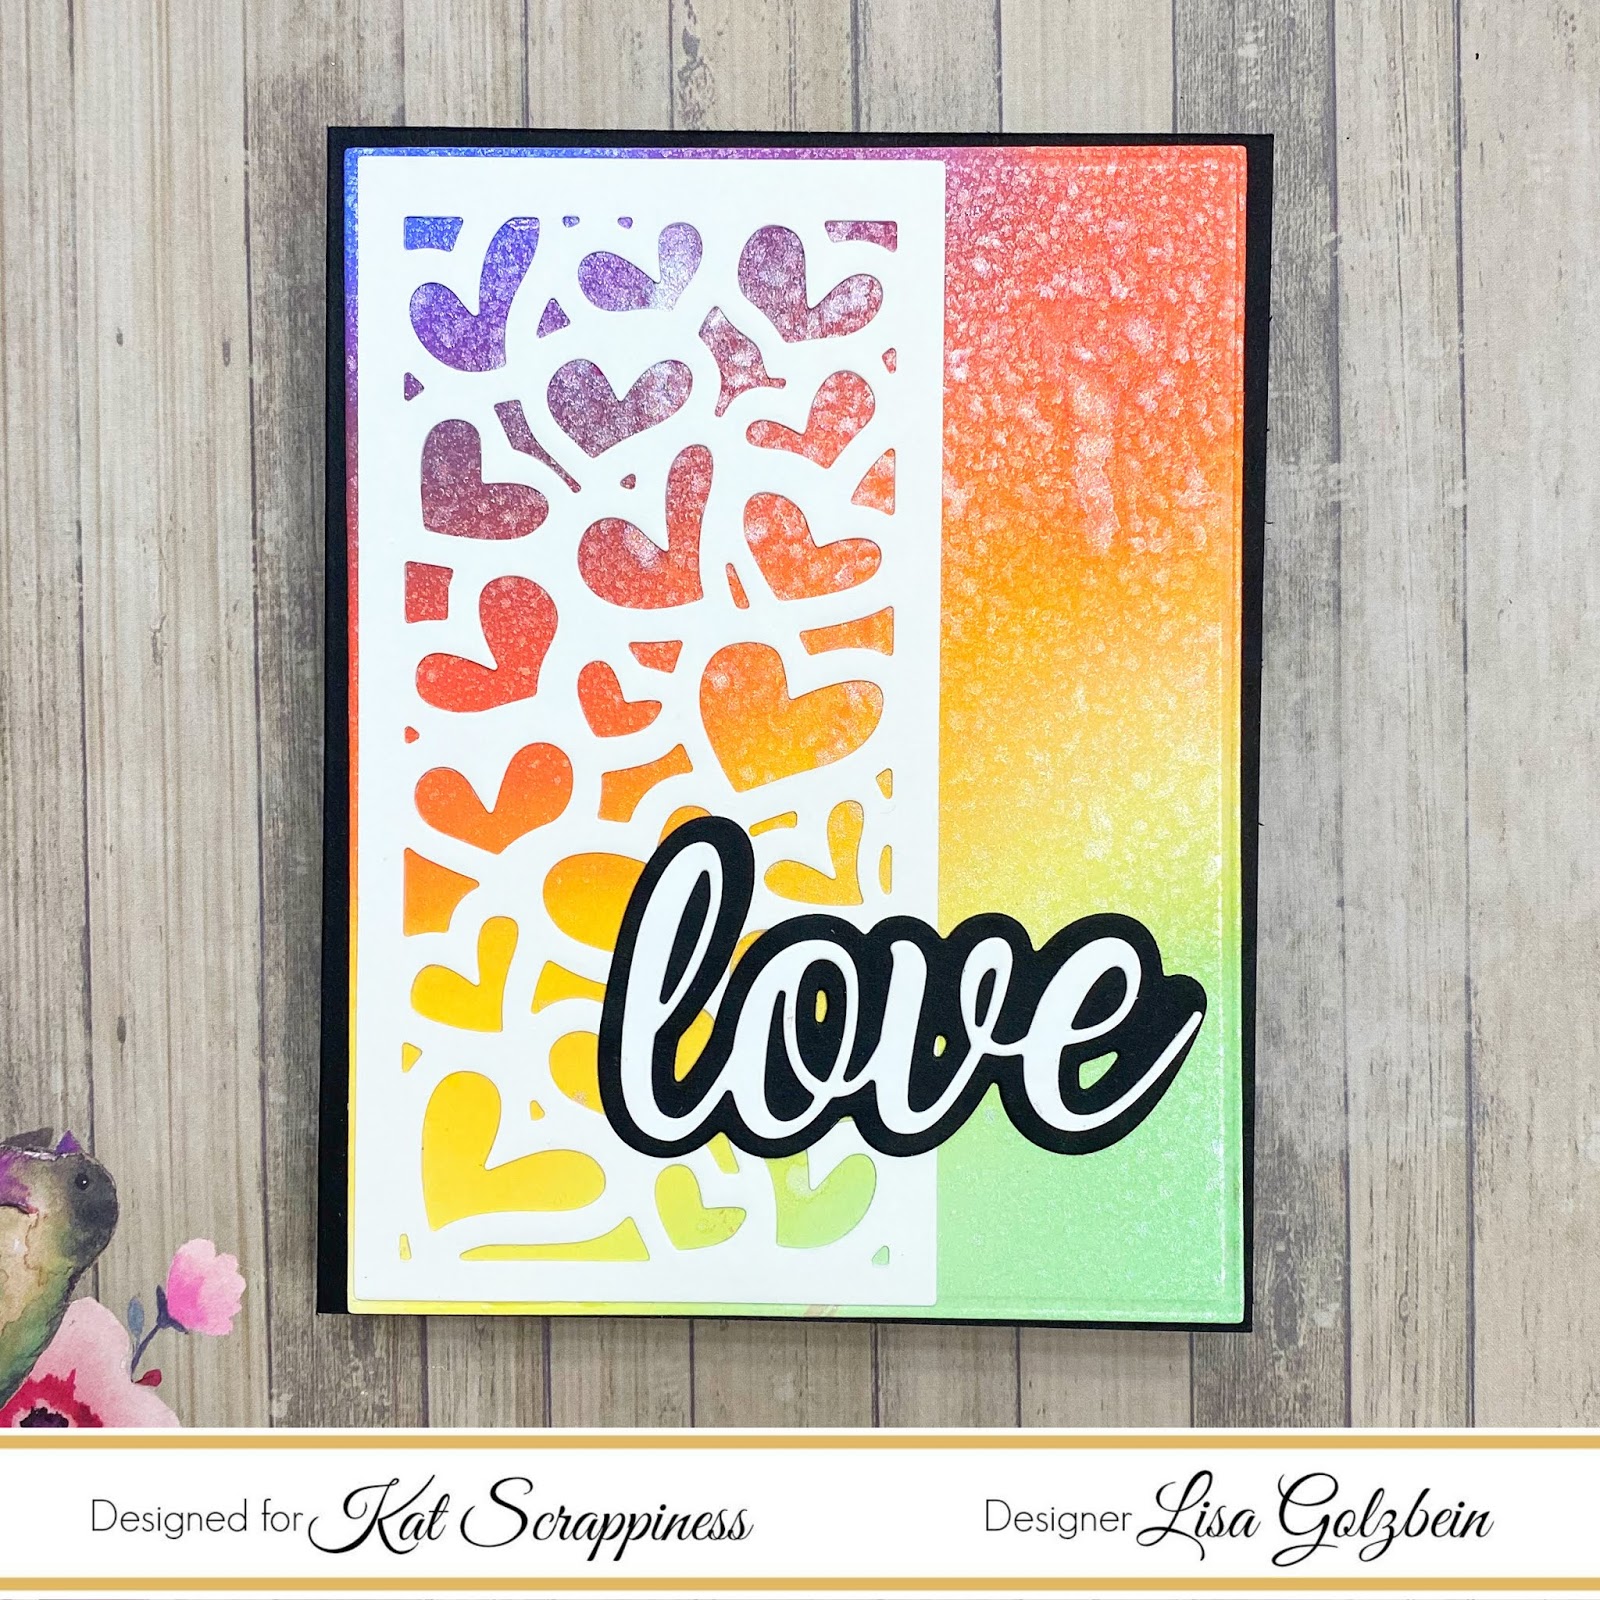
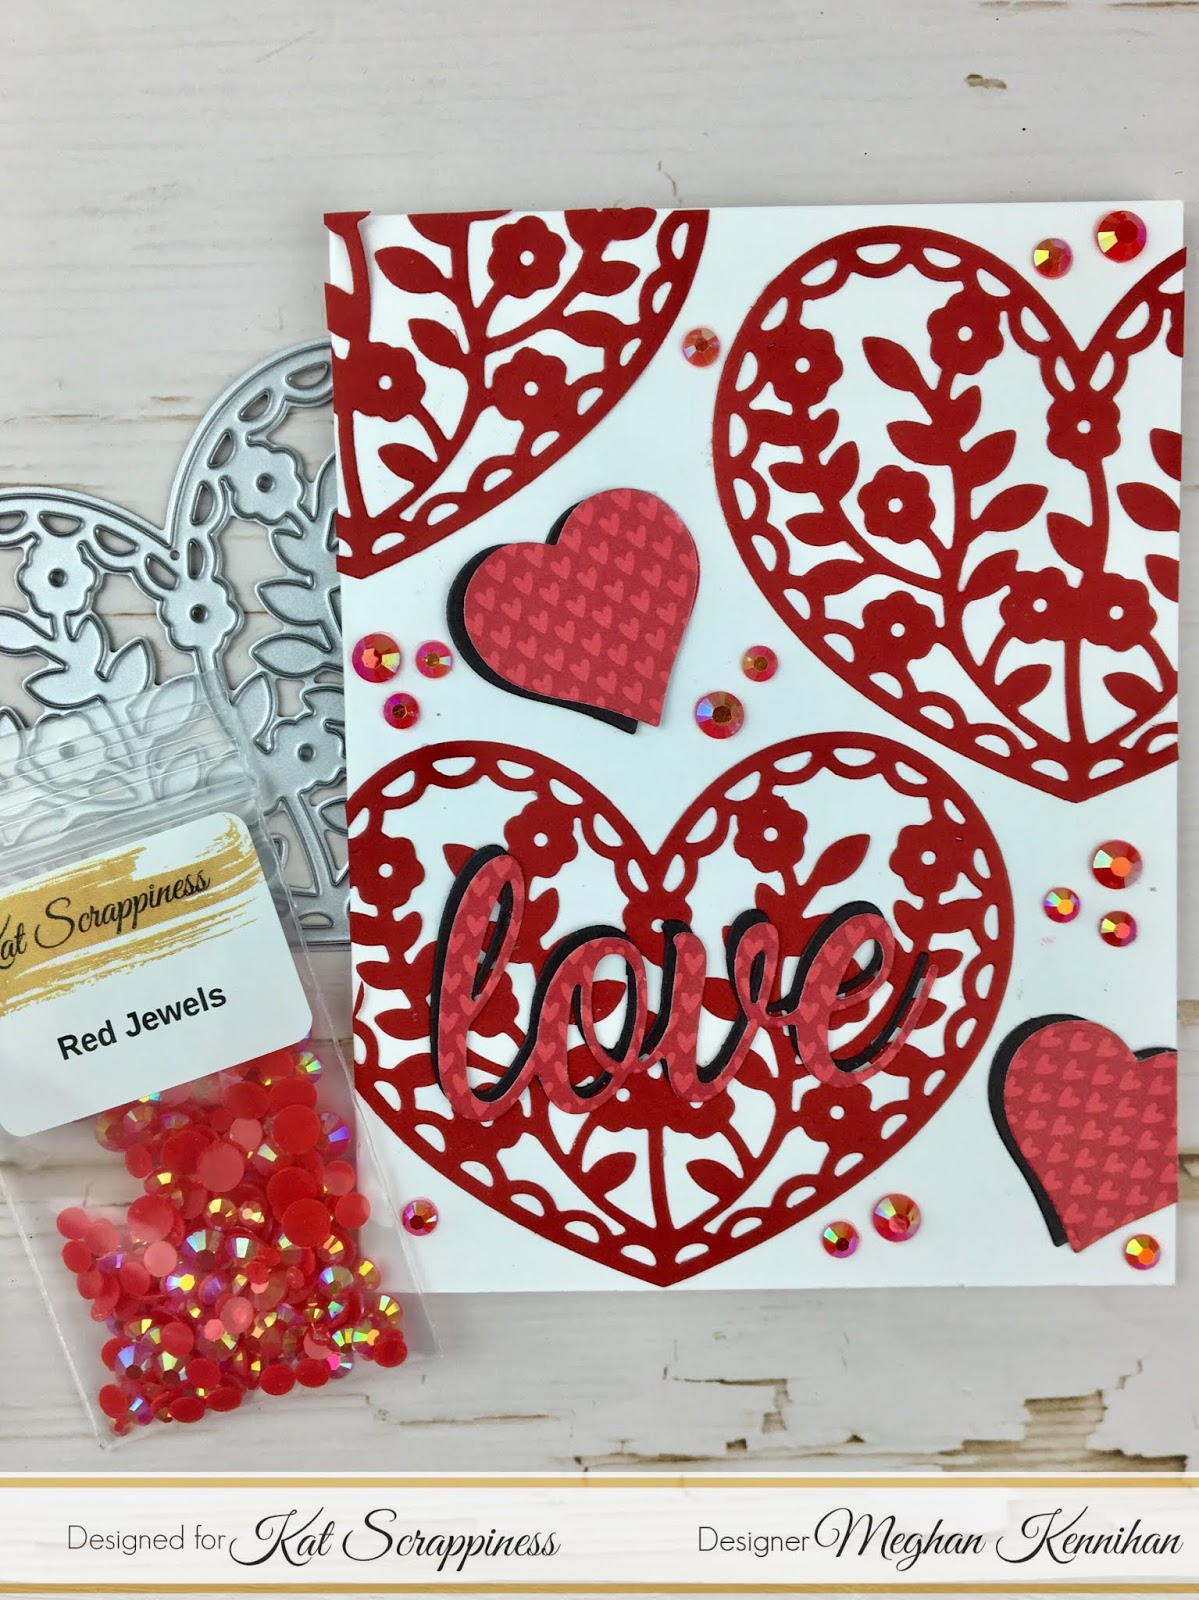
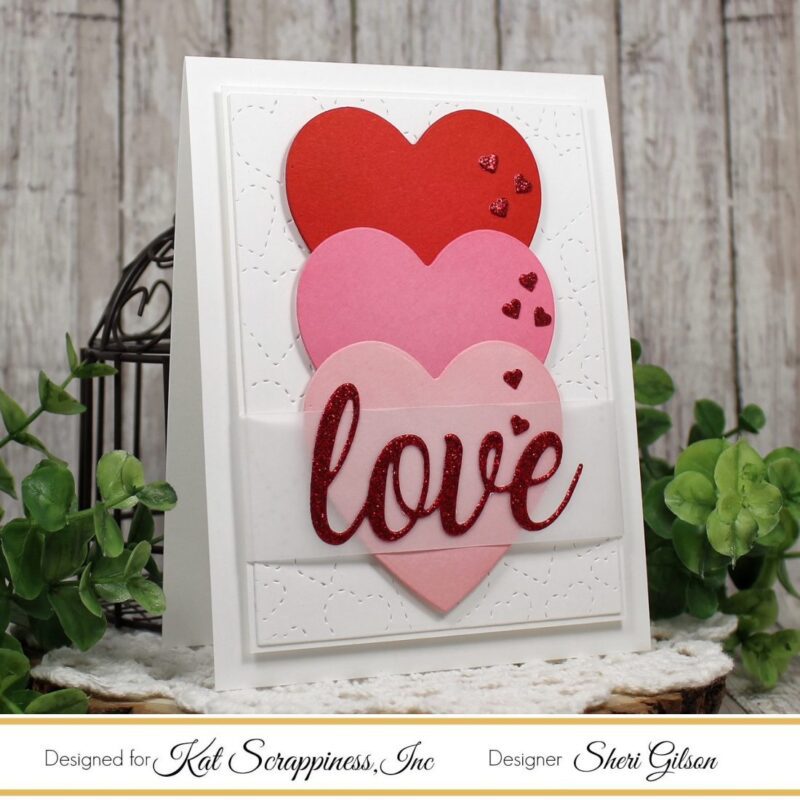
    For today’s card I used the white space to show off the texture of KS NEW Stitched Hearts Cover Plate and just added a trio of hearts and a sentiment! Do you like to make CAS cards?

    Steps to Create Card:

    • Create A2 Top Fold Card Base: 4 1/4″ x 5 1/2″ (4 1/4″ x 11″, scored at 5 1/2″).
    • Cut White Mat: 3 5/8″ x 4 7/8″
    • Take a 4 1/4″ x 5 1/2″ panel and cut it out with the Stitched Hearts Cover Plate. Next you will cut down the panel using the Never Ending Rectangles die set to create a panel measuring  3 1/2″ x 4 3/4″.
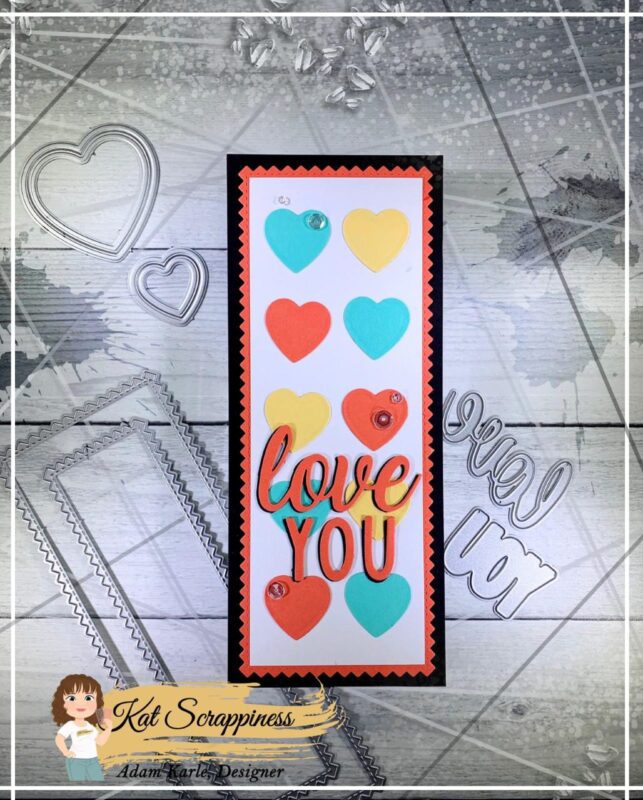
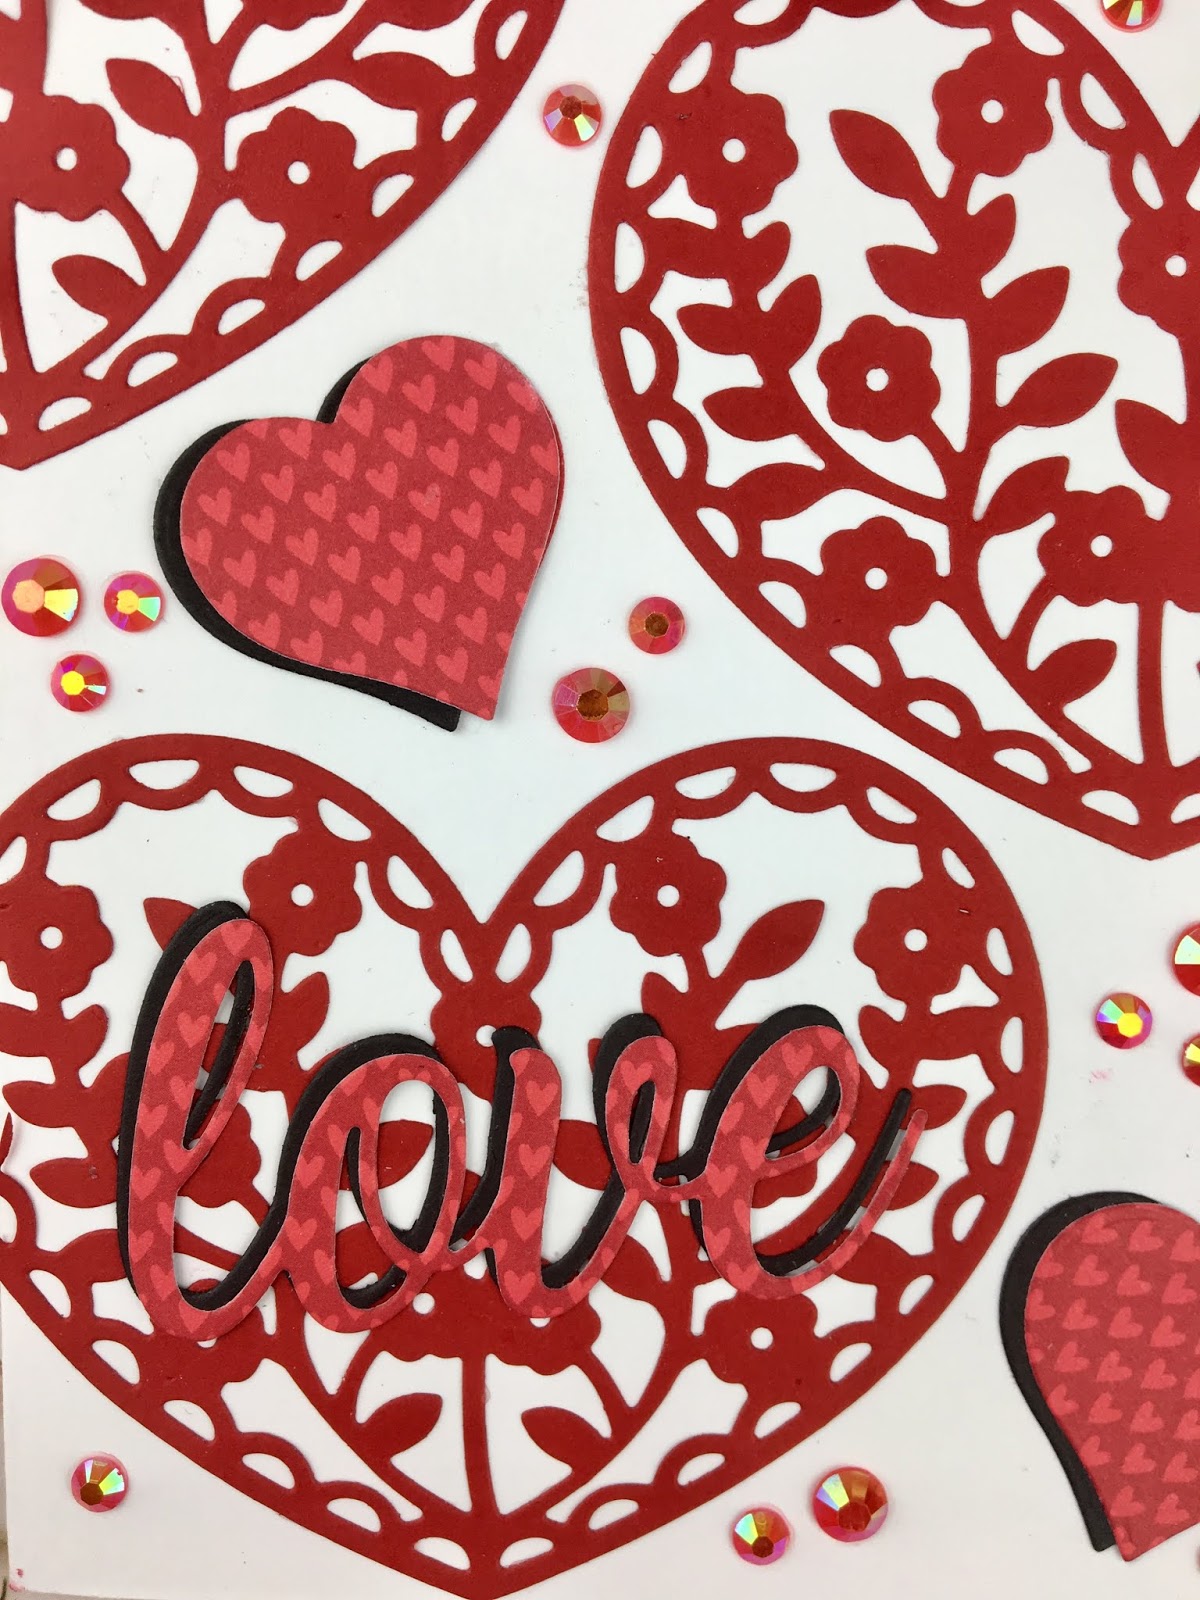
    • Cut out 3 hearts using the second largest die from the Nested Heart die set (2 1/2″ x 2 1/2″). I used Gina K Red Hot, Dusty Rose and Innocent Pink for my colored card stock. For a little added texture I ink blended the edges of the hearts with the coordinating ink colors.
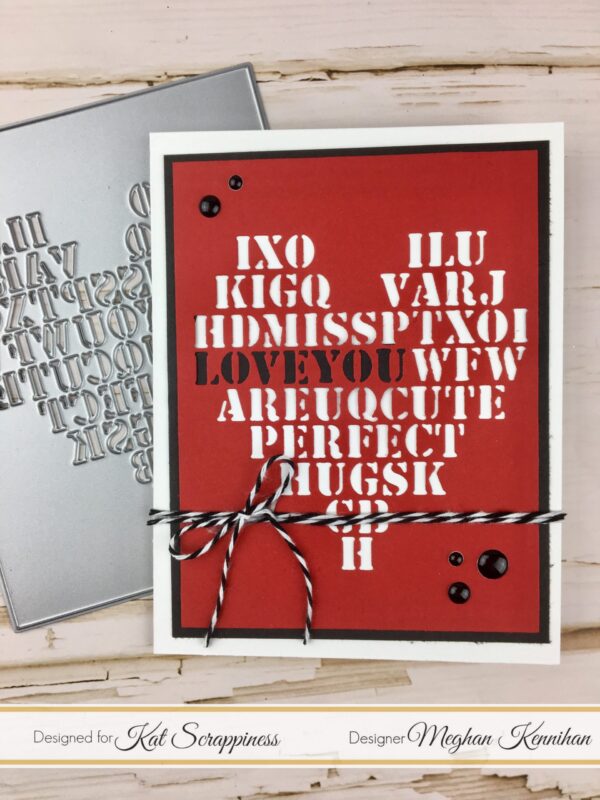
    • Cut the “Love” from the I Love You Shadow die set with red glittler card stock.
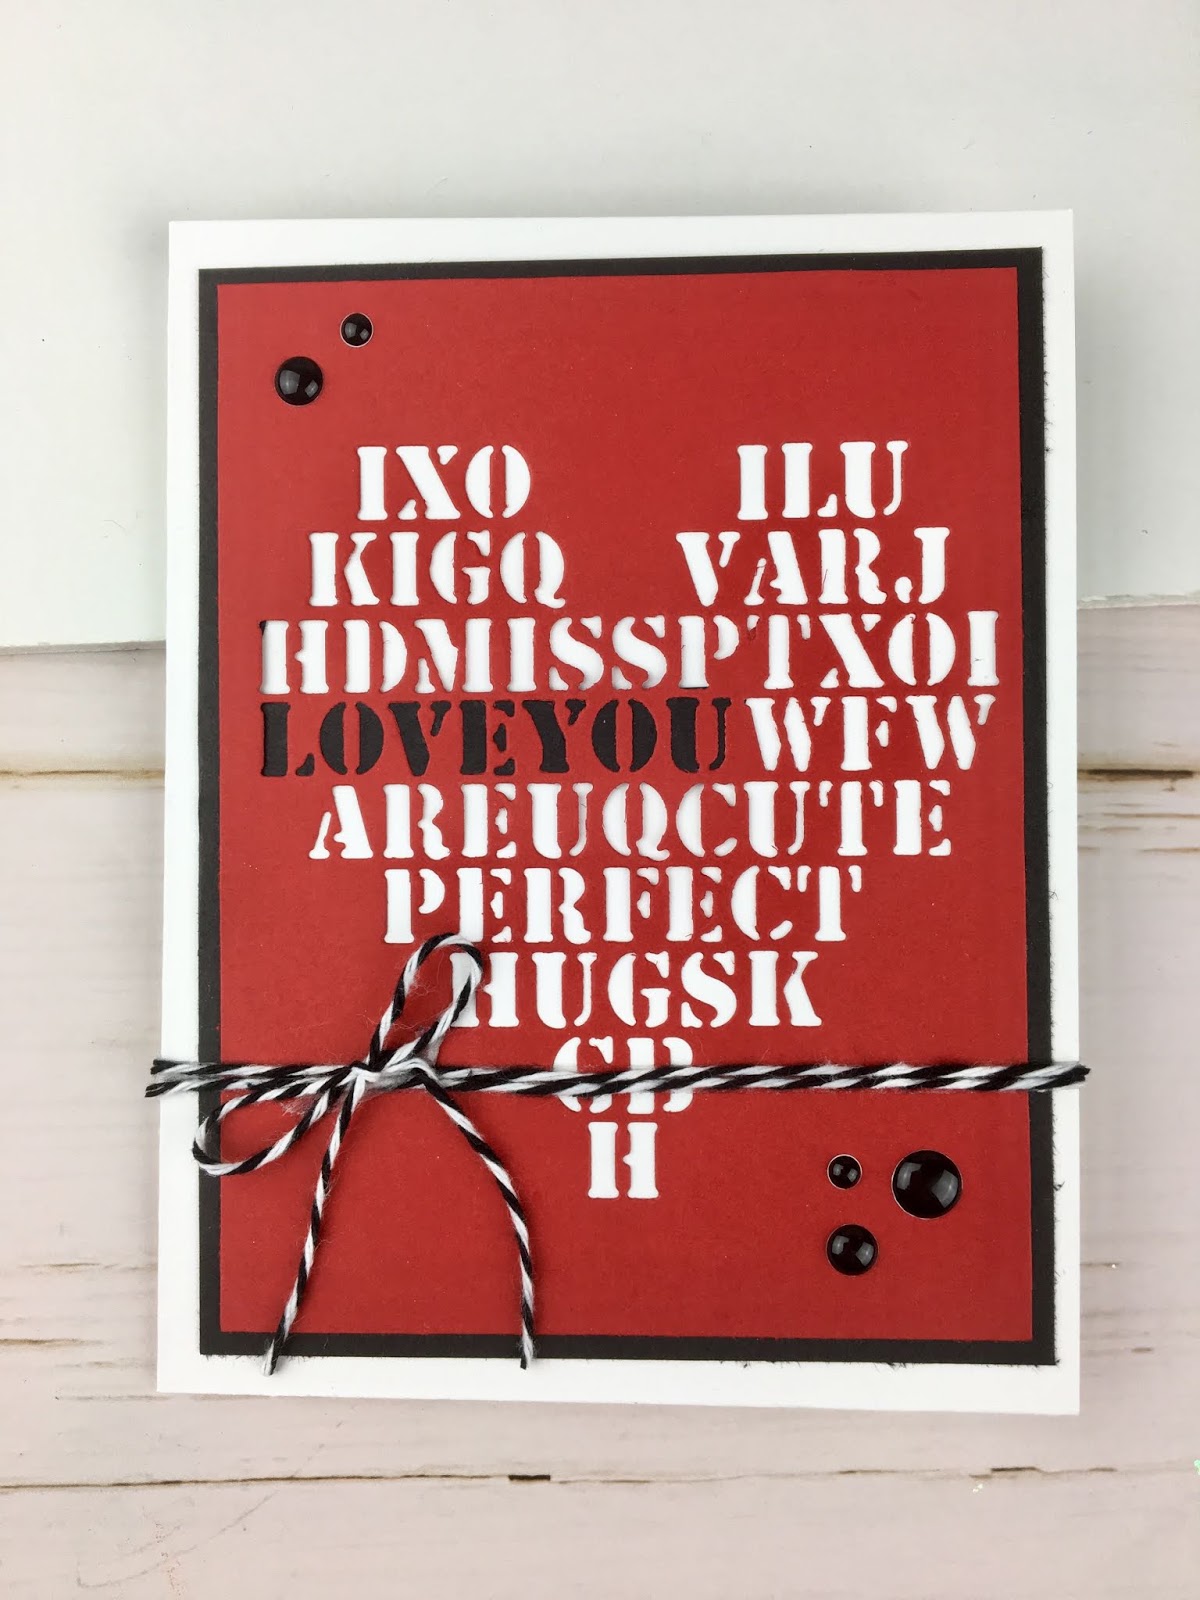
    • Cut a Vellum belly band to wrap around card behind sentiment measuring 5″ x 1 1/4″.
    • For embellishment I cut out a few tiny hearts from the Heart Dounut Builder die set to sprinkle on the right side of my card.
    • Assemble Card. To add a little dimension, I used foam tape to pop up the card panel to the card base along with the three hearts.


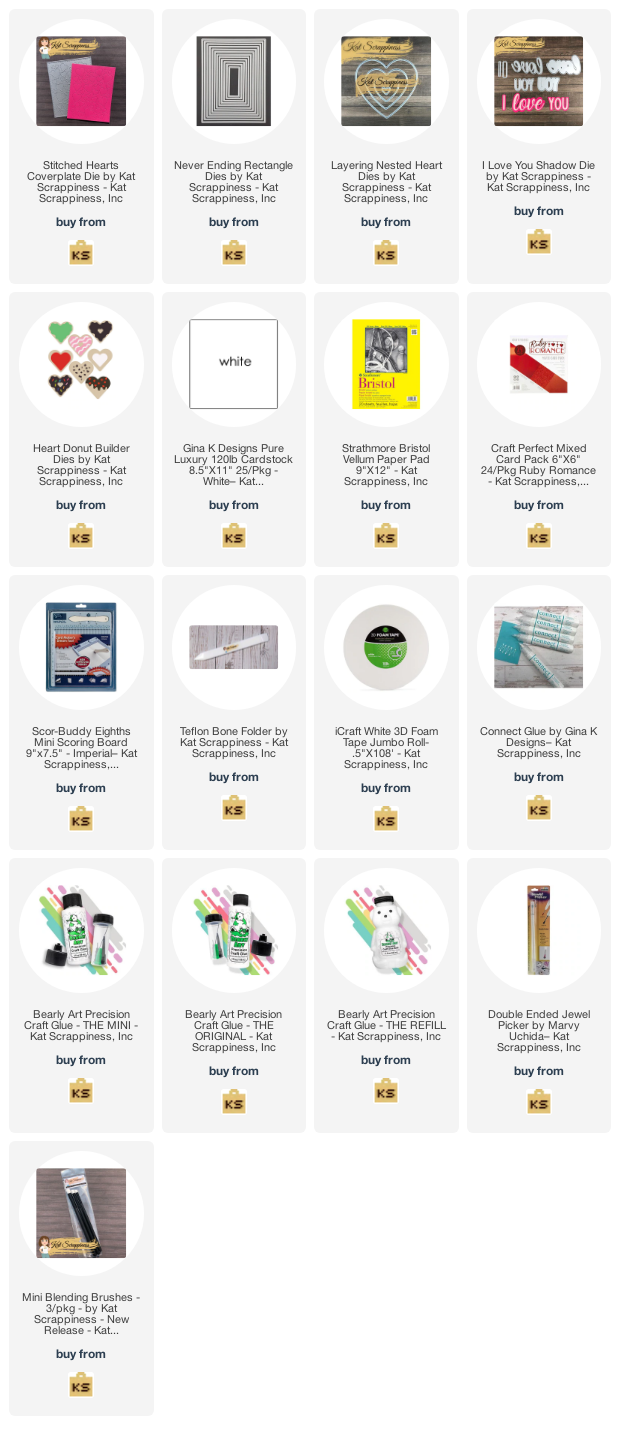
    Here’s a list of the supplies I used from the store.
    Affiliate Links used at no additional cost to you. Thank You so much for your support!


    To Shop SALE, CLICK HERE

    Happy Stamping!!

  • Two Cards Using One DIY Background

    Two Cards Using One DIY Background

    Hi everyone, it’s Tina here. I have two cards to share using one DIY Background along with the Kat Scrappiness Stitched Scalloped Hearts die and Layering Nested Heart dies. Below you will find the steps to create your own cards.

    Card #1

    Step 1 – Trim White Cardstock to 8 1/2” x 5 1/2”, score at 4 1/4” and fold in half for a vertical side fold card. (A2)

    Step 2 – Trim Copy Paper to 5 1/2” x 4 1/4”. Trim Cardstock strips in various colors and sizes. I trimmed the following. Red Cardstock 1/2”, Pink Cardstock 1/4” and Cream Cardstock 1/8”. Adhere the strips to the Copy Paper using adhesive of your choice. I used Nuvo Deluxe Adhesive. Let dry.

    Step 3 – Diecut Layering Nested Heart using the panel created in Step 2. Adhere a piece of Acetate to the backside using Nuvo Deluxe Adhesive. Adhere Foam Tape to the backside except the area of the window. Trim a piece of Red Cardstock and adhere to card front making sure it covers the area where the window will be. Add Talk About It Sprinkles to the center of the card front. Remove the release sheet from the foam tape of the panel and carefully adhere to the card front. You now have a shaker card.

    Step 4 – Diecut Stitched Scalloped Hearts using Cream Cardstock. Now diecut Layering Nested Heart using the Stitched Scalloped Heart diecut. This will create a frame. Adhere to the card front using Nuvo Deluxe Adhesive.

    Step 5 – Diecut I Love You With Shadow using Cream Cardstock for the word Love and Red Cardstock for the Love Shadow. Assemble and adhere to card using Nuvo Deluxe Adhesive.

    Step 6 – Stamp sentiment from your stash using Versafine Onyx Black Ink. Trim sentiment and adhere to card using Nuvo Deluxe Adhesive.

    Step 7 – Optional – For added interest randomly adhere Heart Sprinkles using an Embellishment Pick Up Tool and Nuvo Deluxe Adhesive.

    Card #2

    Step 1 – Diecut Stitched Scalloped Heart using Pink Cardstock and another in Cream Cardstock. Score 1/2” from the top of the Cream diecut. Add Nuvo Deluxe Adhesive to the top part only on the top side and add the Pink diecut on top. You now have a Scalloped Heart shape card.

    Step 2 – Adhere the DIY Heart DIY created from card #1 using Nuvo Deluxe Adhesive.

    Step 3 – Stamp sentiment from your stash on Cream Cardstock using Versafine Onyx Black Ink. Diecut the sentiment using Stitched Fishtail Banners. Adhere to card using Foam Tape.

    Step 4 – Optional – For added interest randomly adhere Heart Sprinkles using an Embellishment Pick Up Tool and Nuvo Deluxe Adhesive.

    These cards can be used for several occasions by changing the sentiment. Below is a link to all the products used. Thank you for stopping by and Happy Crafting!

    Products Used:

    https://linkdeli.com/widget.js?id=f5e8378456858c916708

  • Love And Kisses Mini Slimline Card

    Love And Kisses Mini Slimline Card

    Hi everyone, it’s Tina here. When Kat Scrappiness came out with the Mini Slimline dies not long ago I found myself loving this new card size. And they work well with lots of product you already may have in your stash. Below you will find the steps to create your own Mini Slimline Card.

    Step 1 – Trim White Cardstock to 7” x 6”, score at 3 1/2” and fold in half for a vertical side fold card. (Mini Slimline)

    Step 2 – Diecut Mini Slimline Double Stitch and set aside. Diecut Heart Panel using light weight Cardstock. Place the Heart Panel diecut on top of the Double Stitch diecut to use as a stencil. Apply ink in various colors. I used Distress Oxide Inks in colors Worn Lipstick, Candied Apple, Dusty Concord. Optional – Apply Gina K GLitz Glitter for added interest and sparkle. Set aside to dry.

    Step 3 – Diecut Mini Slimline Scalloped Edge using White Cardstock. Apply Distress Oxide Worn Lipstick to the edges. Adhere to card using Nuvo Deluxe Adhesive. Adhere the Panel created from Step 2 using Nuvo Deluxe Adhesive.

    Step 4 – Diecut Layering Nested Hearts using Red Cardstock x 2. Score the middle of the heart and adhere to card sideways using Foam Tape. This will create lips.

    Step 5 – Diecut I Love You With Shadow die (word Love only) using Black Cardstock x 3. Adhere each layer and then adhere to the card using Nuvo Deluxe Adhesive.

    Step 6 – Stamp sentiment from your stash using Versafine Onyx Black Ink on White Cardstock. Trim out the sentiment and adhere to card using Nuvo Deluxe Adhesive.

    This card can be used for several occasions because I didn’t use the words Happy Valentine’s. Below you will find the link to all the products used. Thank you for stopping by and Happy Crafting!

    Products Used:

    https://linkdeli.com/widget.js?id=f5e8378456858c916708

  • Valentine Love

    Valentine Love

    • Happy Saturday to all my crafty friends. It is time to start making Valentine cards using stamps and dies from the large Kat Scrappiness line of Valentine stamps and dies.
    • I started the card by cutting an A-2 red card base. Next I cut a layer one in white and splattered black craft paint on it. I then cut a thin black frame to add to the layers.

    Using the KS I Love You Shadow die I cut the l and the You out of pink card stock and the love out of red card stock. Then I die cut the shadow in gray for the pink words and black for the red word.

    Next I stamped the kaolas and the foliage from the Koala-ty Time Stamp Set. These images I colored and placed onto the card front. I used foam tape for the koalas. Lastly I added the sentiment tucked in among the stamped images. For my final touch I added a few red Heart sprinkles to the card front.

    Supplies:

    KS red Heart sprinkles

    KS I Love You Shadow die

    KS Koala-ty Time Stamp set

  • Love is in the Air

    Love is in the Air

    Happy Saturday to all,

    Creating a slim line Valentine today using Kat Scrappiness dies. This is a clean and simple card for when you have to make a card and do not want to ink.

    I cut a standard 3.5 x8.5 inch base in black card stock. Next I die cut a layer using the Kat Scrappiness “Zig Zag” slim line die in a salmon card stock. Finally I cut a white layer to size leaving only a zig zag boarder.

    Now for the focal images, I die cut hearts in three colors using Kat Scrappiness “Embossed Edged Heart” Die. I found that five rows of two fit nicely onto the white layer.  For the sentiment I die cut the words love and you using the Kat Scrappiness “I Love You” shadow die Set. I cut the words twice, once in black and once in salmon. I stacked them using an offset to create a shadow behind the sentiment. I added a few sequins and the card is complete.

  • Love You Forever Card

    Love You Forever Card

    Hi everyone, it’s Tina here. Today I have a sweet card to share with you using a technique from a stencil I did for another card I made in August. Below you will find the details and steps to create your own card.

    Step 1 – Trim White Cardstock to 11″ x 4 1/4″, score at 5 1/2″ and fold in half for a horizontal side fold card. (A2)

    Step 2 – Trim White Cardstock to 5 1/2″ x 4 1/4″. Apply a stencil you have in your stash and apply Distress Oxide Ink in various colors. This will give you a background but there is still ink on the stencil which doesn’t need to go to waste. Spray water and place on top of another cardstock trimmed to 5 1/2″ x 4 1/4″. When you remove the stencil you now have a watercolor inked background. Below is a photo of my card using the inked background as it was originally intended to use. My photo above for today’s card is using the ink left over on the stencil for the watercolor effect.

    Step 3 – Diecut Wonky Wavy Stitched Rectangles to the panel created in Step 2. Adhere to card front using Nuvo Deluxe Adhesive. Place something heavy on top while it dries to prevent warping.

    Step 4 – Diecut Floral Heart using Pink Cardstock and Black Cardstock. Adhere the Pink diecut on top of the Black and off set it (this will create a shadow effect) then adhere to card front using Nuvo Deluxe Adhesive.

    Step 5 – Diecut I Love You Shadow Sentiment using White Cardstock x3. Adhere each layer and adhere to card front using Nuvo Deluxe Adhesive.

    Step 6 – Stamp any sentiment in your stash using Versamark on Black Cardstock. Sprinkle White Embossing Powder and remove the excess. Heat set it with a heat tool. Try the sentiment and adhere to card using Nuvo Deluxe Adhesive.

    Step 7 – Stamp Koala-ty Time image using Gina K Amalgam Ink. Color in image in alcohol inks of your choice. I used Spectrum Noir Illustrator Markers. Cut out image or use your Scan N Cut and adhere to card using Nuvo Deluxe Adhesive to the top portion and a piece of Foam Tape to the bottom portion.

    This card can be used for several occasions by changing the colors, image and/or sentiment. Below is a link to all the products used. Thank you for stopping by and Happy Crafting!

    Products Used:


    https://linkdeli.com/widget.js?id=f5e8378456858c916708

  • You Color My World Rainbow Card

    You Color My World Rainbow Card

    Hi everyone, it’s Tina here. I have been playing around with the Never Ending Circle dies to create rainbows. It is super easy and by stacking the Circle dies you end up getting 2 with one pass. Below you will find the steps to create your own You Color My World Rainbow Card.

    Step 1 – Trim White Cardstock to 8 1/2” x 5 1/2”, score at 4 1/4” and fold in half for a vertical side fold card. (A2)

    Step 2 – Diecut Stitched Cloud Backdrop using Black Cardstock. Adhere to card using Nuvo Deluxe Adhesive.

    Step 3 – Diecut 7 of the largest Never Ending Circles using White Cardstock. Colour in each layer in rainbow order using any colour medium of your choice. I used alcohol markers. Once coloured cut in half. Adhere the rainbow using Nuvo Deluxe Adhesive. See below photos.

    Step 4 – Diecut He Is Risen (x2 small cloud and 1x large cloud) using White Cardstock. Adhere small cloud and large cloud using Nuvo Deluxe Adhesive. For the last small cloud stamp Everyday Brush Strokes sentiment Color My World. I used Washi Tape to cover the word You and the other words except one word in one colour. I removed the Washi Tape and stamped. I repeated this process to have each word in a different colour. Adhere the stamped cloud using Foam Tape.

    Step 5 – Diecut I Love You With Shadow using Red Cardstock for the shadow and Orange Cardstock for the word. Assemble and adhere to card using Foam Tape.

    Step 6 – For added interest I adhered Confetti Sprinkles using all the 6 colours used in the rainbow using Collage Medium and a Crystal Katana. The colours of the Confetti Sprinkles are Red, Orange, Bright Yellow, Lime Green, Light Blue and Purple.

    This card can be used for any occasion by changing the colours and sentiment. Right now cards using Rainbows with words of encouragement are the rage. Below you will find the link to all the products used. Thank you for stopping by and Happy Crafting!

    Products Used:


    https://linkdeli.com/widget.js?id=f5e8378456858c916708


  • Sending Love Card

    Sending Love Card

    Hi Everyone, it’s Tina here. The Heart Panel Die can be used for many occasions such as Valentine’s, Anniversary or just to say I love you. Below you will find the steps to create your own Sending Love Card.

    Step 1 – Trim White Cardstock to 8 1/2” x 5 1/2”, score at 4 1/4” and fold in half for a vertical side fold card. (A2)

    Step 2 – Trim White Cardstock to 5 1/2” x 4 1/4”. Place a stencil on top and apply ink in various colours using an ink applicator going from lightest colour from the top and to darkest to the bottom.

    Step 3 – Diecut Double Stitched Rectangles to the panel created in Step 2. Adhere to card front using Nuvo Deluxe Adhesive.

    Step 4 – Trim White Cardstock to 5 1/2” x 3 1/2”. Apply ink in various colours using an ink applicator going from darkest colour from the top and to lightest to the bottom.

    Step 5 – Diecut Heart Panel using White Cardstock. Adhere to the diecut over the panel created in Step 4 and then adhere it for the card using Nuvo Deluxe Adhesive.

    Step 6 – Apply ink to a scrap piece of White Cardstock. Diecut I Love You (only Love) Shadow using the inked piece Cardstock. Then diecut I Love You (only Love) using White Cardstock. Assemble and adhere to the card using Nuvo Deluxe Adhesive.

    Step 7 – Stamp a small sentiment using Versamark, Sprinkle White Embossing Powder and remove the excess. Heat set it with a Heat Tool. Trim and adhere to card over the word Love.

    Step 8 – For added interest randomly adhere Red Heart Sprinkles using Collage Medium and a Crystal Katana.

    As I mentioned the Heart Panel die can be used for many occasions by simply changing the colors and/or the sentiment. Below is a link to all the products used. Thank you for stopping by and Happy Crafting!

    Products Used:


    https://linkdeli.com/widget.js?1559654439292

  • Rainbow Cards with Heart Panel Die and Video

    Rainbow Cards with Heart Panel Die and Video

    It’s Lisa here on the blog with you today with a couple of pretty rainbow cards using these 3

    Kat Scrappiness products:

    Heart Panel Die

    I Love You Shadow Dies

    Embossed Edge Rectangle Dies

    I started with a piece of Bristol Smooth Cardstock and did some ink blending with these

    6 Distress Oxide Inks:

    Candied Apple

    Carved Pumpkin

    Squeezed Lemonade

    Cracked Pistachio

    Blueprint Sketch

    and

    Wilted Violet

    I cut the Heart Panel Die out in black and white and laid them on 2 different rainbow ink blended panels cut using the Embossed Edge Rectangle Dies.  I added the “Love” word die from the

    I Love You Shadow Dies on both cards.  One is white backed in black and the other is black backed in white.

    I have a process video up on my YouTube channel showing how I made both of these cards.

    You can watch it here or on YouTube.

    [youtube https://www.youtube.com/watch?v=elOMEb11nXY]


    I hope you enjoyed my rainbow cards and they have inspired you to get inky!

    Check out my other blog post using the Heart Panel Die to DIY your own stencil! There’s a video along with that process as well!

    DIY Stencils 

    That’s all for today, don’t forget to follow Kat Scrappiness on all

    social media platforms to be alerted to new release, sales and giveaways!

    Kat Scrappiness Shop

    Kat Scrappiness Blog

    Kat Scrappiness FB Fan Page

    Kat Scrappiness Instagram

    Kat Scrappiness YouTube Channel

    Have a great day, I already am!

    ?Lisa ?

    **Affiliate links are used occasionally

    at no additional cost to you. These

    are products that I may have been sent

    or ones that I purchased on my own.

    Either way, they are products that I 

    use frequently and LOVE!

  • Fancy Heart Dies, Easy To Make Valentines

    Fancy Heart Dies, Easy To Make Valentines

    Hi Crafty Friends,

    I have two simple Valentines for you today that are super easy to make but so beautiful and elegant. This is the new Floral Heart Die and Valentine Word Search Die from Kat Scrappiness and they make the most gorgeous Valentines!

    Make Crafty Friends Q & A:

    Q: Do you like Word Searches?

    A: Me? I do, but I prefer crossword puzzles

    Card #1: Featuring Kat Scrappiness Floral Heart Die, Red Jewels, I Love You Shadow Die & Say It With Hearts Die

    Card #2: Featuring Kat Scrappiness NEW Valentine Word Search Die

    One More Look at Both Valentines

    Please be sure to follow, subscribe, and comment on my blog posts for your chance to win my February Prize and for more inspirations and giveaways head to my Instagram @MadeByMeghanK