Tag: Easter Egg parade sequins

  • Easter Egg Shaker

    Easter Egg Shaker

    Looking to create something easy and fun for Easter?  Kat Scrappiness has you covered with lots of fabulous goodies to help you create something amazing in no time at all!

    For my card, I first layered pink cardstock on to the card base then layered a pattern paper on top.  This pretty egg shaker was a snap to create!  

    I cut pink sparkly cardstock using the beautiful Large Filigree Egg Die. I adhered acetate to the back of the die cut, trimming it to be flush with the outer edge of the die cut.  Then I placed double-sided foam sticky strips around the back edge over the acetate and sprinkled in Easter Egg Parade Sequins.  I then adhered a piece of white cardstock to the back, trimming to the shape of the egg before adhering the shaker to the card base.

    To finish, I used the Happy Easter with Shadow Dies; cutting the shadow from vellum and the words from gold cardstock.


    https://linkdeli.com/widget.js?id=36e575d4b4503edd8f9a

  • Happy Easter Bunny Tails Card

    Happy Easter Bunny Tails Card

    Hi Everyone, it’s Tina here. Today’s card is featuring the Stitched Easter Bunny Outline Dies, Brush Script Happy Easter Word Die, Wonky Wavy Stitched Oval Dies, Easter Egg Parade Sequins and the Pastel Blue Bunny Tails to create this super cute Happy Easter Bunny Tails Card. Below you will find the easy steps to creating your own card.

    Step 1 – Trim White Cardstock to 8 1/2” x 5 1/2”, score at 4 1/4” and fold in half for a vertical side fold card. (A2)

    Step 2 – Optional – Stamp, diecut or use Polka Dot patterned paper to create the background. I used a Polka Dot Die using White Cardstock and adhered it to a Light Teal Blue Cardstock underneath. Adhere the entire panel to the front of the card using Nuvo Deluxe Adhesive.

    Step 3 – Diecut Wonky Wavy Stitched Oval using Light Teal Blue Cardstock. Adhere to card using Nuvo Deluxe Adhesive.

    Step 4 – Diecut Stitched Easter Bunny Outline (2x) and adhere to card using Nuvo Deluxe Adhesive. Adhere Pastel Blue Bunny Tails to the bottom of the bunny’s to create a tail.

    Step 5 – Diecut Happy Easter Word using Grey Cardstock for Happy and White Cardstock for Easter. Adhere Happy at the top using Nuvo Deluxe Adhesive. Adhere Easter on a Grey Cardstock and trim the edges to create fishtails. Adhere to card using Foam Tape.

    Step 6 – For added interest and sparkle randomly adhere Easter Egg Parade Sequins using a Crystal Katana and Collage Medium.

    I hope you enjoyed today’s card. Below is a link to all the products used. Thank you for stopping by and Happy Crafting!

    Products Used:

    https://linkdeli.com/widget.js?1559654439292

  • Happy Easter Shaker Card

    Happy Monday everyone!  Hope everyone had a great weekend – I was able to spend a lot of time in my craft room creating cards for the upcoming Kat Scrappiness release.

    Today, I have a fun Easter shaker card using several Kat Scrappiness dies and sequin mixes.

    I created the frame for the shaker card by using the largest Stitched Postage Stamp Edge die and the second to largest Double Stitched Rectangle dies and used it on some pastel, plaid patterned paper.  They nest perfectly together!  I adhered a piece of Kat Scrappiness acetate to the back of the frame and added small strips of foam tape.

    I used a bunny background stamp and stamped it in pink to use behind my shaker portion of the card.  I added sequins from three different sequin mixes – Easter Egg Hunt, Easter Egg Parade, and Easter Bunnies.  After adding my sequins, I attached my bunny background panel.  I added this panel to my white card base.  To finish the card, I die cut the Brush Script Happy Easter sentiment from yellow card stock and adhered that directly to the acetate.

    This was such a fun card to make and shake!  I need to make more full panel shaker cards.

    – – –– – –– – –– – –– – –– – –– – –– – –– – –– – –– – –– – –– – –– – –– – –– – –– – –– – –– – –– – –– – –– –

    Thanks for stopping by and happy stamping!  Here is a link to the Kat Scrappiness shop and direct links for products I used on today’s card are below.  The clearance sale is still going on Kat Scrappiness.  There are lots of goodies there for terrific prices.


    – – – SUPPLIES for today’s project– – – – – – – – – – – – – – – – – – – – – – – – – – – – – – – – – – – – – – –

  • Basket Full of Eggs – Happy Easter

    Basket Full of Eggs – Happy Easter

    Hi everyone!  I think I’m finally finished with my Easter cards.  The products released this month from Kat Scrappiness has really made it easy and fun to come up with several types of Easter cards.

    Today, I’m sharing a card that uses the cute basket from Crafters Essentials:  Easter die set and a fun sequin set – Easter Egg Parade.  I started by die cutting the basket out of kraft card stock, the Stitched Fishtail Banner out of yellow card stock, Stitched Scalloped Rectangle die from white card stock, and the Mini Easter Eggs from various pastel card stock.

    I adhered the basket to the white panel ensuring that I didn’t glue down the bottom opening of the basket so that I could slip my eggs in there.  I arranged the eggs like I wanted them and then adhered them in the basket.  I added some yellow, blue, and pink sequins to the bottom and top of the basket.

    For my sentiment, I white heat embossed Happy Easter onto the yellow banner and used dimensional adhesive to add it to the white panel.  I covered the front of the card panel with a purple piece of paper from Gotta Have Gingham and used dimensional adhesive to add the white panel to the card base.

    – – –– – –– – –– – –– – –– – –– – –– – –– – –– – –– – –– – –– – –– – –– – –– – –– – –– – –– – –– – –– – –– –

    Today is the last day of the Spring Cleaning sale at Kat Scrappiness – get 20% off in stock items using code CLEAN19.

    If your seeing this after April 7th, you can use code caren10 for a 10% discount in the Kat Scrappiness shop.

    Thanks for stopping by and happy stamping!

    – – – SUPPLIES for today’s project– – – – – – – – – – – – – – – – – – – – – – – – – – – – – – – – – – – – – – –

  • Easter Shaker Notecards

    Easter Shaker Notecards

    Hello Kat Scrappiness fans and welcome back to the blog!

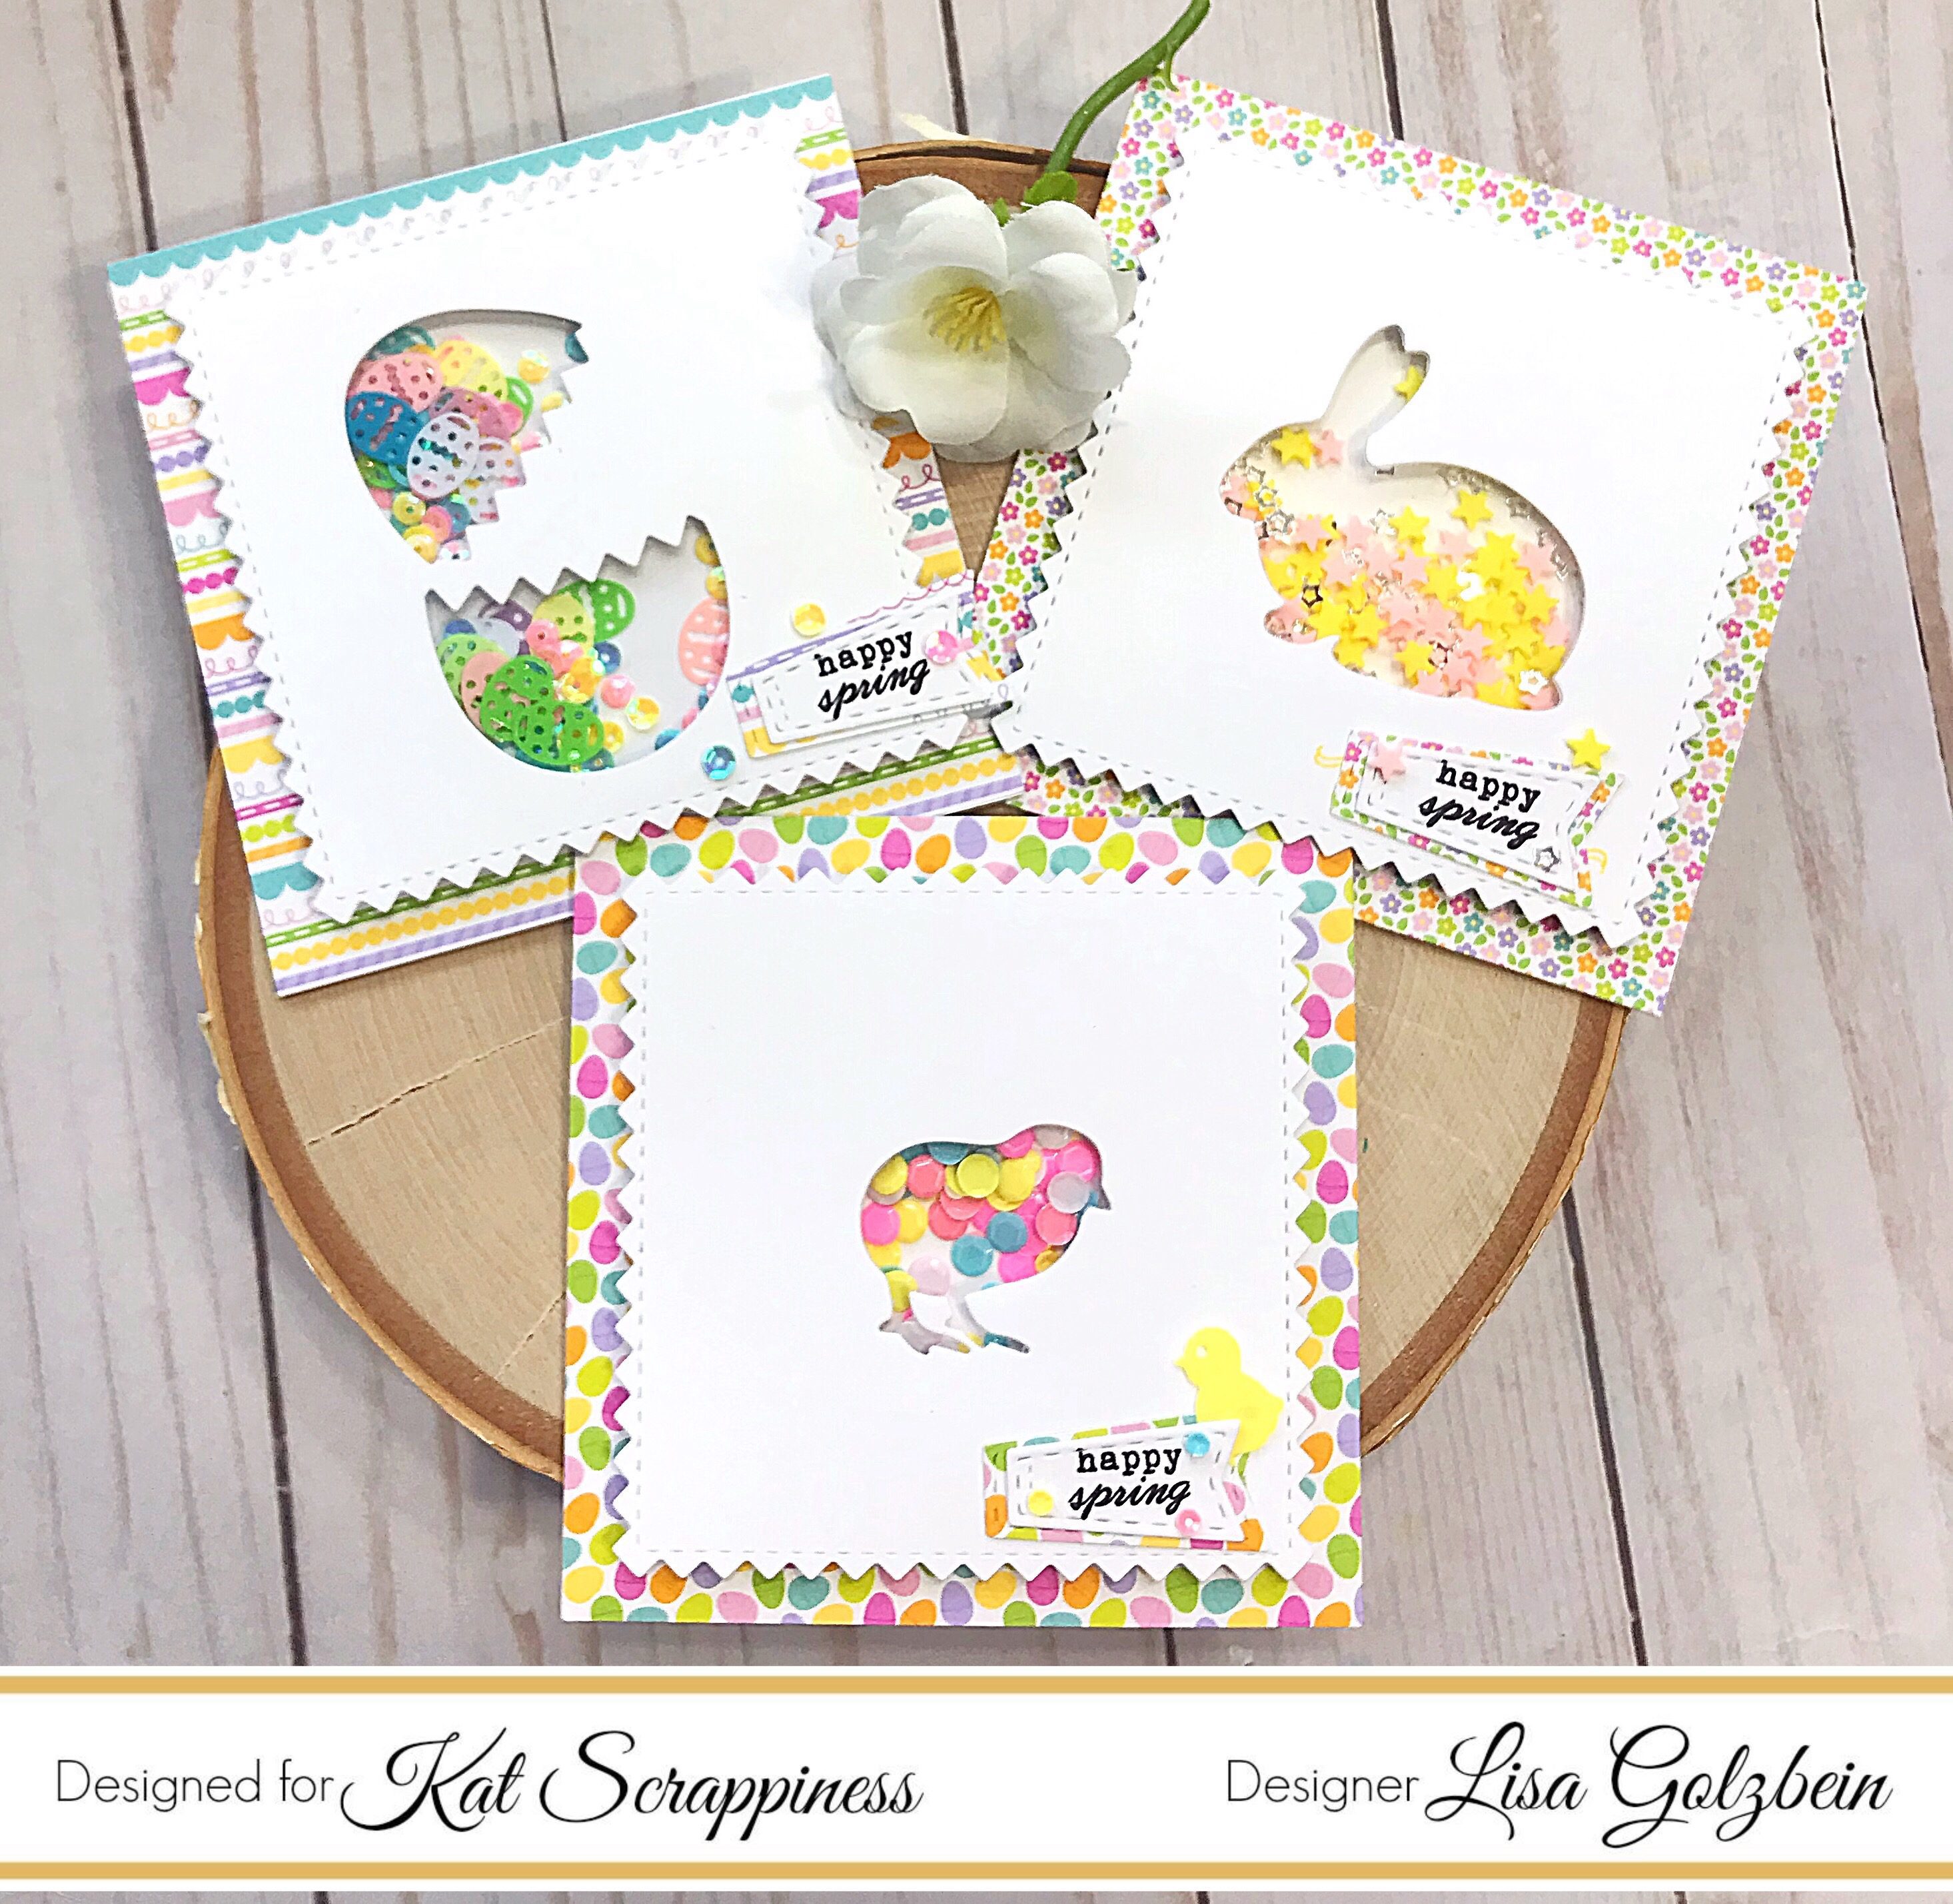
    It’s Lisa here with you today and I have a fun trio of shaker notecards

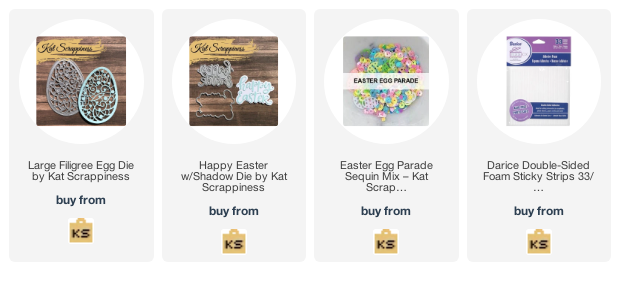
    to share with you using the newly released Easter edition of the

    Crafter’s Essentials dies. This is a fun set that features several different dies

    perfect for Easter and Spring themed cards!

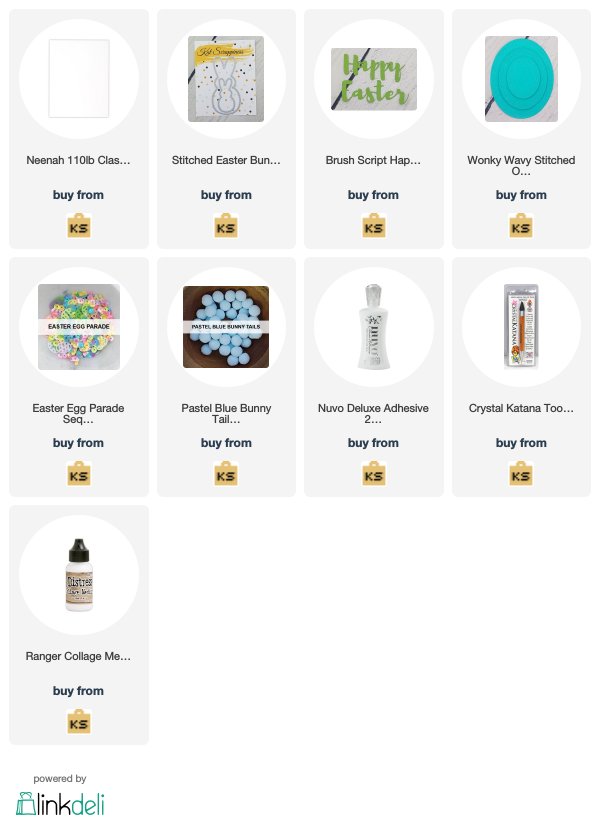
    Here is a picture of all the dies that come with this set:

    I used the bunny, chick and cracked egg to make 3 adorable shaker notecards.

    The Kat Scrappiness Easter themed sequin mixes and Doodlebug patterned paper

    were the perfect accessories for these cards!

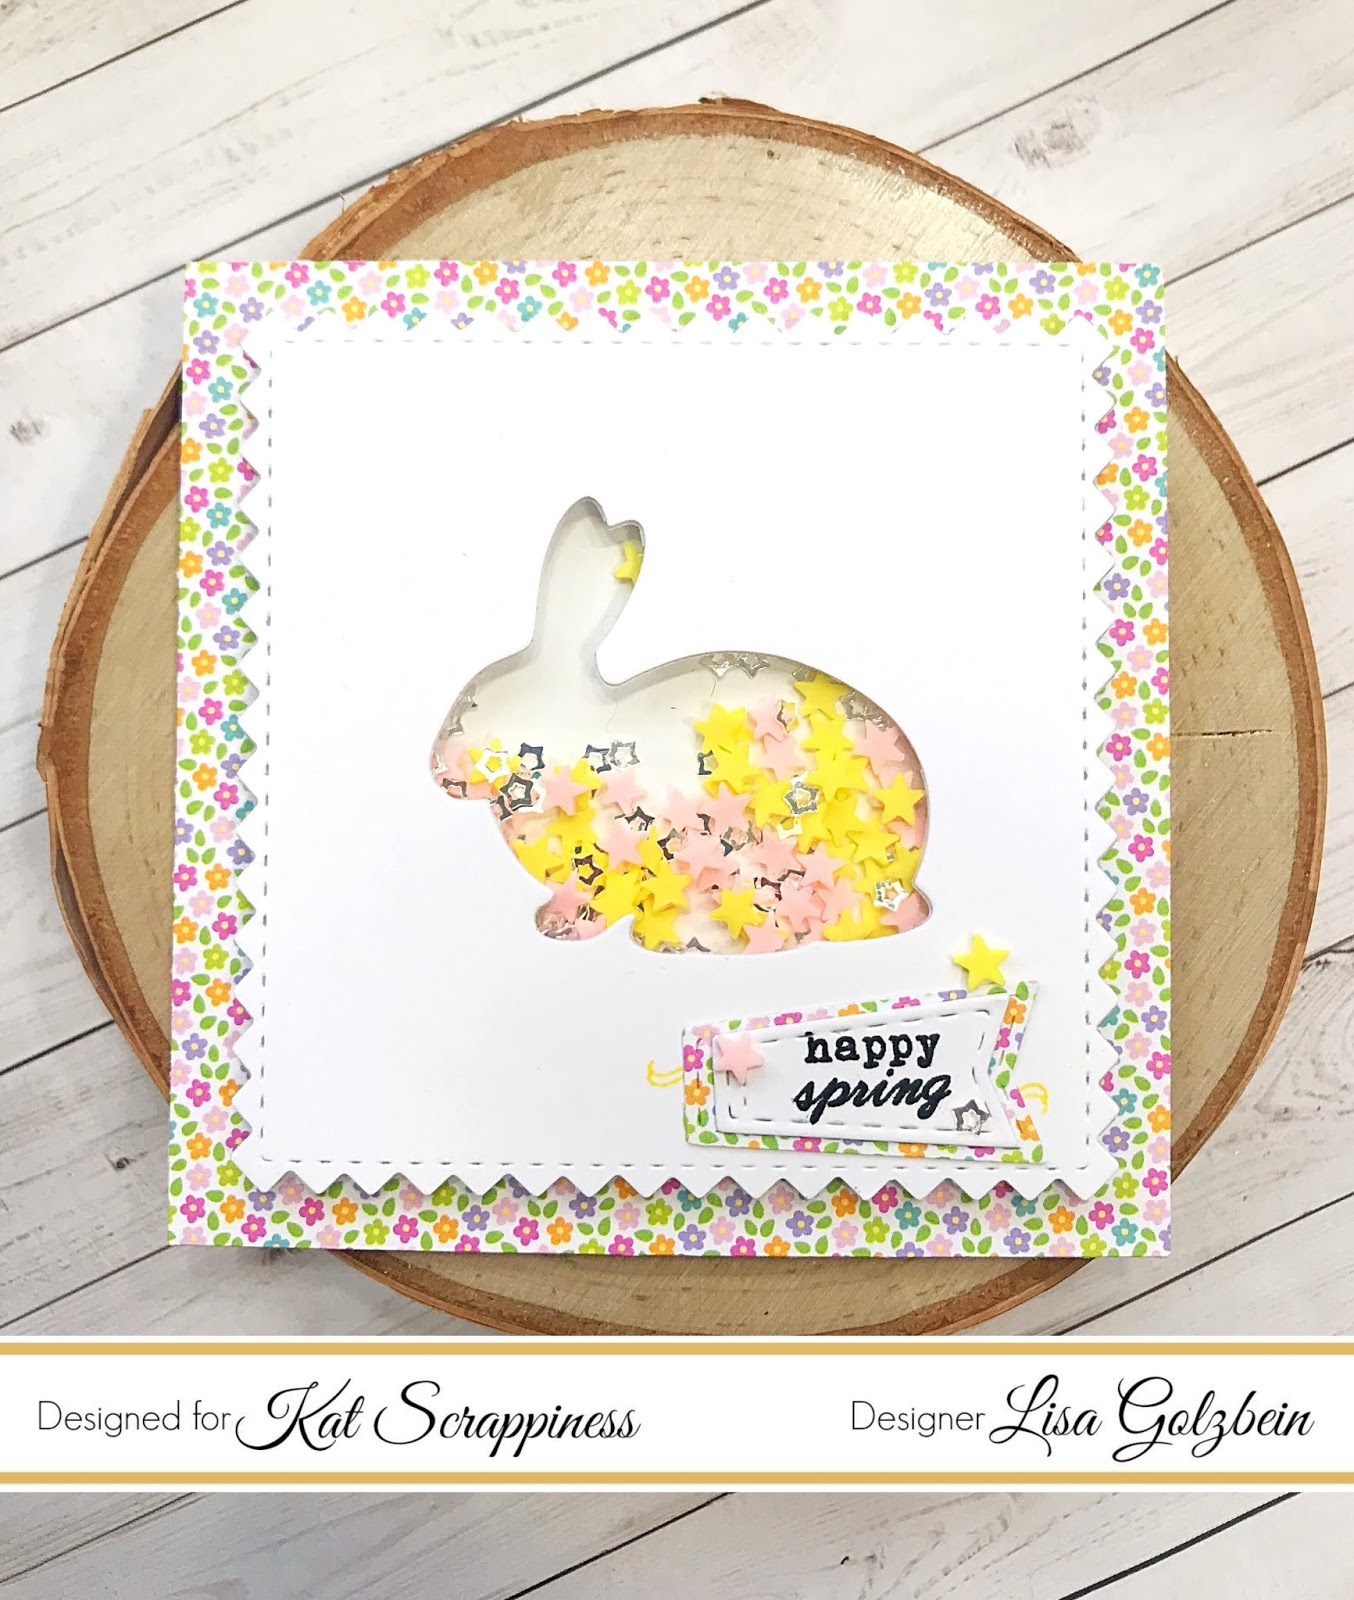
    The first card was made using the bunny die from the set.

    I cut a card base out of card stock measuring 4″ x 8 ” and scored it at 4″.

    I used a piece of patterned paper from the Hoppy Easter paper pack

    cut to 4″ x 4″ to cover the card base.

    I then took a piece of white card stock and cut out a panel

    with the second largest Square Zig Zag die.

    I placed the bunny die in the center of that Zig Zag square

    and ran it through my Vagabond.

    That left the negative shape of the bunny in the panel which I then

    backed with acetate to form my shaker window.

    To make the foam tape curve around the back of the bunny

    I snipped small lines half way into the tape so that it would bend

    easily and not warp the paper.

    For the bunny shaker I used 3 different sequin mixes:

    Pink 3 mm Solid Star confetti mix

    Yellow 3 mm Solid Star confetti mix

    3 mm Mirrored Clear Hollow Stars

    It’s so much fun to see the mix of sequins and confetti shaking around.

    For the sentiment I stamped on a Stitched Flag Die and used the same

    patterned paper to back it with a larger Flag die.

    I also decorated the flag with a few stars from the shaker mix.

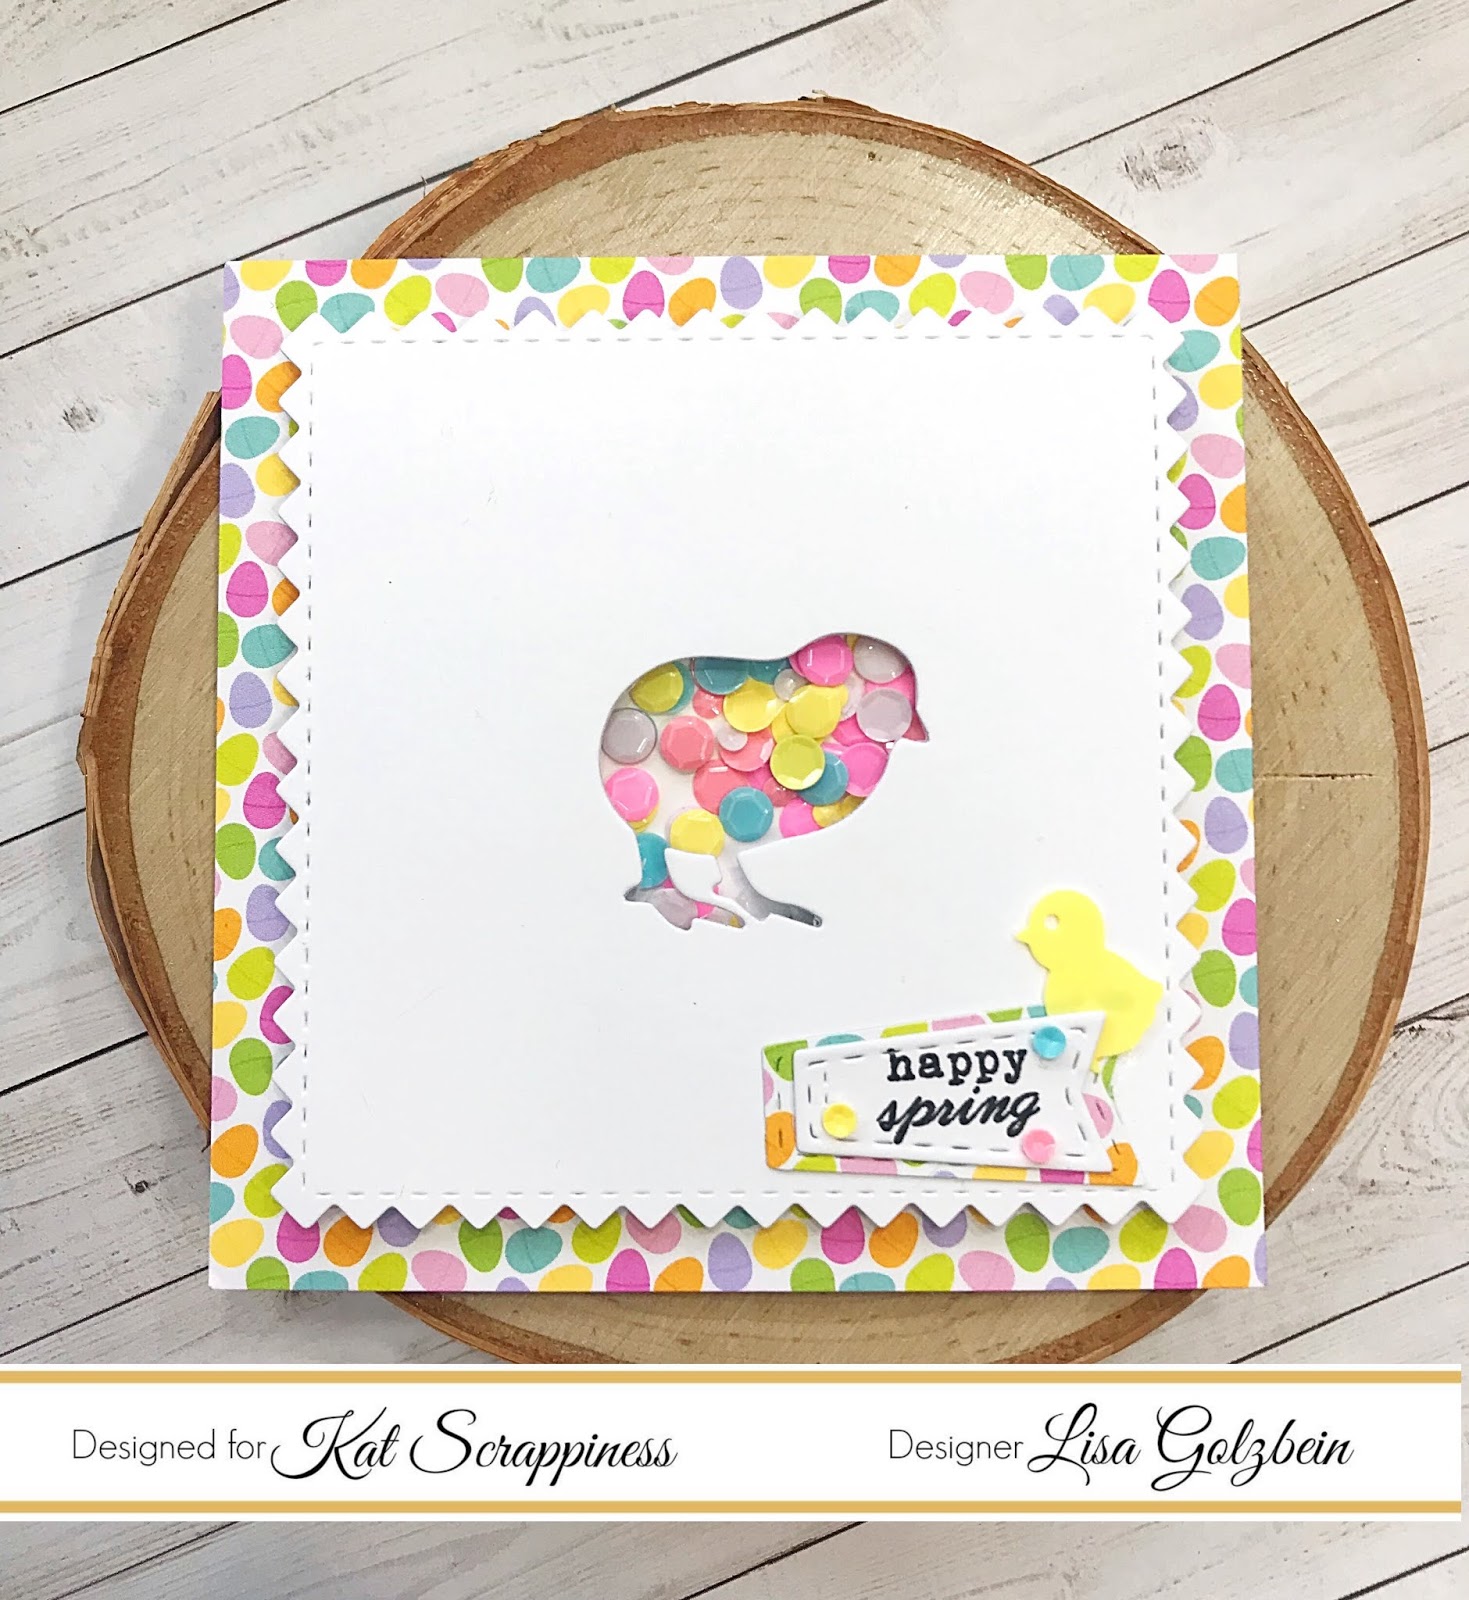
    Next up is the chick card.  The basic assembly of the card is just

    like the bunny card except I used different patterned paper and sequins.

    The patterned paper is also from the Doodlebug Hoppy Easter paper pack

    and the sequin mix is called Chicken or the Egg?

    I just love the little yellow chick that’s included in this mix!

    I tucked one of them behind the sentiment flag.

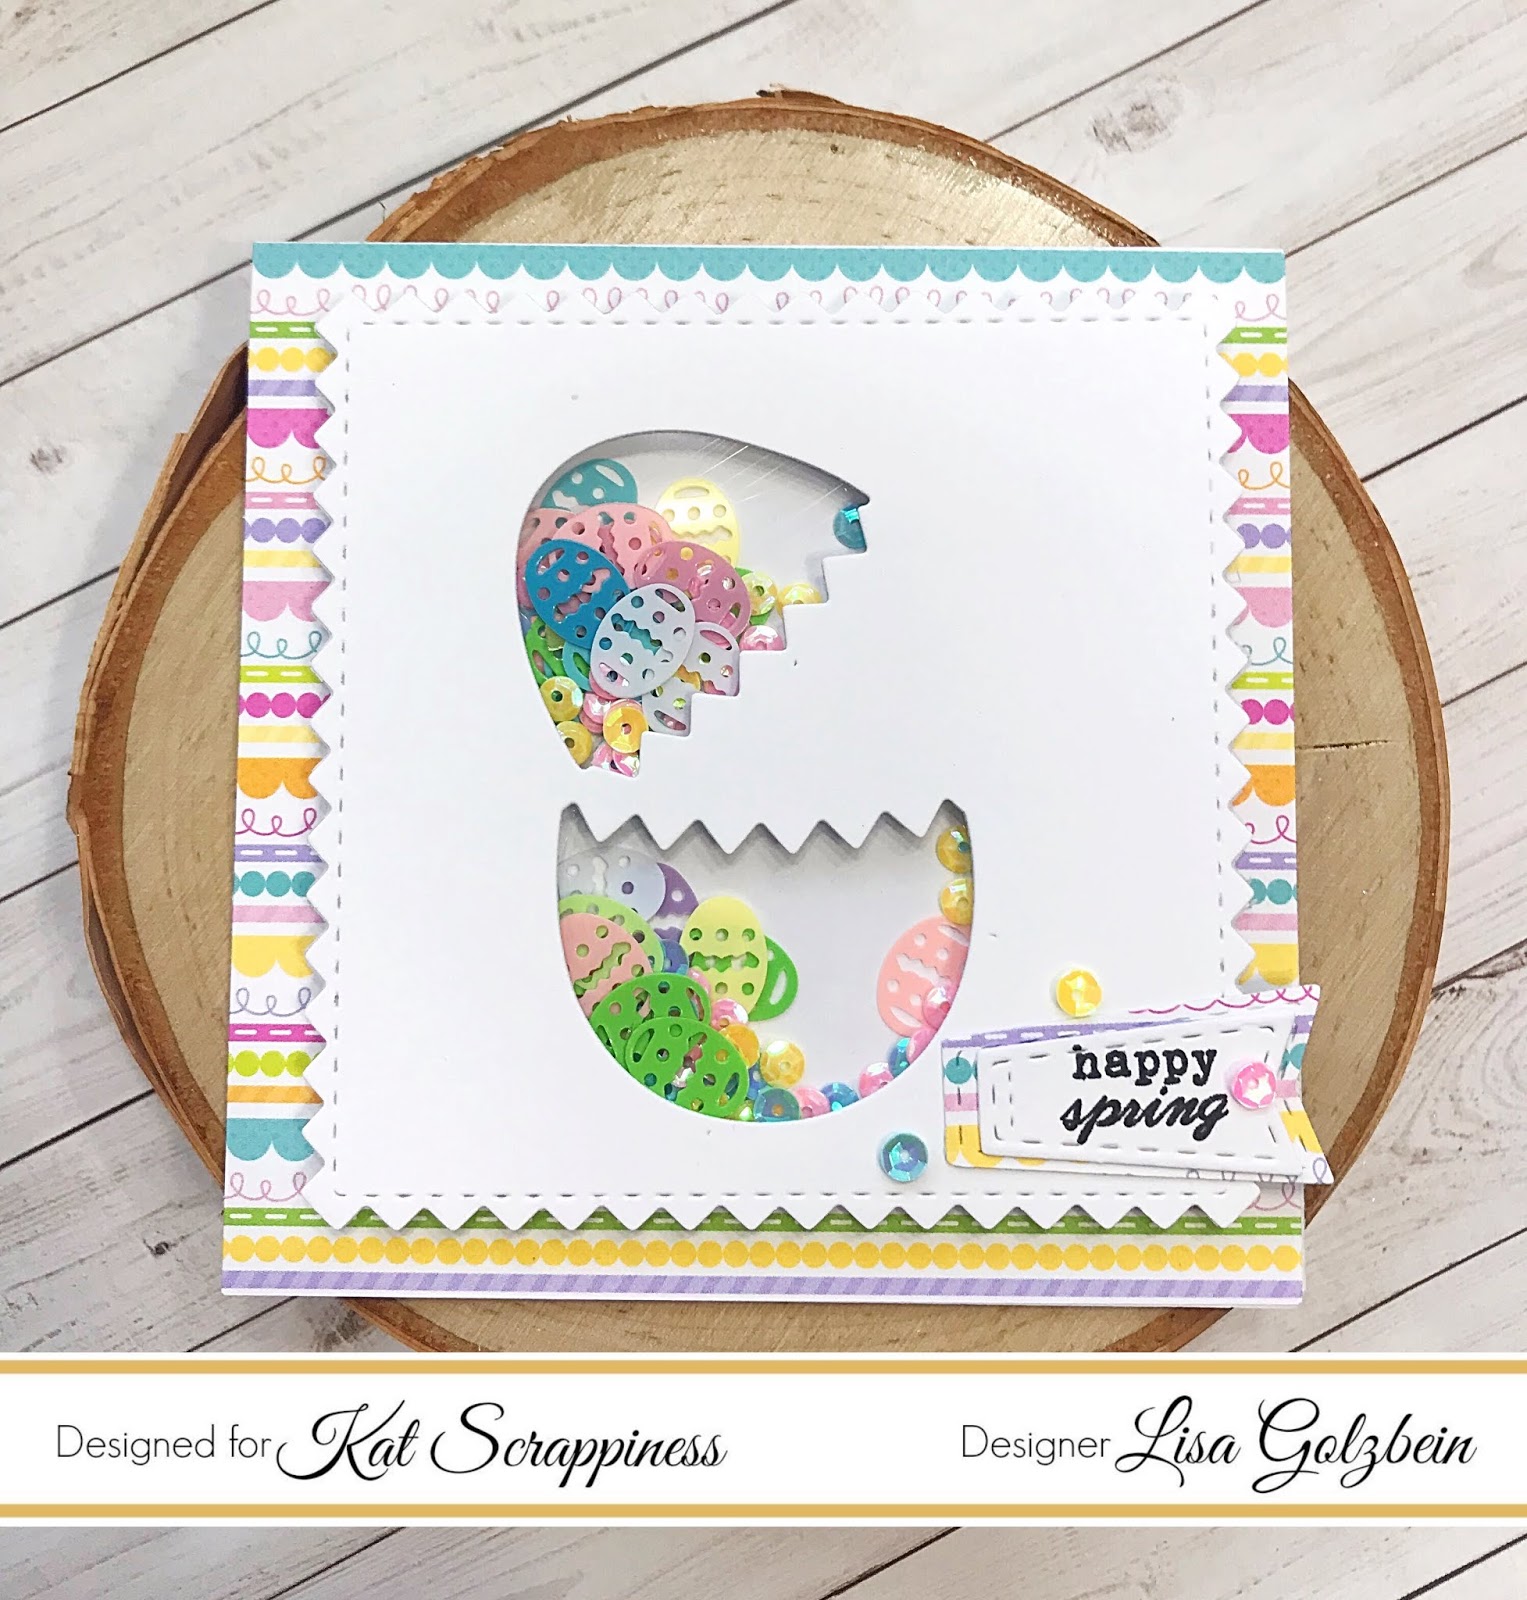
    The last card I have to share with you is the cracked egg card.

    Again the basic assembly is as explained in the bunny card above.

    The patterned paper for this card is from the Doodlebug Simply Spring paper pack

    and the sequin mix is called Easter Egg Parade!

    The tiny die cut Easter eggs in this mix are just too cute!

    These cards were so much fun to make! You can really get creative with the

    patterned papers and different sequin mixes, there’s so many fun combinations!

    All of the linked products can be found at Kat Scrappiness.

    If you’d like to do some fun crafty shopping for any of the above linked

    products or any other supplies, make sure to use my code Lisa10 anytime at

    checkout for 10% off of your order!

    Thanks for stopping by today and have a great day,

    I already am!

    Lisa ?