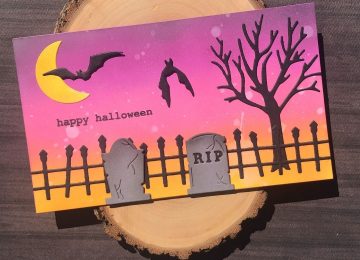
Happy Monday everyone! I’ve got a fun and spooky mini slimline Halloween card to start off your week. I started…

Happy Monday everyone! I’ve got a fun and spooky mini slimline Halloween card to start off your week. I started…

Hello there, Priscilla here from Nubble Light Designs.Today I am sharing a Christmas mini slimline card with a matching envelope, showcasing…
Hello there, Priscilla here from Nubble Light Designs. I hope you have been enjoying the new Kat Scrappiness products we’ve been showing…
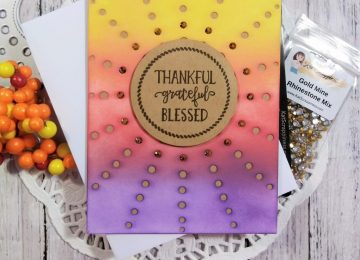
Hello Crafty Friends. Donna W. here and today I’m sharing an Autumn themed card featuring the Kat Scrappiness Sunspot Background…
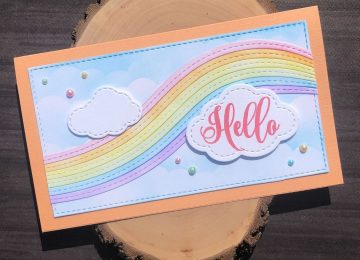
Hello crafters. It’s Caren on the blog today bringing you a fun pastel mini slimline card. I used a ton…
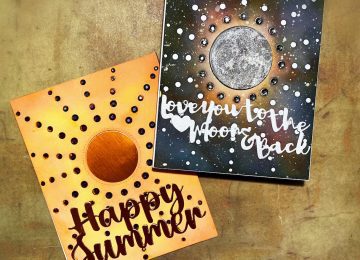
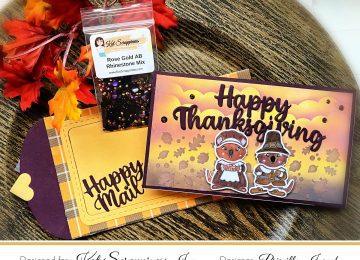
Hi Everyone! Priscilla here from Nubble Light Designs. Today I am sharing two cards featuring the new Sunspot Background Die…
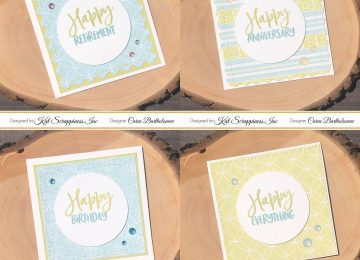
Happy Saturday everyone! It’s Caren here today on the blog. I have a set of 3×3 cards that use the…