Hi crafters, it’s Caren here today with a Christmas in July card. Did everyone have a chance to look a…
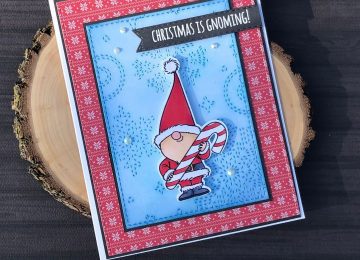

Hi crafters, it’s Caren here today with a Christmas in July card. Did everyone have a chance to look a…
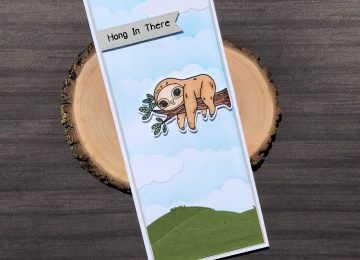
Hi, I hope everyone is staying safe and healthy! Did you notice the Kat released two new slimline nesting die…

Hi everyone, hope everyone is staying safe and healthy. Has anyone had any extra crafty time over the past few…
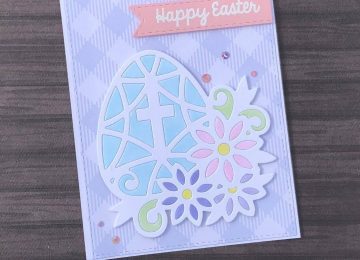
Happy St. Patrick’s Day everyone! I hope everyone is staying safe and healthy, it’s a crazy and weird time. Today…

Hello crafters! Did everyone have a great holiday? Does any one have any crafting goals for the new year? I’m…

Hi crafters, is everyone ready for Christmas? I’m almost there, but first I needed a few more tags. I pulled…
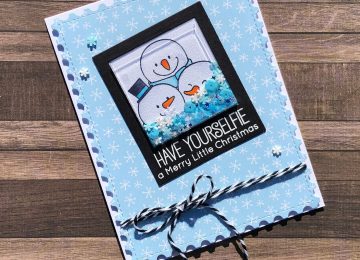
Hey friends, how is everyone doing on their Christmas and Holiday cards? I got all mine mailed out yesterday. I…