Happy Labor Day to everyone in the US. I plan on spending the day at the pool probably for the…

Happy Labor Day to everyone in the US. I plan on spending the day at the pool probably for the…
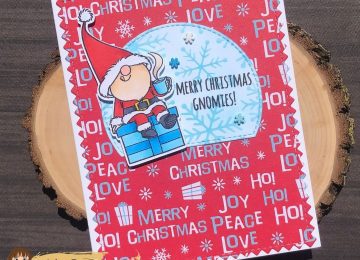
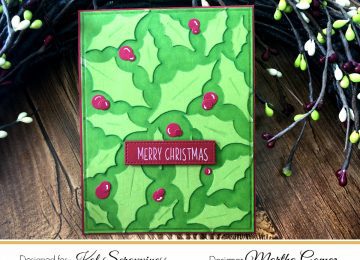
Hi crafters, it’s Caren here today with a Christmas in July card. Did everyone have a chance to look a…
Merry Christmas!! May the peace of the season fill your heart and home! Today is my last post guest designing…

Happy Holidays and Merry Christmas Eve everyone! This is my last holiday card and blog post this year. I think…
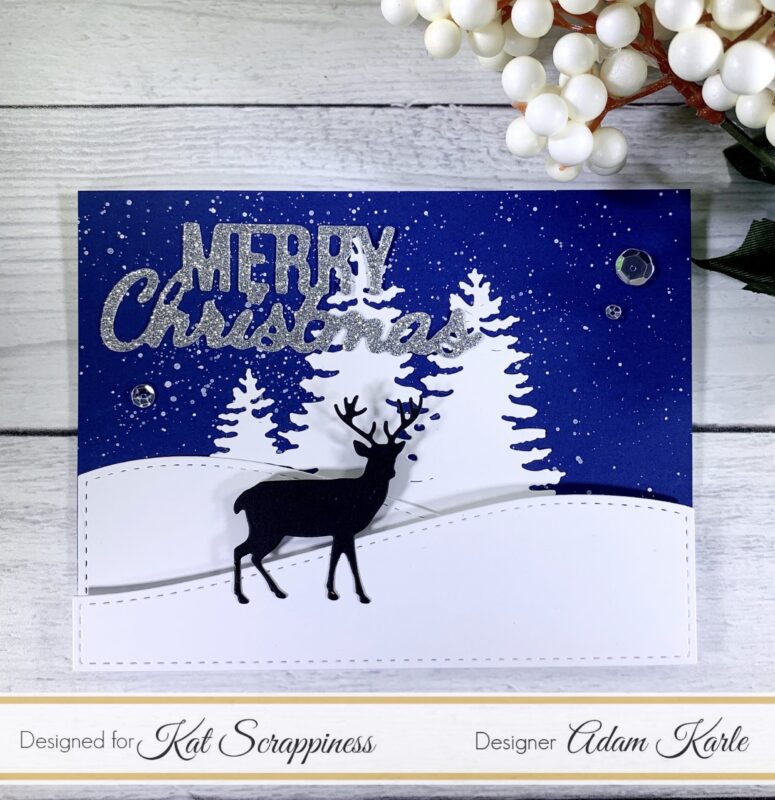
Hello Friends, I am sharing one more Christmas card using a wonderful Kat Scrappiness Die Set called Crafters Essentials Winter…
Hello crafty friends, Martha Lucia here with you! I have two different things for share with you. The first is…

Hi Everyone, it’s Priscilla here. I’ve been having fun lately playing with non-traditional colors for holiday cards, so today I…