Hello crafty friends!
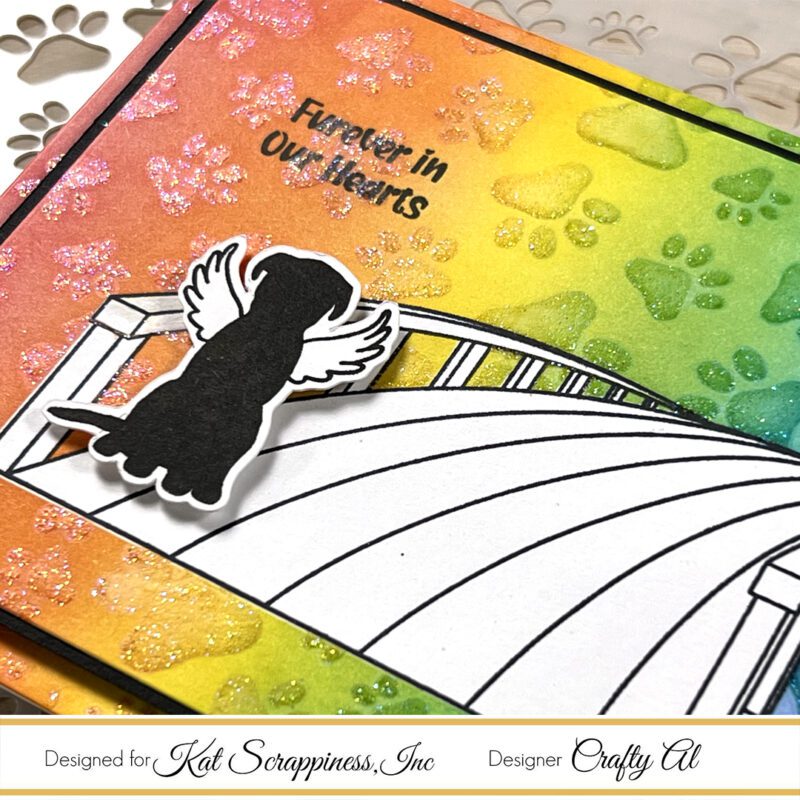
It’s Alicia a.k.a. Crafty Al here to share a look at the pet sympathy card that I created using the NEW Rainbow Bridge Sentiments stamp set from Kat Scrappiness, which is part of their NEW Release – Pawsome Dogs.

To get started I stamped the bridge and sentiment from the Rainbow Bridge set onto white cardstock. Then I stamped just the bridge onto some masking paper, cut it out and placed it on top of the white cardstock bridge.

Using a rainbow of inks, I blended the entire piece of cardstock and then I added the NEW Pawprint stencil on top and used the same rainbow colors so the pawprints would stand out. Before removing the stencil, I used some glitter paste in the paw openings, removed the mask and let it dry overnight. Once this was dry the paw prints were sparkly.

I used the largest die in the A2 Frames die set on the card front which left me with a border and center of the ink blended piece. The frame got adhered to a cardbase and the center portion was matted and added to the card base with foam.
To finish off the card I stamped the dog from the Rainbow Bridge stamp set, cut it out and popped it up below the sentiment.
You can check out my video for the full process…
Thanks for stopping by and I hope you enjoyed today’s card!
Alicia / Crafty Al
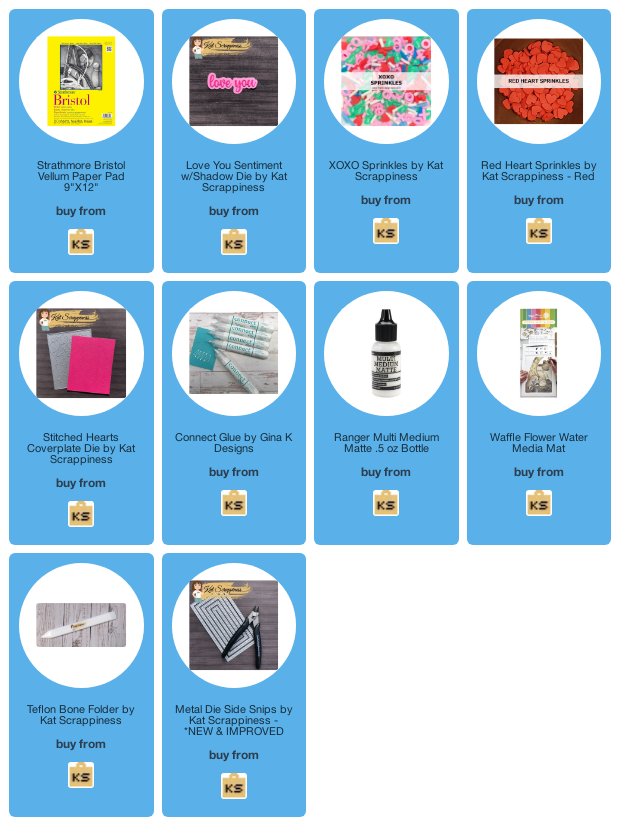
Related Products:
Kat Scrappiness
Rainbow Bridge Sentiments stamp set: http://shrsl.com/3np6r
Pawprint 6×6 stencil: http://shrsl.com/3ni7l
All NEW Products: http://shrsl.com/3hq9p
A2 Frames die set: http://shrsl.com/3me19
Rainbow Ombre Reverse Crossing Lock Craft Tweezers http://shrsl.com/3np8b
Gina K Designs Masking Magic: https://shrsl.com/3np6w
Lawn Fawn Fairy Dust Stencil Paste: https://shrsl.com/3np76
Versafine – Onyx Black Ink: http://shrsl.com/3np89
Memento – Tuxedo Black Ink: https://shrsl.com/38yw1
MISTI http://shrsl.com/3lyat
**Some links above are affiliate links. I link them up for your convenience and may receive a small commission, at no extra cost to you. I hope you will consider using the links if you decide to purchase the products I share. 🙂


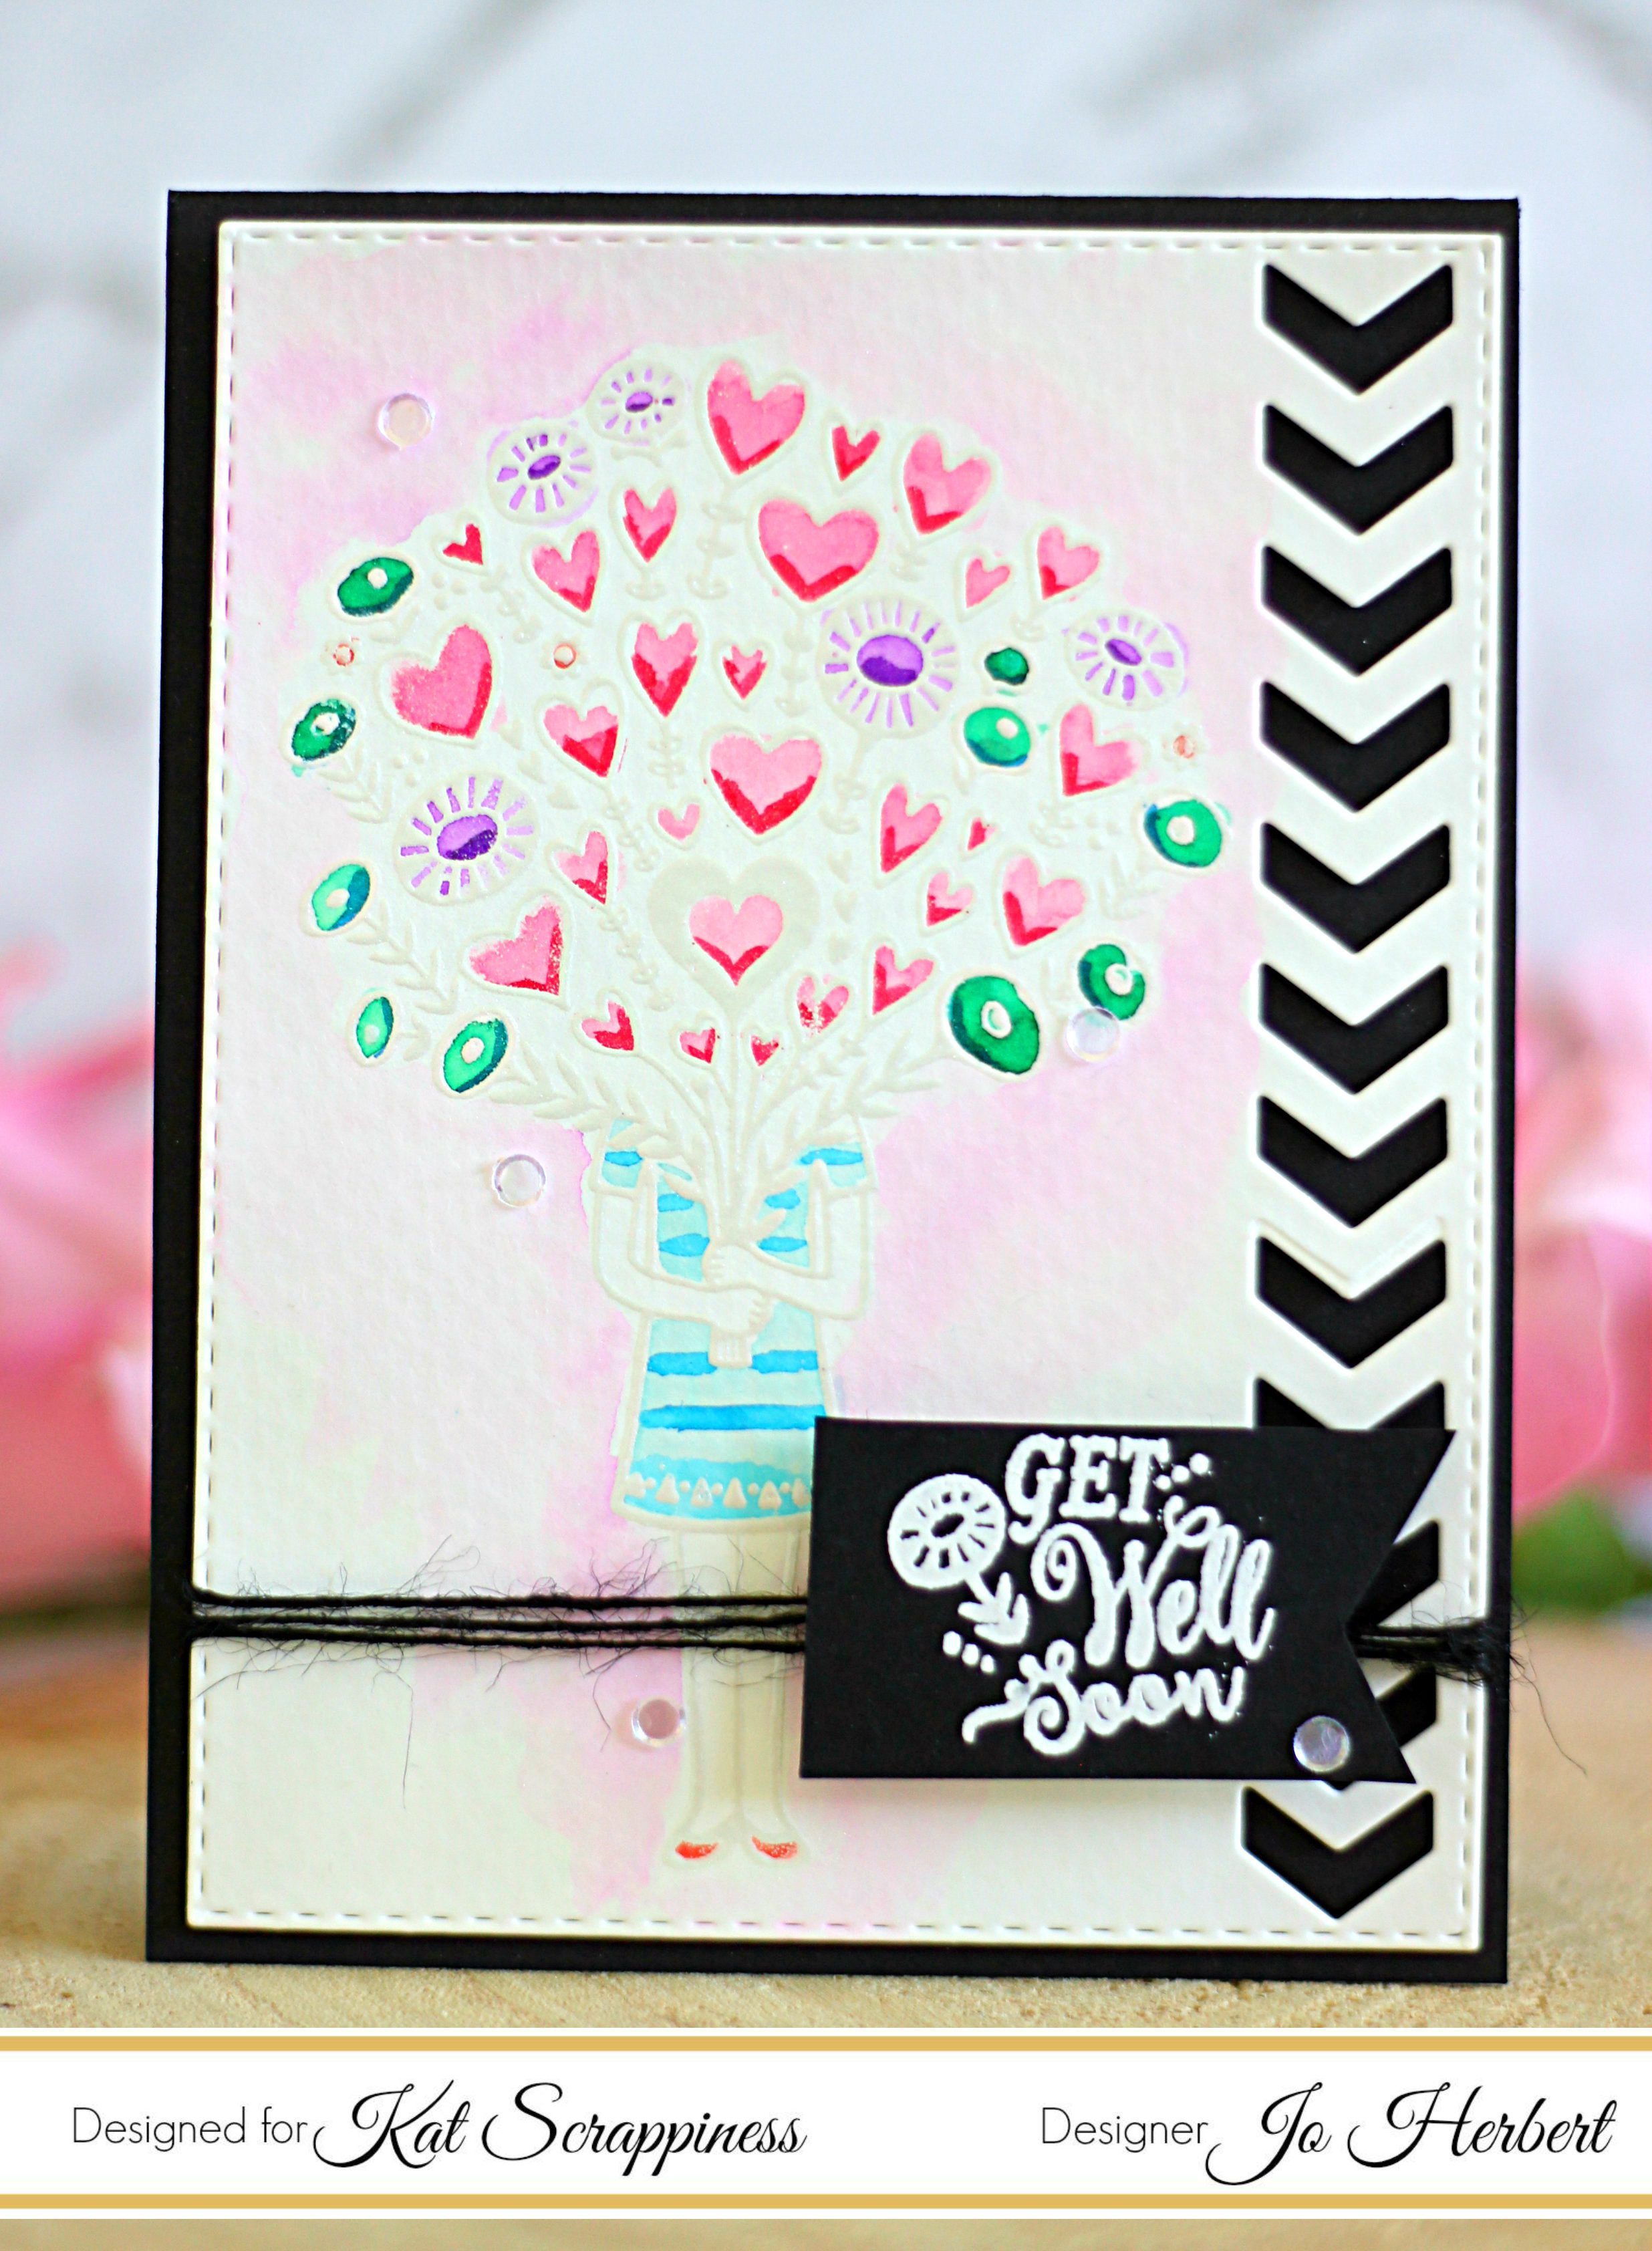


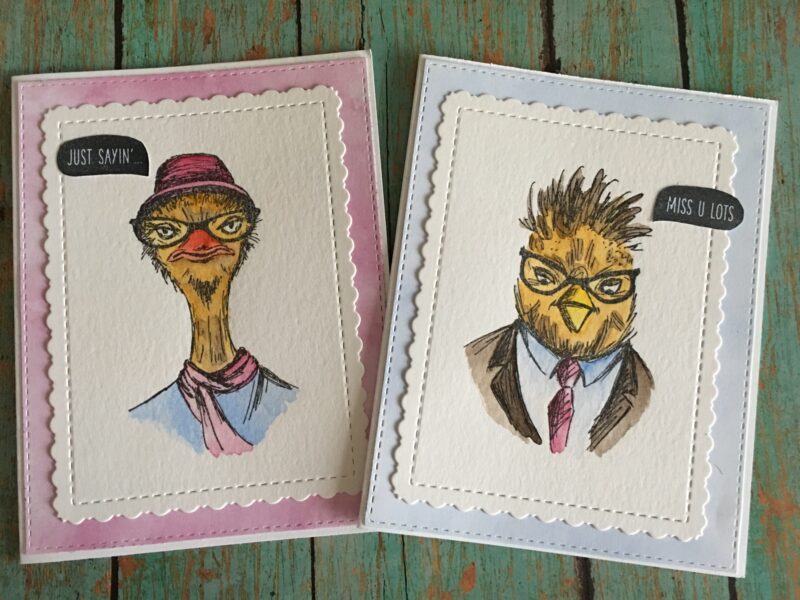
 Hello my crafty friends. This is Mona back with a few fun cards I created using the