Follow:
    Design Team Projects

    Rainbow Dreams Slimline Shaker Card

    Donna W. here and I’m happy to be on the blog today sharing a slimline shaker card I’ve created using the New Rainbow Dreams Slimline Paper Pad, Cross Stitched Nesting Rectangle Slimline Dies and the New Almandine Garnet Rhinestone Mix along with various sequins.

    To start, I cut 2 slimline panels of the Rainbow Dreams slimline paper using the largest of the Cross Stitched Nesting Rectangle Slimline Dies.  For the top layer, I cut 3 circle windows and acetate, applied dimensional foam tape and filled the windows with sequins and Almandine Garnet Rhinestones.  After adhering the back panel, I set the shaker panel aside to cut, stamp and heat emboss a sentiment.

    I adhered the shaker element to a card base of Neenah 110 lb. Solar White Classic Crest and completed this fun and colorful Shaker Card.  The recipient can shake, shake, shake their card while doing a Happy Dance.

    I would like to remind everyone of the current sale on Alcohol Ink Supplies now through the end of August 2021 .  Visit the Kat Scrappiness Shop for all your Alcohol Ink needs.

    Thanks for joining me today, affiliate links for the products I’ve used today are below.  Until next time, Take Care and Happy Crafting!

    Donna W.

    Products:

    Rainbow Dreams Slimline Paper Pad

    Almandine Garnet Rhinestone Mix

    Cross Stitched Nesting Slimline Dies


    Other, WINNER

    KS August Product Release Winner


    Hello KS fans! The winner of the August Product Release has been picked through Random.Org.  Thank you all for taking the time to leave a comment.   We love getting your feedback.  If you didn’t win this time, come back soon for another Giveaway when we showcase our next Release!


    Comment # 31 is BARBARA BUCKNER


      Please claim your prize within 48 hours and send an email to: winners@katscrappiness.com.   Have a wonderful day!

    Design Team Projects

    Happy Birthday

    Hello Everyone!

    Sheri here today with a fun BIRTHDAY card featuring Kat Scrappiness  Summer Quokka stamp and coordinating die set along with a sentiment from the Happy Day stamp set.

    Before we get started let’s take care of a little housekeeping…

    Have you seen the August 2021 Release Yet?

    Or shopped the Enamel Dots SALE that ends today?

    Now back to the card…

    Steps to Create Card:

    • Cut Mini Slimline Card Base: 7″ x 6″ (7″ x 6″, scored at 3.5″ on the 7″ side)
    • Cut Pink Mat: 3 1/4″ x 5 11/16″
    • Cut White Scallop Frame: Take largest die from the Mini Slimline Scalloped Edge die set & the 3rd largest die from the Mini Slimline Never Ending die set to create your frame. Frame Size is 3 1/8″ x 5 5/8″.
    • Cut piece of pattern paper from the Rainbow Confetti Paper Pad: 3 1/8″ x 5 5/8″
    • Cut 2 Clouds from the Stitched Puffy Cloud die set.
    • Cut 1 Circle from the Never Ending Circles die set: 2″
    • Stamp “Happy” and “Birthday” on the clouds.
    • Stamp one of the Quokka’s from the  Summer Quokka stamp set. Color with your favorite medium. I used an alcohol friendly ink and copic markers.
    • Cut Quokka out with the Summer Quokka coordinating die set or fussy cut it out.
    • Assemble card. Foam tape is optional if you would like to add some dimension.
    • For embellishment add Fuchsia Berry Rhinestone Mix using a Jewel Picker and Gina K. Designs Connect Glue.

    Here’s a list of the supplies I used from the store.

    Affiliate Links used at no additional cost to you. Thank You so much for your support!


    Happy Stamping!!

    Design Team Projects

    Fun Mini Slimline Card Using Rainbow Dreams Pattern Paper


    Hey friends, and welcome.  Katy here and in today’s video I thought I would show you another way to use the Rainbow Dreams Slimline Pattern Paper to create a fun Happy Summer card.  I used the large dot patter paper and a coordinating circle die to cut out each colored dot. Click here to watch how this card came together. Products used are listed down below. Thanks for watching.

    PRODUCTS USED:

    Rainbow Dreams Slimline Pattern Paper  http://shrsl.com/3472o

    Mini Detail Blending Brushes http://shrsl.com/3472q

    Mini Slimline White Card base and Envelope http://shrsl.com/3472t

    White Rhinestone Mix http://shrsl.com/3472x

    Happy Summer Die http://shrsl.com/34730

    Never Ending Circle Layering Dies http://shrsl.com/3473c

    Slimline Never Ending Dies http://shrsl.com/3473e

    Silver Sparkle Embossing Powder http://shrsl.com/3473h

    Versamark Ink http://shrsl.com/3473k

    Heavyweight White Cardstock http://shrsl.com/3473m

    Heavyweight Black Cardstock http://shrsl.com/3473o

    Bearly Art Glue http://shrsl.com/3473q

    FIND US HERE…

    Kat Scrappiness http://KatScrappiness.com

    Blog: http://KatScrappinessBlog.com

    Facebook: https://www.facebook.com/KatScrappiness

    Instagram: https://www.instagram.com/katscrappiness/

    You can ———————— FOLLOW KATY————————here

    YOUTUBE: https://www.youtube.com/c/eastwickspaperandink

    INSTAGRAM: https://www.instagram.com/eastwickspaperandink

    FACEBOOK: fb.me/eastwickspaper

    BLOG: https://www.eastwickspaperandink.com

    Design Team Projects, New Releases

    Happy Birthday!

    Hello everyone!
    It’s Donna here sharing a mini slimline card using the newly released “Pearls”, Blending Brushes and Embellishment spoon.  Love all these tools, they really helped me create my card.   The sentiment is from the Kat Scrappiness Happy Day stamp set.
    There is still time to stock up on your enamel dots, they are on sale until August 15th.
    Here is my card for your inspiration.

    Here are the steps to create this card:

    • Cut the White Slimline Card Base: 6″ x 3 1/2″ (6″ x 7″, scored at 3 1/2″).
    • Top layer is cut using the Mini Slimline Tri-Frame Slimline Dies.
    • Die cut the rainbow from the Slimline Rainbow die using cardstock from my stash.
    • Die cut the Slimline Stitched Cloud Border Die.
    • Inked the background using the newly released detailed blending brushes.  I used the largest one.
    • Assembled the card and finished off with adding the newly released pearl mix embellishments to the slimline rainbow.  To see all the pearl embellishments, you can find them here.  (pic of the pearls I used is below)
    Thank you so much for stopping by, please come back again soon!
    Here is a list of supplies I used on my card, Affiliate Links used at no additional cost. Thank you for your support.


    https://linkdeli.com/widget.js?id=f5e8378456858c916708

    Design Team Projects

    Hello Friend

    HELLO FRIEND!
    Recently Kat Scrappiness  released some fun Rainbow Confetti Paper and it made the cutest background for my card! There are lots of colors in this slimline paper pack for you to choose from and I just love this teal color!
    For the main attraction on my card I used one of the adorable Quokkas from the Quokka’n Up Stamp Set
    and I cut him out using the Quokka’n Up Coordinating Dies. I just love the adorable polaroid frame this set comes with!

    For my sentiment I used the word “friend” from the Hello Crafty Friend Dies. It come in such a pretty scripty font.
    To finish my card off I used some pearls from the Peacock Feathers Pearl Mix. There are quite a few pearl mixes in the shop now that have a beautiful pearlescent two tone color to them. There are so many to choose from!
    Here’s one more look at this adorable card featuring the adorable Quokka in his polaroid frame!

    Thanks so much for stopping by today!
    Have a great day, I already am!
    Lisa
     
    Design Team Projects, New Releases

    Sending Rainbow Hugs Slimline Card

    Hi Everyone! Priscilla here from Nubble Light Designs. Today I am sharing a slimline rainbow card, perfect for a friend just needing a (paper) hug. My card features several new products from the Kat Scrappiness August Release.

    Check out Kat’s recent Release Post HERE.
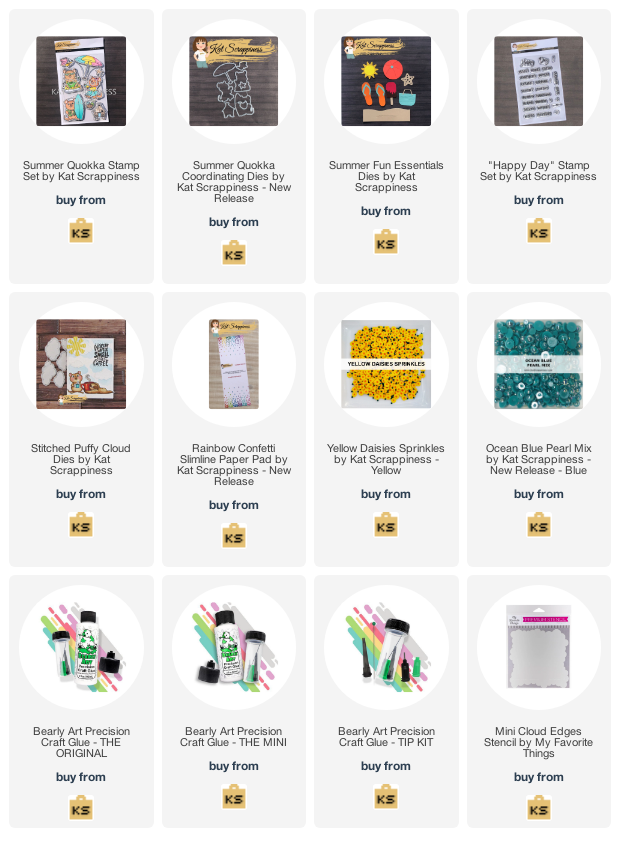
     

    Let’s get started!

    I used one of the papers in the new Rainbow Dreams Slimline Patterned Paper Pad and Kat’Slimline Rainbow Die Setto create a striking focal point for my card.


    For my sentiment, I used Kat’Sending Paper Hugs Word Dies; detaching the word “paper” and replacing it with a “Rainbow” stamp from my stash. Next, the Kat Scrappiness Slimline Stitched Cloud Border Die was the perfect compliment to my rainbow! I used one of the new Mini Detail Blending Brushes to lightly edge the clouds in “Tumbled Glass” Distress Oxide ink.


    Do you see the adorable quokka peeking out above the rainbow? I used the just released Quokka’n Up Die Set to cut him out.

    For my finishing touch, I scattered a few rhinestones from the new Dark Purple Amethyst Rhinestone Mix on the clouds. Kat’s new Embellishment Spoon was perfect for not just scooping up these rhinestones, but also embossing powders, glitters, sprinkles, and pearls.


    Thank you so much for stopping by! Don’t forget to check out what’s NEW in Kat’s Shop, and follow my blog and Instagram for more “Kat Scrappiness Amazingness”!

    Stay Safe . . .

    Priscilla 🌈

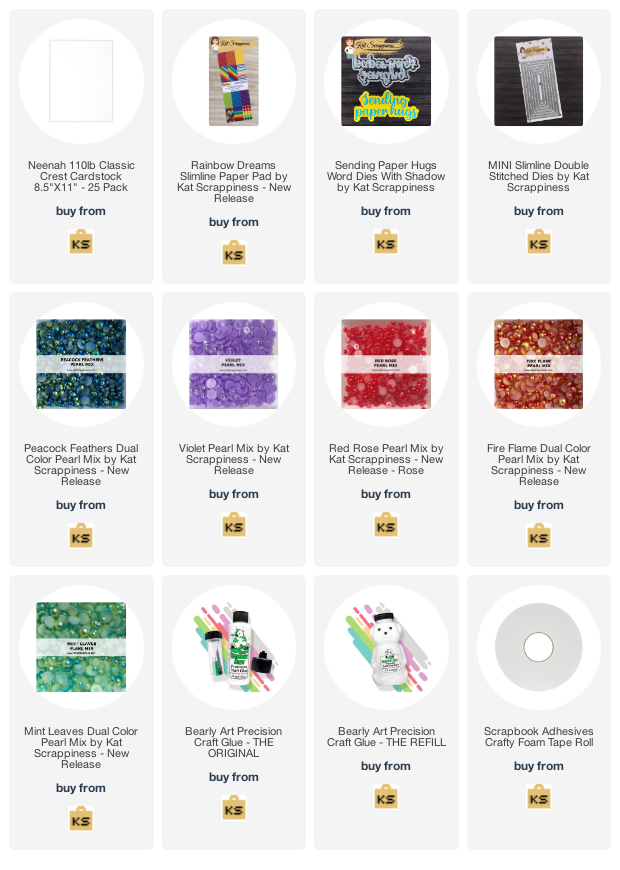
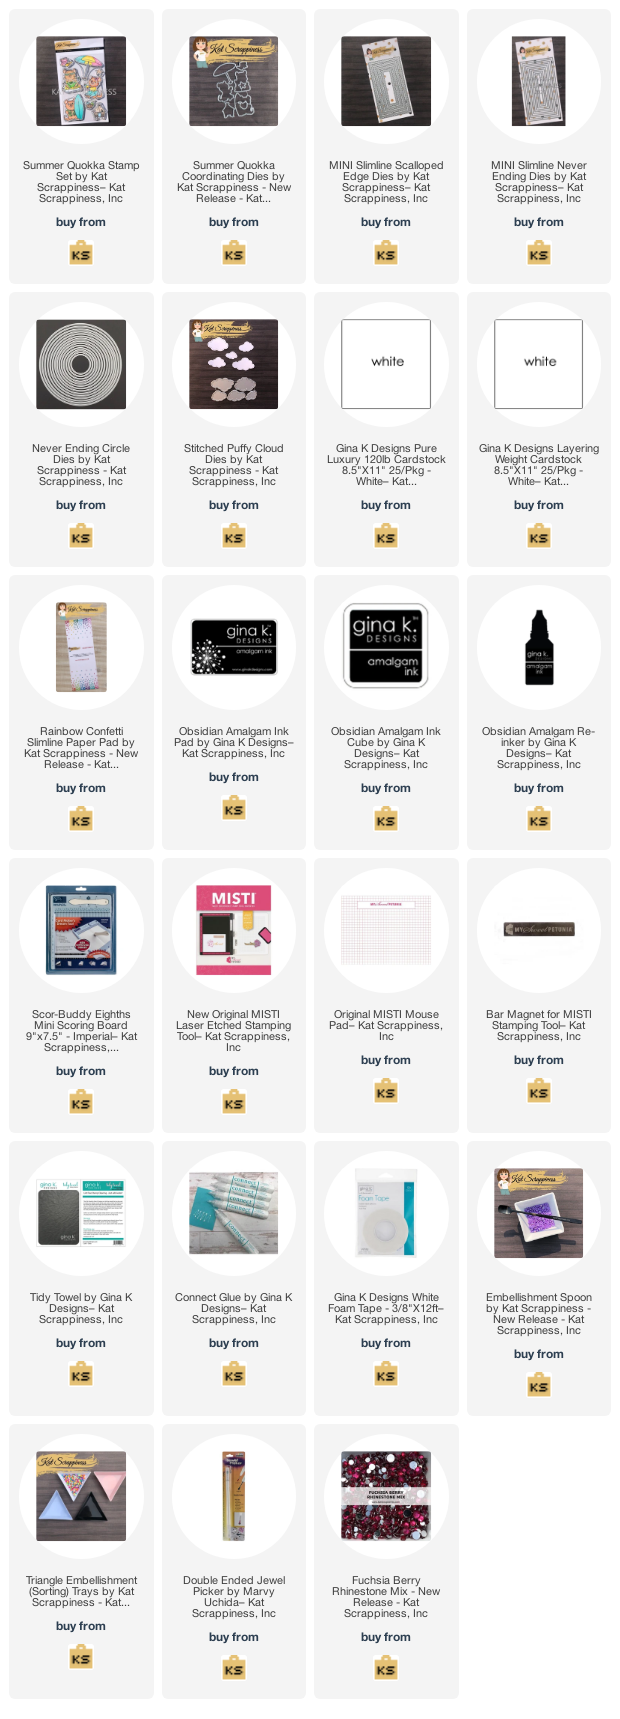
    The supplies I used are listed and linked below. I would be so grateful if you use these affiliate links  to grab your Kat Scrappiness Goodies! No extra cost to you!