Happy Tuesday!
Tasha here sharing an easy Easter pop-up card tutorial featuring items from the Kat Scrappiness March Release!

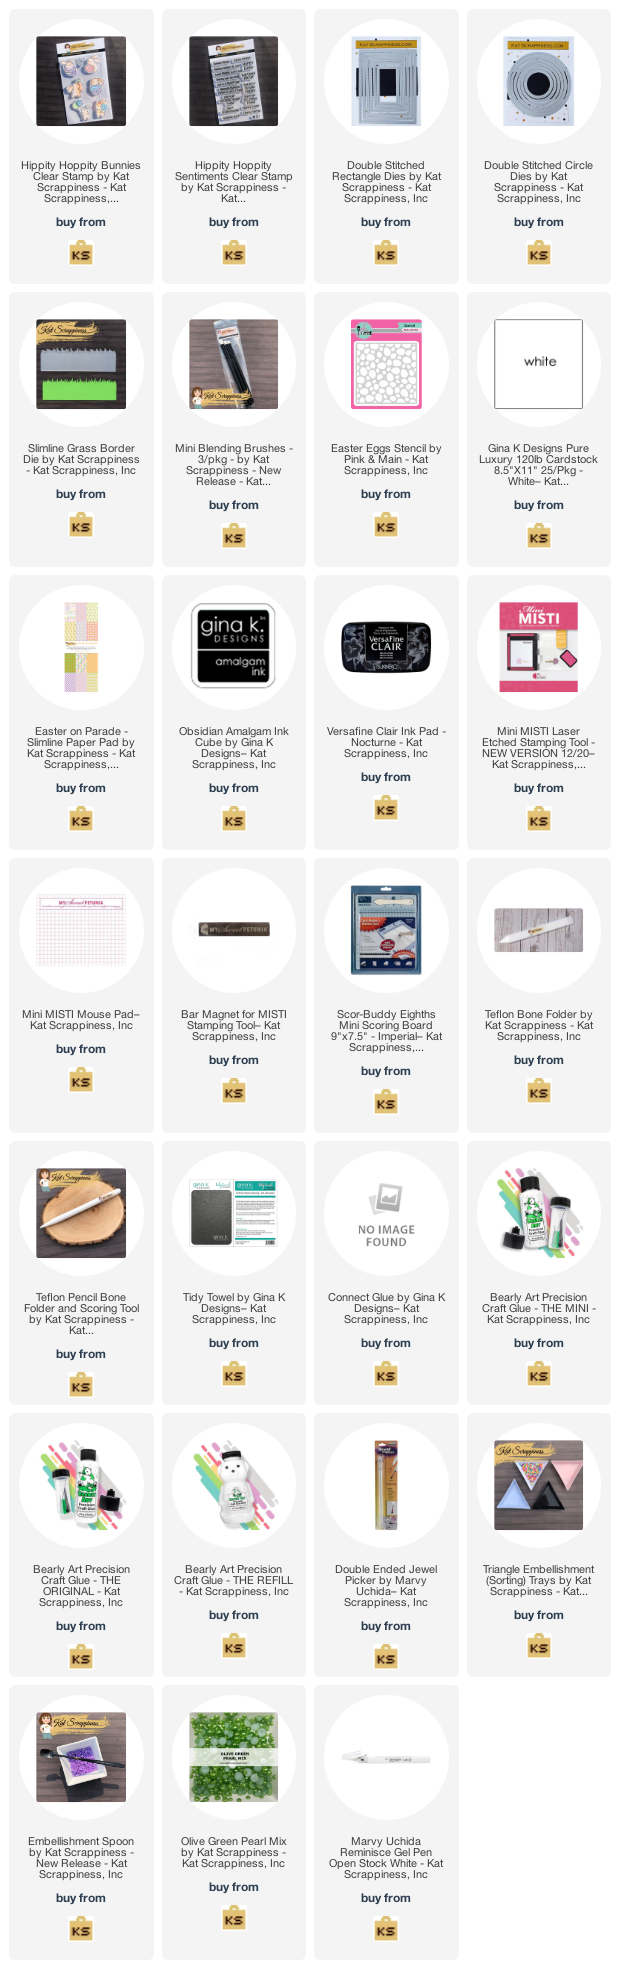
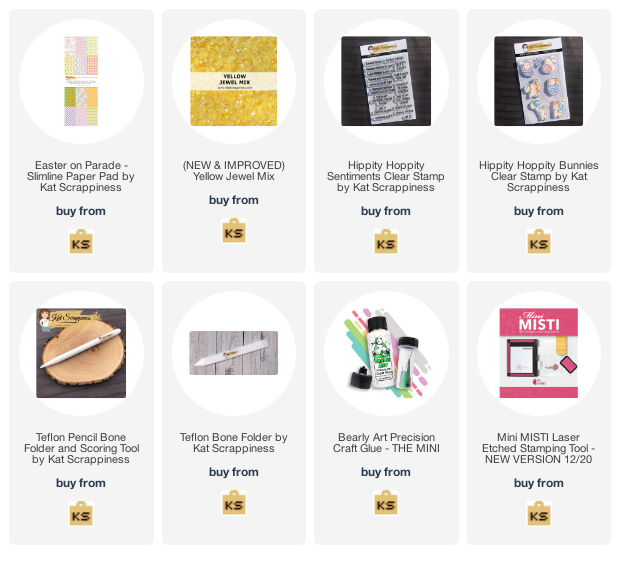
I used the new Hippity Hoppity Bunnies Stamp Set to create a little Easter Bunny scene. I love the fluffy clouds in the background and this bunny stamp is just too cute!
All the images were stamped with black ink and colored with Copic Markers. I also used the tiny flower stamps to add more detail to the grassy ground.
See the full tutorial on the Kat Scrappiness YouTube Channel!
[youtube https://www.youtube.com/watch?v=duGCLko9538]
The sentiment “Hippity Hoppity Easter is on its Way!” was stamped with a light blue ink and I used gold glitter paper to add a sparkly frame around all the layers. I love glitter!
Lastly, I used a piece of fun carrot pattern paper from the Easter on Parade Paper Pad to bring in more color and coordinate with the bunny theme. I also attached a yellow Jewel to the center of the largest flower to complete the design.
-Tasha
Pop Up Card: A2 (4-1/4″ x 5-1/2″)
Large Base (Orange): 4-1/4″ x 11″ Score at 1/2″, 2″, 4″ and 5-1/2″
Small Base (Orange): 3″ x 5-1/2″ Score at 1/2″ and 2″
Center Card Glitter Layer: 2-1/2″ x 3-1/4″
Center Card (Bunny card panel): 2-1/2″ x 3″
Top Panel Glitter Layer: 1-1/4″ x 2-3/4″
Top Panel (Pattern Paper): 1″ x 2-1/2″
Bottom Panel Glitter Layer: 1-3/4″ x 4″
Bottom Panel (Pattern paper): 1-1/2″ x 3-3/4″
Large Back Panel Glitter Layer: 4″ x 5-1/4″
Large Back Panel (Pattern paper): 3-3/4″ x 5″
Sentiment Glitter Layer:1″ x 2-3/4″
Sentiment (White): 3/4″ x 2-1/2″
https://linkdeli.com/widget.js?id=f5e8378456858c916708


 .
.