Hello, my crafty friends!
Angelique here, and yes… this is my last Christmas blog of the year.
If you are running a little late, or suddenly realize you are one or two Christmas cards short (we’ve all been there 😉), I have the perfect solution for you today!
This is a quick and easy handmade Christmas card, but still super fun to make.
It has a little bit of everything:
– simple stenciling
– patterned paper
– a festive tag
– and a cute die-cut image colored with alcohol markers
I used the fun Merry Grouchmas collection from Kat Scrappiness. It might sound like a lot, but I promise you, this card comes together really easily. So grab your crafty supplies and let’s get started. You’ve got this!

🧰 Kat Scrappiness Products used
📋 Card Details
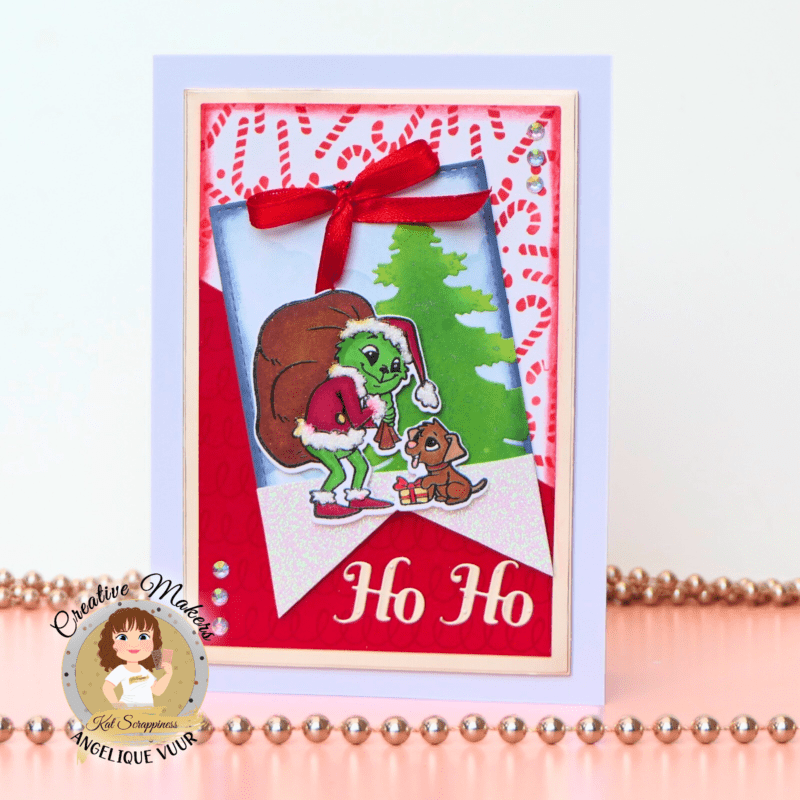
This card was made as a 5×7 inch Christmas card, but it can easily be adapted to an A2 size.
That said… you will miss that lovely white border around the card, just saying.
Step 1 – Preparing the background pieces
I cut two pieces of Neenah Solar White cardstock, each about ½ inch smaller than a 5×7 card base.
I did the same with a piece of patterned paper from the Merry Grouchmas Paper Pad. The patterned paper was slightly shorter, but as long as the width matched, it worked perfectly. I chose a red design paper because I wanted a clean background that wasn’t too busy, but feel free to use any pattern you like.
While I was at it, I also cut a piece of brushed rose gold metallic cardstock, slightly larger than the white pieces. This will be our mat later.
Finally, from the Nesting Fishtail Banner Dies, I used the third die from large to small and cut it from Neenah Solar White cardstock.
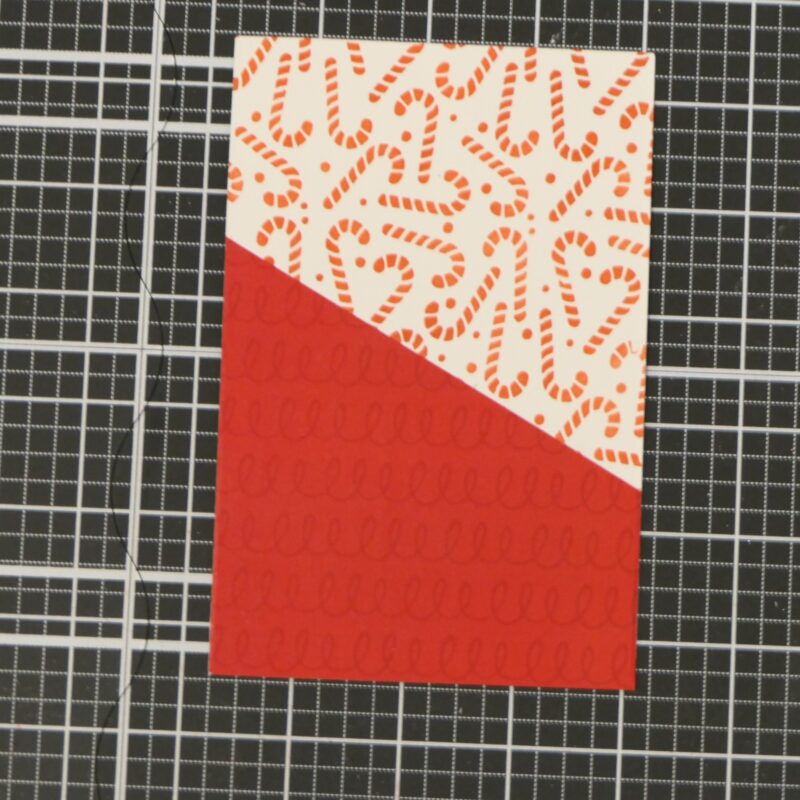
Step 2 – Stenciling the candy cane background
I took one of the white cardstock panels and taped the Candy Canes Stencil over it. Using red ink and a blending brush, I inked over all the openings. It didn’t have to be perfect — in fact, a slightly imperfect look adds more character.
The stencil is a bit shorter than the cardstock, but that doesn’t matter at all, not the whole piece of cardstock is necessary.
Step 3 – Creating the diagonal background
The stenciled panel and the patterned paper together formed the card background. Everyone has their own method, but this is what worked best for me;
I held both pieces together, overlapping the patterned paper on top of the stenciled panel. Once I liked how much of the stenciling showed, I cut both layers at the same time on a diagonal. This way, they fit together perfectly.
I adhered the stenciled piece onto the second white cardstock panel, adjusted the length slightly, and then adhered the patterned paper tightly against it. After the glue dried, I trimmed off the excess and set the background aside.
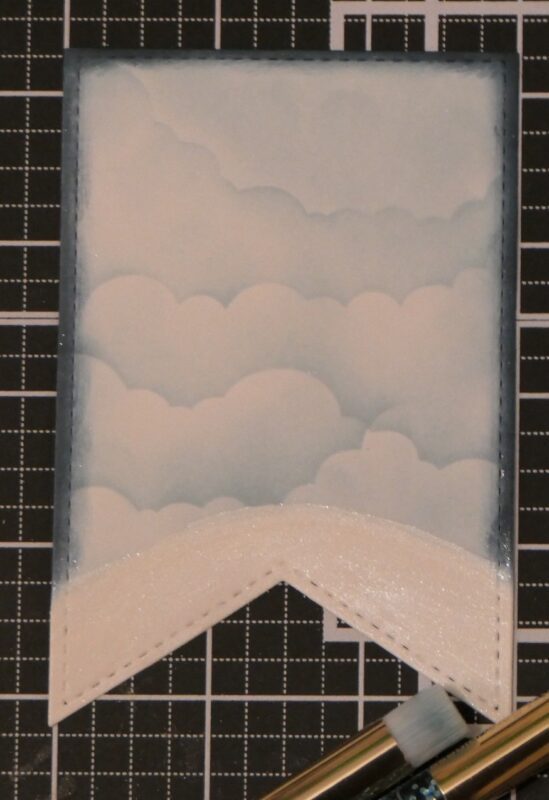
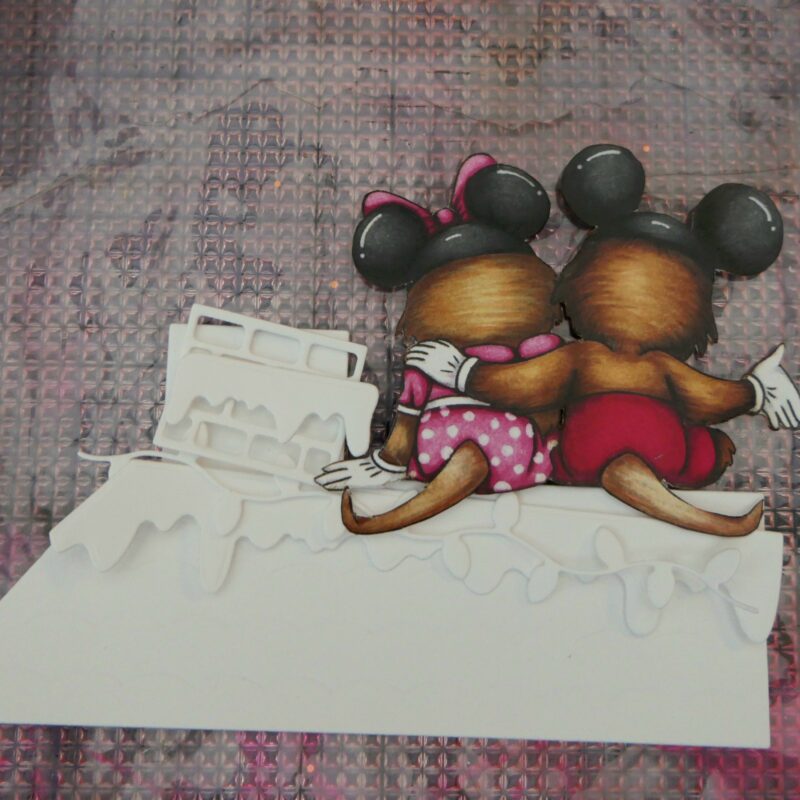
Step 4 – Making the banner
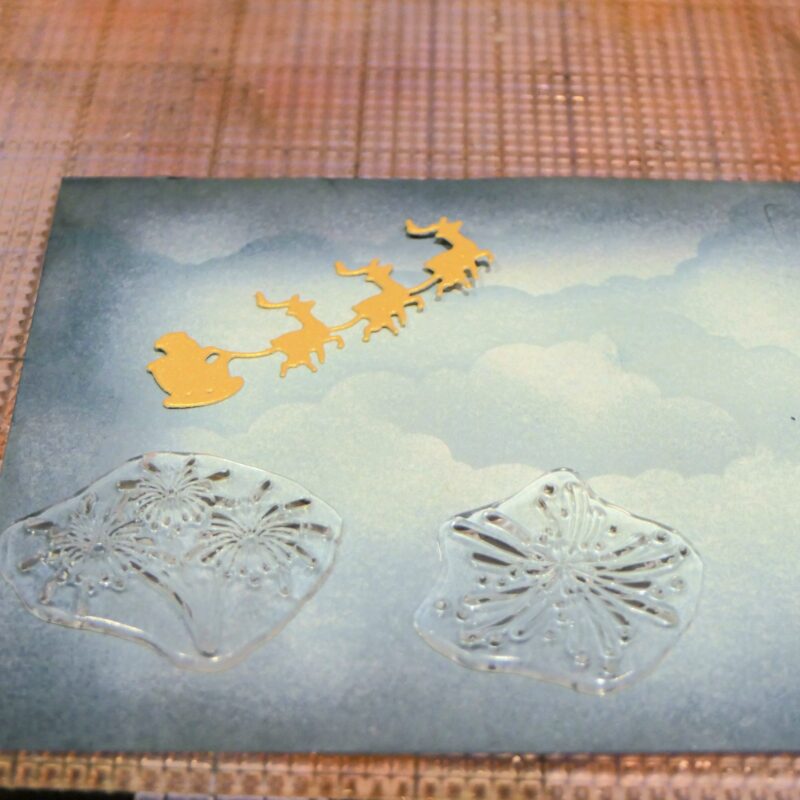
I used the Scene Builder Stencil to create clouds on the fishtail banner, blending different blue inks for variation. I darkened the edges slightly for more depth.
I left about one inch of white space at the bottom of the banner. This area became snow:
I added white gel pen details, and white ink as you can see on the photo, but I didn’t like it. So later I placed a strip of white glitter cardstock on it.
To create an uneven snowy edge, I trimmed it not straight. I adhered the glitter piece but left the top edge without glue. Once it was dry, I trimmed it flush with the fishtail shape.
I punched a hole at the top center of the banner and set it aside.
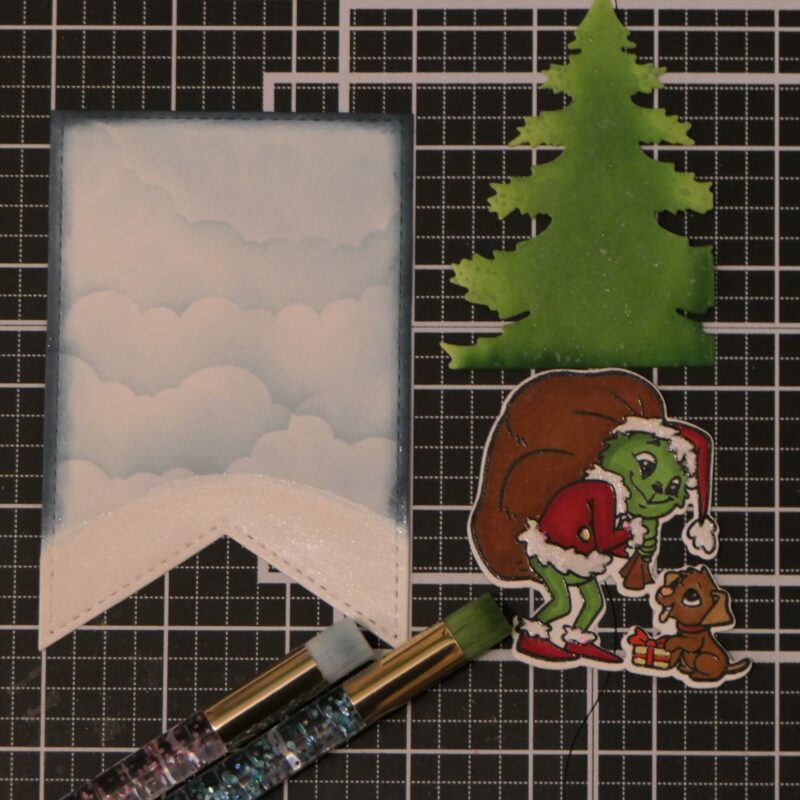
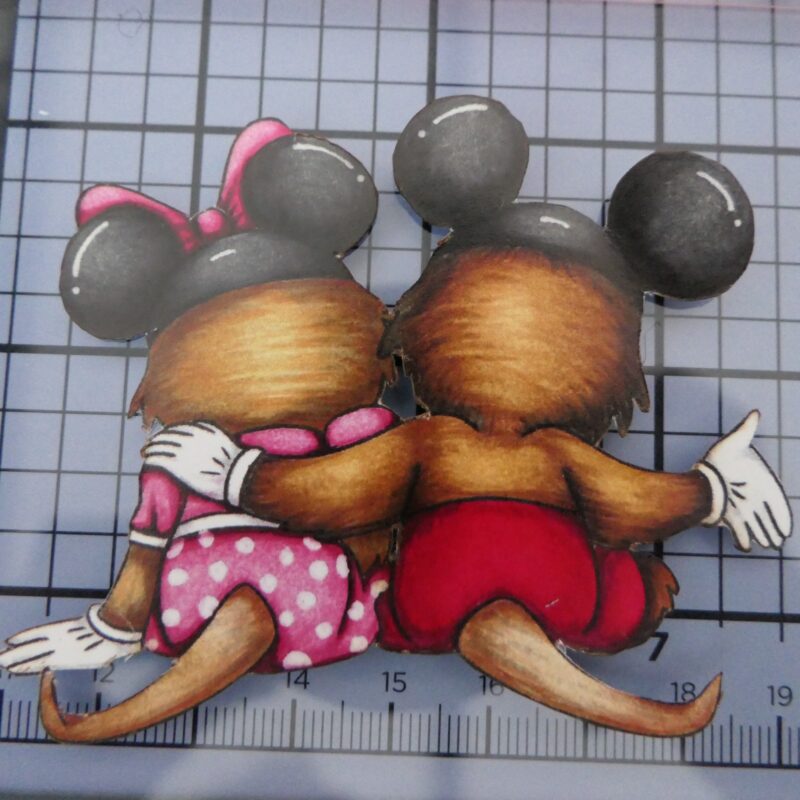
Step 5 – Stamping and coloring
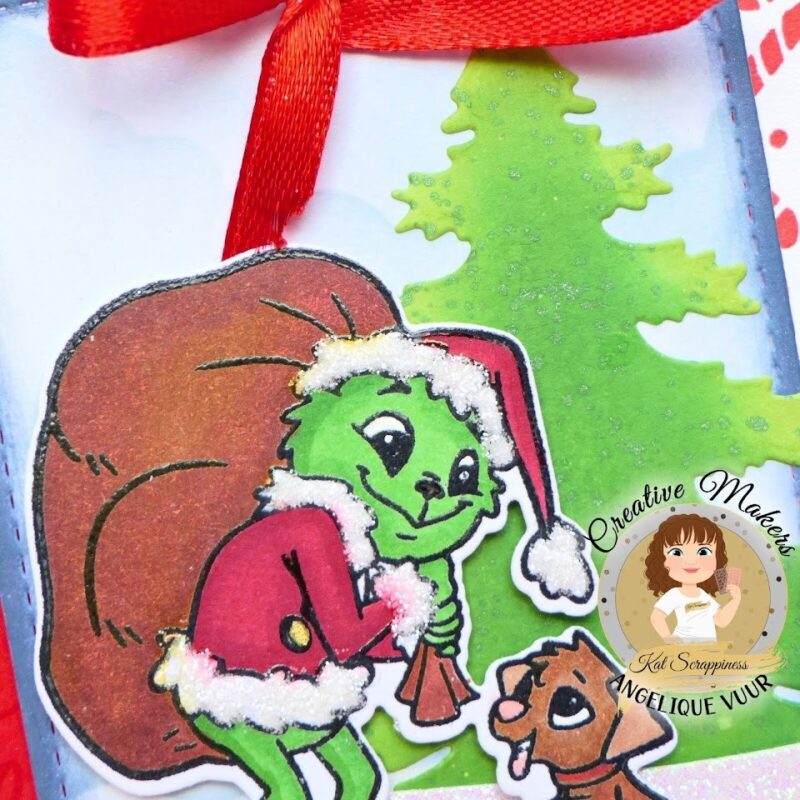
From the Merry Grouchmas Stamp Set, I stamped the stamp with the cute little dog using black ink and clear embossing powder, then heat embossed it.
I die-cut the image using the Merry Grouchmas coordinating dies.
I also die-cut the tree from The Night Before Christmas Window Scene Craft Dies using white cardstock. I ink blended it with green inks and added darker green splatters for texture. I took the image I stamped and colored it with alcohol markers. All the furry white parts I “colored” with the stickles. This way they look fluffy and a bit shiny. I hope you can see it on the picture below.
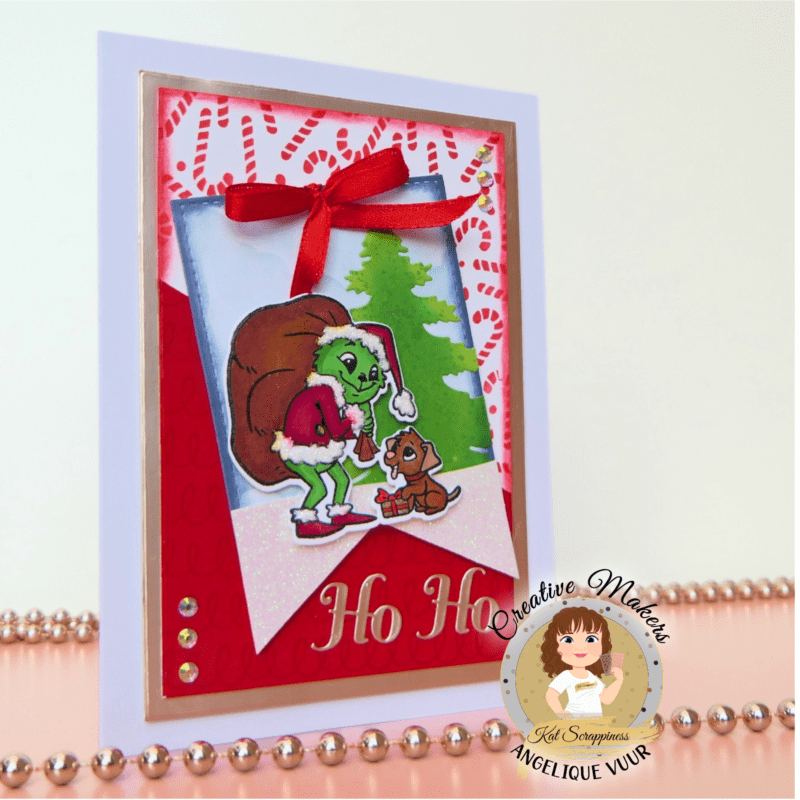
Step 6 – Assembling the tag
I assembled all elements on the banner. Because I didn’t glue the top edge of the glitter snow, I could tuck the tree neatly underneath it. The stamped image was adhered with foam tape for a bit of dimension.
I threaded a piece of red ribbon through the hole and tied it into a bow.
The banner was adhered to the card front with foam tape, slightly offset, to give it a playful look.
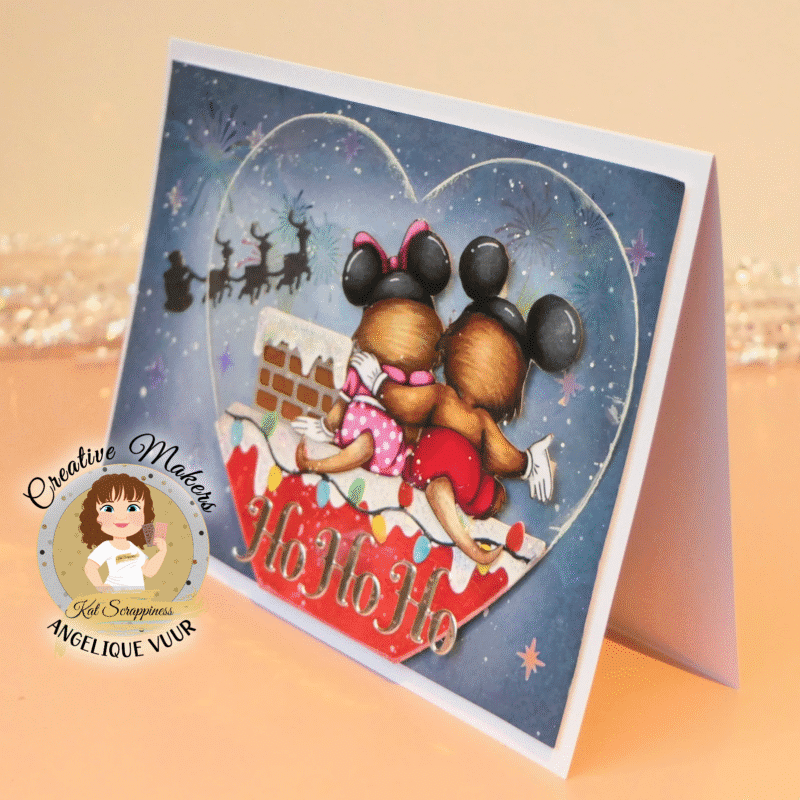
Step 7 – Sentiment and finishing touches
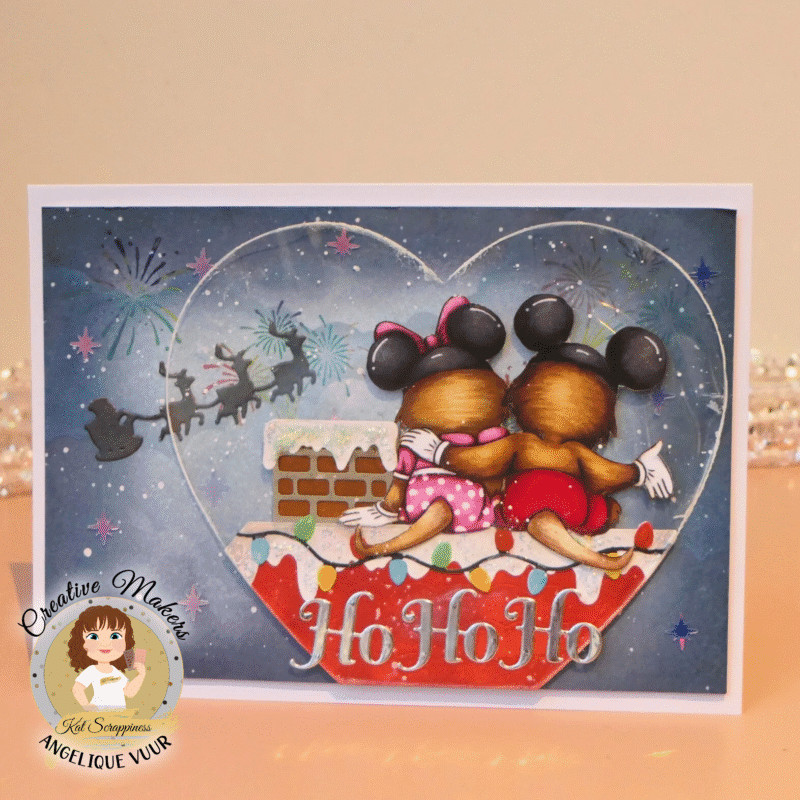
From the Ho! Ho! Ho! Shadow Sentiment Craft Dies, I used only the inner letters (not the shadow) and die-cut them from brushed rose gold cardstock. This time, I used two “Ho’s” and adhered them underneath the banner.
I matted the entire panel onto the brushed rose gold cardstock and adhered it to a 5×7 white card base.
To finish the card, I added some sparkle — because it is Christmas, after all! I adhered six of the largest Crystal AB rhinestones as shown in the photo.
And that’s it, my friends, my last Christmas card of 2025! I hope you enjoyed this quick and easy Christmas card tutorial, and I would love to see your version. Please feel free to tag me when you make one!
This was my first year creating Christmas blogs, so your feedback truly means a lot to me.
Next time, I’ll be back with another themed card, if you have any preferences, let me know in the comments!
Thank you so much for visiting this blog. I wish you all wonderful Christmas days and a happy, healthy, and loving New Year 💖
Don’t forget to check out What’s NEW at Kat Scrappiness for even more crafty amazingness — and be sure to visit the Christmas Sale from 12/19 – 12/24!
Hugs,
Angelique 🎅
Angels Happy Cards for Kat Scrappiness