Follow:
    Design Team Projects

    Sending Sunshine…

    Hi everyone, Cheryl here with my first blog post since joining the KatScrappiness Design Team. I’m thrilled to be here!

    So, on to my first post.

    I used the stamp set by Mudra called Gerbera Blooms. I used Distress Inks to stamp. I first stamped the bottom layer in the lighter color. Then, using a darker shade, I stamped the detailed top layer, misted with 2-3 spritz of water and stamped. I gives a nice watercolored look. I did that for all the flowers and leaves. Then I fussy cut them out.

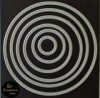
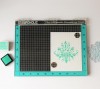
    I used a KatScrappiness rope oval die to cut a window into the woodgrain textured cardstock. I then used the same die and the  next one smaller to cut a gold frame. I put it into the window and secured on the backside with tape. I laid out the elements to get a look I liked and using foam tape or liquid glue, I attached them into place. I then mounted that entire piece to the card base.

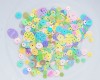
    To create the sentiment, I stamped it, used my scanner and saved it to my computer. Then, using my Silhouette software, I traced it and created an offset. I cut several. I’ll save some for another time. Then I used my Stampholic stamping tool and stamped the sentiment onto one of the die cuts. I used a few more, gluing them on top of each other to add some thickness to the cut. I then put it where I wanted it on the card front and used liquid glue to adhere. I picked out some tiny bright colored KS sequins and added a few around the card.

    I hope you enjoyed my card for today. Here’s where you can get the supplies I used.

    Gerbera Blooms

    KS Embossed Large Rope Die

    KS Easter Egg Hunt Sequin Mix

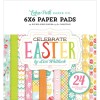
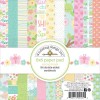
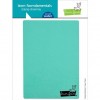
    Doodlebug Spring Things 6×6 Paper Pad

    Thanks for coming by ~ Happy Crafting!


    Save

    Save

    Save

    Save

    Design Team Projects

    An Easter Canvas Mixed Media Project by Mona Leonard

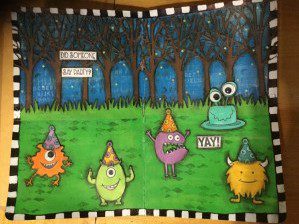
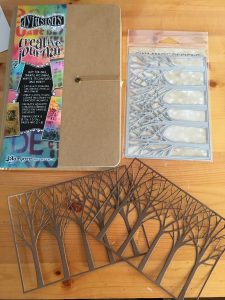
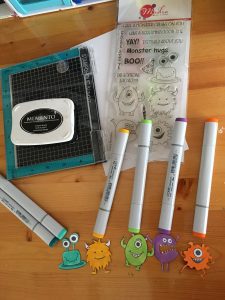
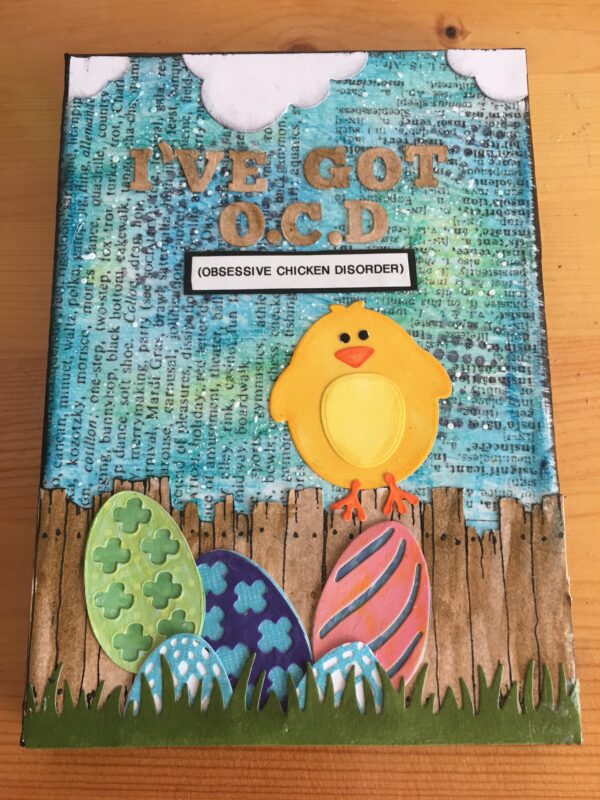
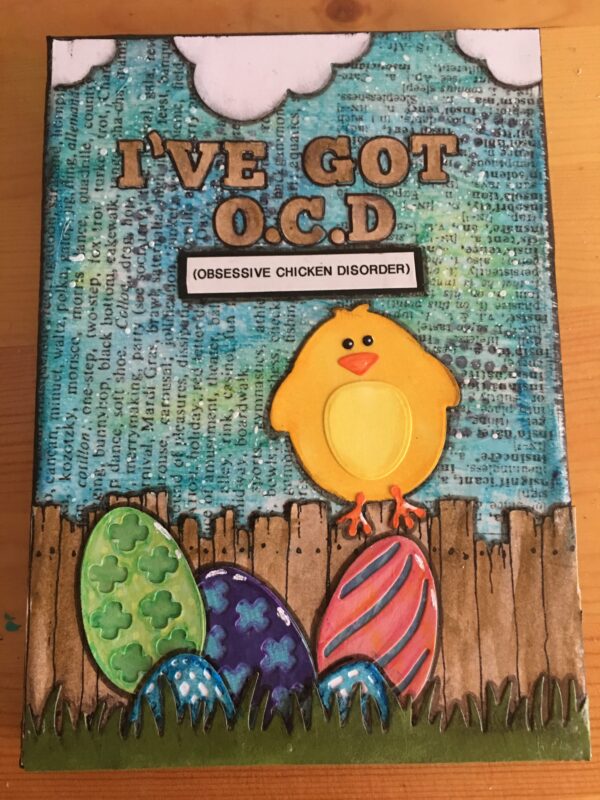
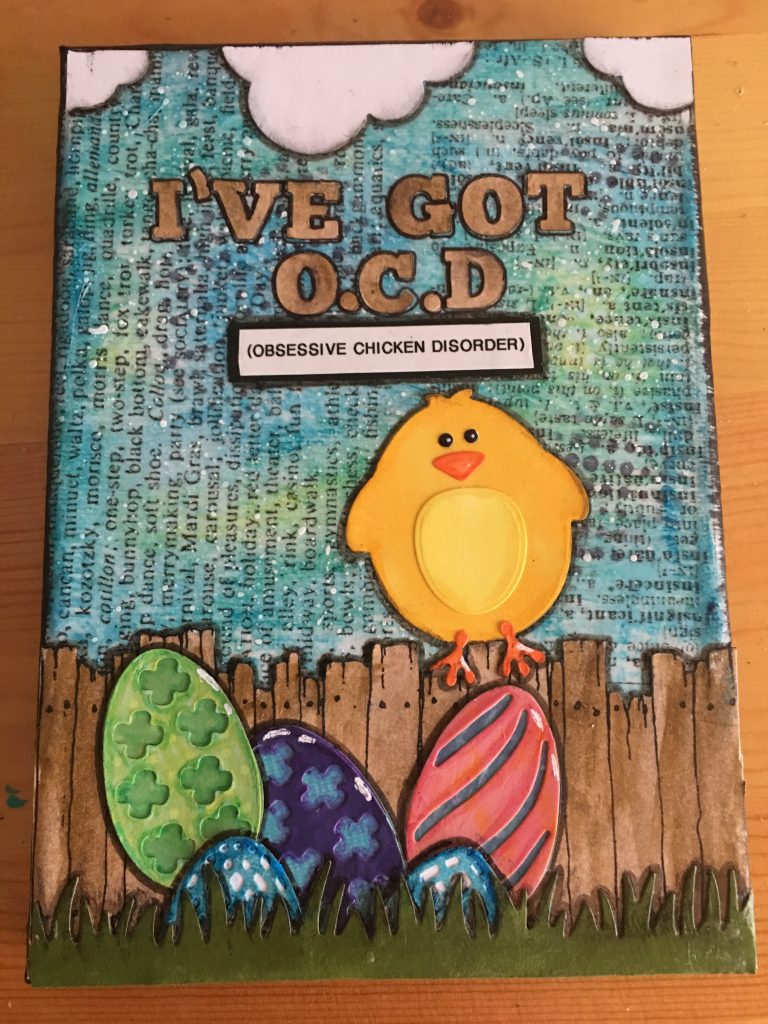
    Hi there, I am happy to be part of the Kat Scrappiness design team.  I enjoy making cards but sometimes it is nice to use your supplies to make something a little different …  that’s where I come in, a little different!!   For my First project I decided to go with an easy 5 x 7 mixed media canvas.  This was a super cute and easy project and I’m happy to walk you through the steps.

    I started by covering my canvas with Tim Holtz’s Ideology Tissue Paper which I had in my stash.  I used Mod Podge to adhere the paper onto the canvas.  I usually cover the canvas with the glue first and then adhere the paper on, then seal it with a second coat of mod podge.

    Next, I stamped this weathered fence image by Two Paper Divas onto white cardstock and fussy cut it.

    Then comes the fun part part… playing with Tim Holtz – Distress Crayons,   These crayons are so versatile you can use them to colour in your stamps or to create fun backgrounds! I did both!  I used Vintage Photo distress ink for the fence,  and the background is made using of Mermaid Lagoon, Peacock Feathers and Twisted Citron distress inks.  Using the Tim Holtz Water Brush, I can vary the pigment so that it isn’t one solid colour.

    I used Gina Marie’s Easter Egg dies and die cut them with my Vagabond using just scraps of paper that I had laying around.

    I also used Gina Marie’s Easter Chick dies to create this adorable little character.  I die cut it out of white cardstock and colored the image with my copic markers. I used my Crystal Katana  and my Zig 2 Way Glue Pen to help me glue the pieces together since they were so tiny.

    Now that my background is dry I wanted to give it a little bit more texture, I started by using a favourite stencil of mine which is the Tim Holtz’s Dot Face Stencil.  I used Ranger Archival Black Ink and an old make up sponge and added the stenciling in a few places. To create the background splatter, I used watered down white paint and an old fan brush. I just dipped the brush in the watered down paint, and used another brush to tap it above and onto my canvas.

    I  die cut the rest of my elements using dies that were gifted to me while back by a very good friend.  I used green cardstock to cut a strip of grass, white for the clouds  and also white for the letters i will be using for my quote. Once my letters were cut I used the Tim Holtz Distress Crayons in Vintage Photo, so it would match my fence.

    For my final step, I glued down all my elements with Mod Podge and then sealed everything again with a top coat. I then used my label machine to create the rest of my quote.  I added a black layer behind it and glued it on my project.

    Then came the fun part just adding a  bit of shadow around all the elements using my Pitt Black Big Brush Marker.  This is my final project:

    I had so much fun creating this canvas for Kat Scrappiness and look forward to sharing more projects with you in the future!  If you have any questions about the process of this project, please feel free to leave a comment on this post and I will get back to you.

    Design Team Projects

    Spring Card Featuring Gerda Steiner’s Hoppiness Stamp Set!


    Hello everyone!! I’m so excited to be back creating for Kat Scrappiness!!

    I knew I had to make the sweet little images from Gerda Steiner’s Hoppiness stamp set into little bobble heads with the help of Action Wobbles.

    I instantly feel in love with the adorable nerdy birdie and bunny wearing their little glasses. Using my Stampaholic Stamping Tool, I stamped the bird, bunny and fence onto Bristol card stock with Versafine waterproof ink. I quickly colored them with Zig Clean Color Real Brush Markers by adding pigment to the images and then spreading it out with a damp paint brush.

    To make the background, I used Clarity Stencil Brushes to brush on Twisted Citron, Tumbled Glass, and Salty Ocean Distress Inks. It was a little plain by itself so I added little tufts of grass with the Zig Markers by gently flicking upward. This was super easy and added just the right amount of interest to the background.

    After fussy cutting all three images, I adhered the fence piece using foam tape. I popped  up the bunny and bird by using Action Wobbles. By trimming down one of the wobbles, I was able to fit it onto the tiny bird. Lastly, I added a bit of Glossy Accents to the lenses of the little glasses!

    For lots more details on how this card was made, please check out the video below.

    Thanks for stopping by!

    Kelley:)

    Video:

    [youtube https://www.youtube.com/watch?v=GlbhcVWTNzw]

    Supplies:


    https://static.inlinkz.com/ppr.js

    Design Team Projects

    You’re the Best Scrapbook Layout

    Hello friends! I am extremely excited to share my first post as a member of the Kat Scrappiness Team. Today, I created a 12×12 layout. This month we are focusing on Spring. I received some fun goodies from the shop. It was extremely hard not to use all of them on this one layout. I am scrapbooking a photo of my adorable niece. We had a fun little photo shoot a few weeks ago.

    I started off using the Kat Scrappiness Stitched Circle dies in several sizes and cut out some open circles as well as some regular circles. I used a green polka dot patterned paper from the adorable Echo Park Celebrate Easter 6×6 paper pad. I aranged the circles in two areas around my photo. I added fun foam to the back of the circles to add some dimension. I used the Happy Hoppy Bunny Stamp set by Gerda Steiner Designs to stamp my tittle inside one of the circles.


    I used the Easter Egg Flower dies in two of the three patterns included and used two patterned papers from the same paper pad to cut those out. I kept the “Egg” portion and cut off the stems. I created two clusters of Egg Flowers on the top left and bottom right of my photo. I also fussy cut some small white flowers from one of the patterned papers and scattered them around the layout. There are some fun new sequin mixes in the shop, I scattered around some of the fun Easter Egg Hunt Sequin Mix. I used Glossy Accents to adhere the sequins down.

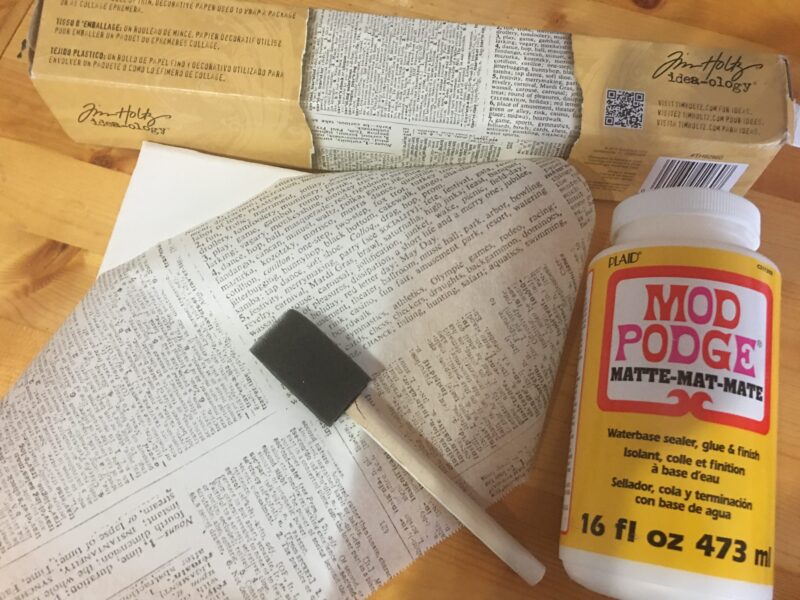
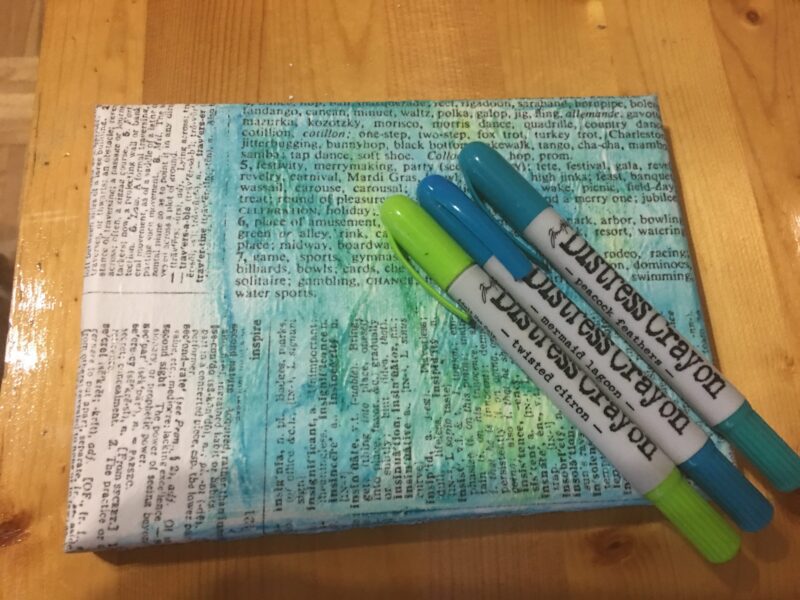
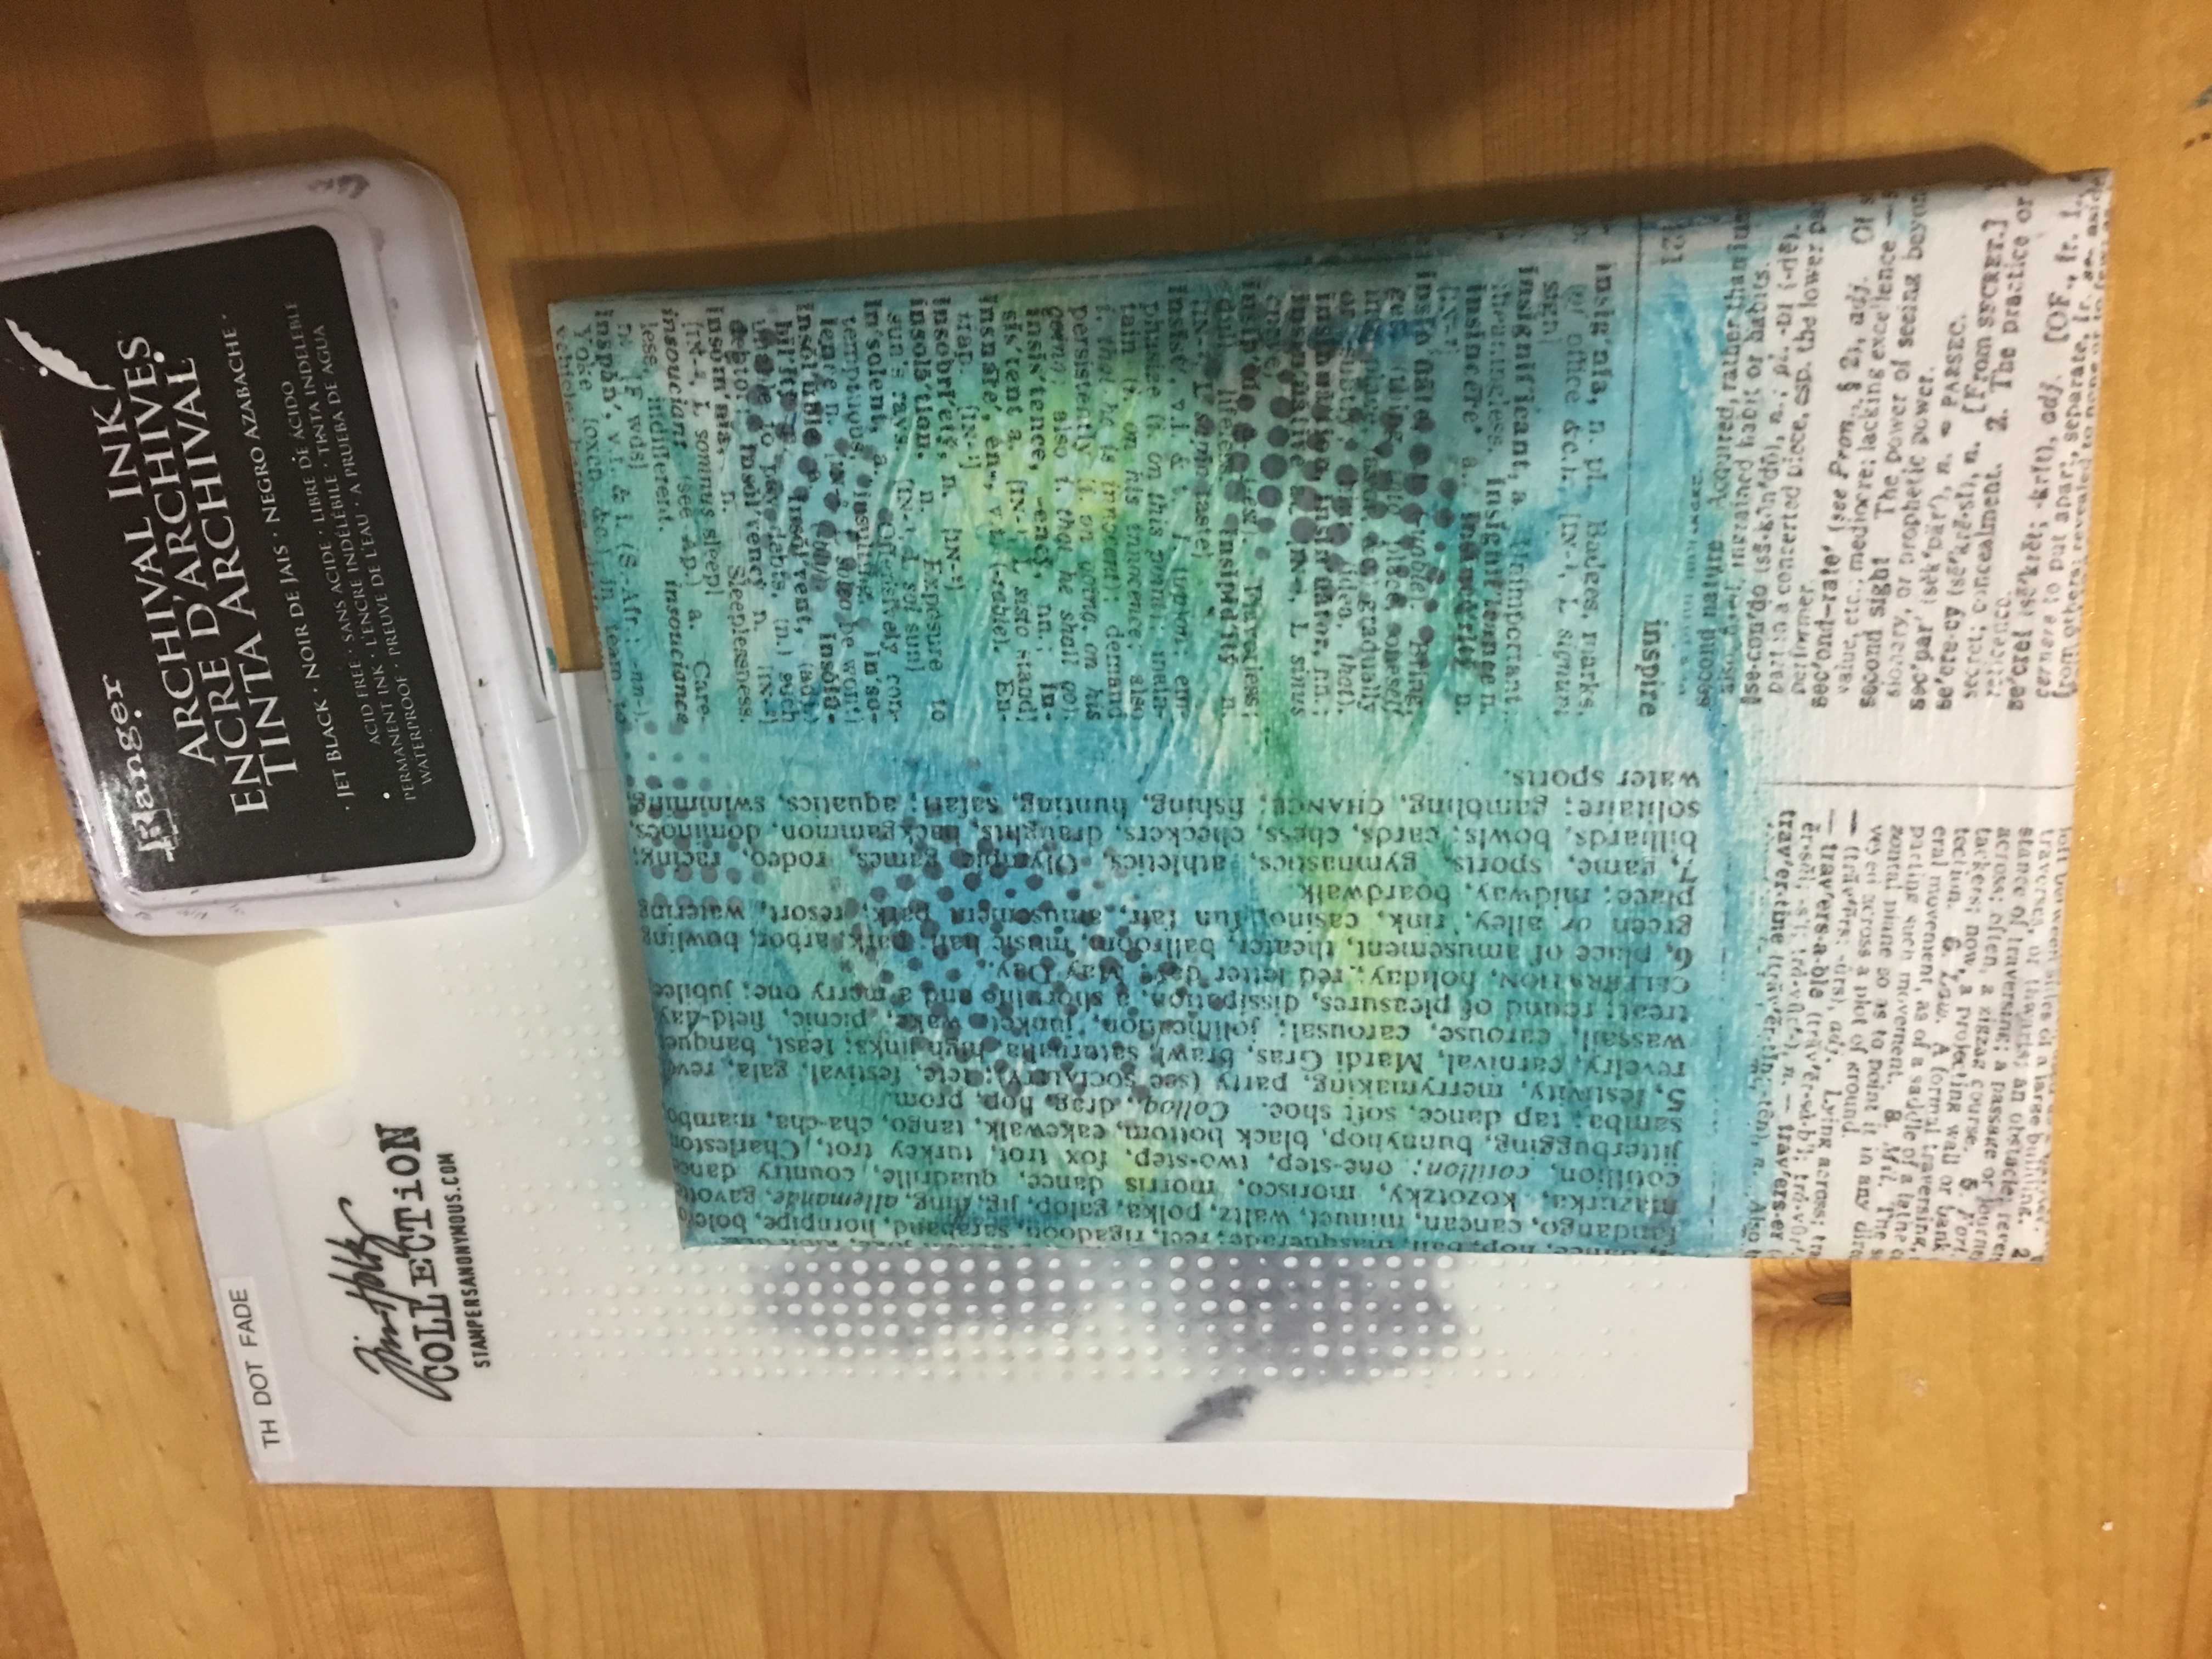
    Since my background is plain white cardstock, I wanted to add some color to the top and bottom of the page. I cut two strips from the 6×6 paper pad and created a 12 inch strip. I did this with several patterned papers and used a scallop punch on one of them at the bottom. I also added some zig zag machine stitching at the top and bottom.

    This was a fun layout to create. Thanks so much for stopping by today. XOXO- Katty

    Supplies Used:

    https://static.inlinkz.com/ppr.js

    Meet the Design Team

    Meet The New Kat Scrappiness Design Team Members Beginning March 1, 2017!

    Please help us welcome back a few previous design team members as well as saying hello to our newest team members! Our new term begins on March 1st.  Be sure to bookmark their blogs and social media links because they will have many fun and creative projects to share with you in the coming months!

    Be sure to check out our monthly guest designer’s bios as well!

    Maria Russell

    We are so pleased that team member Maria Russell is staying on with us for another term!

    Maria Russell I am married to an amazing husband, with two beautiful and talented kids.

    I am an interior designer by trade but I love to craft. I ventured into papercrafting (and stamping) 2 years ago and got immediately hooked.

    I love making cards but I also love creating 3D projects and scrapbooking.

    Blog: Maria Russell Designs
    YouTube: Maria Russell


    Kelley Kohout

    Also staying on with us for another term at Kat Scrappiness is the talented Kelley Kohout!

    I’m an Airforce wife to my husband of 14 years, Chad. I have 2 kiddos, Emily 12 and Sam 3.

    Before we had our children, I was an elementary school teacher. Now I have the privilege of teaching my daughter at home.

    I have been crafting in one form or another for about 15 years. I started out with traditional scrapbooking and now I do more card making and pocket scrapbooking.

    I’m thrilled to be part of the Kat Scrappiness team!

    Blog: INKohouts Design


    Kevin Kevin Bray

    Hi, everyone! I’m Kevin and I live in Minnesota. I am currently a college senior majoring in Health Education and Coaching. I started making cards in 2015 and have grown to love it so much! My style is pretty CAS but love trying new techniques.

    Blog: Kevin Bray
    Instagram: Kevin Bray


     Mona Leonard

      I am a mother of two grown boys. I have always loved crafting, as long as I can remember. I love spending all my spare time in my craft room (my little heaven) There are not many crafts that I haven’t tried.  I love doing anything with my hands.

    Art journaling and card making is my new favourite at this time.  I also love making new crafty friends and learning new techniques.


    Taniesa Vlasak

    Taniesa Vlasak  Hi! My name is Taniesa Vlasak and I have been papercrafting since I was a little girl. What began as a sticker, stamp, and stationery obsession at just 7 years old grew into a love of scrapbooking, art journaling, cardmaking and other papercrafting fun! There is nothing like playing with new art supplies and I get so excited now as I did back then.We have recently moved from California to Washington state and with the wetter weather outside is the perfect excuse for more crafty time inside!

    I am incredibly blessed to be designing for Kat Scrappiness!

    Blog: The Crafty Pickle

    Instagram:  Taniesa


    Katty Miranda

      Hi, I’m Katty. I am originally from Cuba but have lived in Miami, FL most of my life. I am a mom of two beautiful boys. I love spending time with my family. Besides Scrapbooking and Crafting, I also love to travel.

    I was introduced to scrapbooking when I was in high school. A friend started a scrapbooking club and I was immediately hooked. Since then, I have tried all types of crafts and I truly enjoy them all.

    I look forward to working with the Kat Scrappiness Team and sharing my work with you all.


    Cheryl Becker

      Hello. I was born and raised in western Michigan and now live in Ohio. Growing up, my parents owned a flower shop. I worked there till after I graduated high school and moved away. I continued in the floral industry until we started a family. I Guess you’d say my crafting ability and style came from years in that industry.

    I am married to a wonderful man and we have three children. Two are married and we love their spouses as our own! We have three grand daughters and one grand son, all under 5! I have been the care giver to three of them so their mommies can work. At present, I’m caring for my 5 year old grandson and 6 month old grand daughter. I am beyond blessed!

    As far as crafting goes I’d say my style strengths would be in an eye for color and in florals, obviously from floral designing background. I enjoy playing around with techniques and trying new things. My cards probably tend to be more on the simple side. Not a lot of fuss, keeping pretty much a single focal image and a sentiment. However, I do very much love stamping out my own background papers. I’d say for me, when I wanna relax, I head into my craft room and get out my toys!


    Angeline Choo

      Hi! I’m Angeline. Just a few years ago, I knew absolutely nothing about crafting. And so fate has it that I wanted to make an album and bought my first scrapbook mini album kit. Soon, I was buying tons of scrappy stuff, watching countless crafty videos and reading lots of craft magazines! Now, I love making cards, mini albums, having fun in my planner and trying out new things.


    Deb Rauch – Design Team Manager

    Deb Rauch  Hi! I’m Deb Rauch. I am a retired nurse, mother of two grown boys, and have been married to my best friend for 33 years.

    My grand mom taught me to sew when I was 8 years old on her old treadle sewing machine. Throughout the years, I’ve continued to sew and got into other types of crafting.

    About 15 years ago, I got hooked on scrapbooking, and about two years ago cardmaking.

    Blog: Two Debs
    Instagram: Deb Rauch


    Kat Scrappiness.com

    Design Team Projects

    Mixed Media Monster Party

    Hello everyone , Mona here with a fun project. I have decided after seeing this gorgeous stamp set that I needed to create a journal page … I will walk you thru the steps for creating this fun page.


    I am working in my mini Dylusions creative journal  which you can special order at Kat Scrappiness . I have chosen this journal because I love the thickness of the pages, they will absorb pretty much any mediums.

    I have started by die cutting a Gina Marie tree frame background die

    My next step was to get all my elements stamped, coloured and fussy cut. I used my  Nano  stamping tool from Stampoholic to stamp my images from this fun stamp set called  Crazy Monsters by Mudra, using my black tuxedo memento ink pad. Then I coloured in my cute little monsters using my copic markers.

    Here I have simply die cut two strips of grass using a die that I had in my stash. Used my Dylusions paints. I love using a few shades of the same colour to make it look streaky.

    Now for the fun part, getting your background ready. I did the top part in blue to represent the sky and the bottom in green for the grass.  Again I used a few shades of the same colours to have it not so uniform , more streaky.

    Adding texture is also one of my favourite parts of the project. I used one of my to go to stamp sets  by Dylusions called  basic background .  For the inks I used  Cobalt and Olive by Ranger and to add a little highlight in my sky, I used Wedding Dress by Memento Luxe.

    Now that my background and all my elements are ready it’s time to assemble everything. I used Matte Medium by Golden to adhere everything on my background and once everything was glued down  I added a layer over everything to seal my page which makes it easier to add shading and the finishing touches to my layout.

    Here I started with my Faber Castell Pitt marker in black to outline and smudge it all along my elements. I then took a black sharpie marker and a white paint sharpie in white to make the frame around my page. For my final touch I had to add a bit of sparkle I used 3mm green star confetti sequins using my Crystal Katana tool.

    Design Team Projects

    Stitched Circle Dies and Hello Spring Shaker Card

    Hi, everyone and Happy Fri-Yay! Today I’m sharing a shaker card that was inspired by a 1960’s tilt n roll game. This is a relatively easy card to make. I used Kat Scrappiness Stitched Circle Dies, Kat Scrappiness Stitched Square Dies, and Kat Scrappiness Easter Egg Hunt Sequins along with Doodlebug Design 6 x 6 Paper Pad – Spring Things.  

    I randomly die-cut stitched circles on the front card panel using Stitched Circle Dies to create windows for the shaker.

    I  used Stitched Square Dies to back my die-cut sentiment from the Doodlebug Design Paper Pad.  I finished off my card by adding Nuvo Crystal Drops – Sunlit Meadow  to the three flowers under my sentiment.

    Video coming soon.

    Thanks, Lisa.

    https://static.inlinkz.com/ppr.js