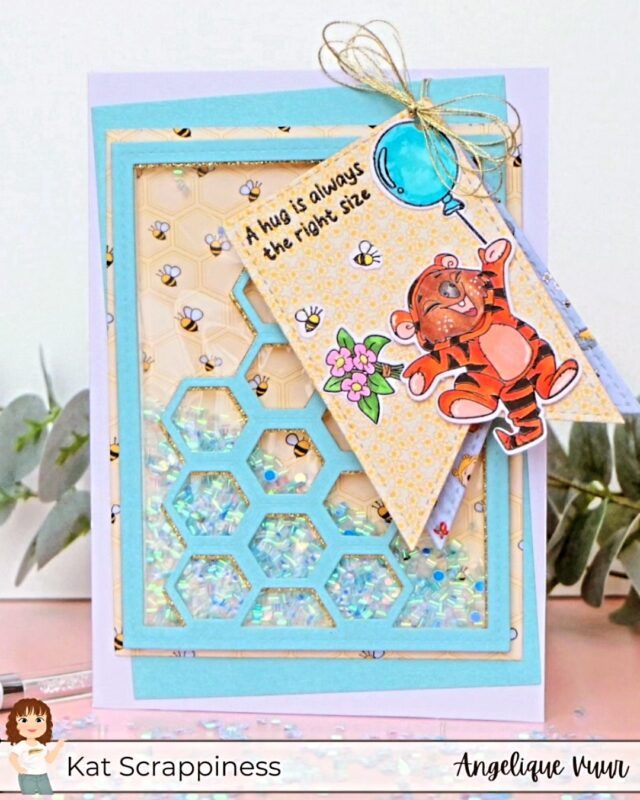
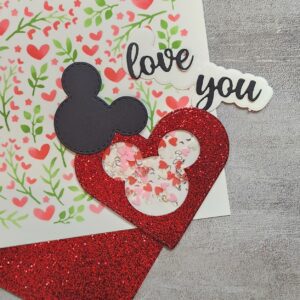
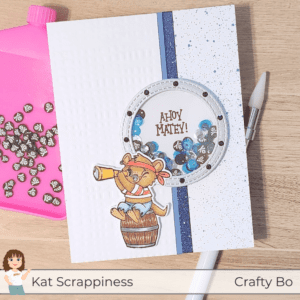
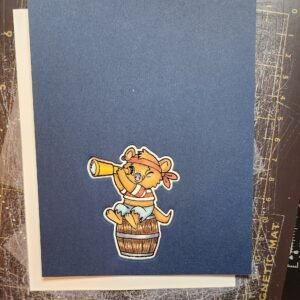
I have a cute shaker card for Kat Scrappiness’s newest release of Pirate themed stamps, dies, and pattern paper.
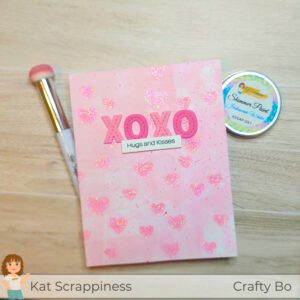
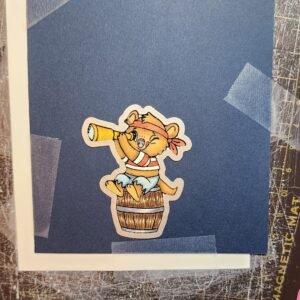
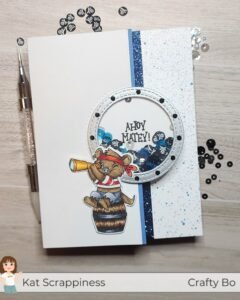
Here is the card I will be discussing below:
To make this card, you will need the following products:
From Kat Scrappiness:
- Pirate Quokka Stamps
- Pirate Quokka Coordinating Dies
- Pirate Sentiments Stamp Set
- Double Stitched Circle Craft Dies
- Burlap 6×6 Stencil
- Cross Bones Sprinkles
- Shimmering Onyx Sprinkles
- White Diamond Sequins
Other products:
- Adhesive (liquid or double sided tape)
- Foam tape
- Acetate
- White, silver/gray, blue cardstock and blue glitter cardstock
- Blue Splatter for the side panel (see below for further explanation) such as Tim Holtz Distress Spritz
- Alcohol markers or colored pencils for coloring the Quokka
- Black ink pad
- Small black gems
- Paper trimmer
- Die cutting machine and dry embossing mat (usually comes with the machine)
- Funnel Tray w/Cap
There’s quite a few steps, but don’t let that discourage you. You can choose to eliminate any steps to make it easier.
Let’s dive in!
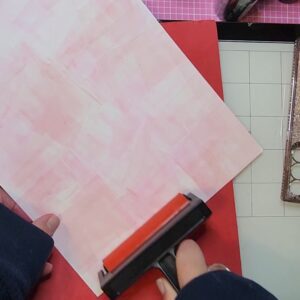
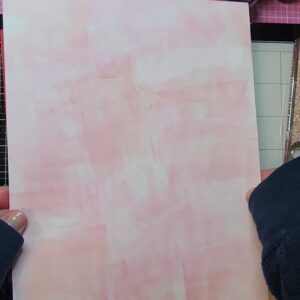
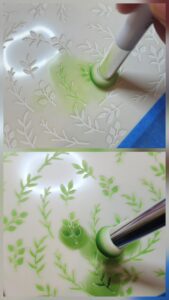
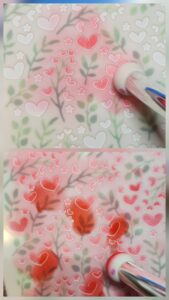
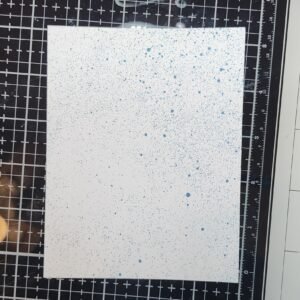
Step #1 – Blue Splatter panel
To make the blue splatter panel, you can use a few different products such as the liquid ink refill for ink pads, an ink pad, watercolor, or a colored liquid spray. If you are using the ink refill or the ink pad, put a drop or smoosh onto your work surface, add a little water and pick some of it up with a fan style paint brush. Then by using a flicking motion with the paint brush by either hitting the brush on the side of a ruler, box, or even your finger from your other hand, to get the splatter onto the paper. Note: protect your work surface cause the ink splatter can get anywhere! If you have an old box with high sides, lay the panel on the bottom to help contain the ink splatter. Once you have the look of the splatter, set it aside to fully dry.
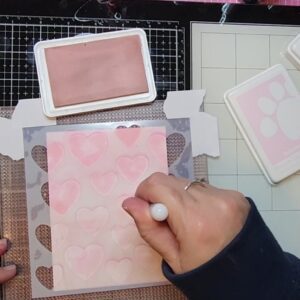
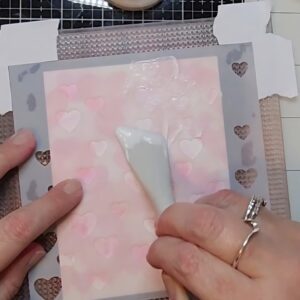
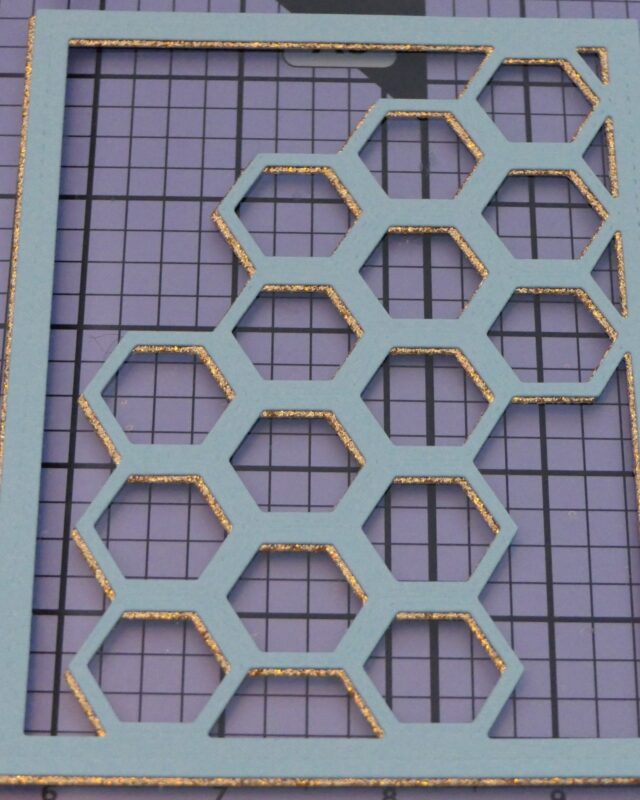
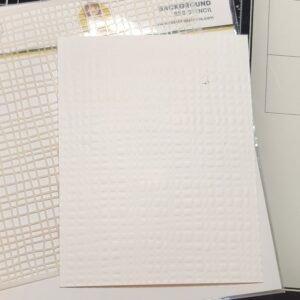
Step #2 – Burlap panel
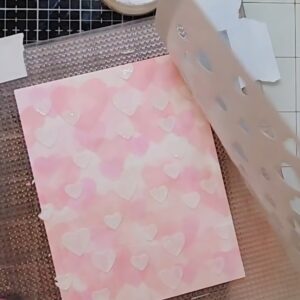
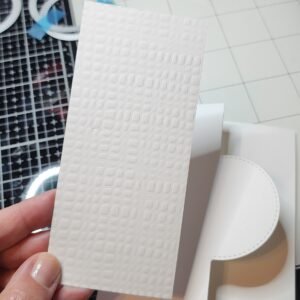
Using the Burlap stencil and your die cutting machine along with the embossing mat that came with the machine, dry emboss the burlap stencil and a white piece of A2 sized card stock. Set that aside.
Note: This is completely optional. You can eliminate this step and have the front of the card without this step. You will see a pic of the same card without this step at the end.
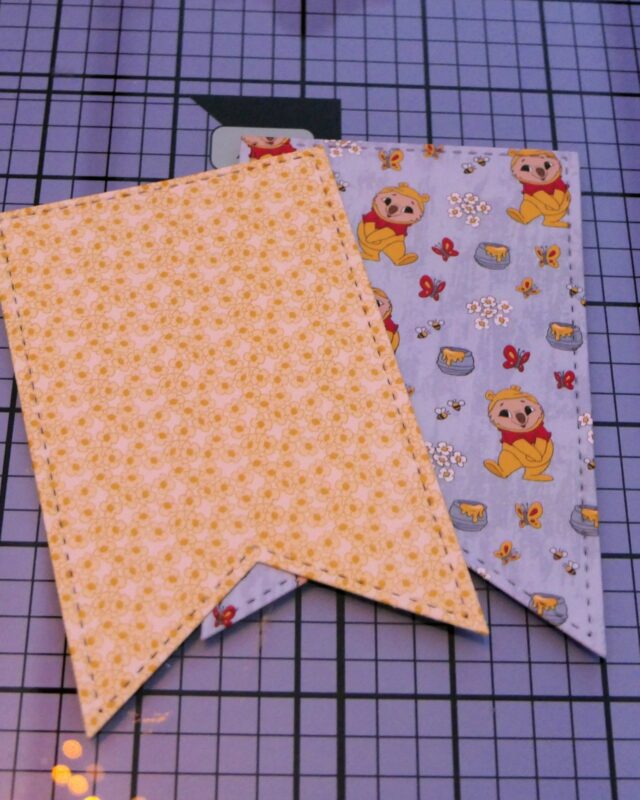
Step #3 – Blue strips
Find a matching blue cardstock similar to the ink splatter panel and a blue glitter cardstock, cut a ¼” piece from each and set aside.
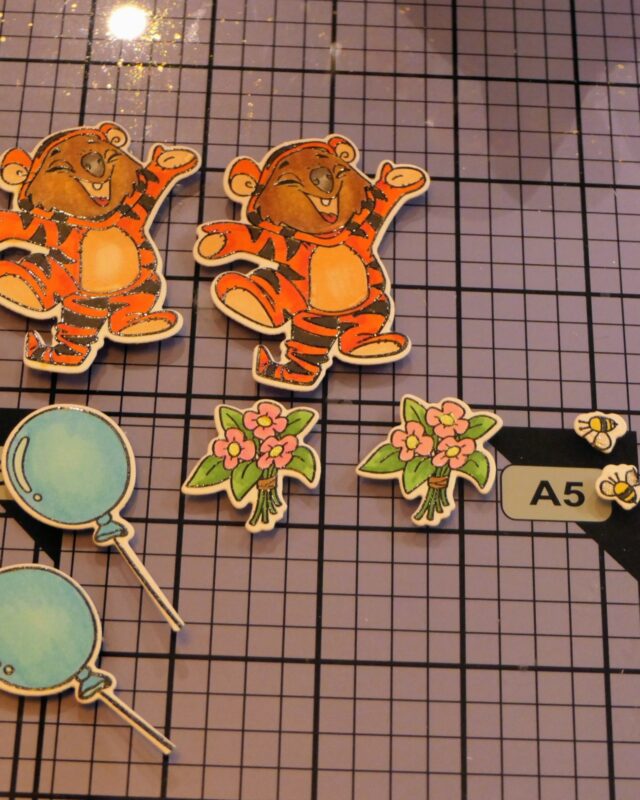
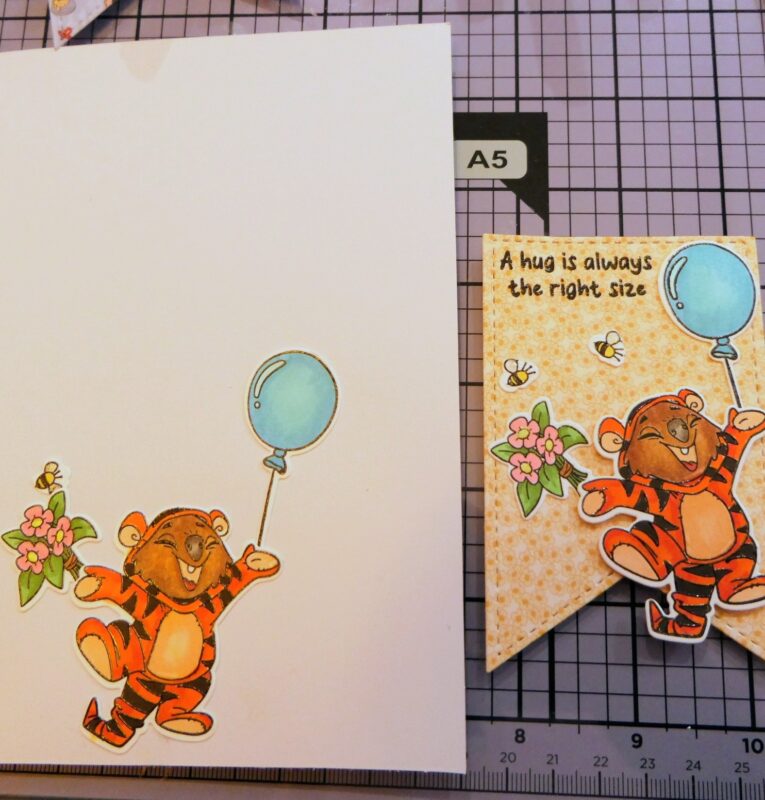
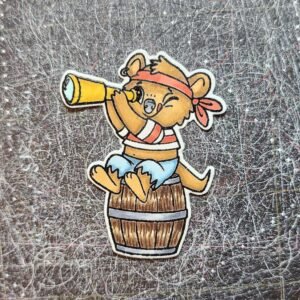
Step #4 – Pirate Quokka
Such cute Pirate Quokka stamps with the new release but I opted for the little one on the barrel.
After stamping with black ink, I colored him in using alcohol markers before die cutting.
Helpful tip: for getting an accurate die cut from an image, take a dark colored cardstock, and die cut the die.
Take the negative piece of this and line it up with the colored stamped image.
Once you have it lined up, tape it down so it won’t budge while die cutting. Lay down the die cut and also secure with tape.
Now you have a perfect die cut image with even border all around! Set the quokka aside till later.
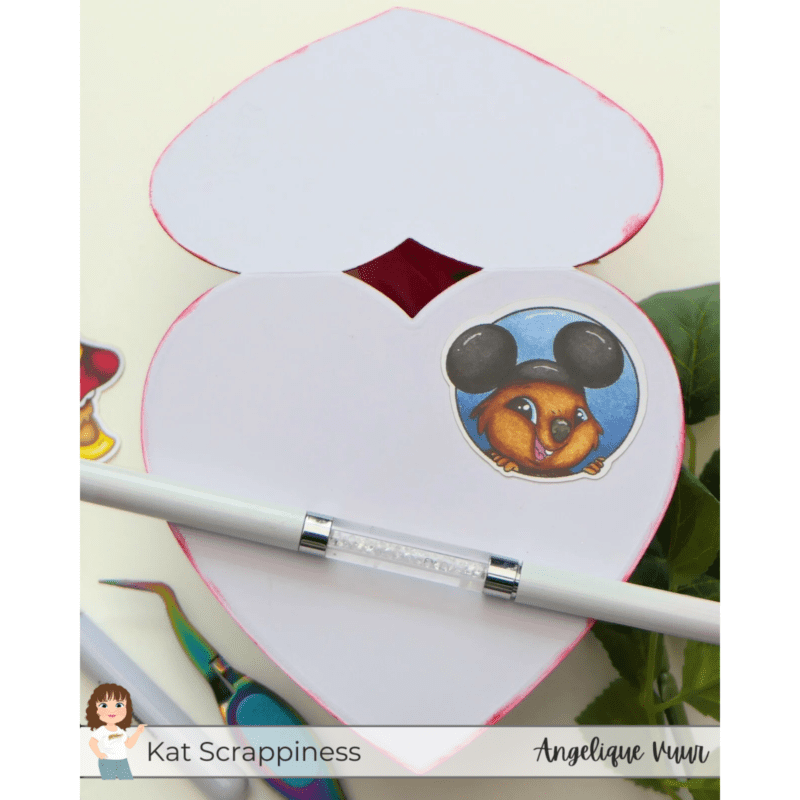
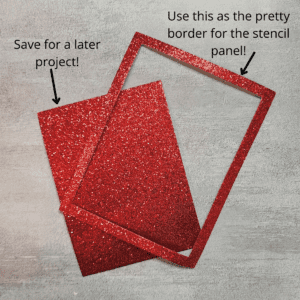
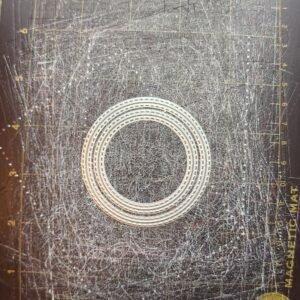
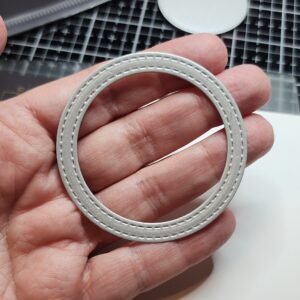
Step #5 – The Porthole
Using two of the Etched circle dies, line one inside the other onto a silver piece of cardstock and die cut to make the porthole. Using double sided adhesive tape, adhere acetate onto the back of the porthole and trim off the excess. Then add foam strips behind the acetate making sure it doesn’t show inside the circles. Set this aside.
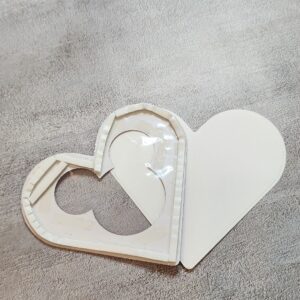
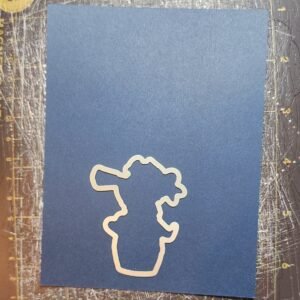
Step #6 – Card base
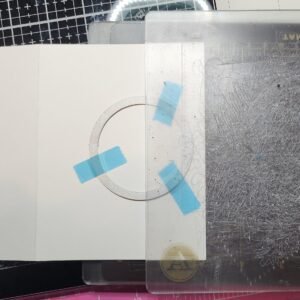
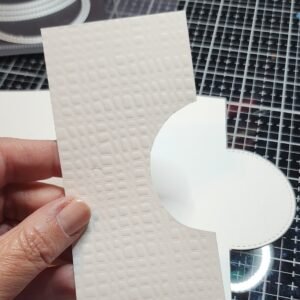
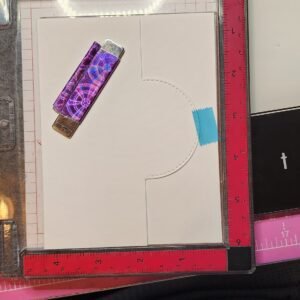
Using a side folding card base, it’s time to do some partial die cutting. Using the largest of the two Etched Circle dies you used in the previous step, place the die onto the card base towards the right side of the top of the card base and secure it down.
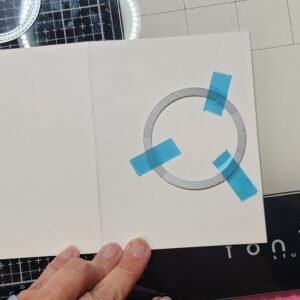
Now, place this onto your die cutting machine platform, place the top plate onto the die and paper, but only where you want it to cut (do not cover the whole card base). Carefully run this through your die cutting machine.
After die cutting, your paper will look like this:
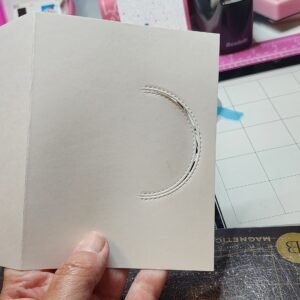
Using a paper trimmer, or a cutting knife and a ruler, cut off the right side from the top and bottom of what was just die cut.

Step #7 – Dry Embossed Panel
Take the dry embossed panel and line up with the card base and mark with a pencil where the card base is cut on the top and bottom. Take the dry embossed panel to your paper cutter and cut top to bottom from where your marks are.
Next, place that back onto your panel, lay the same Etched Circle Die onto your paper and line up with the circle on the card base. Using a pencil, trace the inside of the circle die onto the embossed panel and use scissors to cut that piece out.
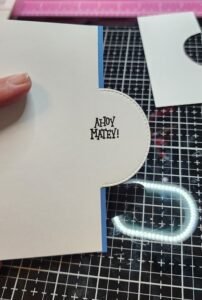
Step #8 – Sentiment
Lay the card base into your stamp positioner, line up the stamp “Ahoy Matey” and stamp using black ink.
Step #9 – Card Assembly
Now that all the pieces are ready, let’s start assembling the card.
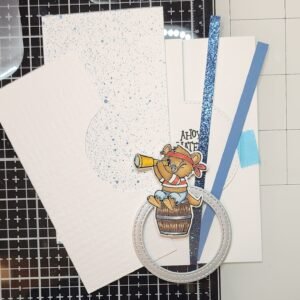
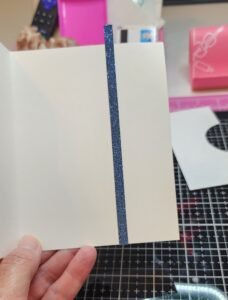
Adhere the blue cardstock strip to the back of the front panel of the card (behind the circle) and trim off any excess.
Close the card and add adhesive along the side of the blue cardstock strip onto the back of the card base and adhere the blue glitter card strip.
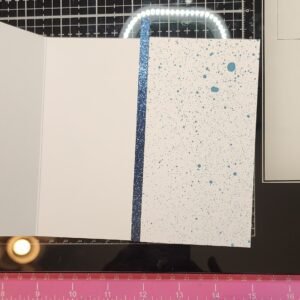
Take the blue ink splatter card panel and adhere that to the right of the blue glitter cardstock onto the card base. Trim off any excess.
Then, adhere the dry embossed burlap panel to the left on the front of the card.
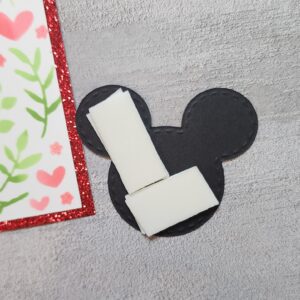
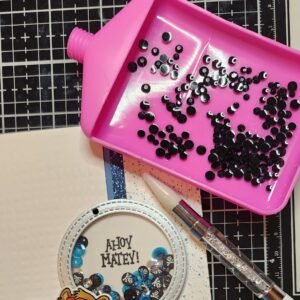
Grab your shaker bits and lay them on top of the Ahoy Matey! Remove the backing from the foam strips on the porthole and adhere that on top of the circle, carefully lining up the edges.
Add some foam tape behind the quokka, remove the protective backing, and adhere that to the card.
Next, add the small black gems around the porthole with liquid adhesive.
And that completes the card!
Here is the card without the dry embossed burlap panel.
The dry embossed burlap panel adds a little more interest and texture to the card.
I hope you enjoyed the card and I invite you to check out the other amazing cards from the Design Team over on Instagram as well as Facebook. Also, don’t forget to check out What’s New at Kat Scrappiness for even more crafty inspiration.