Follow:
    Design Team Projects

    Happy Anniversary Card

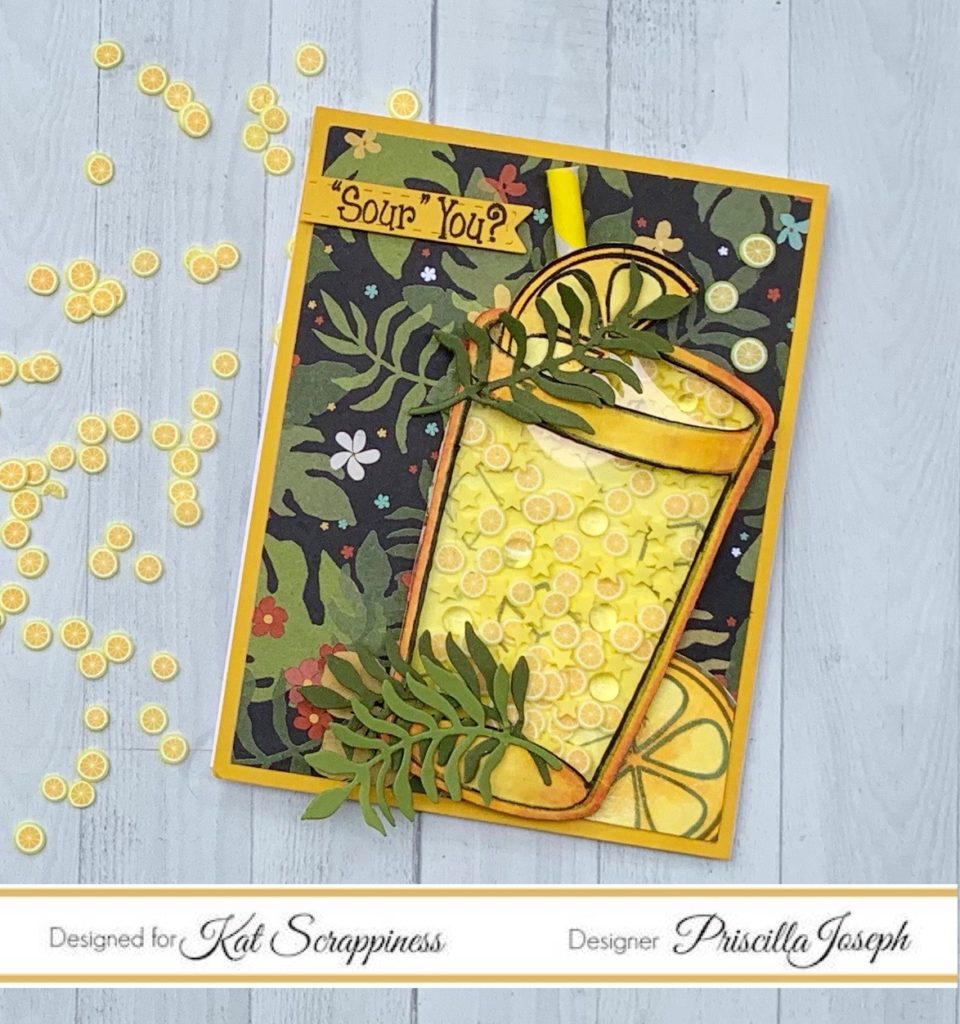
    Hi Everyone, it’s Tina here. Today I have an elegant Anniversary card to share with you using the Layering Nested Heart and the Stitched Scallop Heart dies. Most of us have Alcohol Ink backgrounds and if you are like me I don’t use them. Today’s card will show you how to use them. Below are the steps to create your own card. Please note that it is very hard to photograph mirror cardstock so you will see some background images in the photos.

    Step 1 – Trim White Cardstock to 8 1/2″ x 5 1/2″, score at 4 1/4″ and fold in half for a vertical side fold card. (A2)

    Step 2 – Trim Purple Mirror Cardstock to 5 1/2″ x 4 1/4″. Adhere to card using Scor-Tape.

    Step 3 – Apply Alcohol Blending Solution onto yupo paper in drops and swirls. Shake thoroughly and apply drops of Alcohol Pearl Inks. Tilt the paper to let the ink move. Add more Alcohol Blending Solution and Alcohol Pearl Inks until you reach the desired effect. Just before it completely dries place a sheet of Wild Dandelion Foiling on top of the alcohol background. Use your finger to press it to maximize the foiling to the alcohol background. Remove and repeat in sections. Let completely dry. This takes a few hours.

    Step 4 – Diecut Stitched Scallop Heart using Gold Mirror Cardstock. Adhere to card front using Nuvo Deluxe Adhesive.

    Step 5 – Diecut Layering Nested Heart using the background created in Step 3. Adhere to card front using Nuvo Deluxe Adhesive.

    Step 6 – Diecut Happy Father’s Day (try using just the word Happy) using Gold Mirror Cardstock. Trim the excess word so you are just left with Happy. Adhere to card using Collage Medium.

    Step 7 – Stamp sentiment on Red Mirror Cardstock using Versamark. Sprinkle Gold Embossing Powder and remove the excess. Heat set it with a heat tool. A reminder to apply an anti static powder tool before adding the versamark to prevent the embossing powder adhering to areas where you don’t want it. Trim the sentiment and adhere to card using foam tape.

    This card can be used for any occasion by changing the colors, the shape of the dies and sentiment. To receive 10% off your order use code: TINA10 at checkout. Below is a link to all the products used. Thank you for stopping by and have a wonderful day!
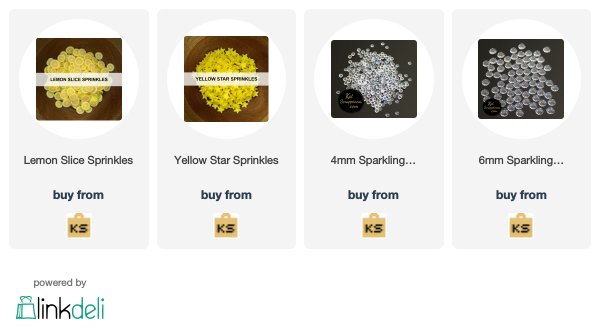
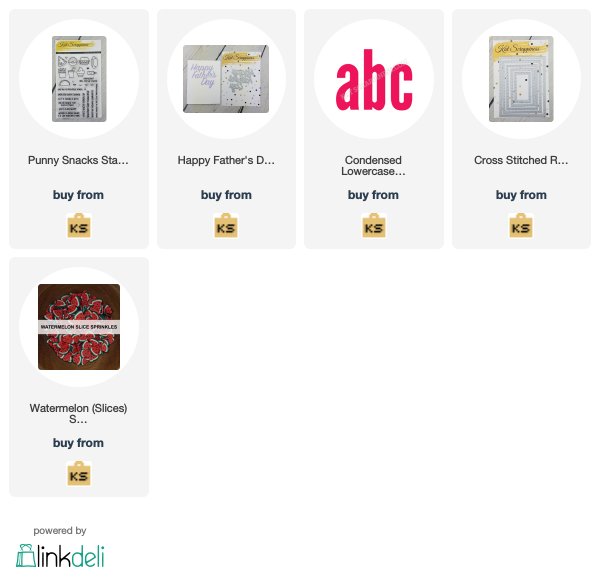
    Products Used:

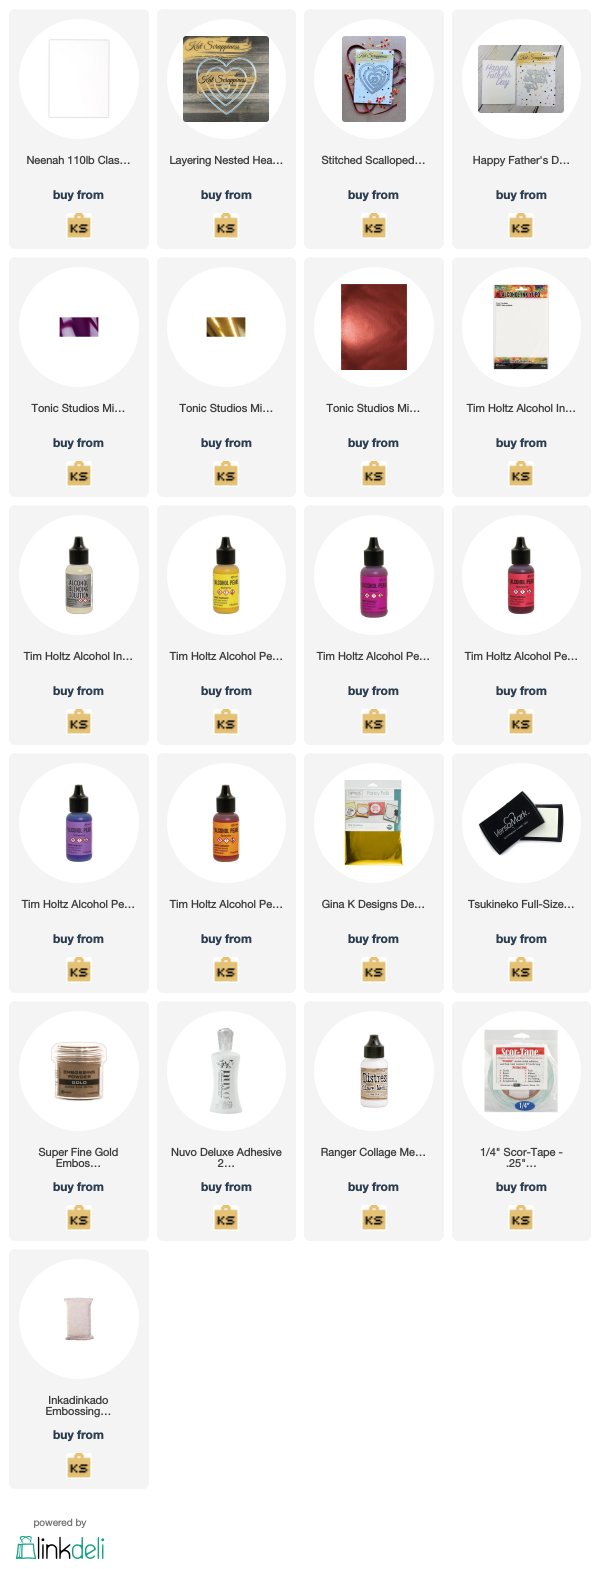
    https://linkdeli.com/widget.js?1559654439292

    Design Team Projects

    “Sour” You? | A Shaker Card with Kat Scrappiness Sprinkles

    Hey Crafters! Priscilla here!  Today I’ll be showing you a mouth-watering ice-cold glass of sparkling lemonade . . . perfect for the hot summer days ahead here in Chicago where I live. Except you can’t drink this one . . . cuz it’s on the front of a card. LOL! This shaker card showcases several of the new sprinkles in the Kat Scrappiness shop. Can you tell that yellow is my favorite color?

    To create this shaker card, I used Kat‘s new “Lemon Slice Sprinkles,” “Yellow Star Sprinkles,” and even a few “Sparkling Clear Droplets” for the ice cubes!

    (Click on each photo above to go right to the link in Kat’s shop.)

    I “shopped my stash” for this card and found a glass tumbler and lemon stamped images to color and cut out using my Brother “Scan N Cut” machine. I “filled” the glass tumbler with all these sprinkles before adhering the die cut shaker frame (with acetate) over it.

    Also from my stash, I found the perfect “tropical” patterned paper for the background, some matching fern die cuts, and the “‘Sour’ You” sentiment to adhere to the front of my card. Notice a few more “Lemon Slice Sprinkles” rising up from the lemonade!

    And yeah, that’s a real drinking straw added for the finishing touch!


    Thank you so much for stopping by! Don’t forget to check out what’s NEW in Kat’s Shop and use my coupon code Priscilla10″ for 10% off your order at the shop. Follow my blog and Instagram for more “Kat Scrappiness Amazingness”!

    Priscilla?

    The supplies I used are listed and linked below.

    SUPPLIES

    New Releases, News

    Major Deals at Kat Scrappiness with the GRAB BAGS!


    Summer is in the air, Fall and Winter are coming!  In order to make room for new and exciting things, Kat Scrappiness has Mystery Bags available while supplies last. We have a LOT of AMAZING items from your favorite stamp and die companies and we’ve put them into these mystery bags!  Each bag’s value is MORE than what you are paying for so come get yours before they’re sold out because once they are gone, they are gone!


    Click on this link to order yours now —->  Kat Scrappiness Grab Bags


    I hope you all have a great weekend!  Happy crafting!

    Design Team Projects

    Crafters Gonna Craft

    Happy Monday everyone, hope everyone is enjoying the start of summer!

    Today I have a fun shaker card that uses a couple of Kat Scrappiness dies, Crafters Gonna Craft stamp set, and five different sets of sequins and jewels.  This was such a fun card to make, and I can’t wait to send it to a crafty friend!

    I started off the card by die cutting a piece of patterned paper from the Really Rainbow Scallops paper from Lawn Fawn using the largest Zig Zag rectangle die.  I then used one of the Double Stitched heart dies to cut out a heart from the same piece of paper.  I heat embossed one of the sentiments from the Crafters Gonna Craft stamp set directly on this panel.  I then backed the panel with some clear acetate.

    I stamped a few of the images (marker, pencil, sequins) from the Crafters Gonna Craft set, colored them with Copic markers, and fussy cut them out.

    I cut a piece of pink paper from the Watercolor Wishes paper from Lawn Fawn and glued it directly to my white card base.  This piece will show thru where the heart was cut out.  For the shaker part of the card, I added the images I colored along with the following sequins – 4mm Purple Majesty, 3mm Blue Stars, and Pastel Scissors.

    I added dimensional adhesive to the back of the yellow panel and adhered it directly to the card base.  To finish off the card, I added a couple of the colored images onto the card and added pretty pink and lilac jewels.

    – – –– – –– – –– – –– – –– – –– – –– – –– – –– – –– – –– – –– – –– – –– – –– – –– – –– – –– – –– – –– – –– –

    Use code caren10 for a 10% discount in the Kat Scrappiness shop.

    Thanks for stopping by and happy stamping!

    – – – SUPPLIES for today’s project– – – – – – – – – – – – – – – – – – – – – – – – – – – – – – – – – – – – – – –

    Design Team Projects

    Chunky Monkey Shaker Fun! By Meghan Kennihan

    Hi Crafty Friends,

    I have two FUN shaker cards for you! Kat Scrappiness just released 38 NEW sprinkles and sequins so I wanted to show you what you can do with them!!! I used this darling stamp set that is in the Kat Scrappiness Store called Chunky Monkey by Sugar Pea Designs. Details and how-tos below!

    Make Crafty Friends Q & A:

    Q: If you had a monkey, what would you name him/her?

    A: Me? Banana!

    Card #1:

     I started my card by inking the panel with the Distress Oxide Inks below. Then I splattered the panel with two shades of acrylic yellow paint. I cut the circle from the bottom of the panel and added the acetate on back for my shaker. I placed the Yellow Star Sprinkles in the center and adhered the panel to my base with foam tape.

     I added the yellow ribbon, die cut stars, and star sprinkles in the sky. Then finished my cards with the cute monkeys watching the stars together and the sentiment.

    Card #2:

     I used the same process above to create the shaker. This time added the pink ribbon and cut out the candles to line the ribbon. I also added some Kat Scrappiness yellow jewels for some more sparkle.

    Thank you so much for stopping by! Use the links below if you are interested in any of the Kat Scrappiness Products and enter Meghan10 for 10% off!

    Supplies:

    Kat Scrappiness Sugar Pea Designs Chunky Monkey Stamp Set

    Kat Scrappiness Yellow Star Sprinkles

    Kat Scrappiness Never Ending Circle Die Cut

    Kat Scrappiness Yellow Confetti Party Sequin Mix 

    Kat Scrappiness Yellow Jewels

    Ribbon

    Design Team Projects

    More Hoppy for You!

    Hello crafty friends, Martha Lucia here with you!

    Today I’m sharing this colorful card featuring the Hoppy for You stamp set and the Foliage Frame Die Cut and Distressed Edge Rectangle Die all from Kat Scrappiness.


    To create the base and second layer of this card I used Bazzill Basics Paper. I just cut in a half the Foliage Frame Die and pasted directly over the card base leaving the leaves free. Then I a separate piece of Whisper White card stock I stamped with Memento Tuxedo Black ink the Kangaroo images from the stamp set Hoppy for you.


    I colored the Kangaroos with Sperctrum Noir Alcohol Markers and fussy cut with the scissors. The sentiment is one message included on the Hoppy for You stamp set that I die cut and customized with the Distressed Edge Rectangle Die from Kat Scrappiness. I used the second size and like it is  more wide I just replaced the card stock according with the size that I need it.

    Thanks so much for stopping by and don’t forget to hop for your Hoppy for you stamp set!

    SUPPLIES:

    Affiliate links are used where they are available. If you make a purchase I receive a small commission at not extra cost to you. Thank you so much for your support!

    Hoppy for You Stamp Set
    Hoppy for You Stamp Set
    Shop at:
    KS
    Foliage Frame Die Cut
    Foliage Frame Die Cut
    Shop at:
    KS
    Distressed Edge Rectangle
    Distressed Edge Rectangle
    Shop at:
    KS
    Memento Tuxedo Black Ink
    Memento Tuxedo Black Ink
    Shop at:
    KS | SB
    Design Team Projects

    DAD: A Man and His Grill | June Card Challenge

    Hey Crafters! Priscilla here with two cards I made (and gave) on Father’s Day this past Sunday. I thought these would be perfect to show you as a reminder that the June Card Challenge at Kat Scrappiness is still going on. The theme this month is “Meals with Dad,” focusing on Father’s Day and/or FOOD!

    Kat Scrappiness has a wide selection of food related products, but today I am going to feature Kat‘s “Punny Snacks” stamp set, along with her “Happy Father’s Day” die and “Condensed Lowercase Alphabet” dies. Let’s get started!


    The “Punny Snacks” stamp set features just what the name says . . .   lots of adorable food images and puns to go along with them. For my cards today, I die cut and colored just the hamburgs and hot dogs, as I wanted to get a “cookout vibe” going. Don’t Dads always have a grill nearby? LOL!

    This first card went to my husband who is “Dad” to two now grown daughters.

    I used some Spellbinders grill and accessories dies that I had in my stash and added Kat‘s “Happy Father’s Day” die sentiment, cut from wood patterned paper. I used my Brother “Scan N Cut” to cut out the food images before coloring and adhering them above the grill. Kat‘s new “Watermelon Slices/Sprinkles” were the finishing touch. Here is a photo of my husband and his girls:


    I made this second card for my younger son, who is “Dad” to two 7 year old twin boys.

    This card is similar to the first, with the exception that I used a ” wood” background and spelled out “dad” with Kat‘s “Condensed Lowercase Alphabet” dies. Once again, I added “Watermelon Slices/Sprinkles” to finish the card. Here is a photo of my son and his twin boys, celebrating their birthday at “Benihana” recently.


    Thank you so much for stopping by! Don’t forget to check out what’s NEW in Kat’s Shop and use my coupon code Priscilla10″ for 10% off your order at the shop. Follow my blog and Instagram for more “Kat Scrappiness Amazingness”!

    Priscilla ??


    The supplies I used are listed and linked below.

    SUPPLIES