Follow:
    Design Team Projects

    Snow Globe Shaker Card

    Hi Everyone, it’s Tina here. Do you struggle with Shaker Cards? Kat Scrappiness now has Shaker Card Kits. These kits take the guess work out of making shaker cards. It comes with everything except the filler to create a fun shaker card. For my card today I used the Snowglobe Shaker Card Kit #058. Below you will find the steps to create your own card.

    Step 1 – Trim White Cardstock to 8 1/2″ x 5 1/2″, score at 4 1/4″ and fold in half for a horizontal side fold card. (A2)

    Step 2 – Trim Patterned Paper to 5 1/2″ x 4 1/4″ and adhere to card front using Nuvo Deluxe Adhesive. The Patterned Paper I used is no longer in print but I linked to a set that would go well with the sequins and sprinkles I used.

    Step 3 – Trim a piece of Patterned Paper that will be the background of the shaker. Adhere to card using Nuvo Deluxe Adhesive. Adhere the Foam Shape to the card front on top of the Patterned Paper that was just adhered using Nuvo Deluxe Adhesive. Be sure to let it dry thoroughly before adding the filler.

    Step 4 – Add Falling Snow Sprinkes and Fluffy Clouds Sequins inside of the Foam Shape. Adhere the acetate window on top of the Foam Shape using Nuvo Deluxe Adhesive. Do not shake yet. Let it dry thoroughly. You can place an acrylic block on top.

    Step 5 – Before placing the Decorative Frame Overlay be sure to color in or adhere Patterned Paper. I used a Spectrum Noir Illustrator in Black to the cover. Then used a Wink of Stella Glitter Pen for some added sparkle. Once it is dry and to the shaker using Nuvo Deluxe Adhesive. Once again let dry thoroughly.

    Step 6 – Add a sentiment to the front. My sentiment for from the Patterned Paper set I used as well as the bird. I trimmed and adhered it to the card using Nuvo Deluxe Adhesive.

    There are many shaker card kits to choose from and it covers any occasion. Below is a link to all the products used. Thank you for stopping by and have a wonderful day.

    Products Used:


    https://linkdeli.com/widget.js?1559654439292

    Design Team Projects

    So many Shaker kits!

    Have you seen the new shaker kits that were released yesterday?  There are 30 different designs to choose from.  These kits are so fun and make it easy to create shaker cards.  Each kit contains the decorative overlay piece (the top layer which can be decorated), an acetate sheet, and shaker element shape base which is 3mm thick.  Here is a look at how the kit arrives.

    For my first card, I used Large rectangle kit to create a fun shaker Halloween card.  I adhered patterned paper to the top piece with liquid adhesive, cut around it using my craft knife, and then used a file to clean up the edges.  I colored some cute Halloween images with Copic markers and adhered them to the acetate sheet and glued that to the top layer of the shaker kit.

    I heat embossed my sentiment using orange embossing powder onto a piece of black patterned paper with some scary trees!  I filled the shaker part with the Halloween Masquerade sequin mix.  I covered my card base with striped green paper, die cut two of the spider web borders from the Halloween border dies, and adhered them to the top and bottom of the card base.  I then attached the shaker layer to the card base.

    My second card uses the Christmas Tree Ornament shaker kit.  I’ve attached it to my card using temporary adhesive so the recipient can use it as a Christmas ornament.  I colored the top portion of the kit with a green Copic marker and then added glitter to the edge of the tree.  I added sequins from the Holiday Fun sequin mix to the shaker kit and adhered the kit together.

    I used the Embossed Circle dies to cut the red snowflake paper and one of the snow drifts from the Crafters Essentials Winter die set to cut a snow drift from white patterned paper.  I adhered everything to my square card base, stamped Merry Christmas from the Merry Critters stamp set, and added red/white twine to the ornament.  To finish the card, I used temporary adhesive to the back of the shaker to attach to the card base.

    I had so much fun creating these shaker cards.  I still have a few more kits, so stay tuned!  In the meantime, head over to the shop and grab some of these great kits.  I can’t wait to see what you guys.

    Thanks for stopping by and happy stamping!  Here is a link to the Kat Scrappiness shop and direct links for products used on this card are below.

    – – – Kat Scrappiness products – – – – – – – – – – – – – – – – – – – – – – – – – – – – – – – – –

    New Releases, News

    KS Mid-Month release – SHAKER KITS!!!!!

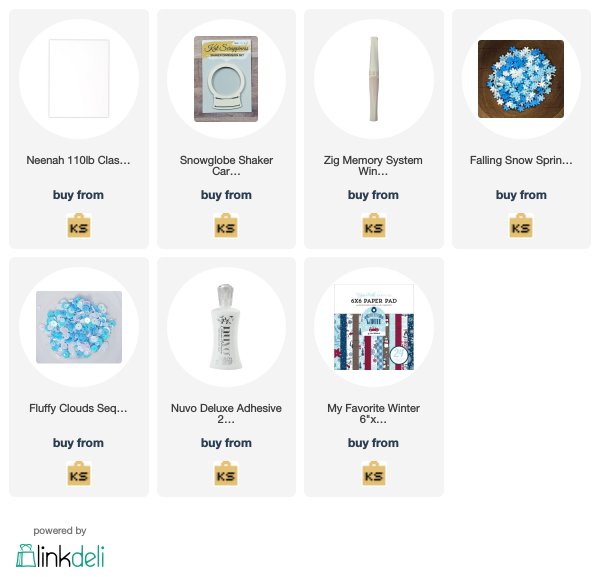
    Hello Kat Scrappiness fans!  It is our mid-month release and we are showcasing some fun SHAKER KITS.  The shaker kit includes everything you need to create a shaker card quickly and easily!  (you add fillers sold separately).  Check out our Christmas Shaker Card Fillers while you are in the shop!


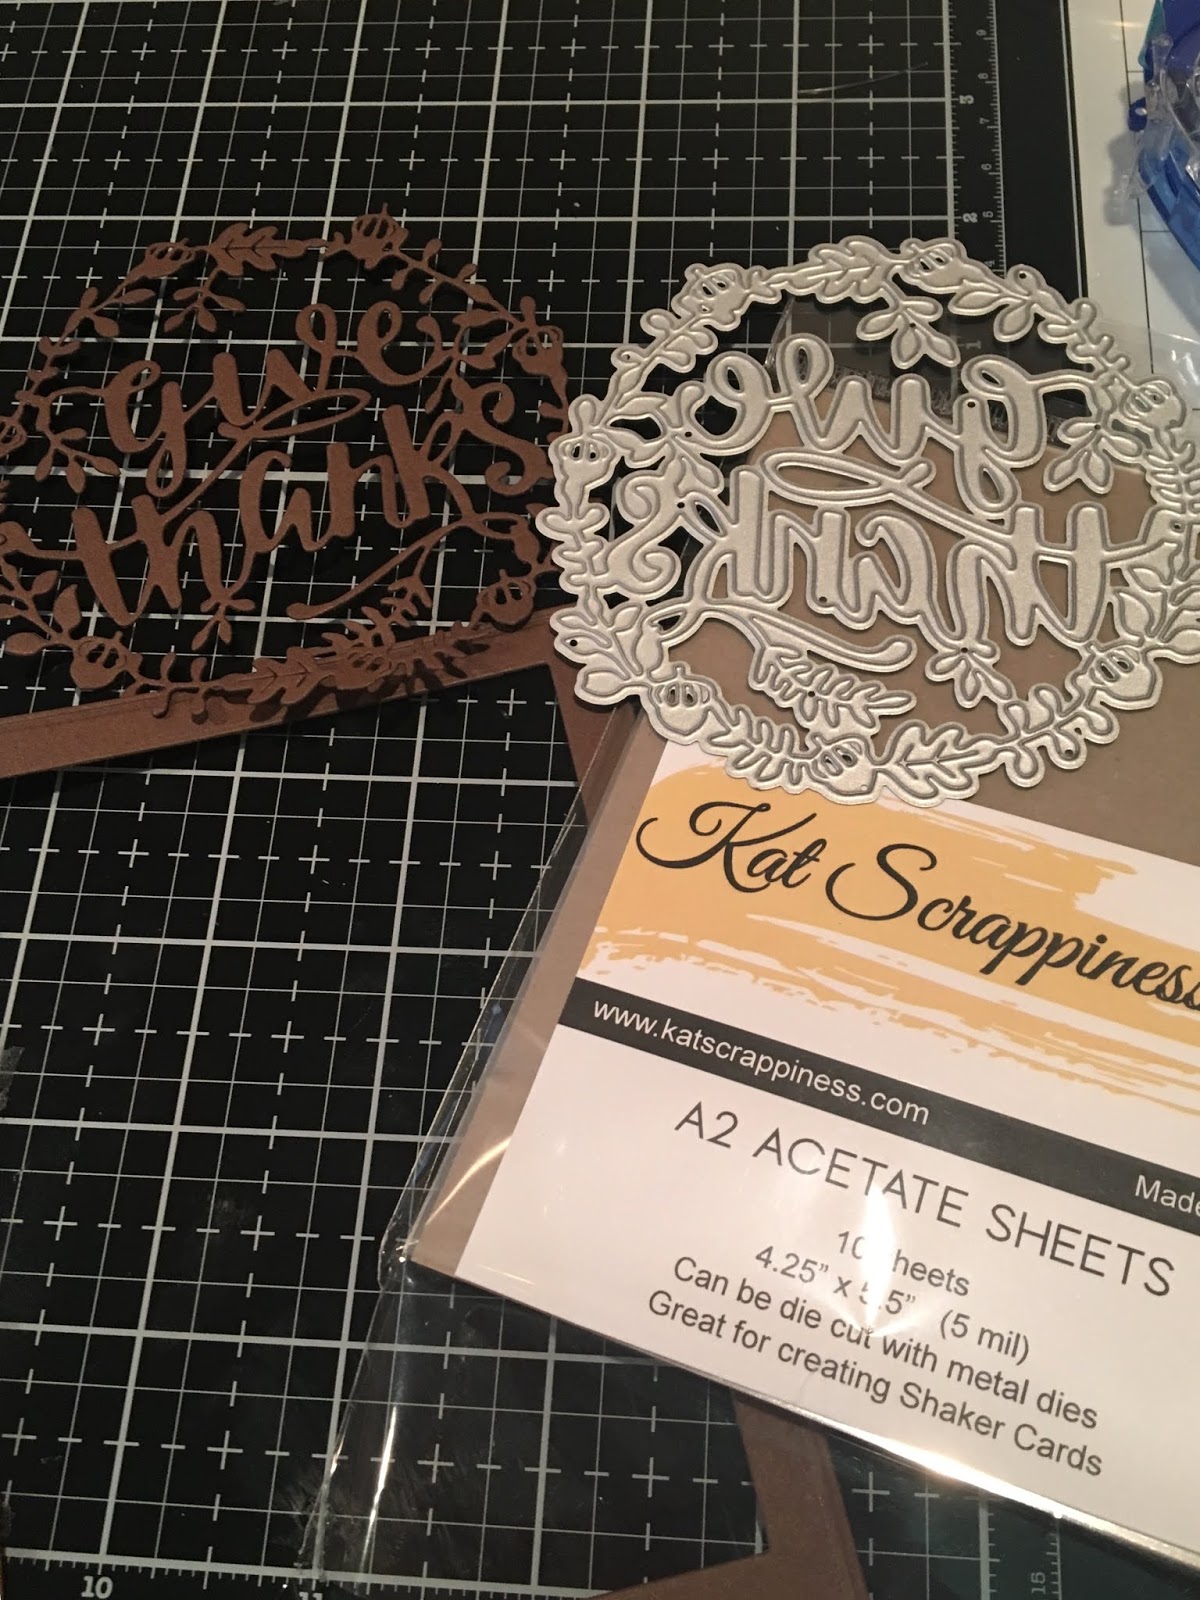
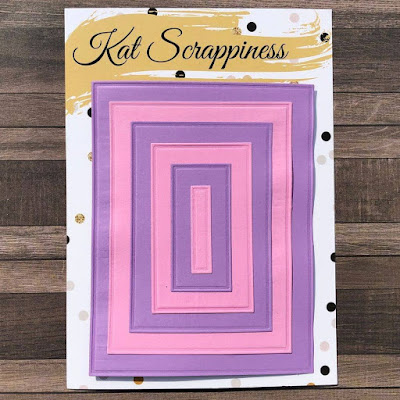
    Included in each kit:  Shaker Element Shape Base (3mm thick) Acetate sheet cut to fit the shape Decorative Frame Overlay.  You can use the decorative frame overlay the way it is which is a milky white color or you can change the color with any medium you choose such as ink, markers, watercolors, paints, etc.  Anything you can use on paper/card stock, you can use to color your frame.  When the shaker is completed the approximate height of the shaker portion is 5mm.


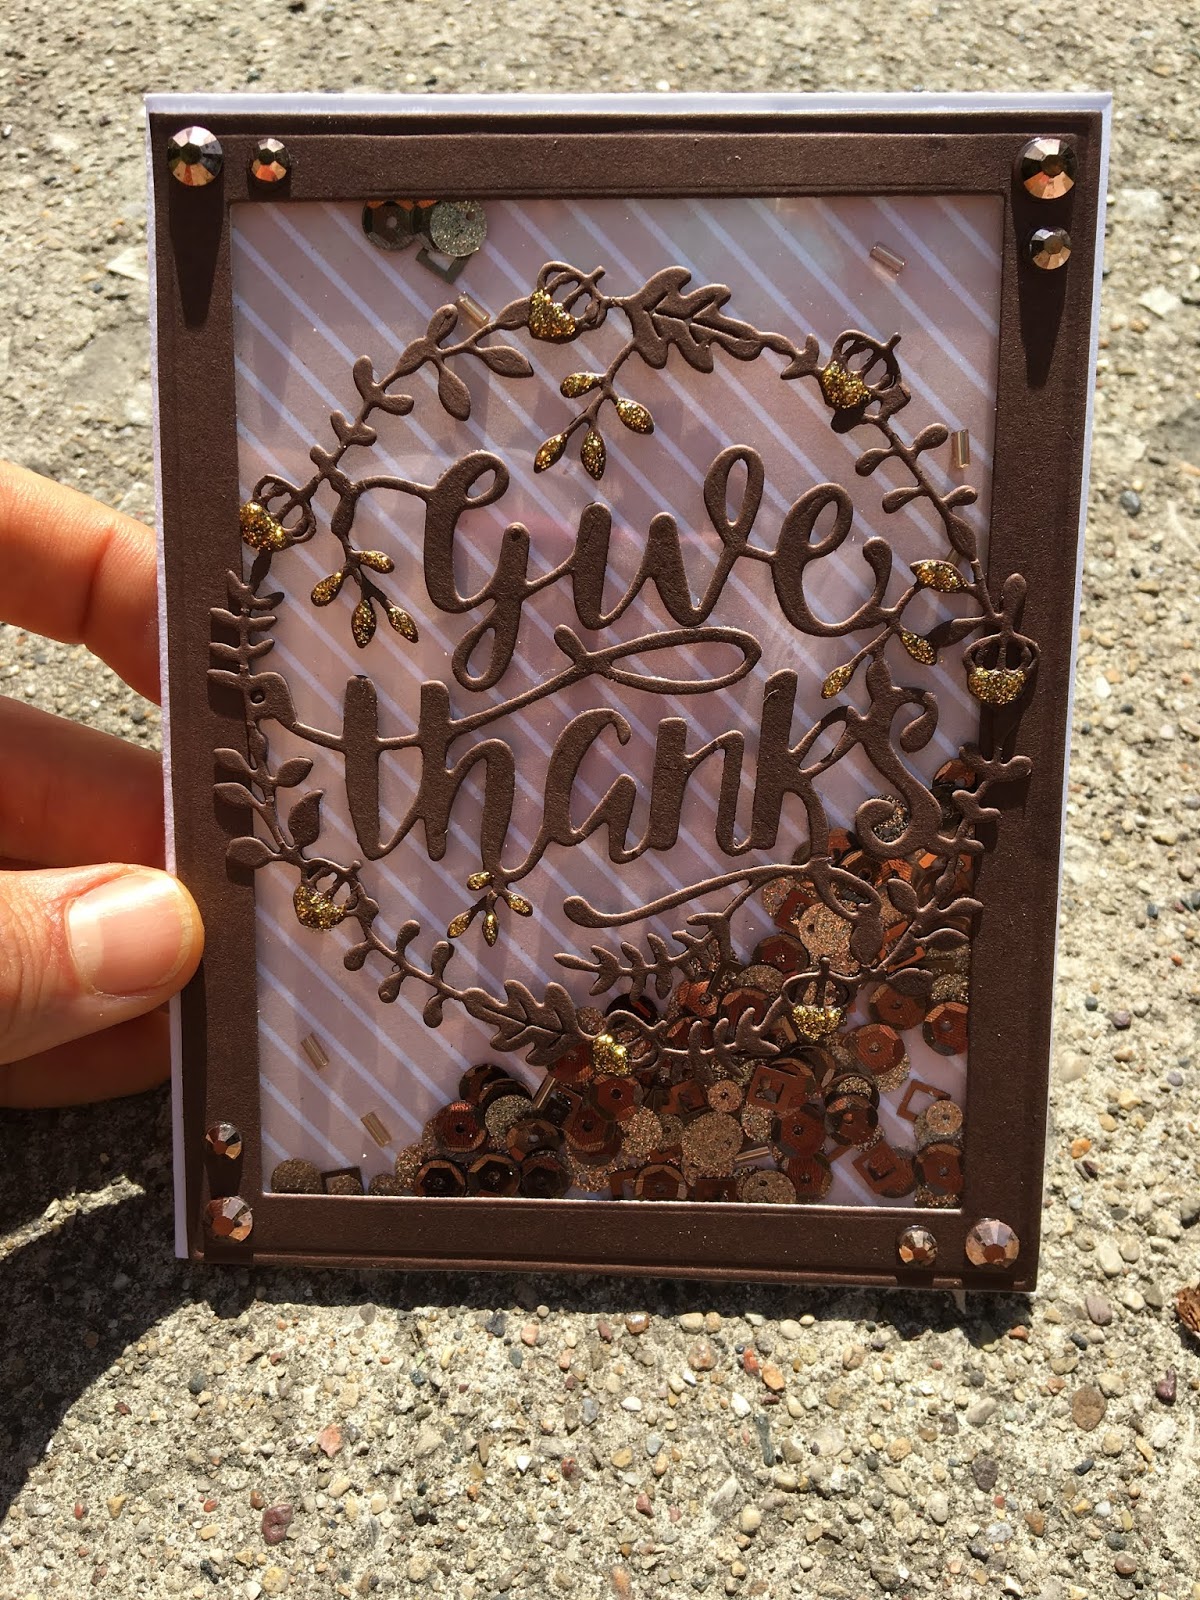
    Assembly Instructions: Adhere the base shape on your card base.  Add your fillers! Sequins, Sprinkles, Jewels, Beads, whatever you’d like!  Adhere the clear acetate and decorative frame overlay and SHAKE! SHAKE! SHAKE! You can use any adhesive you wish, liquid or tape.  We recommend any of the the following liquid glues and glue pens:  Nuvo Deluxe Adhesive 200N Nuvo Precision Smooth Fine Tip Glue Pen Cosmic Shimmer Glue (Large) Cosmic Shimmer Glue (Small) Ranger Matte Medium Lawn Fawn Glue Tube Gina K Connect Glue Tube Hero Arts Precision Glue Zig 2 Way Glue Pen.


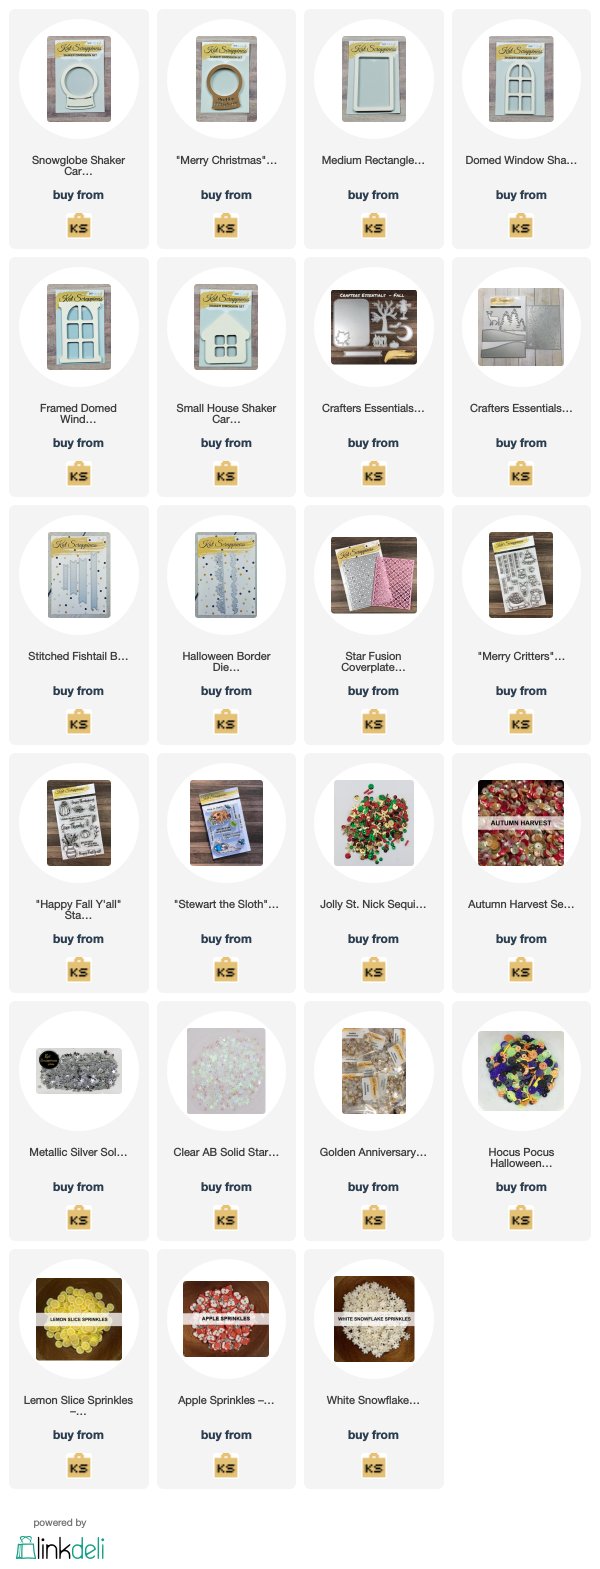
    Since we have a HUGE selection of the shaker kits, I will only post a few photos here.  Please go to the website to view them all:


    Don’t forget to check out the KS YT channel to see the intro videos prepared by DT Member, Caren Bartholomew, and process videos by Dawn Soto and Jo Thompson throughout the month of October.


    Are you ready to see the BEAUTIFUL projects prepared by the team?


    ADAM KARLE


    Adam created this cute shaker card showcasing the snow globe shaker kit and the Merry Critters stamp set.


    Another fun shaker card showcasing the circle shaker kit and the Stewart the Sloth stamp set.


    CAREN BARTHOLOMEW


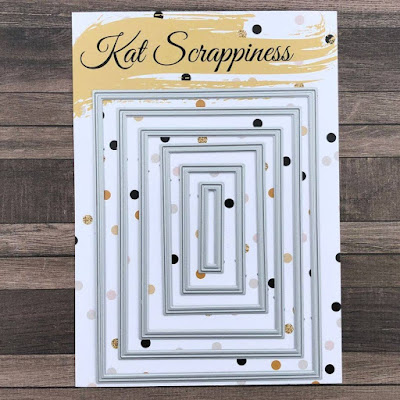
    Such a fun and beautiful shaker card by Caren.  She’s showcasing the rectangle shaker kit that she covered with some fun patterned paper and used one of our new Halloween sequin mixes, and the Halloween border dies.


    Another cute idea by Caren is to use this Christmas Tree shaker kit that she made as a Christmas ornament.  The recipient will be able to use the ornament to decorate the Christmas tree.


    DAWN SOTO (YT TEAM)


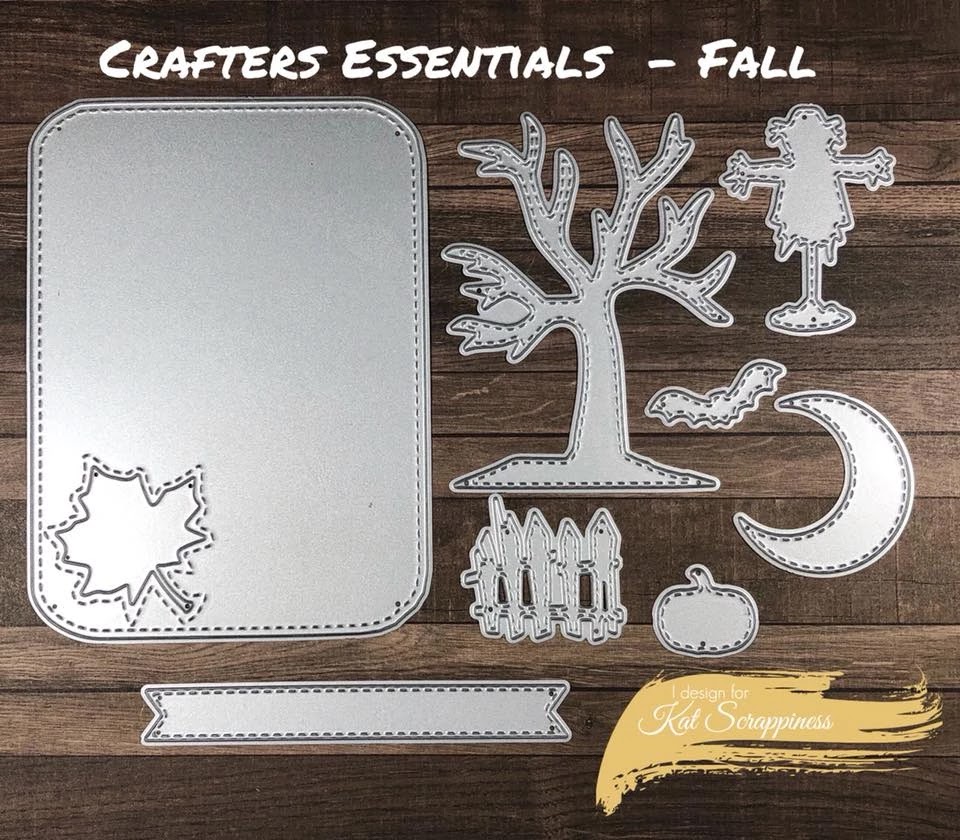
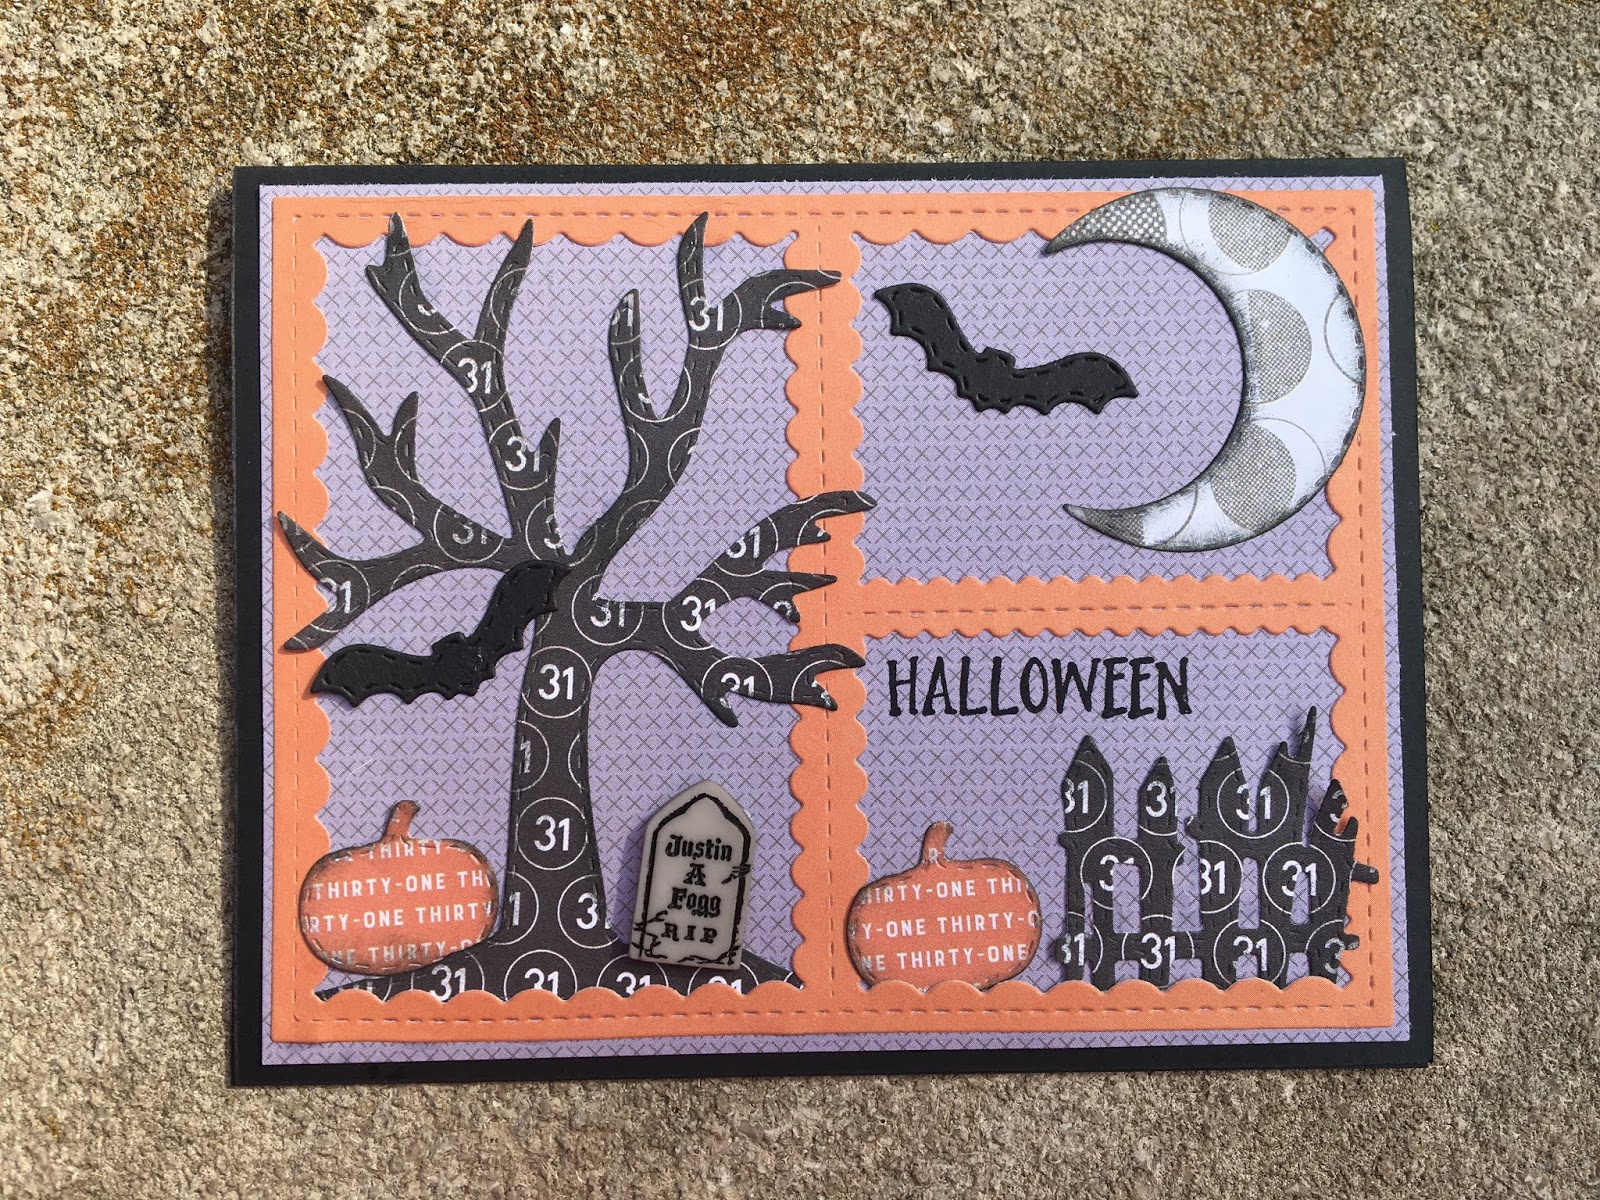
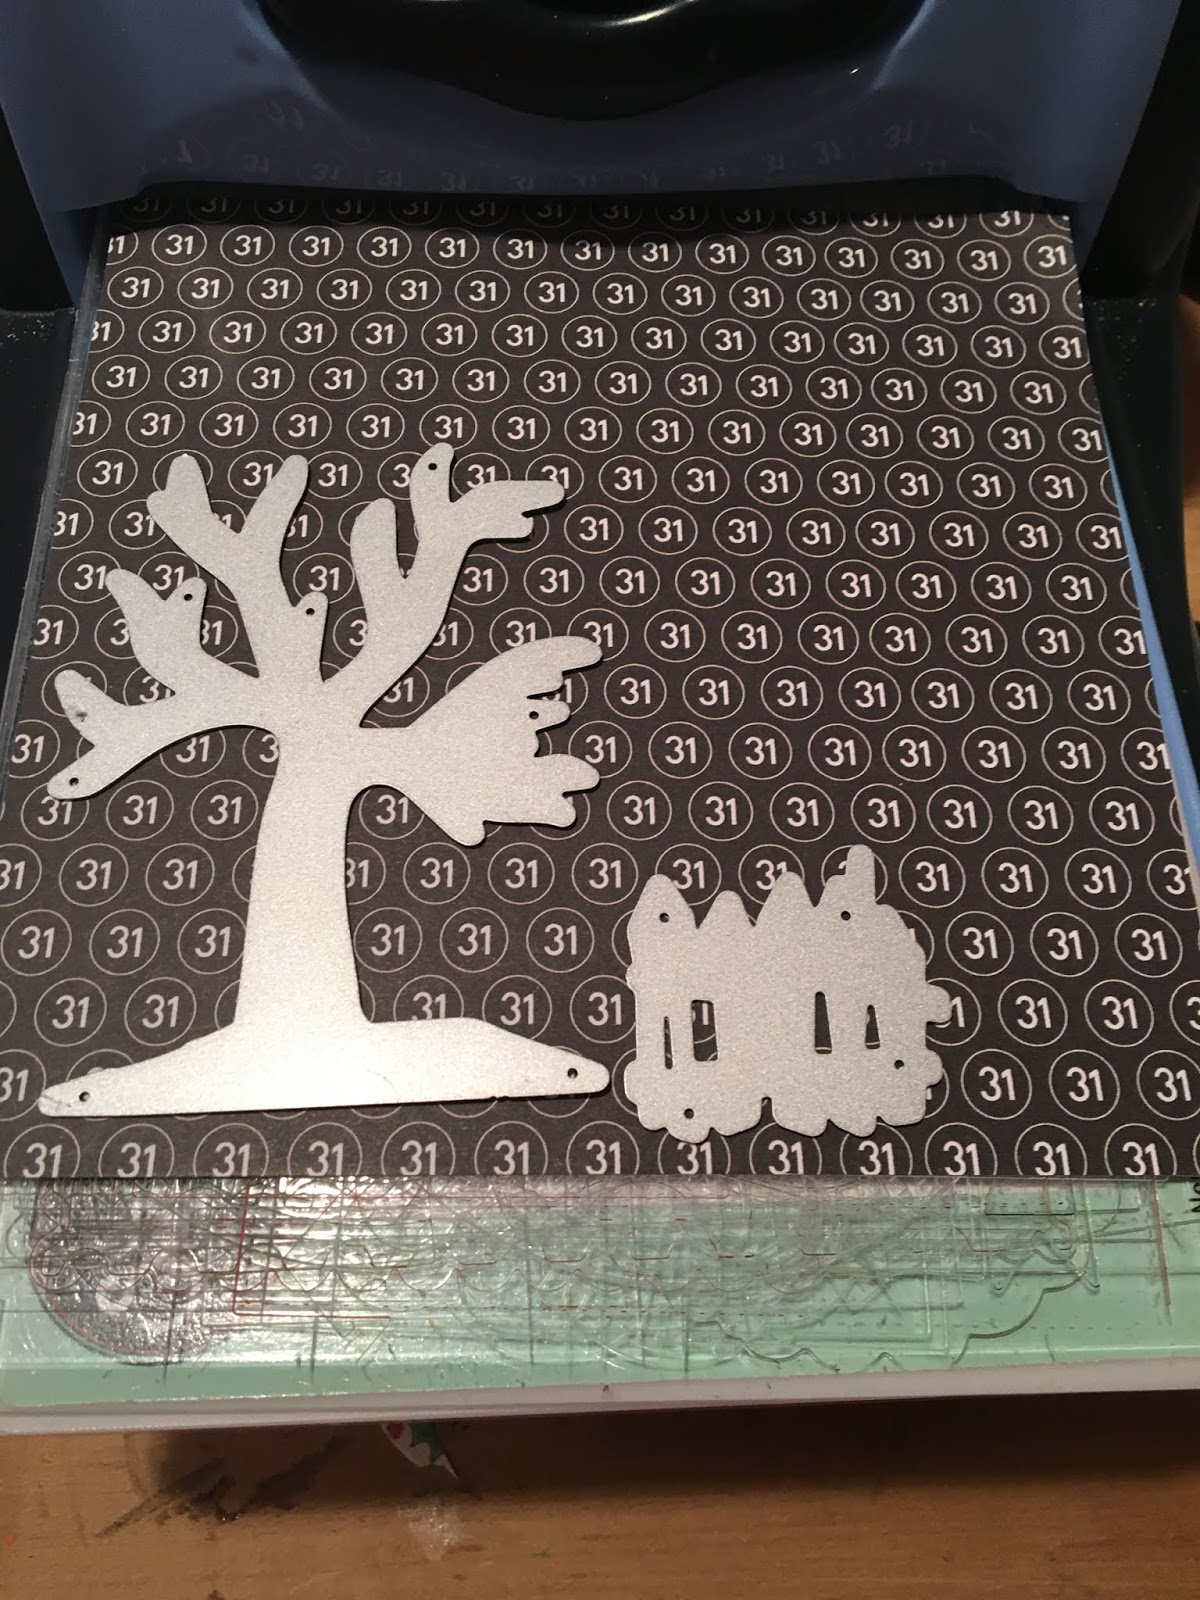
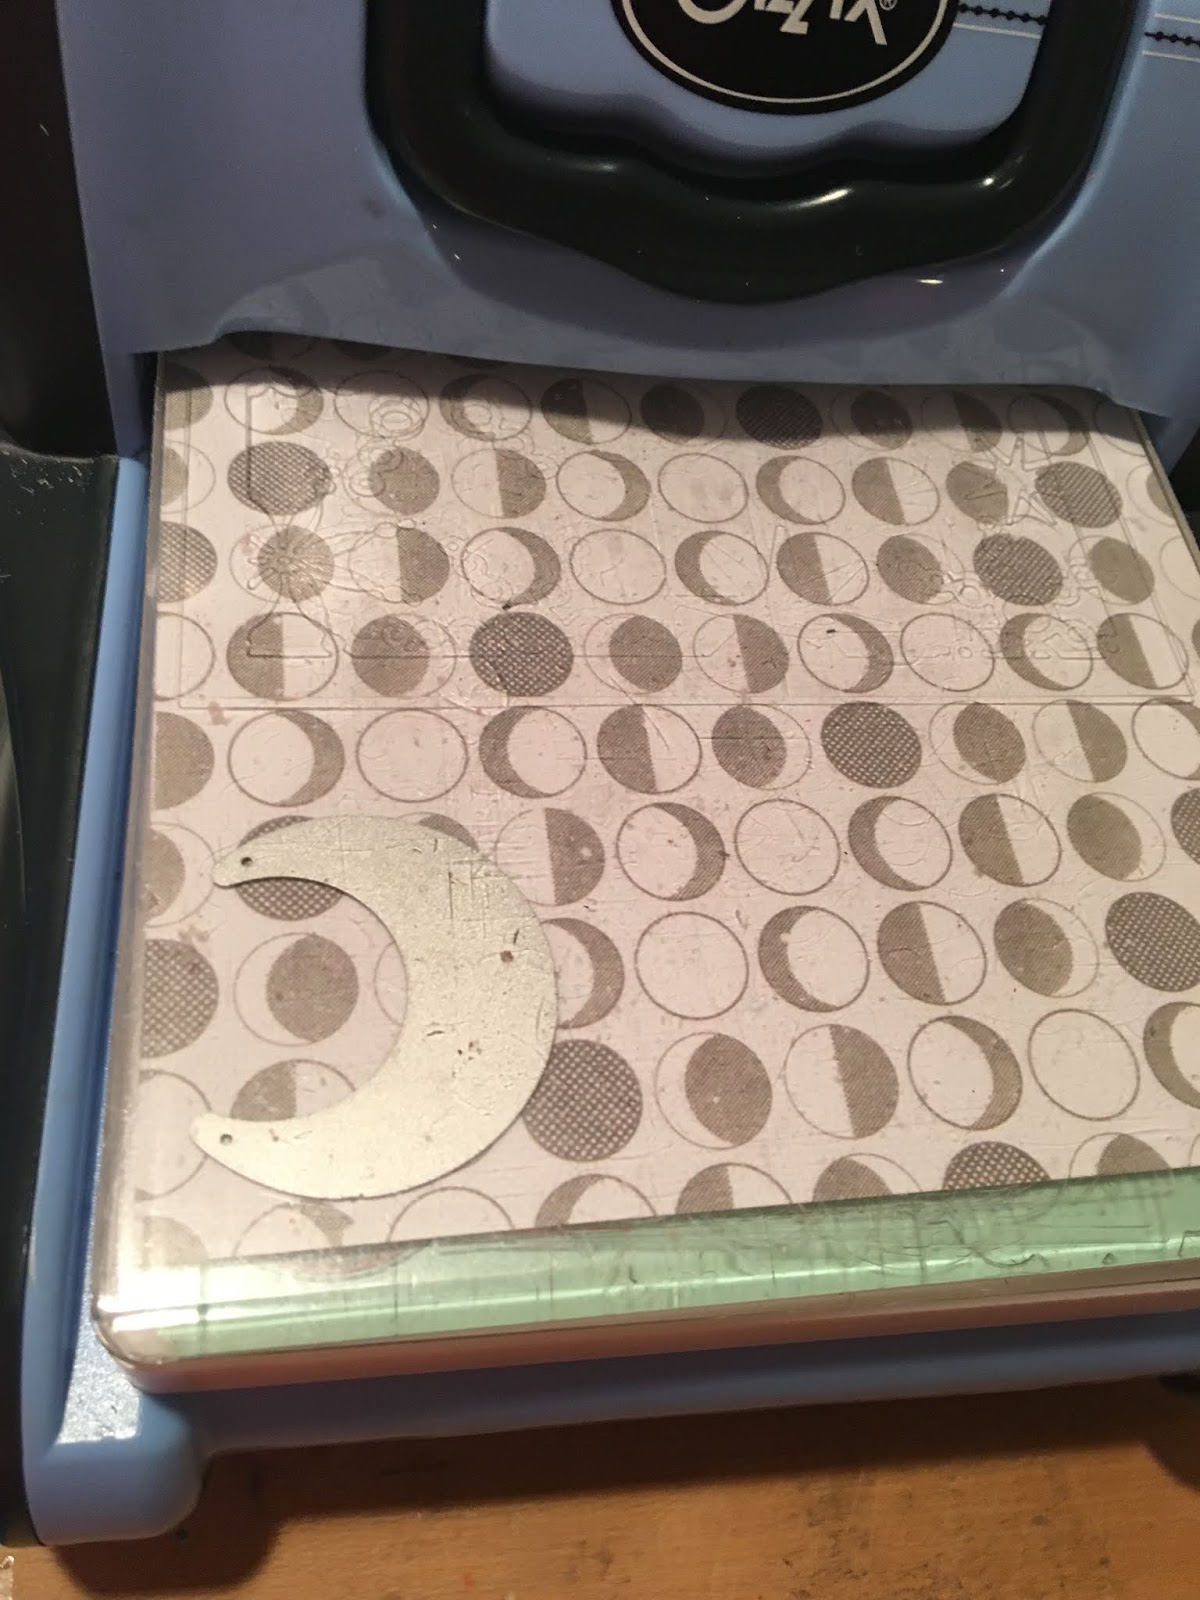
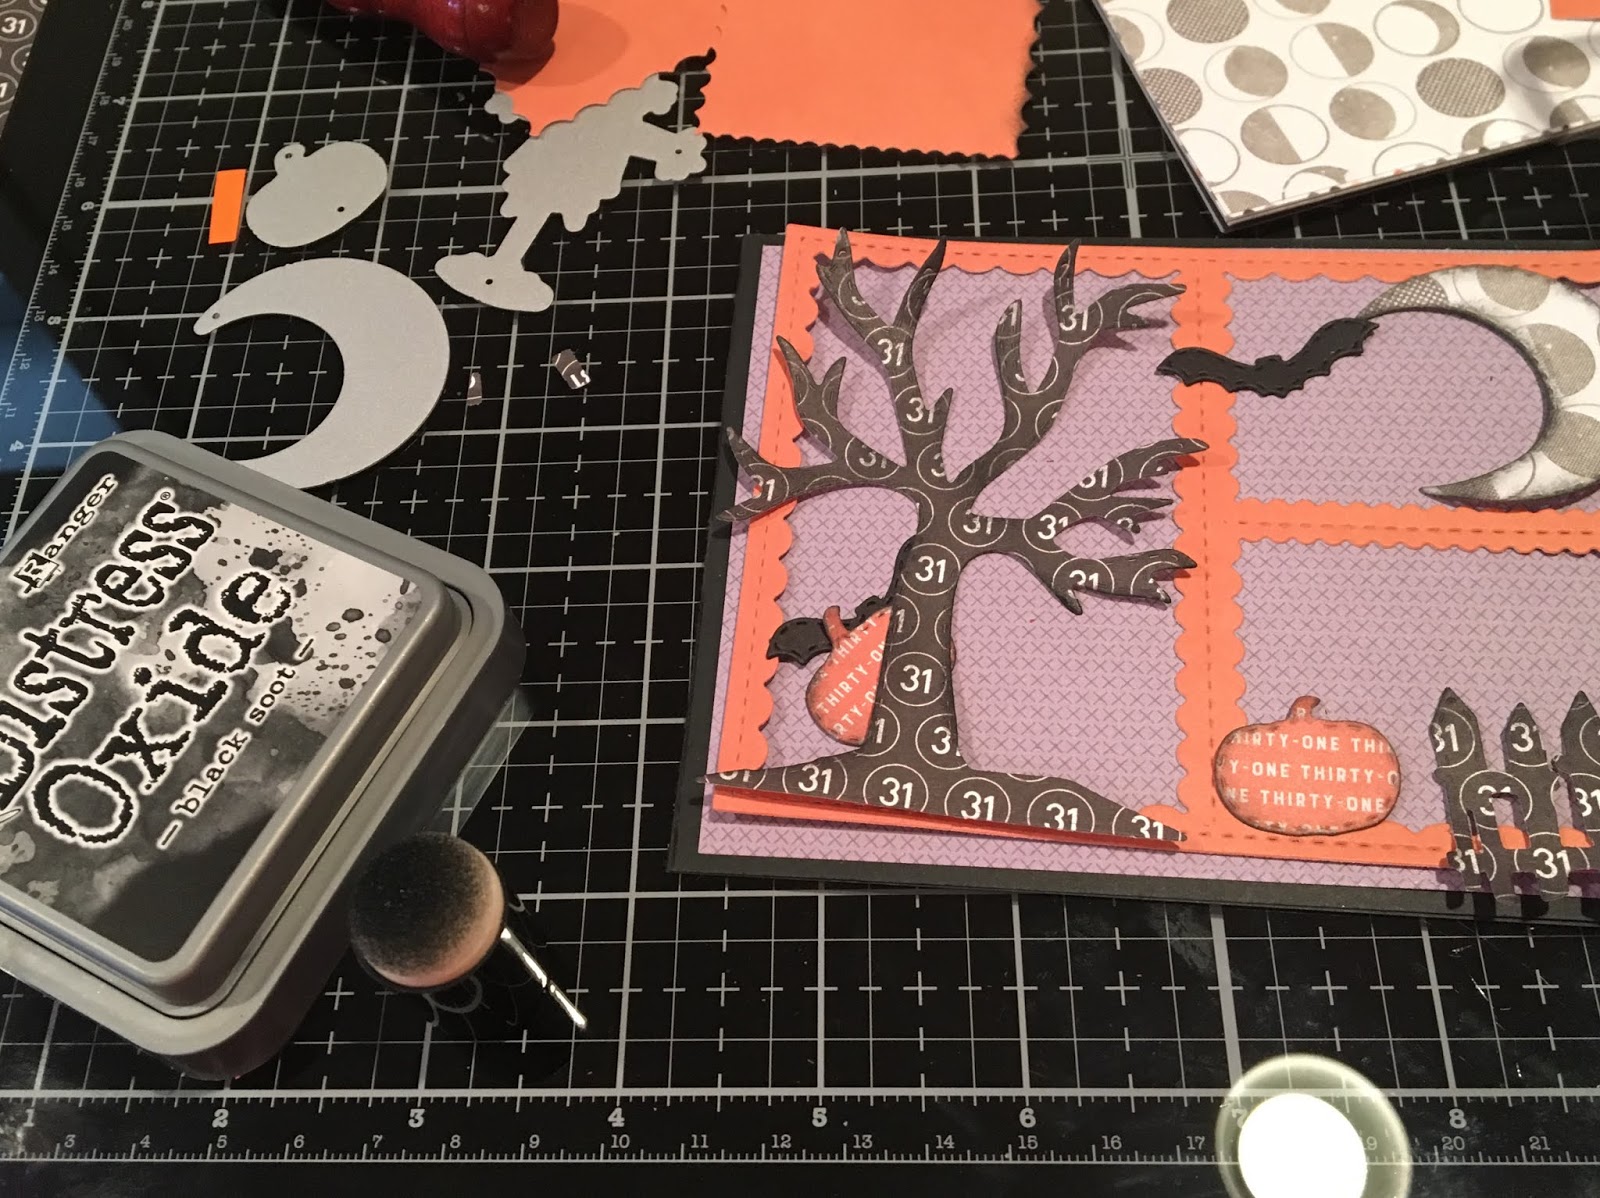
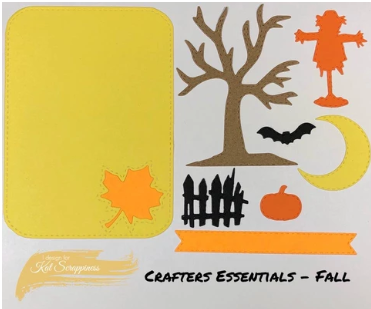
    A fun little diorama created by Dawn, using the rectangle shaker kit and Crafter’s Essentials Fall die set to create a spooky background Distress inks for a fun night sky and stickers from Carta Bella Happy Halloween collection.  She added magnets to the back and it is now on her fridge as a Halloween decor.


    A sweet little fall scene using the Arched window shaker kit, Autumn Harvest Sequin mix and distress oxide background plus a few goodies from Dawn’s stash.


    JO THOMPSON (YT TEAM)


    Jo created this beautiful shaker card showcasing the snow globe shaker kit, Crafter’s Essential Winder die set, with the Stitched Fishtail Banner dies.


    MARIA RUSSELL


    I created a Christmas ornament showcasing the Cardinal shaker kit.  I colored the wooden veneer using my alcohol markers and used the Jolly St. Nick sequin mix as my shaker element.  I added some glossy accents to the bird’s beak to give it more texture and dimension.  I finished the design by adding some pine needles using a die from my stash, red & white gingham bow and a gold jingle bell.


    I created this Christmas card showcasing the House Shaker Kit and colored it with my alcohol markers.  I used a stencil to add some texture to the roof, and stamped the sentiment using versamark ink.  I sprinkled this with some embossing powder and heat-set with my heating tool.  I used Metallic Silver Solid Star Confetti as my shaker element and with the Sweater Weather stamp set by Newton’s Nook Designs.  The wreath and the bow are dies from Tim Holtz Christmas collection.


    MARTHA GOMEZ


    Martha created this gorgeous card showcasing the snow globe shaker kit, Star Fusion Cover Plate dieMerry Critters stamp set, 3mm Clear Solid Stars confetti, and the
    Golden Anniversary Sequins.


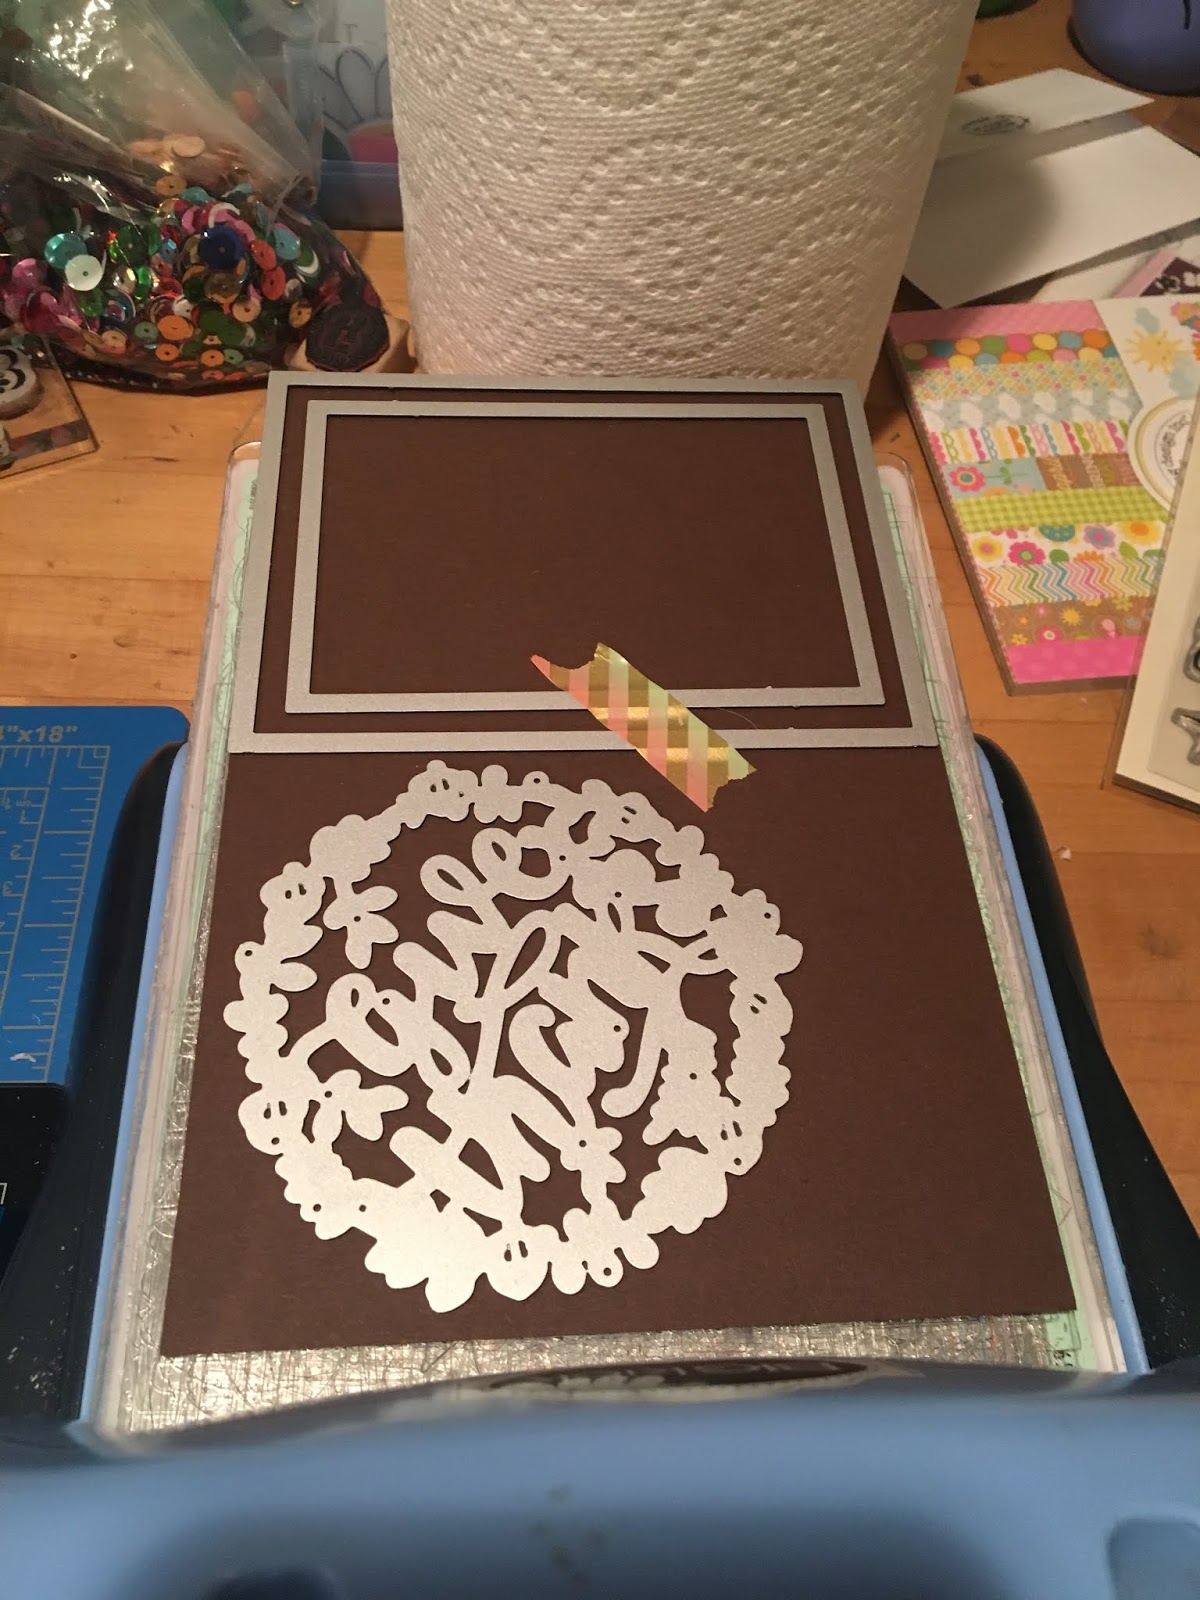
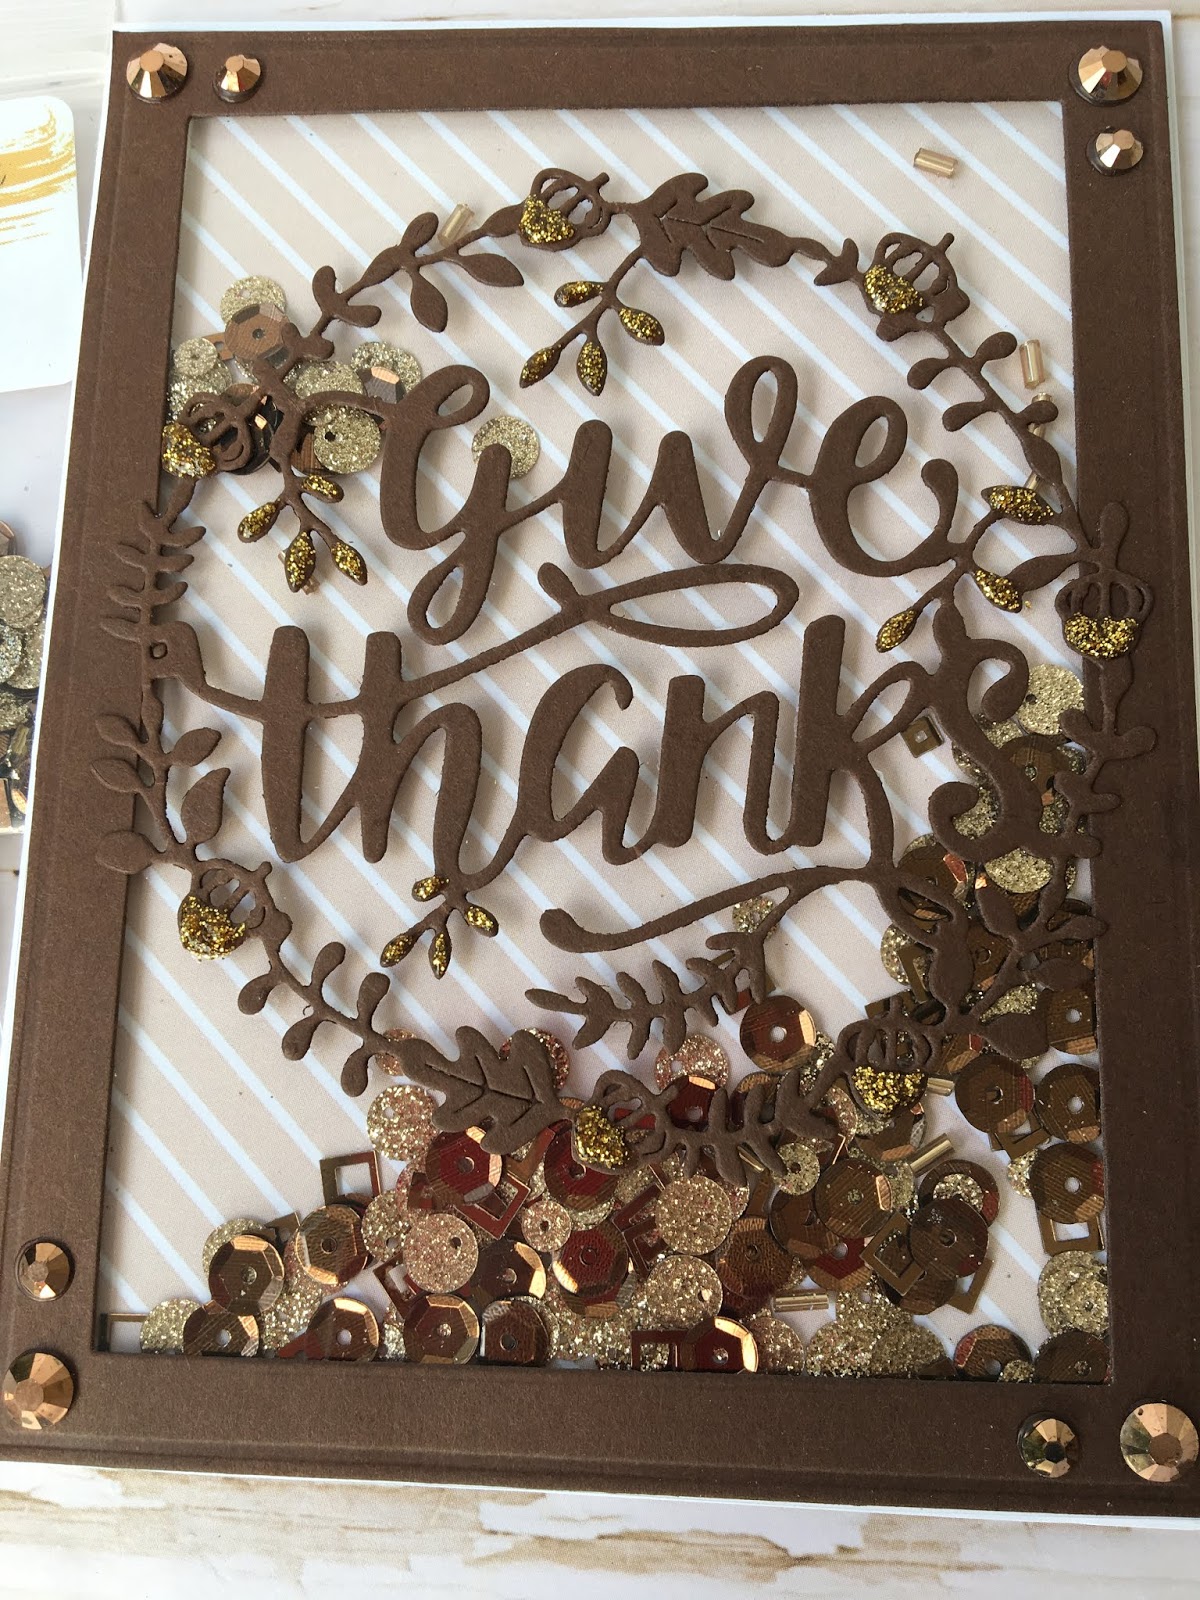
    Another beautiful (Fall-themed card) by Martha showcasing the Oval Shaker Dimension Set and Medallion Cover Plate die and our Happy Fall Y’all stamp set.  For her shaker element, she used the new Autumn Harvest Sequins.
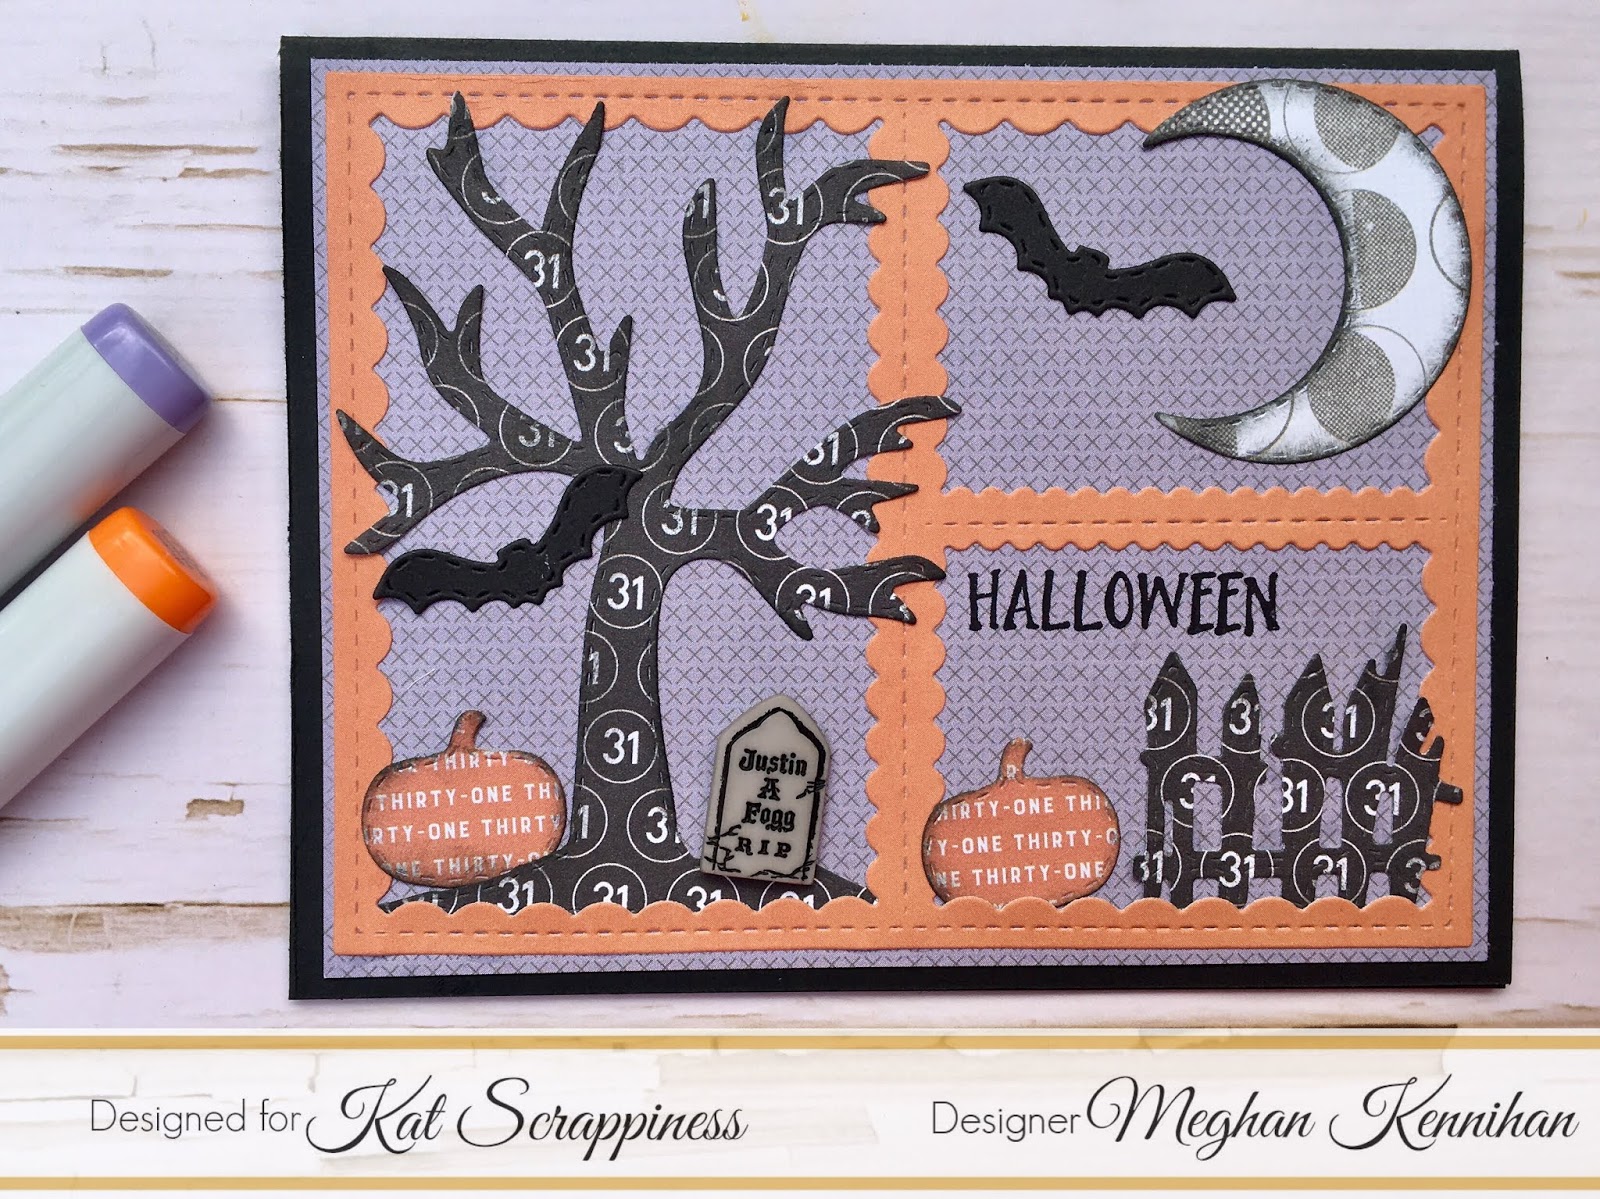
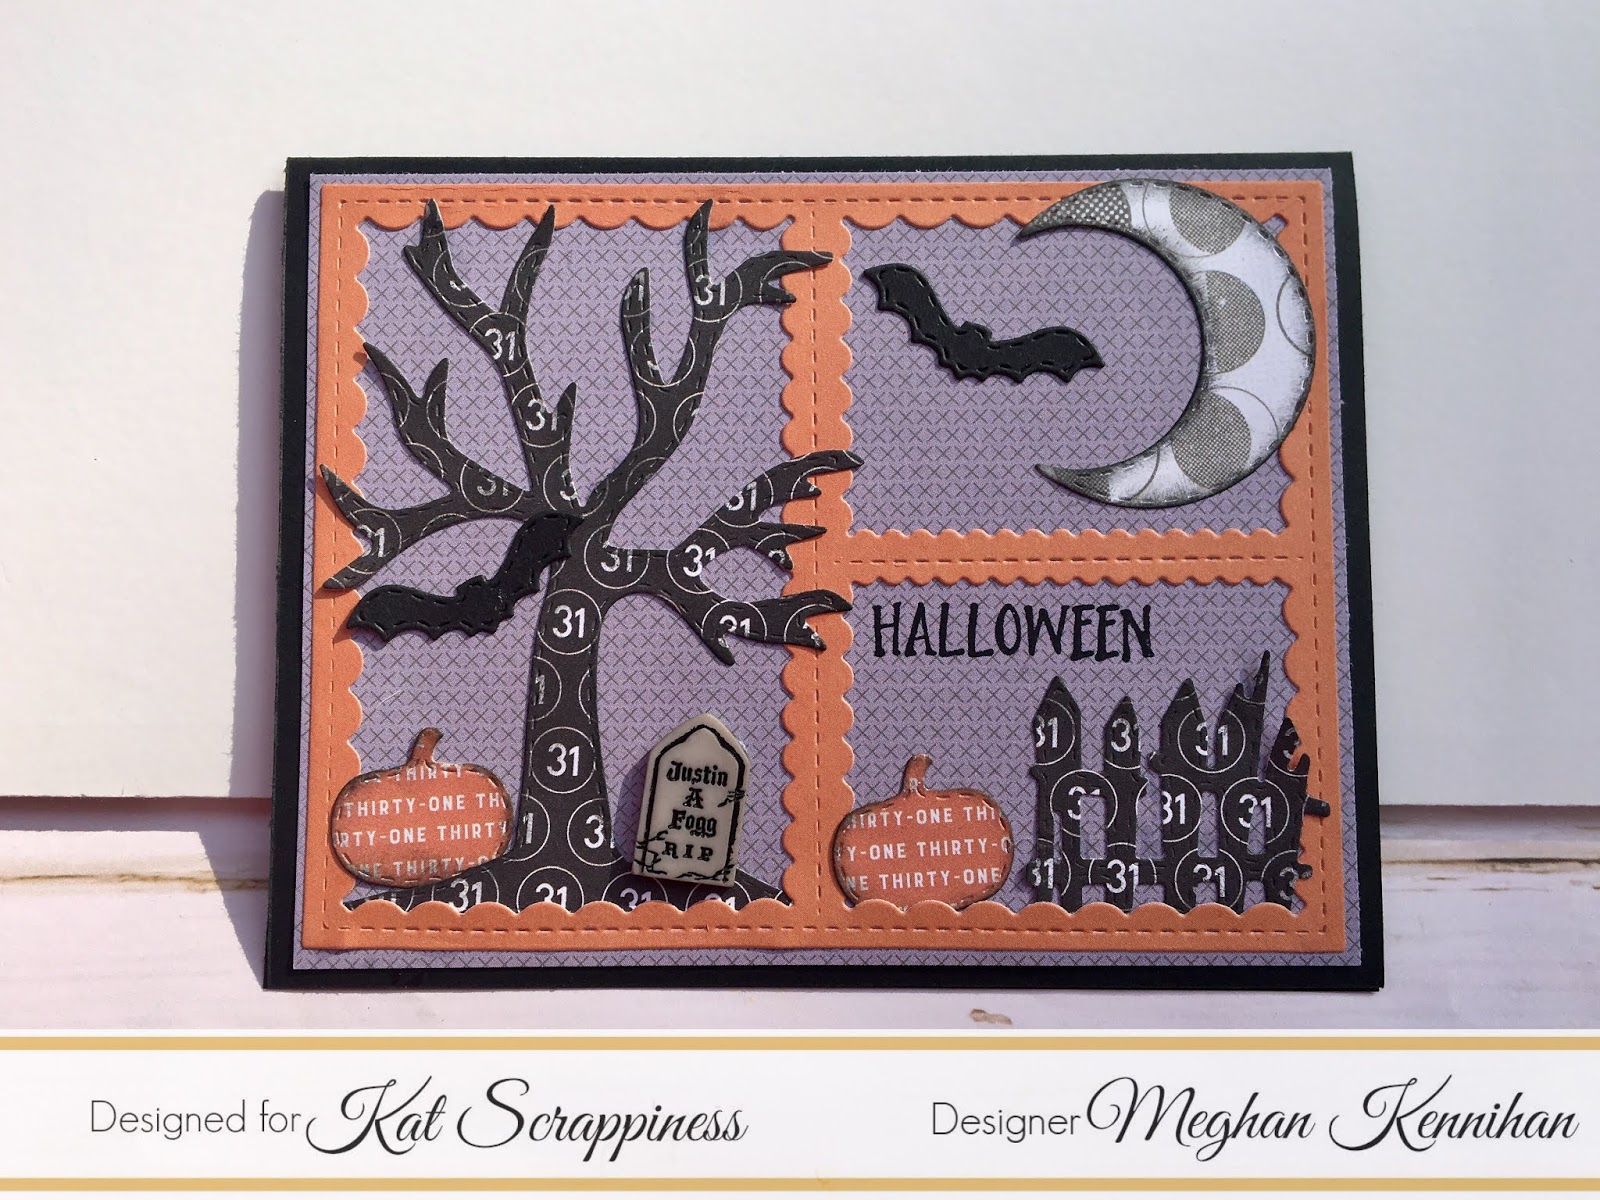


    MEGHAN KENNIHAN


    Meghan created this super cute Halloween card showcasing the House Shaker Kit, Hocus Pocus Halloween Sequin Mix as her shaker element with and the Crafter’s Essentials Fall Die set.


    Another fun shaker card by Meghan showcasing the square zig-zag shaker kit with the Lemon Slice Sprinkles.


    PRISCILLA JOSEPH


    Priscilla created this super fun and creepy Halloween card showcasing the Arched Window Shaker Kit,  “Toil & Trouble”Stamp Set with the “Hocus Pocus” Shaker Mix as her shaker element. She added some orange tulle to create as her curtain.  What a genius idea, Priscilla!


    Another beautiful card by Priscilla showcasing a huge selection of KS products –> the House Shaker Kit, KS Crafters Essentials- Fall dies,  “He is Risen” die set for the clouds, “Happy Thanksgiving” die,  “Apple Sprinkles” with the ModaScrap “Wood Effects Paper Pack” and Lawn Fawn “Fall Fling Petite Paper Pack”.  I just can’t stop looking at this beautiful card!


    TINA DORNBAUM


    Tina created this amazing shaker card showcasing the Snow Globe shaker kit with the White Snowflake sprinkles and some Jack Frost sequin mix.


    We will choose ONE lucky commenter to WIN three (3) shaker kits!!!!
    Here’s how to win:
    Leave a comment on this blog post and tell us what project or projects inspired you today.  You have until October 18th to leave a comment.  Winner will be announced on October 19, 2019.  Winner should send an email to: winners@katscrappiness.com to claim the prize within 48 hours.

    ———–SUPPLIES———–


    Design Team Projects

    Give Thanks Wreath Shaker and Mason Jar Fall Decor By Meghan Kennihan

    Hi Crafty Friends,

    I’m sharing a GORGEOUS NEW Die from Kat Scrappiness for you today. It’s perfect for fall and the upcoming Thanksgiving Holiday. I decided to make glittery shaker for this delicate die that looks fancy but is SUPER easy to create.

    Make Crafty Friends Q & A:

    Q: What are your grateful for?

    A: Me? My darling BEST Friends MADDIE (my puppy)

    I started by cutting the frame using out NEW Embossed Edged Rectangle Dies and the Give Thanks Wreath Die out of brown paper.

    Next, I added Kat Scrappiness Acetate to the back of the Embossed Edge frame and then glued the wreath onto the acetate.

    I added Kat Scrappiness Chocolate Sprinkles to the inside for my shaker piece, added Nuvo Glitter Accents Aztec Gold drops to the acorns, and finished the edges with Kat Scrappiness Brown Jewels.

    http://bit.ly/359nsBMhttp://bit.ly/2LNCkhqhttp://bit.ly/2LNCkhqI also used this fabulous die to create a fun fall decoration for my mantle! A mason jar with mini lights inside!

     I used ModPodge to glue and seal the Give Thanks Wreath Die onto the mason jar.

     I painted the silver part with primer, then gold paint.

     I die cut the leaves from matching paper using My Creative Time Autumn Leave Dies and glued them to the piece of twine.

     I bought the jar lights on Amazon for $8 for a pack of six! They are battery operated.

    http://bit.ly/359nsBMIf you enjoyed my card and jar I’d love for you to use my links to get your hands on these amazing new products and don’t forget to follow my blog, subscribe, and comment for your chance to win my monthly giveaways. For more inspiration and giveaways you can follow me on Instagram @MadeByMeghanK

    Supplies:

    Kat Scrappiness Chocolate Sprinkles Sequin Mix

    Kat Scrappiness Brown Jewels

    Kat Scrappiness Acetate Sheets 25 Pack 

    Kat Scrappiness Give Thanks Wreath Die

    Kat Scrappiness Embossed Edges Rectangle Die

    Kat Scrappiness Nuvo Glitter Accents Aztec Gold

    News

    A Spooky Scene with Kat Scrappiness Crafter’s Essentials Fall Dies By Meghan Kennihan

    Hi Crafty Friends,

    Sharing a SPOOKY Scene using Kat Scrappiness Crafter’s Essentials Fall Dies! They are FABULOUS! So great for creating Halloween and Fall Scenes!

    Make Crafty Friends Q & A:

    Q: What scares you?

    A: Me? I hate Horror Movies! I have never watched one all the way through!

    I inked the edges of all my die cuts with Distressed Oxide Black Soot Ink to give it a little more eerie look.

    Please follow, subscribe, and comment on my Blog for your chance to win my October Prize (on the right side panel) and follow me on Instagram @MadeByMeghanK for more Inspiration and Giveaways!

    Supplies:

    Kat Scrappiness Crafter’s Essentials Stitched Fall Dies

    C.C Designers Scallop Stitched Frame Dies

    Halloween Paper Pad

    Giveaways, News

    World Card Making Day Winners!

    Thank you so much for all your amazing creations, your purchases, and your participation in our games and hop! All winners were chosen using a RANDOM Number Generator.

    *If you don’t see your name, there’s still time to WIN by entering our Halloween/Fall October challenge, details here*

    Facebook Scavenger Hunt: $10 Prize Pack

    Sequin Hunt Winner: Jessica Kerr

    Die Cut Hunt Winner: Victoria Ottenfeld

    Sprinkles Hunt Winner: Carla Hundley

    Facebook Challenge Winners: $15 Prize Pack


    Color Challenge: Entry #1 Beverly Sizemore

    Mood Board Challenge: Entry #7 Deb Witt

    Instagram Hop Winner: $20 Prize Pack

     Sue D (@waterlily57)

    Please email katscrappiness@hotmail.com with your name and prize in the text and “WCD Winner” in the subject line.

    Design Team Projects

    Embossed Edge Dies & More by Martha Lucia

    Hi there! Martha Lucia here with you. Today I am featuring the fabulous Embossed Edge Die Cuts released at the beginning of this month and more die cuts from Kat Scrappiness.

    Embossed Edge Dies & More by Martha Lucia

    I used the Embossed Edge Heart set, the Butterfly Backdrop Die and the stamp set Let’s Get Caffeinated. to create my first card. I stamped one of the sentiments included on the Let’s Get Caffeinated stamp set onto whisper white card stock with Memento Tuxedo Black Ink and die cut it with one of the middle size hearts included on the Embossed Edge Heart. The photo don’t make justice but the advantage of these die cuts is that you can get the deep on the border and the emboss design at the same time.

    Embossed Edge Dies & More by Martha Lucia

    To create the background, I used the Butterfly Backdrop Die from Kat Scrappiness. I cut the card base using Mint Macaron and covered it with a second layer of designer paper. then I pasted the Butterfly Backdrop Die over the decorated layer and colored some of the negative parts with markers. I pasted the them with double sided foam tape in the corresponding place. As final touch, I splattered the entire layer with a few drops of Glimmer Mist.

    Embossed Edge Dies & More by Martha Lucia

    My next card is featuring the Crafters Essentials Fall Dies from Kat Scrappiness and Mystical Leaves Sprinkles.

    Embossed Edge Dies & More by Martha Lucia

    To make this I used Pool Party card stock for the card base and Crumb Cake card stock for the second layer. I die cut the second layer with the panel layer included on the Crafters Essentials Fall Dies set. I also die cut some leaves in different colors from the same die cut panel.

    Embossed Edge Dies & More by Martha Lucia

    I inked the panel with different colors of Harmony Water Reactive Dye Ink from Spectrum Noir. I used the next colors of ink: Crushed Velvet, Fuchsia, Honey Pot and Grasshopper. I coordinated the colors of the ink whit the leaves that I die cut. Just to add more interest to the card, I embossed the leaves with a textured embossing folder and tie them with natural hemp tread.  As final touch, to decorate the window, I just paste behind of the panel a small piece of Acetate to create a shaker area and decorate with the Mystical Leaves Sprinkles. The sentiment is an image from a fall set from Hero Arts, stamped with StazOn Pigment Ink Snowflake.

    Embossed Edge Dies & More by Martha Lucia

    For my next card, I used the Embossed Rectangle Dies and the stamp set Happy Fall Y’all!. I inked a complete layer of whisper white card stock with three different colors of Harmony Inks by Spectrum Noir. It is a water reactive die with brilliant colors that mixed give me colors of the fall. I die cut all the rectangles with over the inked layer and interchange the position at the time of paste it.

    Embossed Edge Dies & More by Martha Lucia

    I stamped one of the images included on the Happy Fall Y’all onto basic black cardstock with VersaMark and Gold embossing powder. Then I colored some parts of the image with Metallic color pencils from Spectrum Noir.

    UPDATE: The embossed Edge Rectangle Dies are now out of stock. First, thank you for your support but If you are interested in know when the die will be available again, just add your email to the notification box at the store and you will be the first to know that they are back!

    Thank you for stopping by!

    Martha Lucia