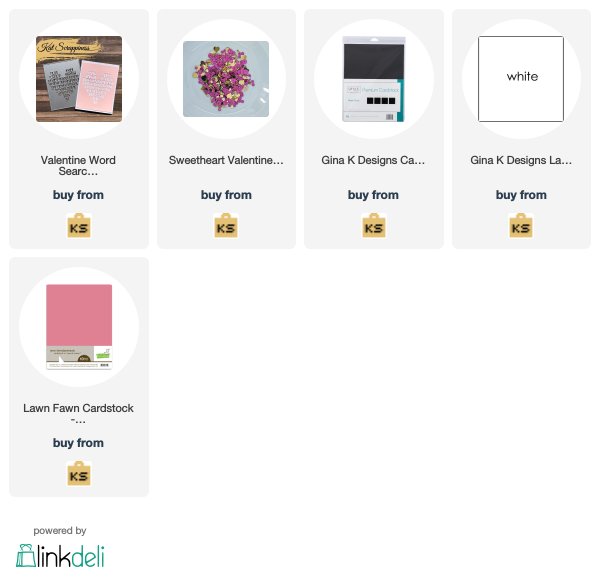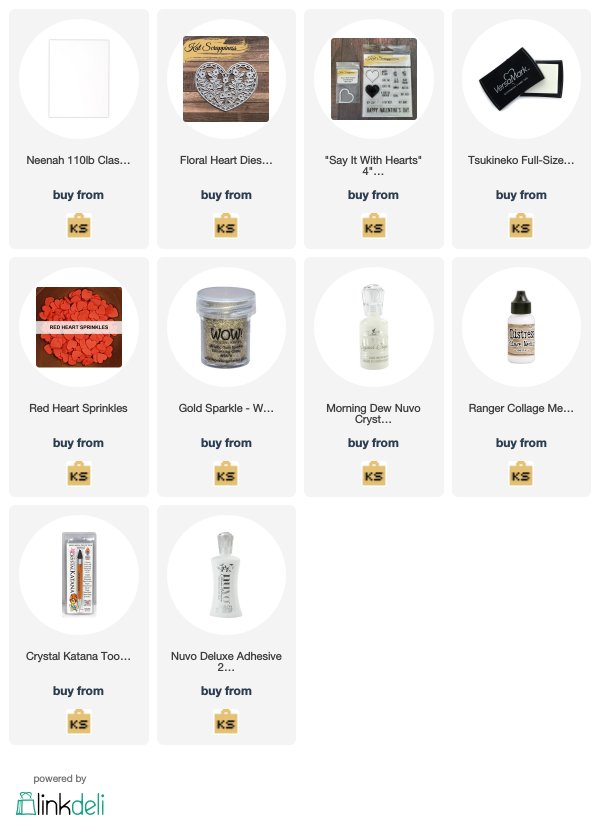
It’s Lisa here on the blog with you today with a couple of pretty rainbow cards using these 3
Kat Scrappiness products:
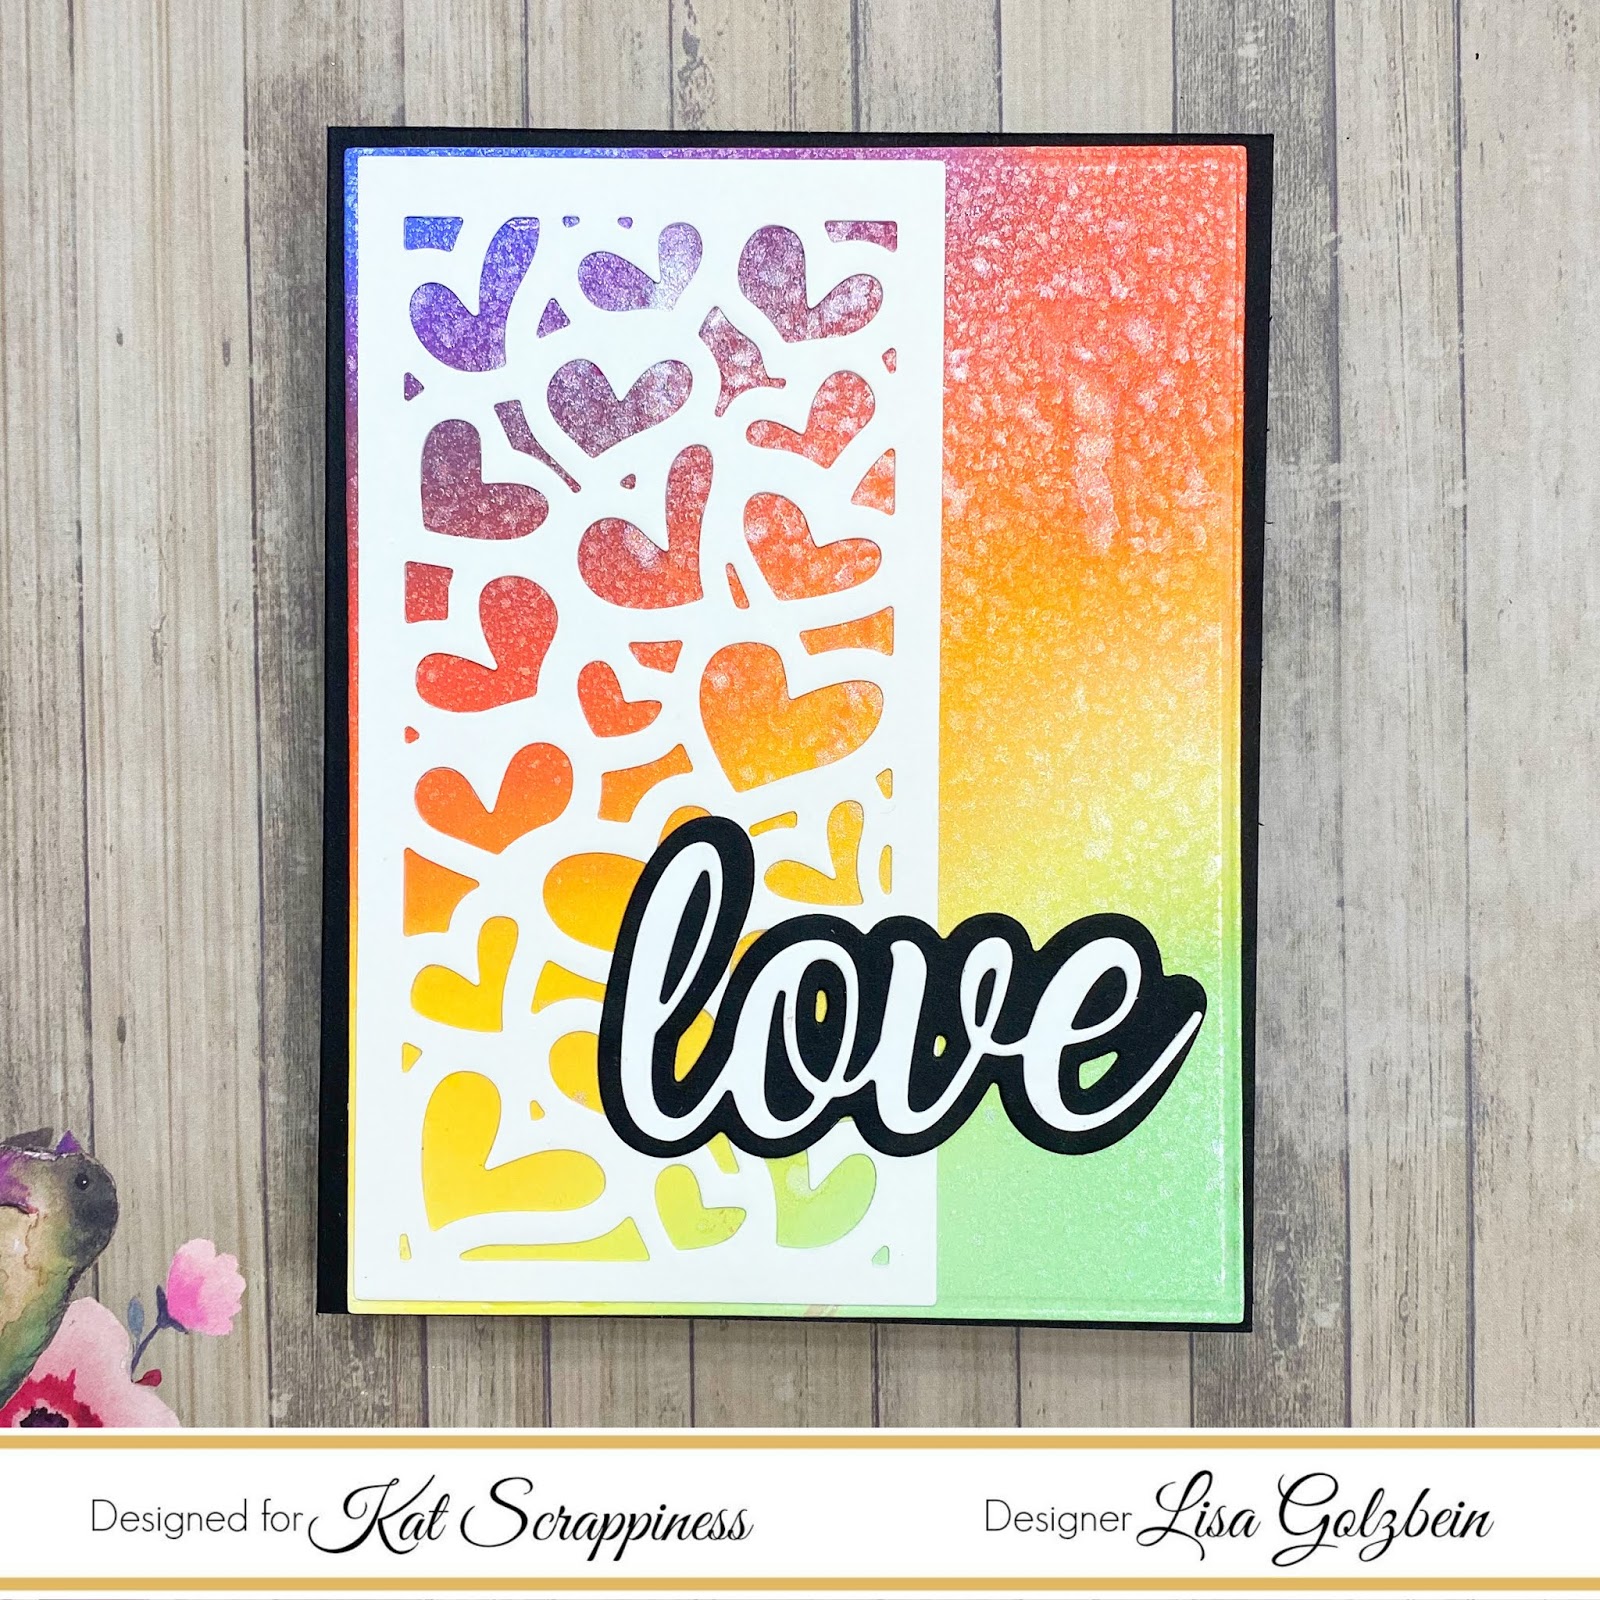
I started with a piece of Bristol Smooth Cardstock and did some ink blending with these
6 Distress Oxide Inks:
Candied Apple
and
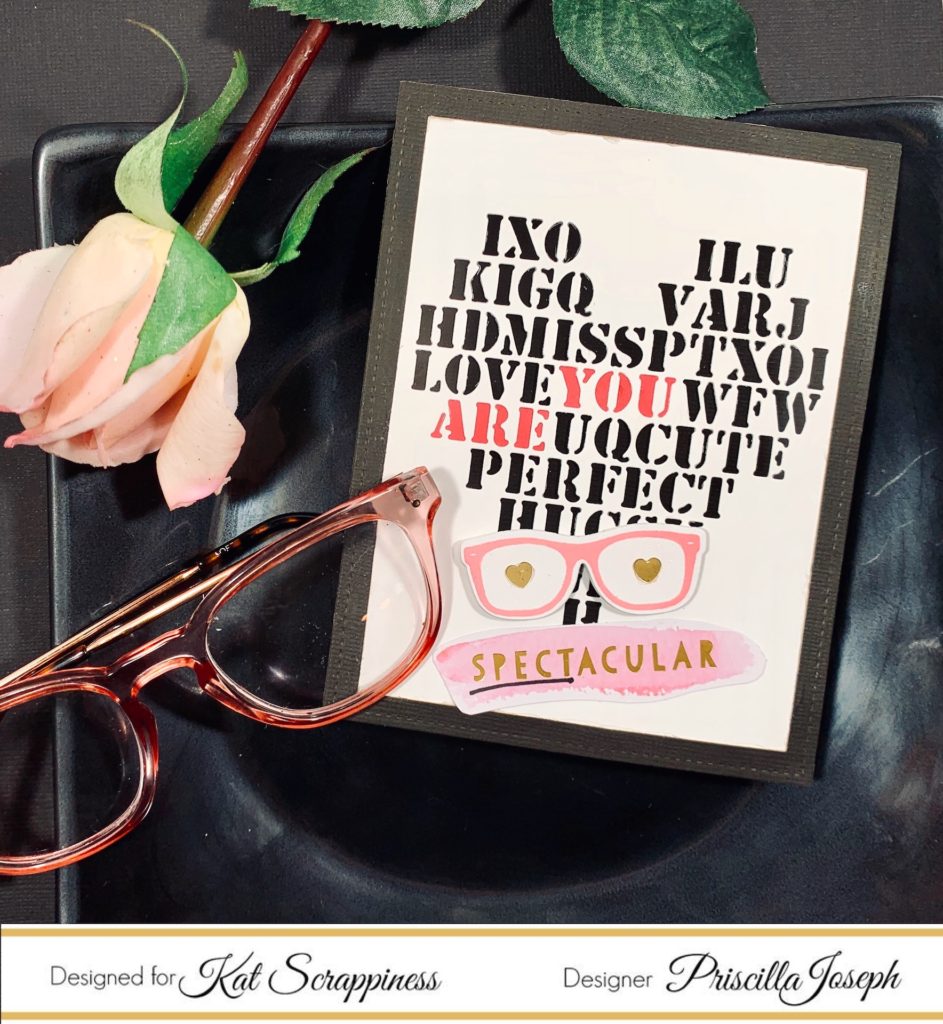
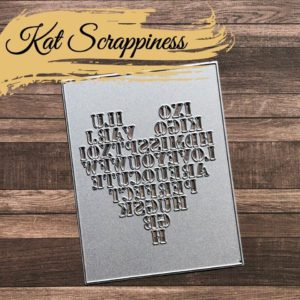
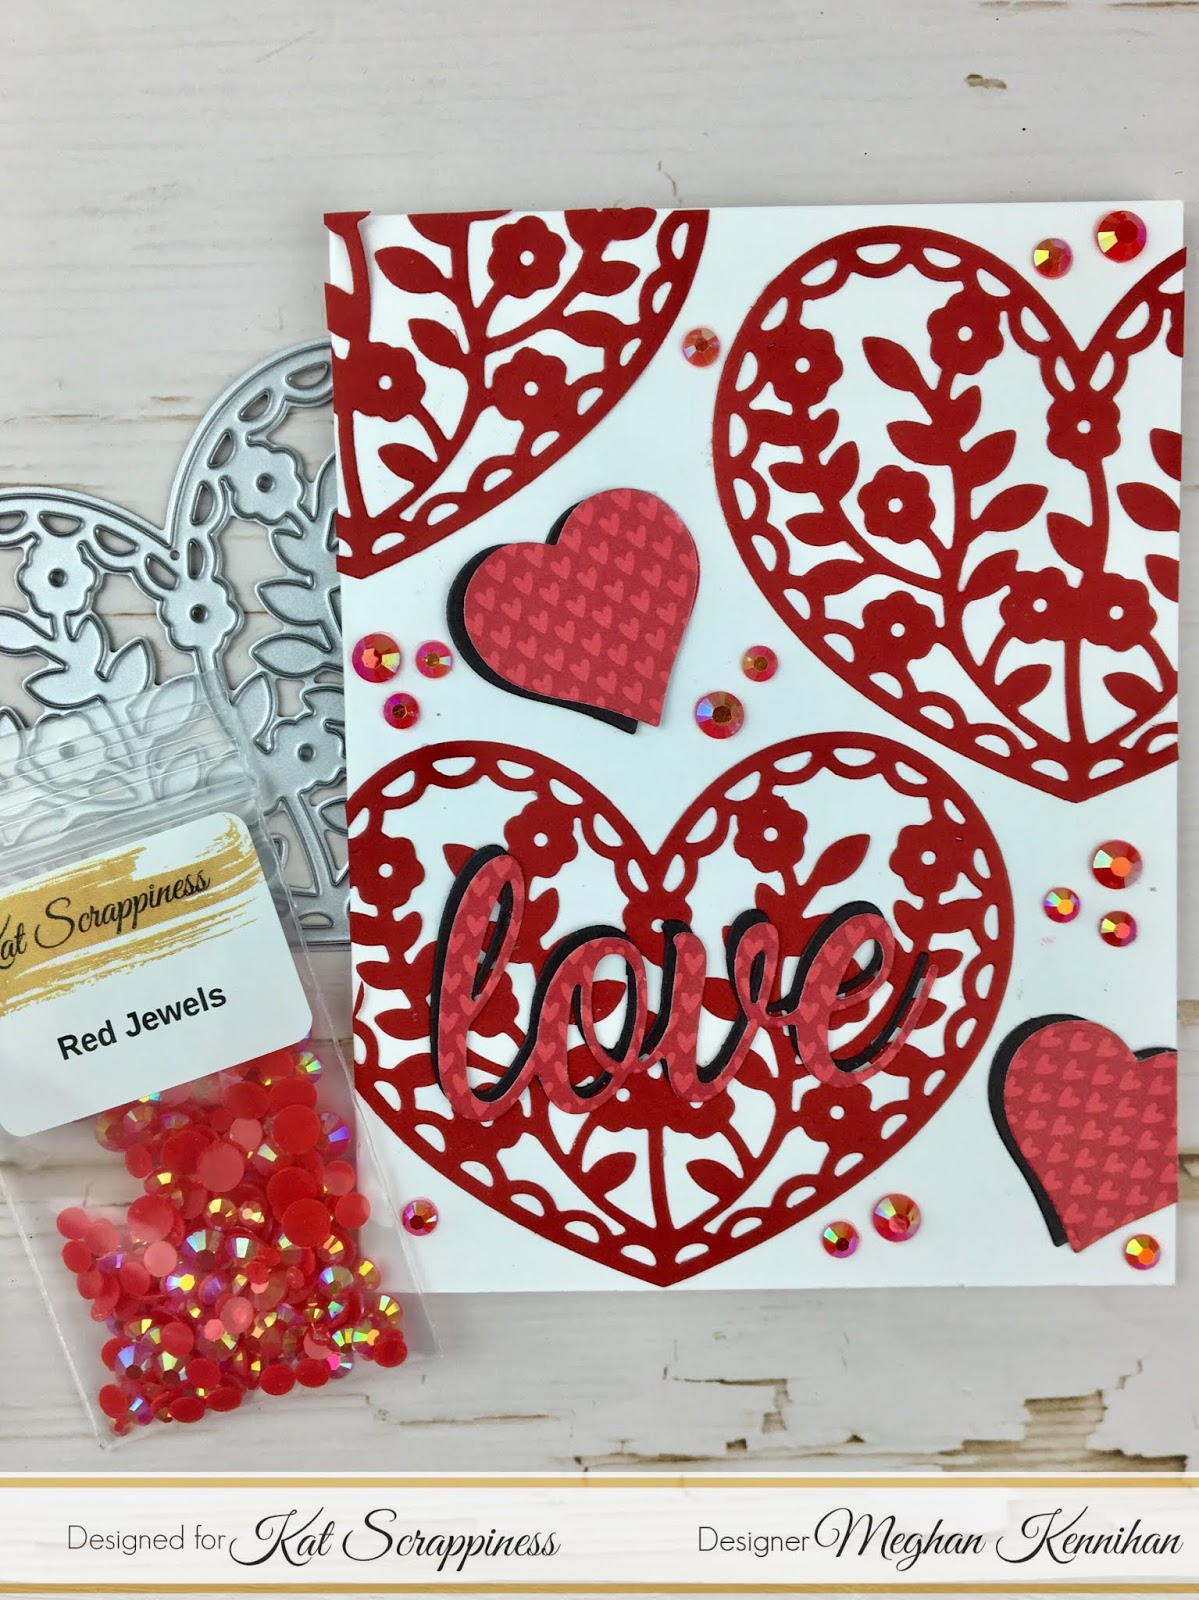
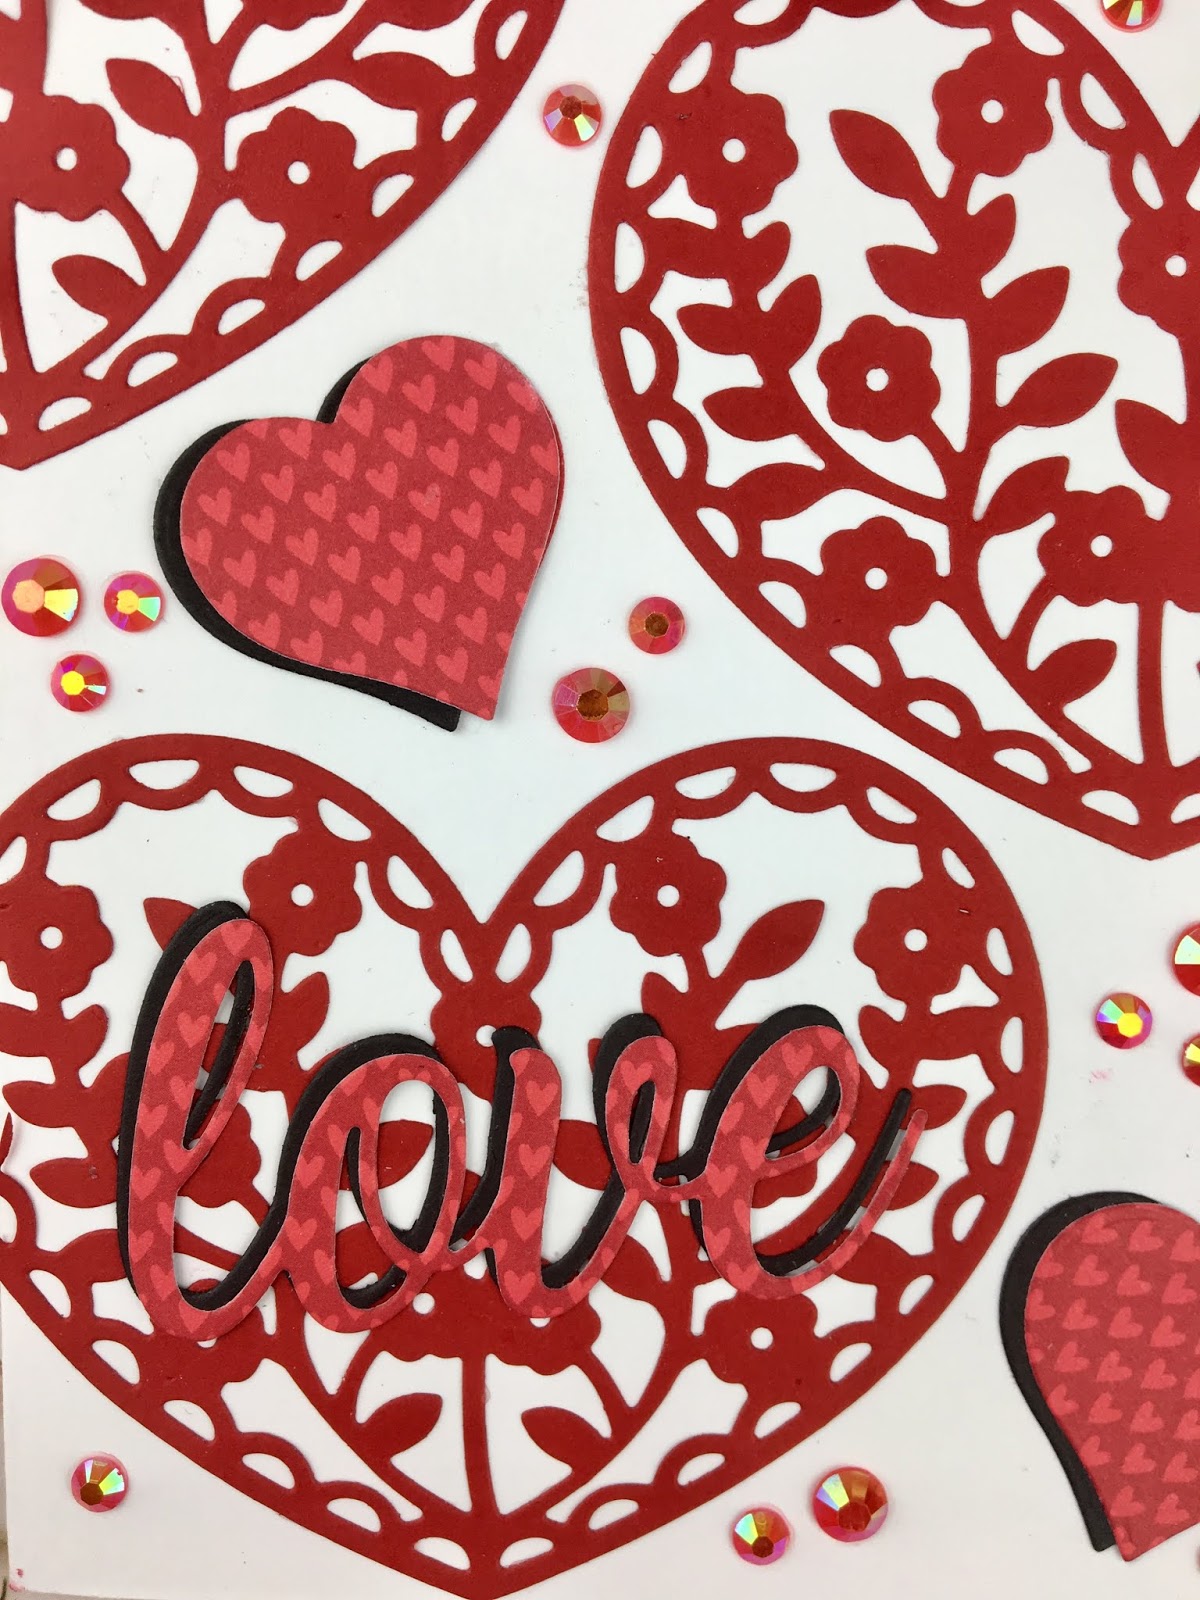
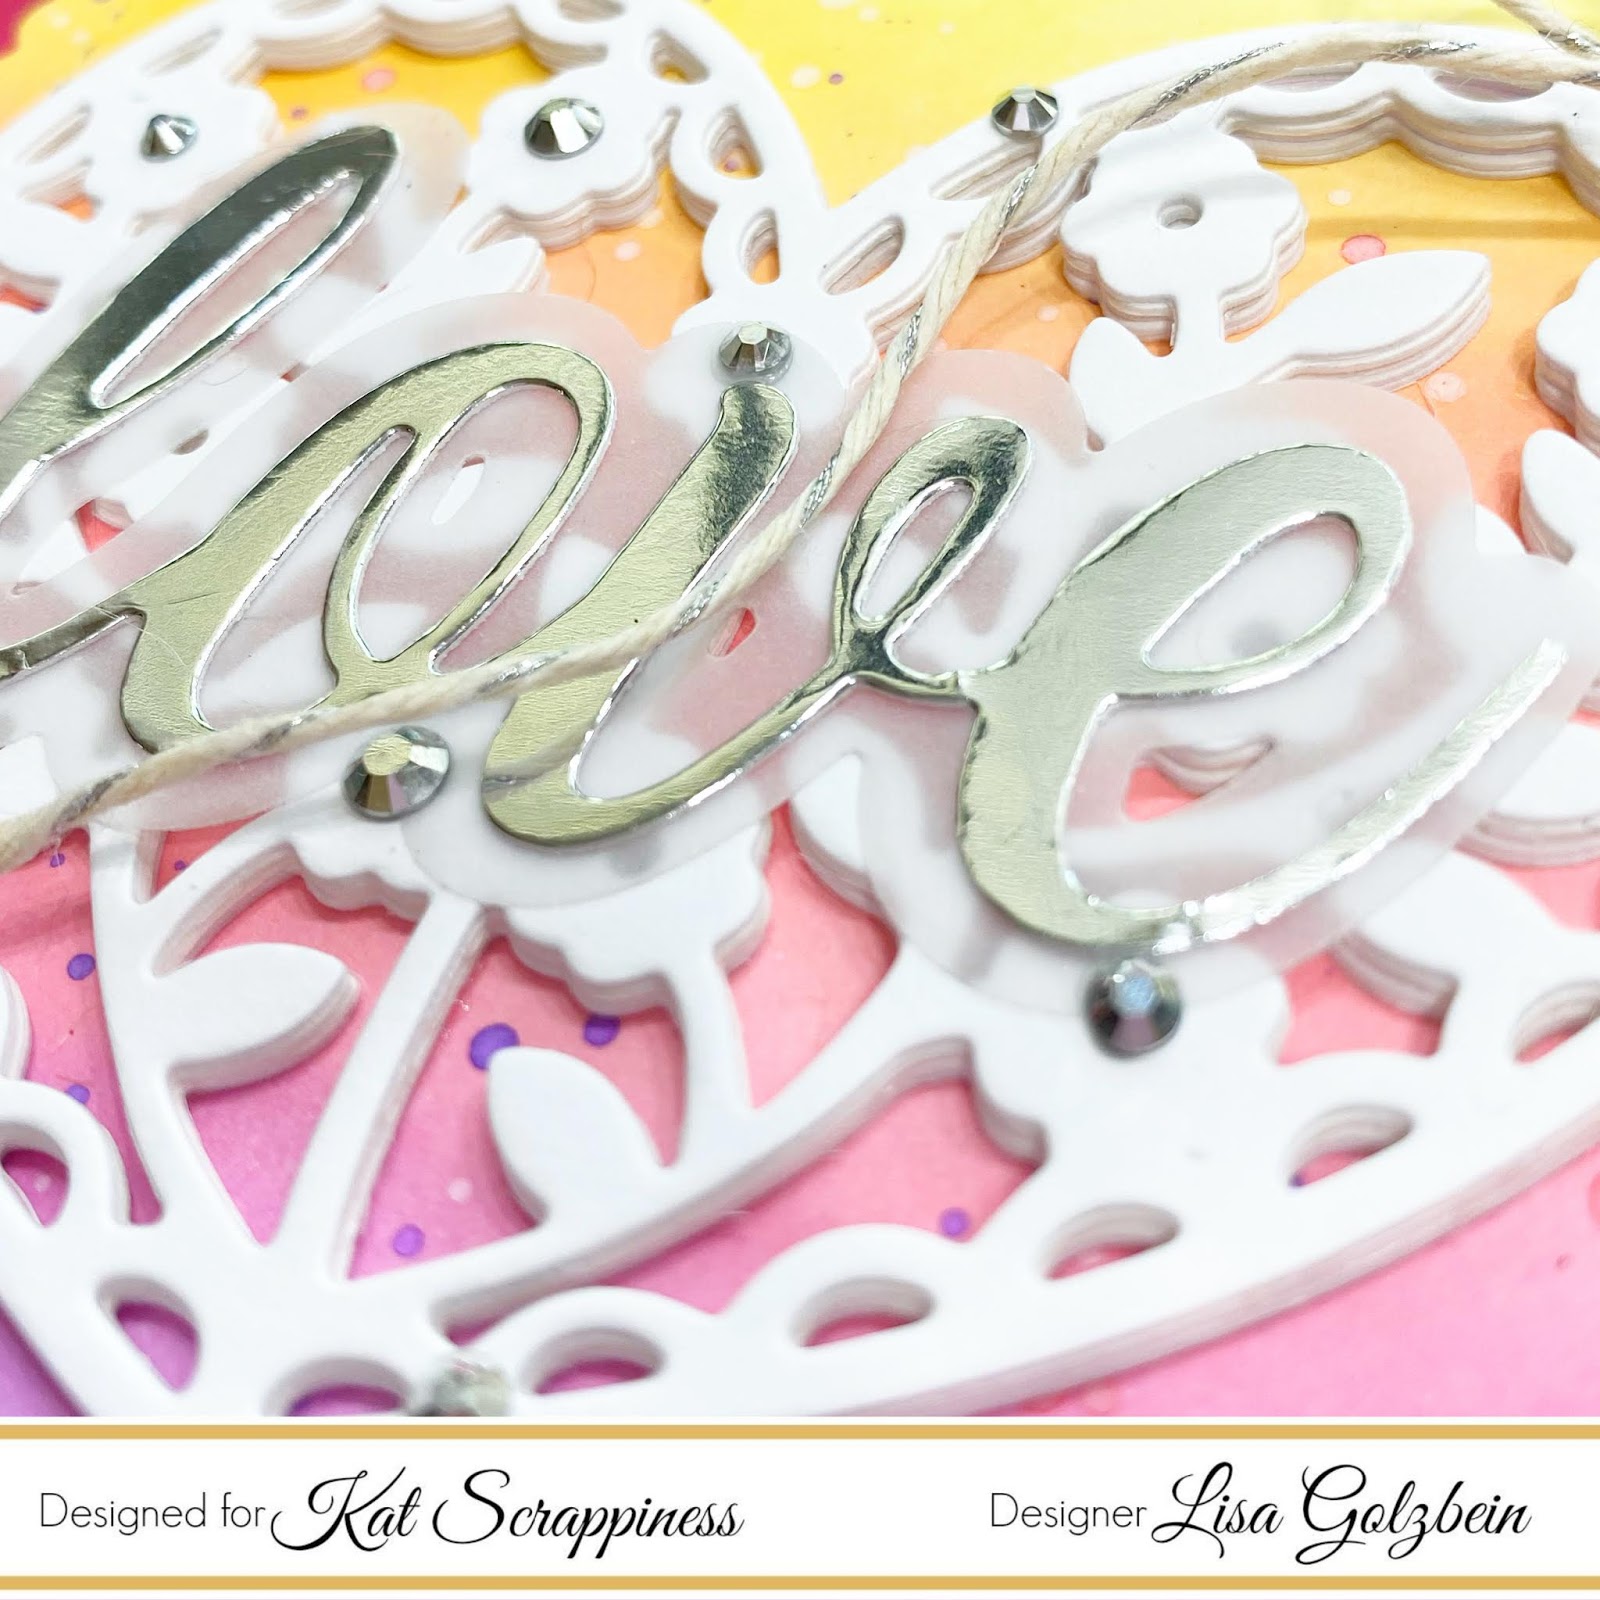
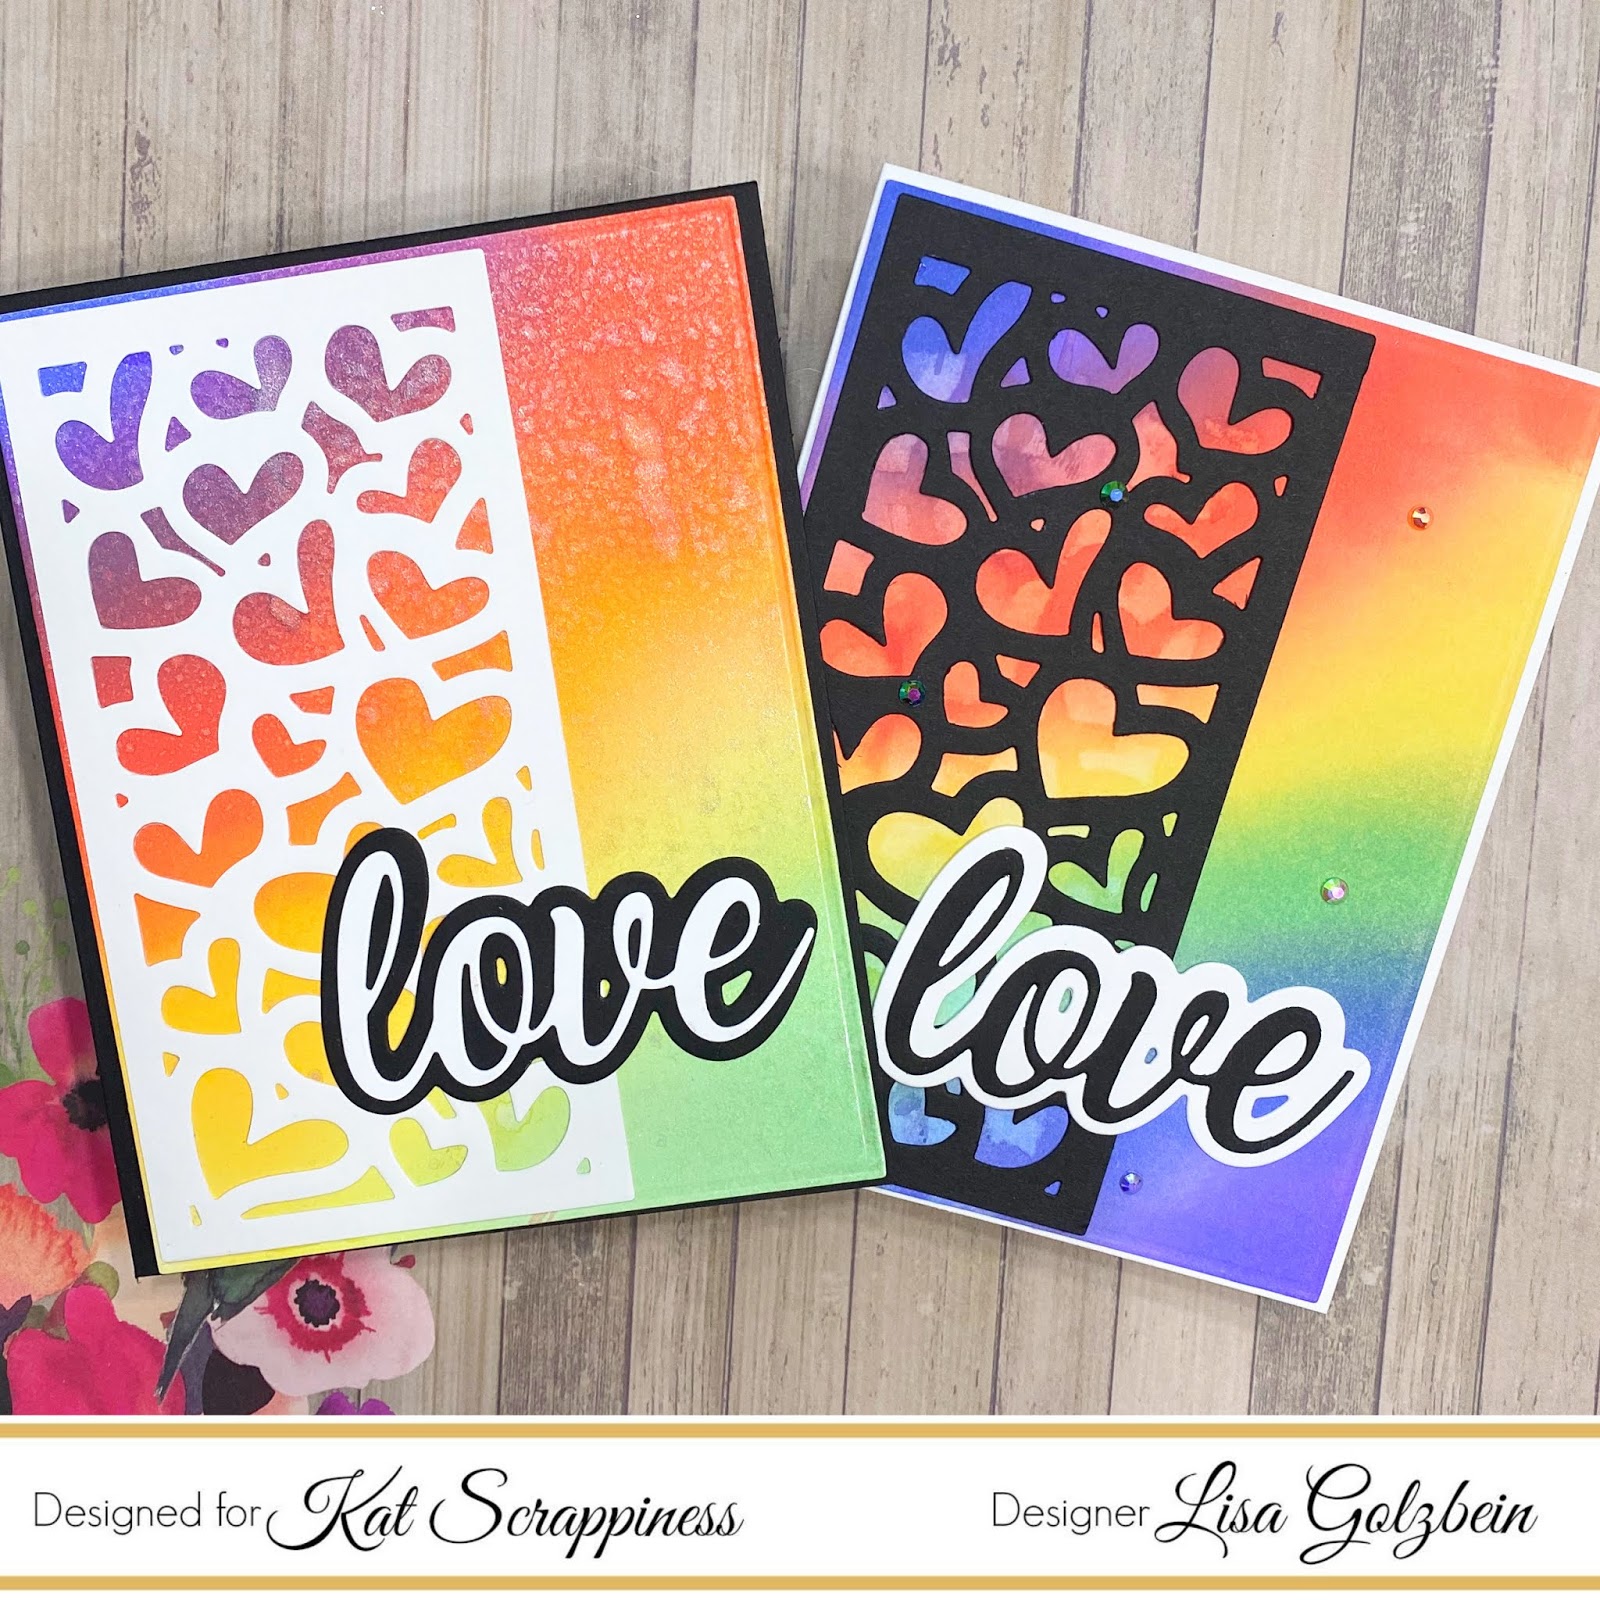
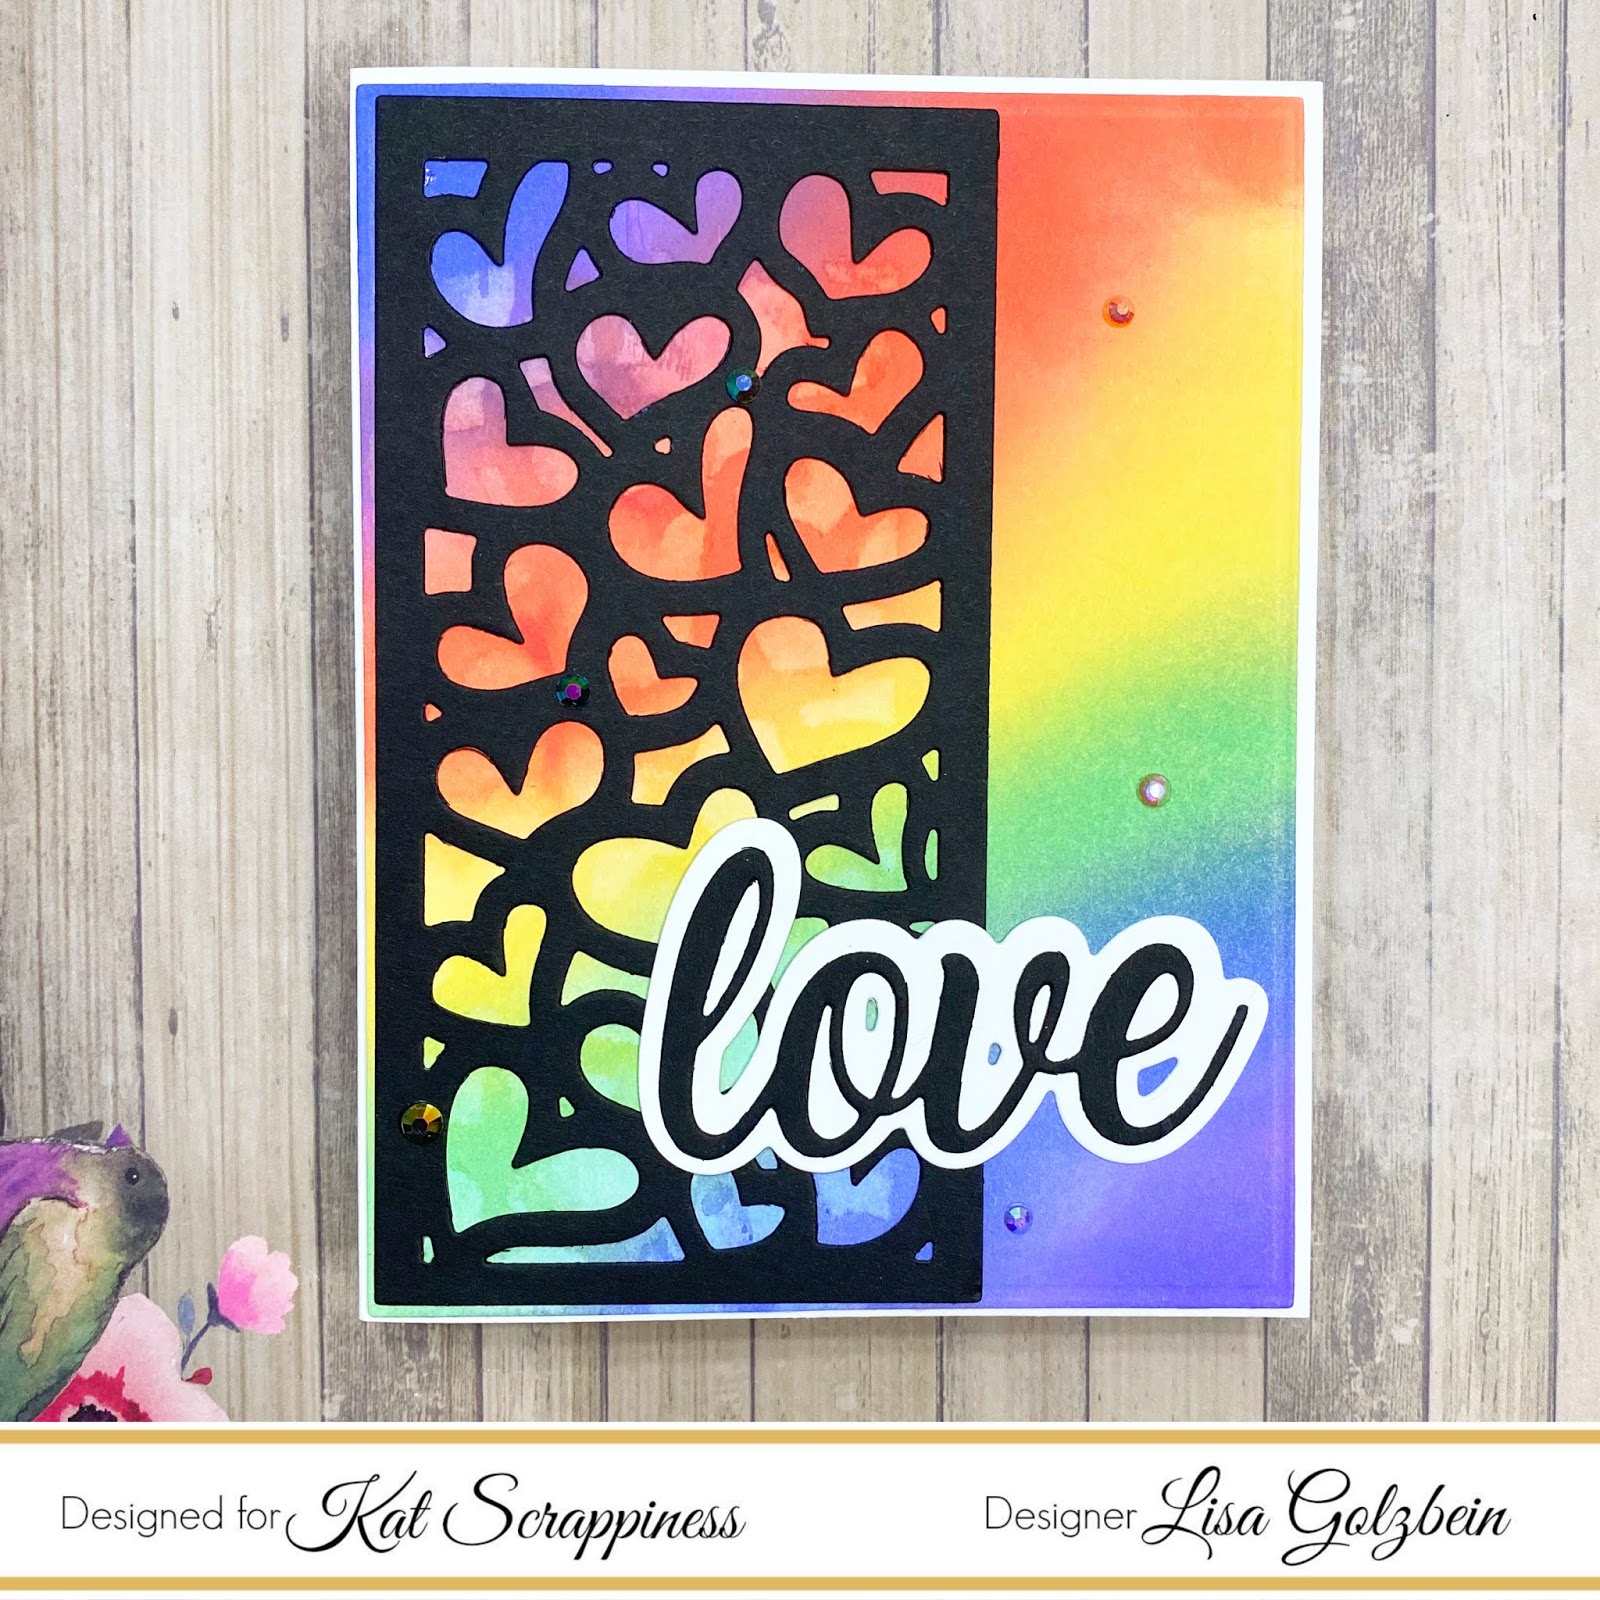
I cut the Heart Panel Die out in black and white and laid them on 2 different rainbow ink blended panels cut using the Embossed Edge Rectangle Dies. I added the “Love” word die from the
I Love You Shadow Dies on both cards. One is white backed in black and the other is black backed in white.
I have a process video up on my YouTube channel showing how I made both of these cards.
You can watch it here or on YouTube.
[youtube https://www.youtube.com/watch?v=elOMEb11nXY]
I hope you enjoyed my rainbow cards and they have inspired you to get inky!
Check out my other blog post using the Heart Panel Die to DIY your own stencil! There’s a video along with that process as well!
That’s all for today, don’t forget to follow Kat Scrappiness on all
social media platforms to be alerted to new release, sales and giveaways!
Have a great day, I already am!
?Lisa ?
**Affiliate links are used occasionally
at no additional cost to you. These
are products that I may have been sent
or ones that I purchased on my own.
Either way, they are products that I
use frequently and LOVE!