Follow:
    Design Team Projects

    You’re a Star Shaker Card

    Hello Kat Scrappiness fans, it’s Lisa from Oh So Cute By Lisa and today I’m shakin’ it up on the blog!

    Kat Scrappiness has the most awesome shaker kits and they are super easy to use!

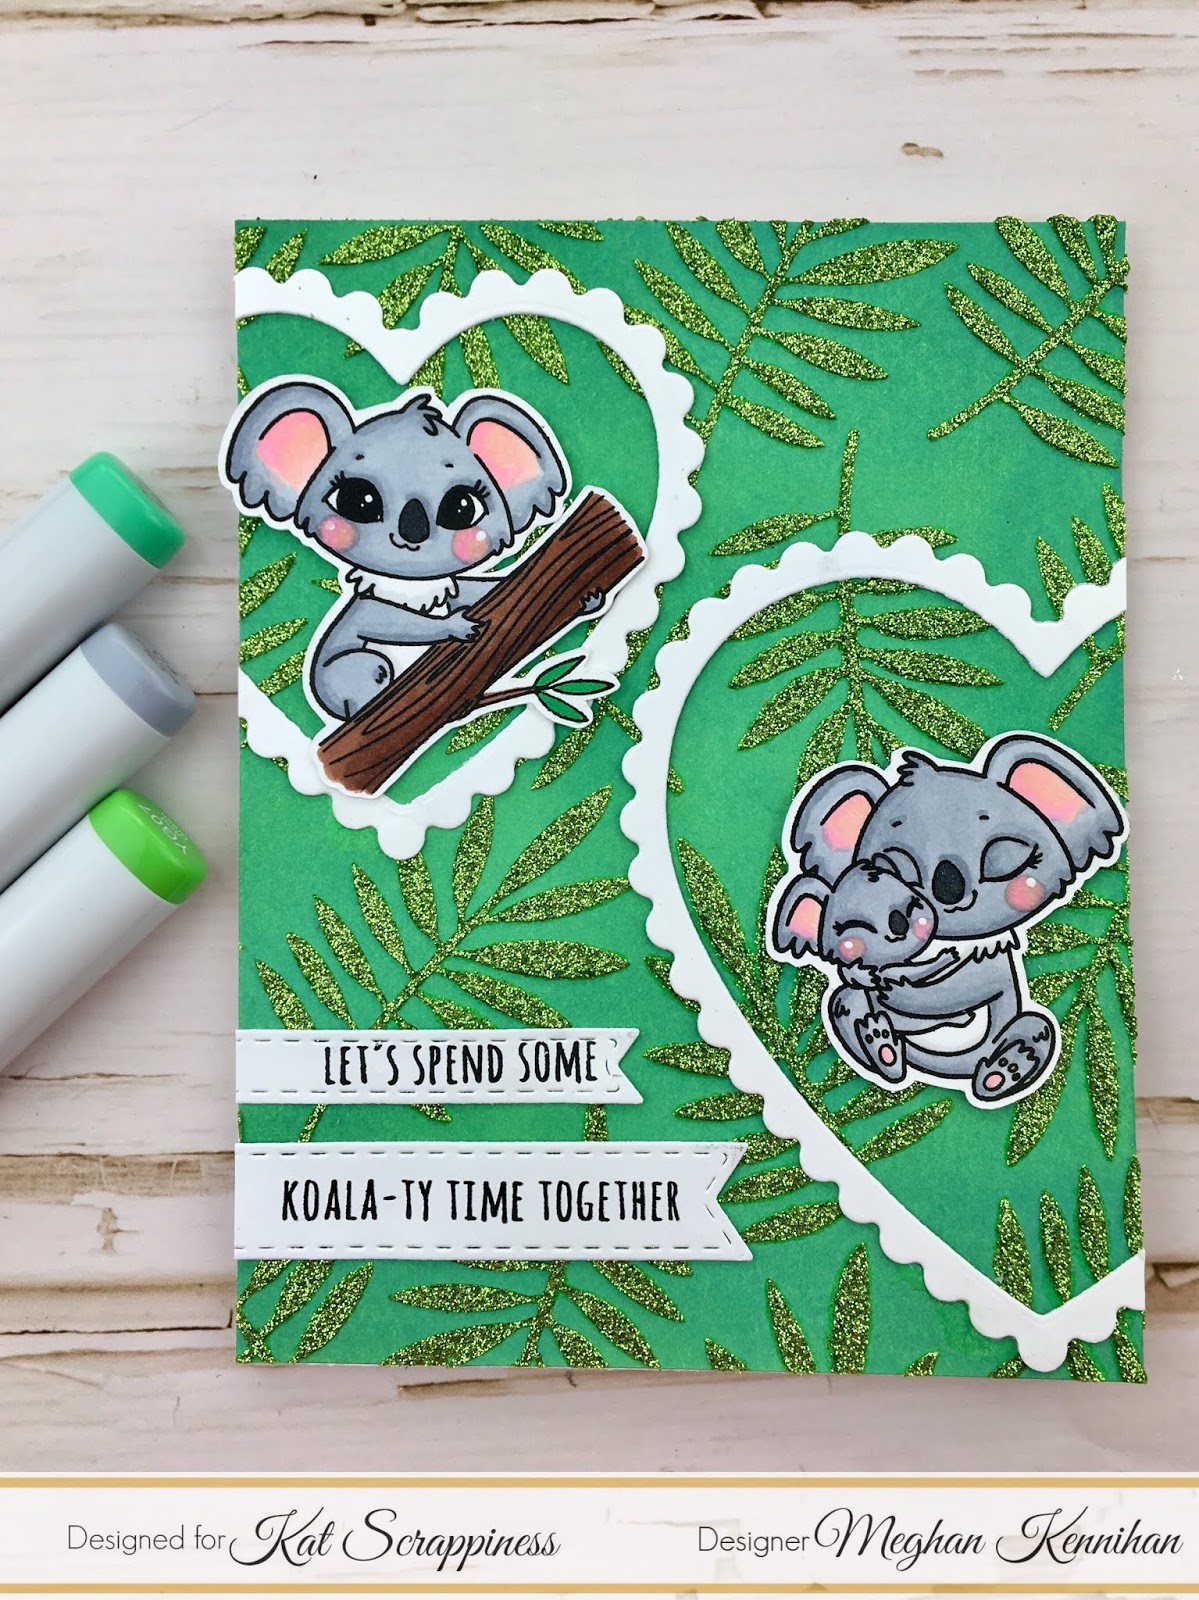
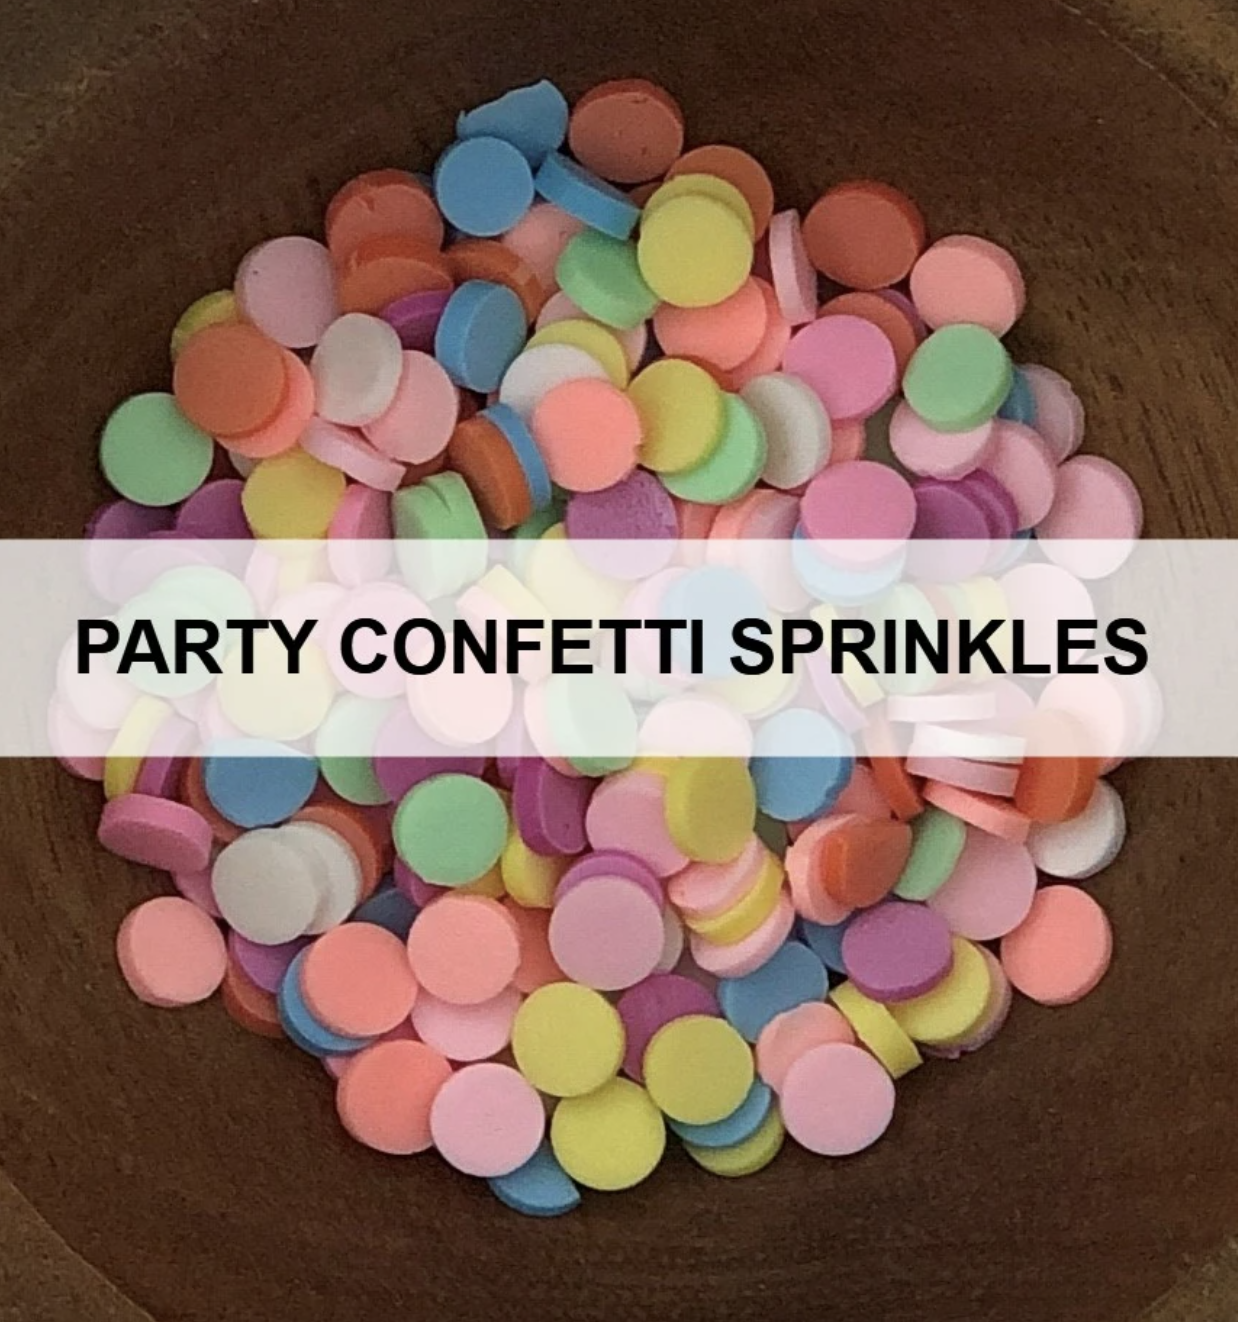
    For my card today I used the Star/Splat Shaker Dimension Set and I filled it with some Party Confetti Sprinkles and some Sparkling Clear Jewels. There are lots of shaker kits available in the shop, here is a list of some of the newer ones:

    Dog House Paw Print Baby Bottle Onesie Teddy Bear

    Large Cloud Small Cloud Television Beach Ball Hot Air Balloon Balloon Car Large Diamond Small Diamond

    Large Splat Star Large Star

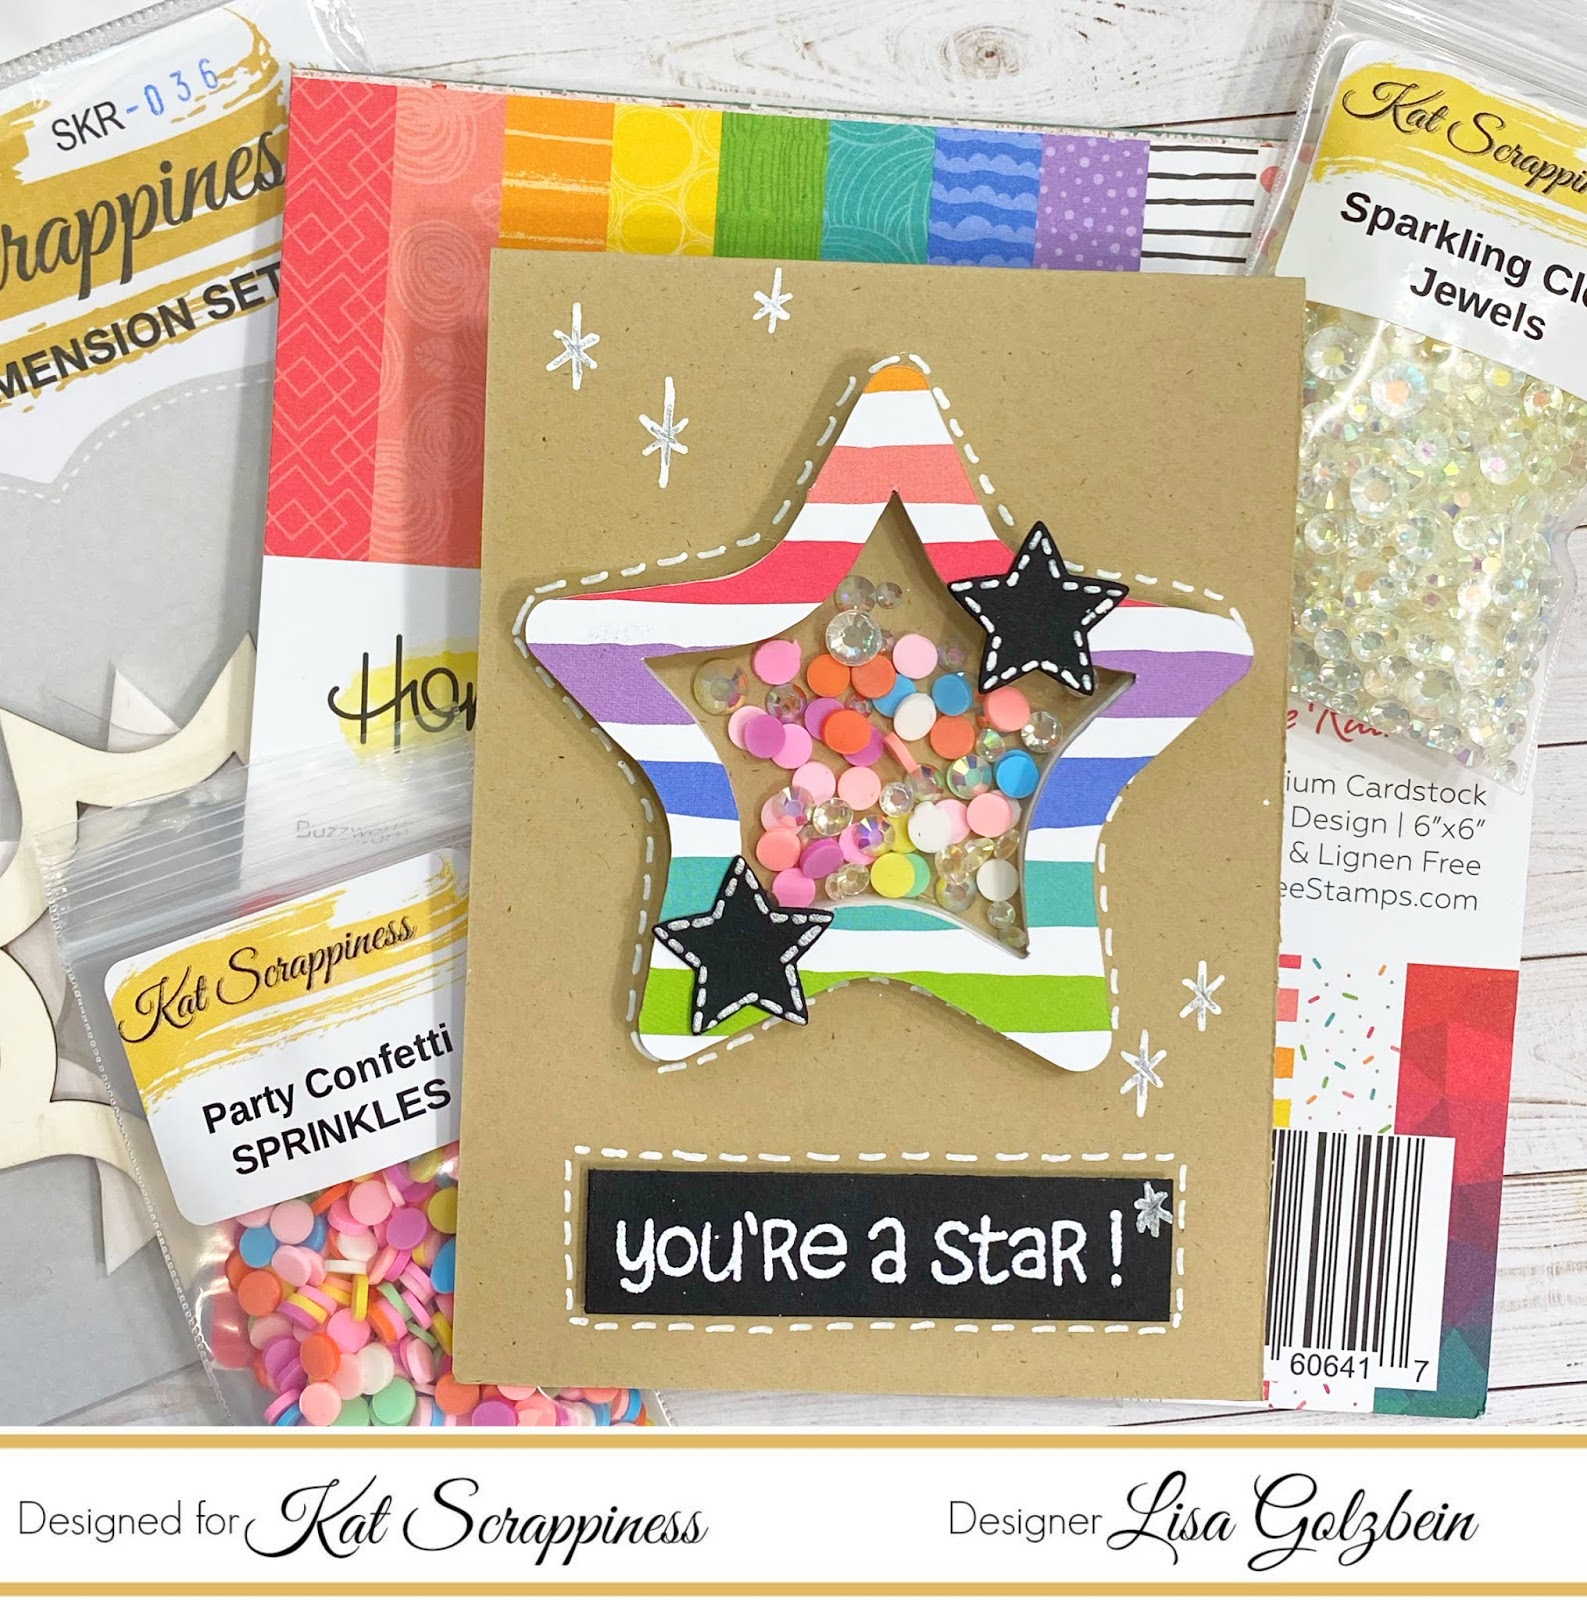
    Here is a look at the Shaker Kit, Sprinkles and Jewels on my card:

    This card was a lot of fun to make and super easy!

    I’ll walk you through the steps involved in putting it together.

    ———————————————————————————–

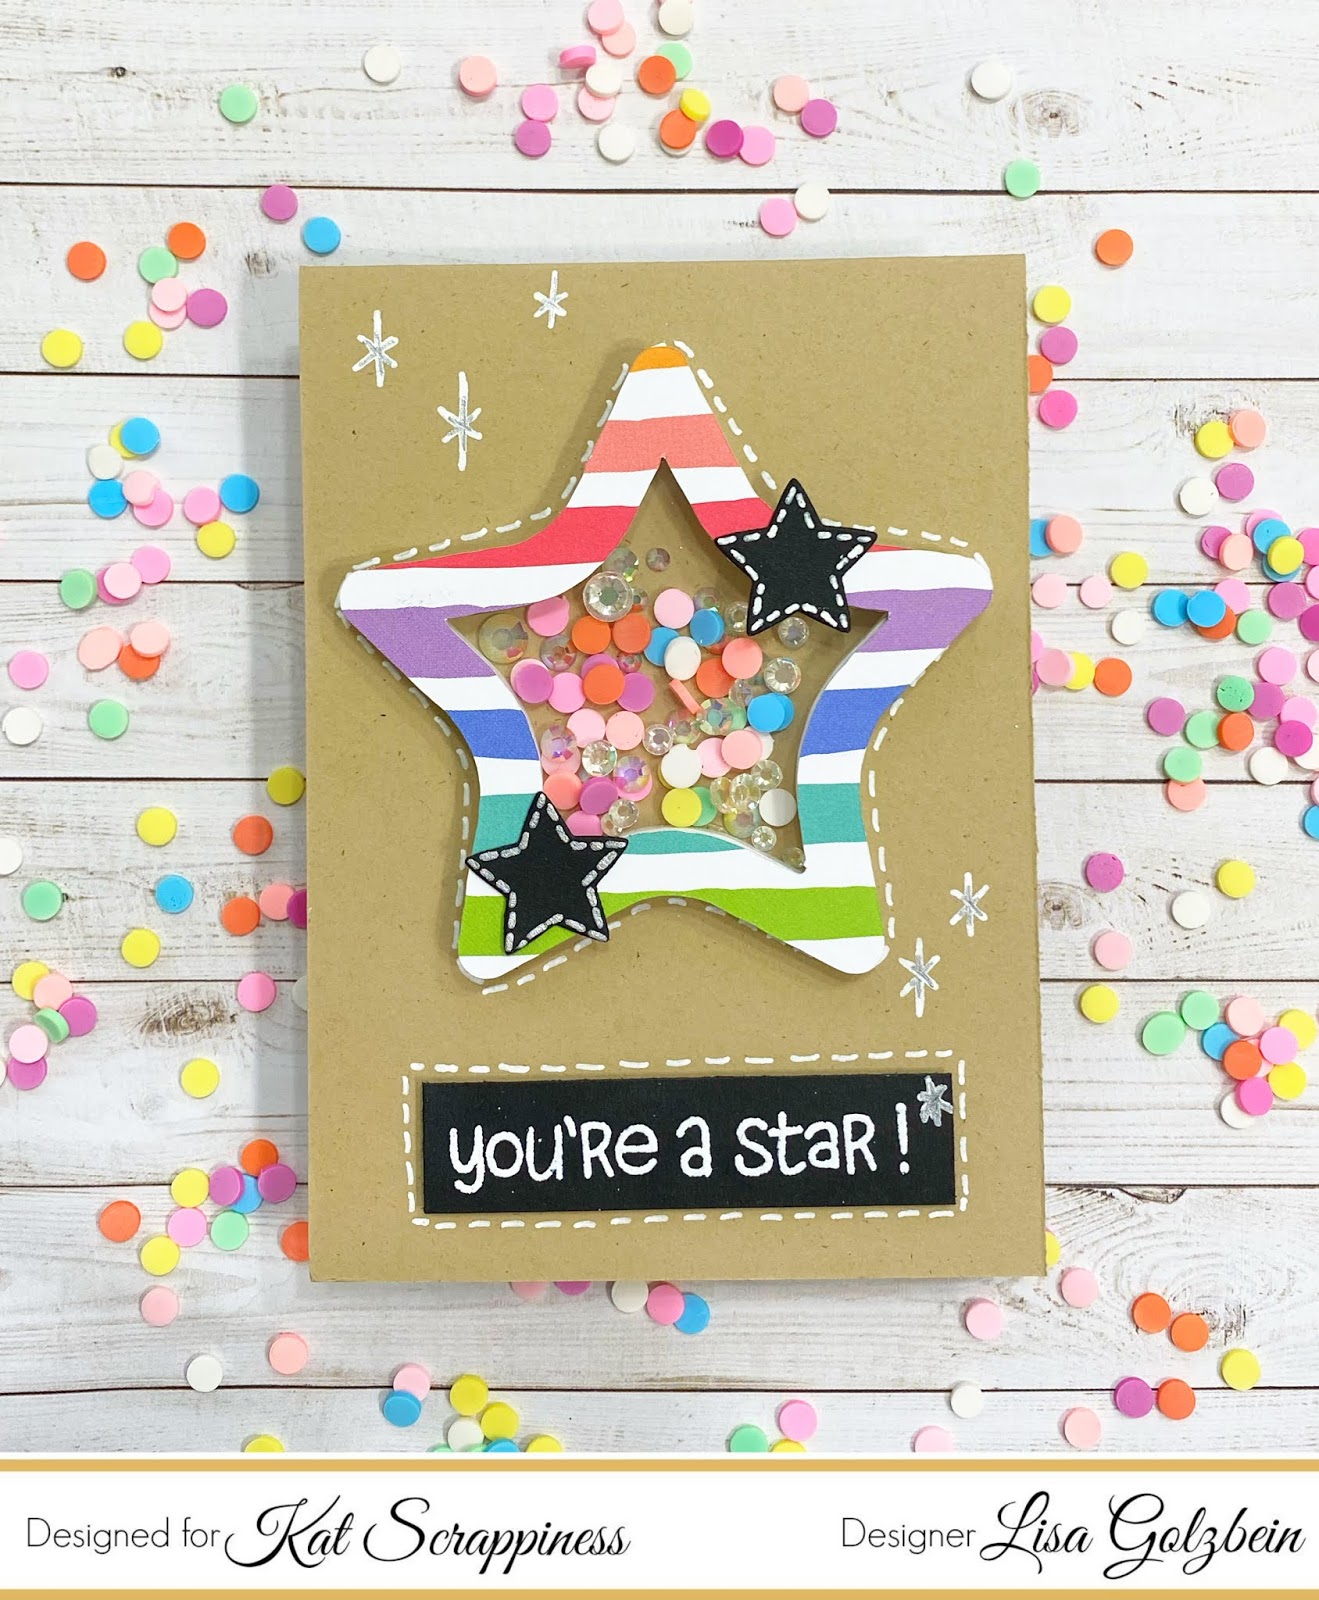
    I started with a kraft card base and I decided to make a smaller card than usual so that the shaker would be the main focus on the card. My card measures 3 1/2″ x 10″ and is scored at the 5″ mark so my completed card is 3 1/2″ x 5″.

    Step 1 – Adhere shaker foam base (included in kit) to front of card using

    Nuvo Deluxe adhesive and give it a minute or two to dry.

    Step 2 – NOW COMES THE FUN PART! Add your shaker bits into the well created by the foam. You can choose whatever you want and lucky for you Kat has a TON of sprinkles, sequins, confetti and other fun bits to make your shaker card SHAKE! I chose the Party Confetti Sprinkles and Sparkling Clear Jewels for my card. Make sure you don’t add too much so you’ll be able to shake those bits!

    Step 3 – Prepare die cut top frame. I traced the die cut star frame in the kit on to patterned paper and cut it out. I used a piece of patterned paper from the Honey Bee Over the Rainbow paper pack. If you don’t want to fussy cut your shape you could paint the frame or use markers on it or even do some heat embossing like I did on this card → Diamond Shaker Card.

    Step 4 – Once your frame looks the way you want it to you can glue the acetate sheet included in the kit to the back of the frame. Now glue your frame to your foam base.  I used Nuvo Deluxe adhesive and it worked perfectly.

    That’s it! 4 EASY steps to a super cute shaker card!

    You can decorate the rest of the card however you want but the shaker portion is quick and easy.  I used the Lawn Fawn Lucky Stars stamp set and heat embossed the sentiment on to black paper using a VersaMark Clear Embossing Pad and some Ranger Super Fine White embossing powder. Since I was using white embossing powder on black paper I made sure to prep my paper with the Inkadinkado Embossing Magic Pad first so I would only have powder melting on my stamped words. I also did some extra accents on my card using a White Gelly Roll Pen size 10. I also die cut 2 small stars from the Lawn Fawn Puffy Star Stackables  out of black paper and made white dash lines with my Gelly Roll pen to decorate the large star.

    To clean my stamps I always use the Lawn Fawn Stamp Shammy and I store it in the Lawn Fawn Stamp Shammy Case so it’s contained and ready to go.

    Here’s another look at the card with some of the supplies I used:

    This card was a blast to make and shaker cards are my all time favorite cards to make!

    Thanks so much for joining me today, head over to Kat Scrappiness and check out all of the amazing shaker kits and embellishments to fill them with!

    Don’t forget to follow Kat Scrappiness on all
    social media platforms to be alerted to new releases, sales and giveaways!

    Have a great day, I already am!

    ? Lisa  ? 

    Design Team Projects

    A bite of everything

    Hello crafty friends, Martha Lucia here to share a bite of everything new at Kat Scrappiness. The last weekend was the official release and you have to see all the new things. Let me start with the Slimlines Nesting Dies.

    Actually, Kat Scrappiness has two different and beautiful designs. One is the Stitched Scalloped Nesting that includes 4 nesting dies in different sizes. With that I die cut the top layer of my above card. I used the third layer size. Additionally, these sizes work perfectly with the Embossed Edge Nesting Designs. On my card, I used the larger embossed edge.

    Details: To decorate my card, I used one of my favorites stamp sets from Kat Scrappines, Stewart the Sloth in combination with one image from the Coffee Quotes stamp set from Joy Clair Designs, available at Kat Scrappiness.

    My second card of today is using the new designs for Shaker Card Kits. This is a real all in one product. I used the Onesie Shaker Card Kit and like it come in natural colors. I just colored the top layer with a Blue Marker and then inked with VersaMark Ink to emboss with Baby Blue Embossing Powder from WOW.

    I followed the clear instructions included on the package to create the shaker. I put inside two different types of sprinkles. I used the new Light Blue Confetti Sprinkles with the 3mm Mirrored Clear Hollow Stars. Additionally, I stamped a sentiment form the Oh Baby stamp set by Joy Clair and splattered some drops of gold ink. My final touch, the tiny bow that I made with the Bow die included on the Crafters Essentials Easter Edition.

    The last card is using the new Koala-ty Time from Kat Scrappiness. It is simply adorable and I created a two tone background using one of the branches included on the set. Then, I die cut one zig zag stitched rectangle die piece of watercolor paper and colored it with a paint brush keeping the frame in natural color.

    In a separate piece of white card stock, I stamped the two Koalas and colored them with Illustrator Markers from Spectrum Noir. Additionally, I fussy cut the images with scissors and pasted over the decorated layer with crafty foam tape.

    I hope you enjoyed this bite of everything that I love from Kat Scrappiness and see you soon with more inspiration.

    Martha Lucia

    Design Team Projects, New Releases

    Get Well Card with the New Slimline Dies

    Hello Friends Waleska here with a fun and simple card you can make using our new Stitched Scalloped Nesting Slimline dies, and the Embosed Edge Nesting Slimline dies, if you have not check them out they are great.

    CARD DETAILS;

    To create this card I started cutting the band aids in the two shades of pink, I adhere the heart shape in the middle of each band-aid.

    I cut the second largest rectangle from the Embosed Edge Nesting Slimline dies, and the largest of the Stitched Scalloped Nesting Slimline dies, and adhere them to a white card base.

    I arrange all the band-aids in the card and adhere them with 3d double sided tape for dimension and stamped the sentiment at the bottom.  I added a little glitter glue for some shine to the card.

    Check out this and the rest of the Newest Realease a the Kat Scrappiness 

    Kat's Newest Release!


    Have a wonderful day!


    Waleska Galindo


    Giveaways, News

    Kat Scrappiness April Release WINNERS!!!!!


    Here are the winners of the April Release:


    Day 1 – Koala-Ty Time Stamp Set – ANDRE M.


    Day 2 – Embossed Edge Slimline Nesting Dies  – NITASHA G.


    Day 2 – Stitched Scalloped Slimline Nesting Die – JEANNIE KAMPA


    Day 3 –  Shaker kits and Sprinkles –  TAMMY


    Winners, please email Kathleen indicating what you’ve won at: winners@katscrappiness.com within 48 hours.  CONGRATULATIONS!!


    Design Team Projects

    Birthday Time!

    g

    Hello, Dam here to share this card made with the Koala-Ty birthday card using the Kat Scrappiness Stamp Set Koala-Ty Time. This sweet koala and baby would make a great focal image on many types of cards.

    I generally start my cards by choosing the colors and cutting the pieces for the background of the card. I die cut many eucalyptus stems in teal and gray. Next an A-2 white layer one and diamonds in black and a smaller one in white were cut.

    All the eucalyptus pieces were arranged onto the layer and attached using foam tape to add dimension to the card. The white layer was affixed to a black layer a scant bit bigger. This was then attached to a standard card base in teal.

    The focal image was stamped and cut out. I colored it using Copic markers.

    Finally the sentiment was embossed onto a black banner and the diamonds, koalas and sentiment were attached. I am pleased with the result and hope you all like it too.

    Supplies: KS Koala-Ty Time stamp

    Challenges & Hops

    Kat Scrappiness May Challenge: Celebrate Moms & April’s Winners

    Welcome to the Kat Scrappiness May Card Challenge and the announcement of the April Card Challenge Winners!

    First we would all like to thank  everyone who entered last month’s SPRING FLOWERS CHALLENGE!   The team really enjoyed seeing all of your creations.


    And NOW the WINNERS for April!

    1. The Winner of the Spring Flowers Challenge for April is:  Super Stick Chick – (Random.org Pick) and her prize is a $10.00 gift certificate to the Kat Scrappiness StoreSuper Stick Chick, please email us at winners@KatScrappiness.com with your address so we can send out your prize!
    2. The Design Team’s Top Pick (shown below and winner $5.00 Gift Certificate is Esther Asbury  Esther, please save the badge below to your computer and upload it to your blog or website to show off your accomplishments!  You can link back to our blog here:  http://www.KatScrappinessBlog.com!


    May Card Challenge

    This month’s theme is “Celebrate Moms!”

    To enter our May Card Challenge all you need to do is share your creations that feature Mothers, Grandmothers, Daughters, Dog Moms, Cat Moms, etc. You can join at the bottom of this page and view the RULES, for your chance to win $$ to the  Kat Scrappiness Store! Try to use your Kat Scrappiness supplies we love to see our products in action and you will win a bigger gift card.

    You can also enter our social media challenge which is ALWAYS Anything Goes. Just use Kat Scrappiness products and enter your card on our Facebook Group page and Instagram using the hashtag #katscrappinessfan for your chance at a $5 Prize.

    We also have some great Stamps, Dies, Shaker Kits to help you create beautiful Mother’s Day cards:

    Rules:

    -Your project should be a new Creation. No Back Posting allowed.

    -Please follow the Challenge Theme. Any Entries not following the theme will be deleted.

    -We are a Multi Craft Challenge. As long as you follow the theme you may enter with any craft project.

    -You may use any product you like but Kat Scrappiness Products are encouraged and will get a better prize.

    -You may enter the Challenge 3 times but each must be with a new project.


    What’s Happening Next?

    Stay up to date on everything Kat Scrappiness!

    We want you to be the first to know about giveaways, sales, challenges and so on, and the best way to do that is to subscribe to us!  Here are a few ways you can keep in touch:

    • Subscribe to the Kat Scrappiness Newsletter HERE
    • Join the Kat Scrappiness Facebook Fan Group HERE
    • Subscribe to the Kat Scrappiness Instagram HERE

    Trust us, you don’t want to miss our releases and inspirations!


    May Card Challenge Inspiration

    Hi Crafty Friends,

    My inspiration for the “Celebrate Moms” Kat Scrappiness May Challenge is this darling little shaker card using the NEW Large Cloud Shaker Kit and the NEW Koala-ty Time Stamp Set. I can’t wait to see what you create.

    Make Crafty Friends Q & A:
    Q: What is one of your favorite memories of your mom or as a mom?

    A: Me? I loved that my mom read me the books “Little Women” and “Anne of Green Gables”

    Supplies:

    Kat Scrappiness Large Cloud Shaker Kit

    Kat Scrappiness Koala-ty Time Stamp Set

    Kat Scrappiness Pink Star Sprinkles

    Kat Scrappiness Pink Kawaii Cloud Sprinkles

    Kat Scrappiness White Confetti Sprinkles


    Enter May’s Card Challenge Here!

    You are invited to the Inlinkz link party!

    Click here to enter


    Design Team Projects

    Shaker Card Kits Made Simple

    Hi Everyone, it’s Tina here. I often get messages on social media and emails asking how I make shaker cards. Kat Scrappiness has a wide selection of Shaker Cards Kits that makes it super easy for those who find it challenging. It has all you pieces you need so there is no guess work. Below you will find two examples and both cards took little time to make.

    Card #1

    Card #2

    Card #1

    Step 1 – Trim White Cardstock to 8 1/2” x 5 1/2”, score at 4 1/4” and fold in half for a vertical side fold card. (A2)

    Step 2 – Trim Patterned Paper or DIY Background to 5 1/2” x 4 1/4”. Diecut Double Stitched Rectangles and adhere to card using Nuvo Deluxe Adhesive.

    Step 3 – Apply the Shaker Element Paw Print to the card front using Nuvo Deluxe Adhesive. Fill the center with Brown Paw Print Sprinkles. Adhere the Clear Acetate on top using Nuvo Deluxe Adhesive. Decorate the Frame Overlay. I used an Alcohol Marker and adhere on top using Nuvo Deluxe Adhesive.

    Step 4 – Add a Dog image or character and then a sentiment.

    Card #2

    Step 1 – Trim White Cardstock to 8 1/2” x 5 1/2”, score at 4 1/4” and fold in half for a vertical side fold card. (A2)

    Step 2 – Create a Cloud Background from a diecut or cut it out freehand to use as a stencil and apply ink directly on the card front. Move the stencil around and repeat to create layers.

    Step 3 – Apply the Shaker Element Small Cloud to the card front using Nuvo Deluxe Adhesive. Fill the center with Small Rainbow Sprinkles. Adhere the Clear Acetate on top using Nuvo Deluxe Adhesive. Decorate the Frame Overlay. I used an Alcohol Marker and adhere on top using Nuvo Deluxe Adhesive.

    Step 4 – Diecut and assemble Cute Layered Owl and adhere to card using Foam Tape.

    Step 5 – Diecut and colour a rainbow. If you do not have a rainbow die then diecut Never Ending Circles by using 2 dies together. Trim and adhere to card.

    Step 6 – Stamp a sentiment and adhere to card.

    These are are quick and simple and can be used for many occasions. Below is a link to all the products used. Thank you for stopping by and Happy Crafting!

    Product Used:


    https://linkdeli.com/widget.js?id=6027c249f051164b1ef5