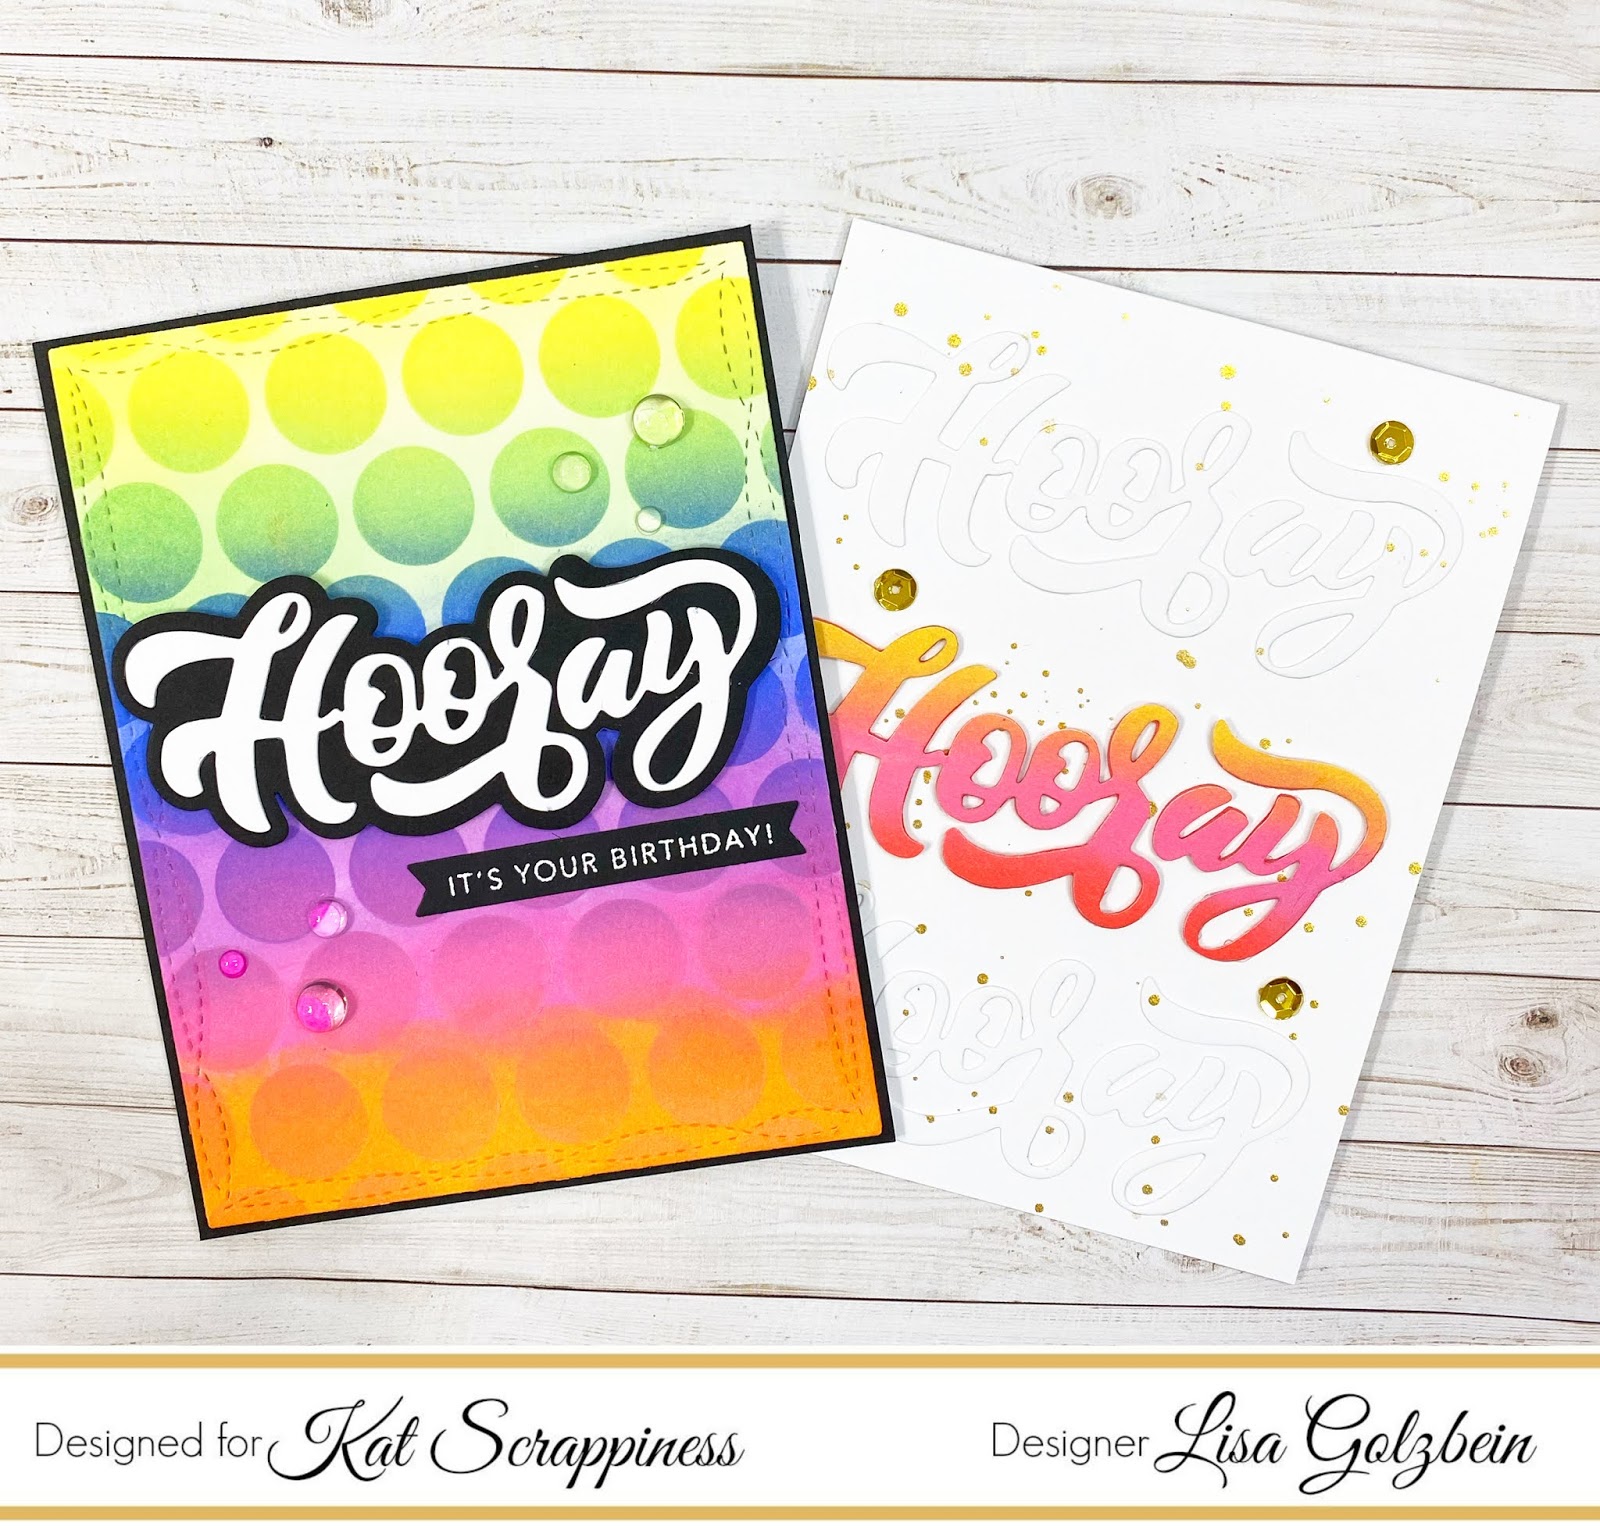
Hello it’s Lisa from Oh So Cute By Lisa! Today on the Kat Scrappiness blog I have two very different cards using the same die.
I love how versatile the Kat Scrappiness Hooray with Shadow Die is! It is large enough to stand alone on a card and be the main focal point. All you need is an interesting background and your card practically makes itself. I made 2 very different cards today with the Hooray die. One has lots of ink blending and stenciling in the background while the other is more of a clean and simple type of card.
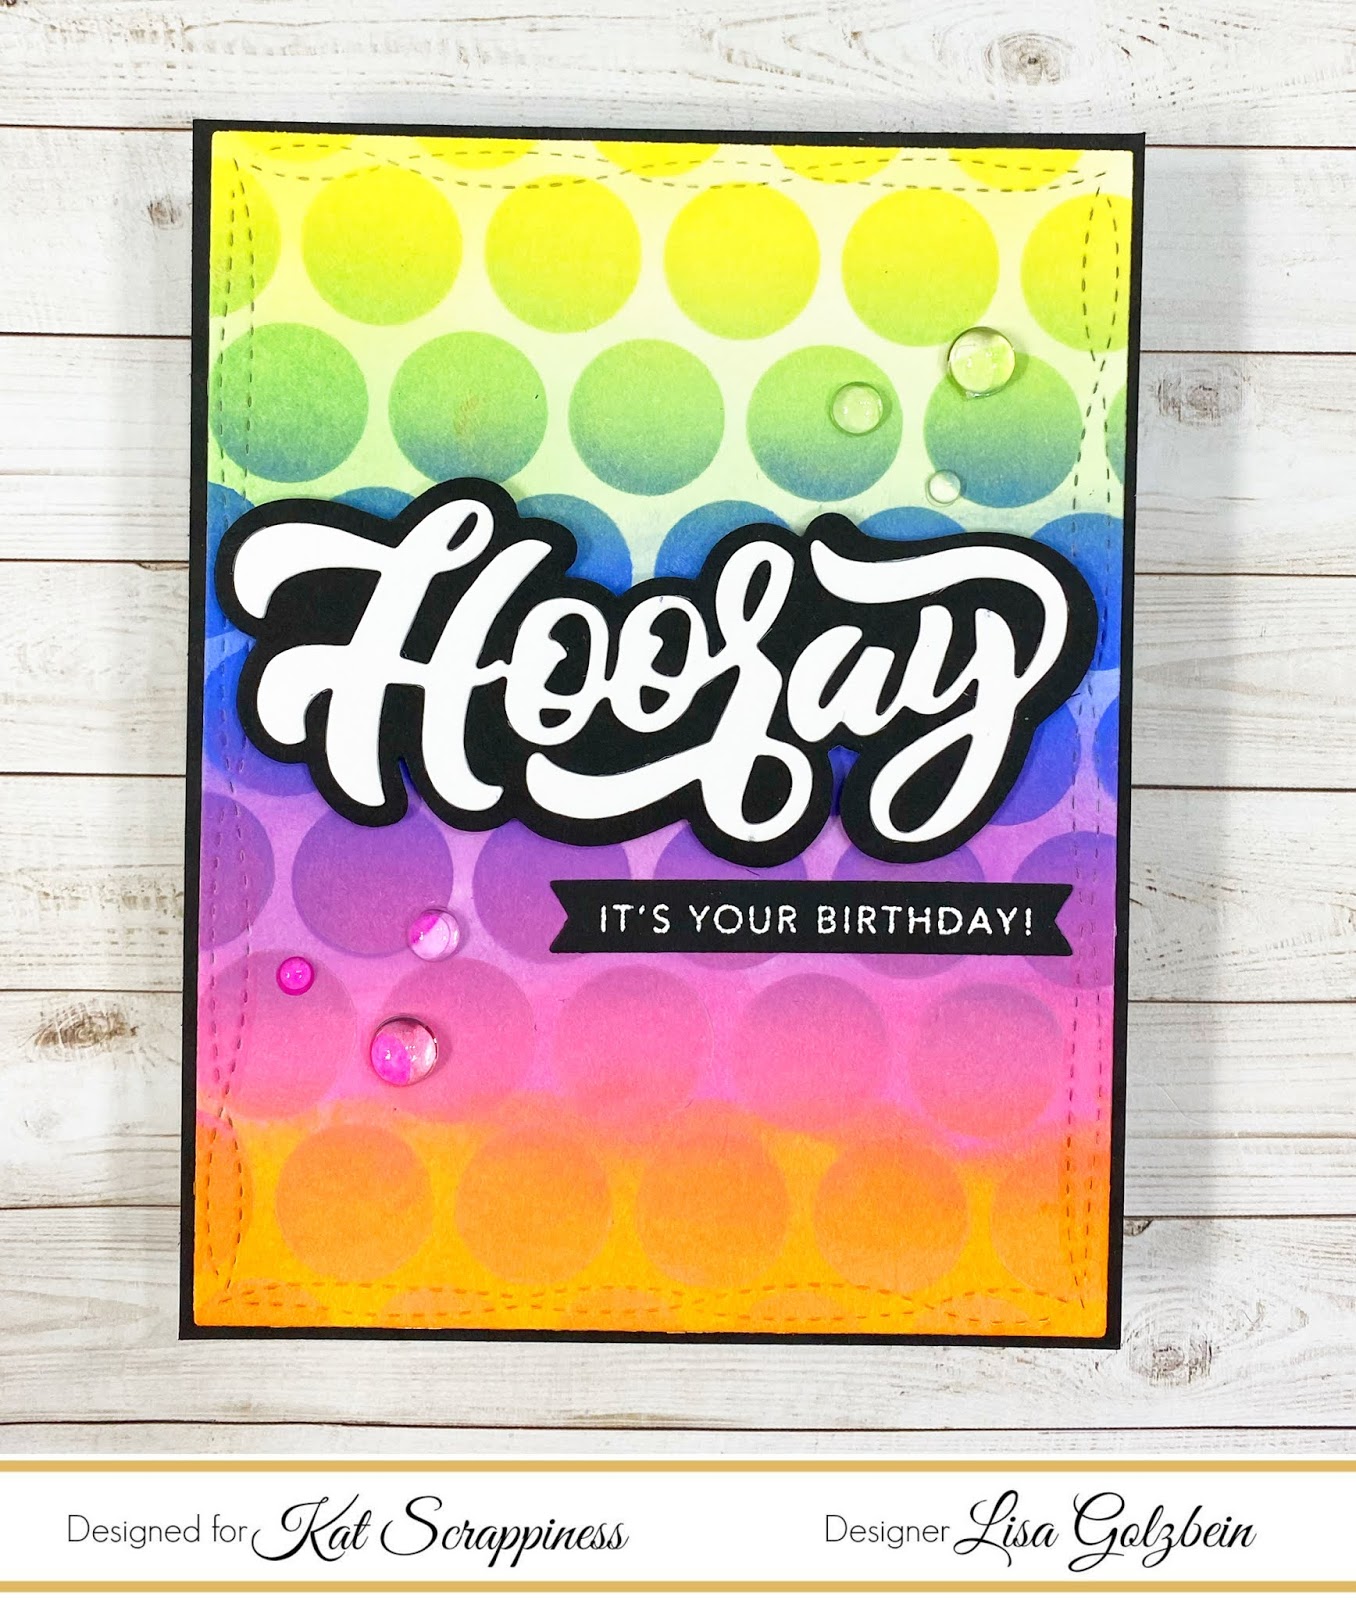
For my first card today I used assorted Distress Oxide Inks in
rainbow colors to get a polka dot ink blended background.
The first step was to take a piece of Bristol Smooth cardstock and do some ink blending with these Distress Ink colors in this order using an ink blending tool and foam applicators:
Squeezed Lemonade
Cracked Pistachio
Blueprint Sketch
Wilted Violet
Picked Raspberry
Carved Pumpkin
I applied these colors to my cardstock with a fairly light hand and then I applied a
polka dot stencil to the same panel and went back over the panel with the same colors but using a slightly heavier hand to get the large polka dot stenciled look. I just love how it came out!
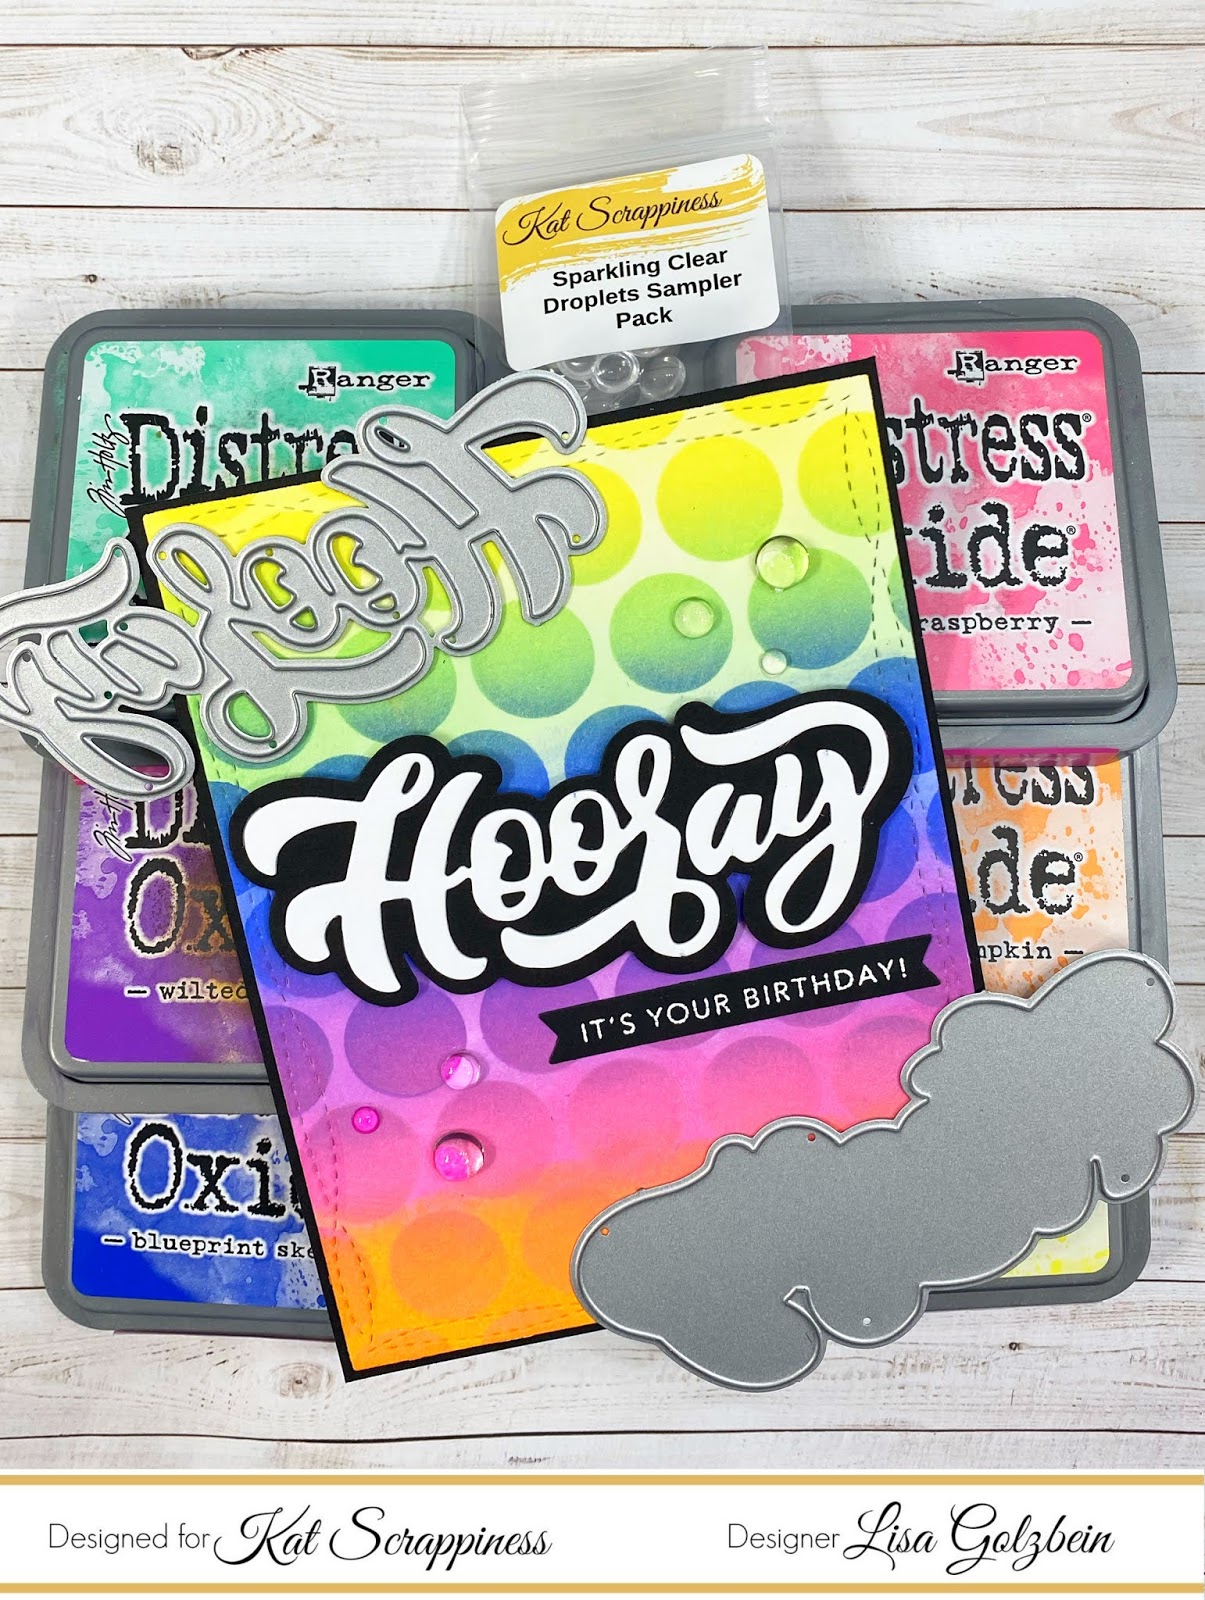
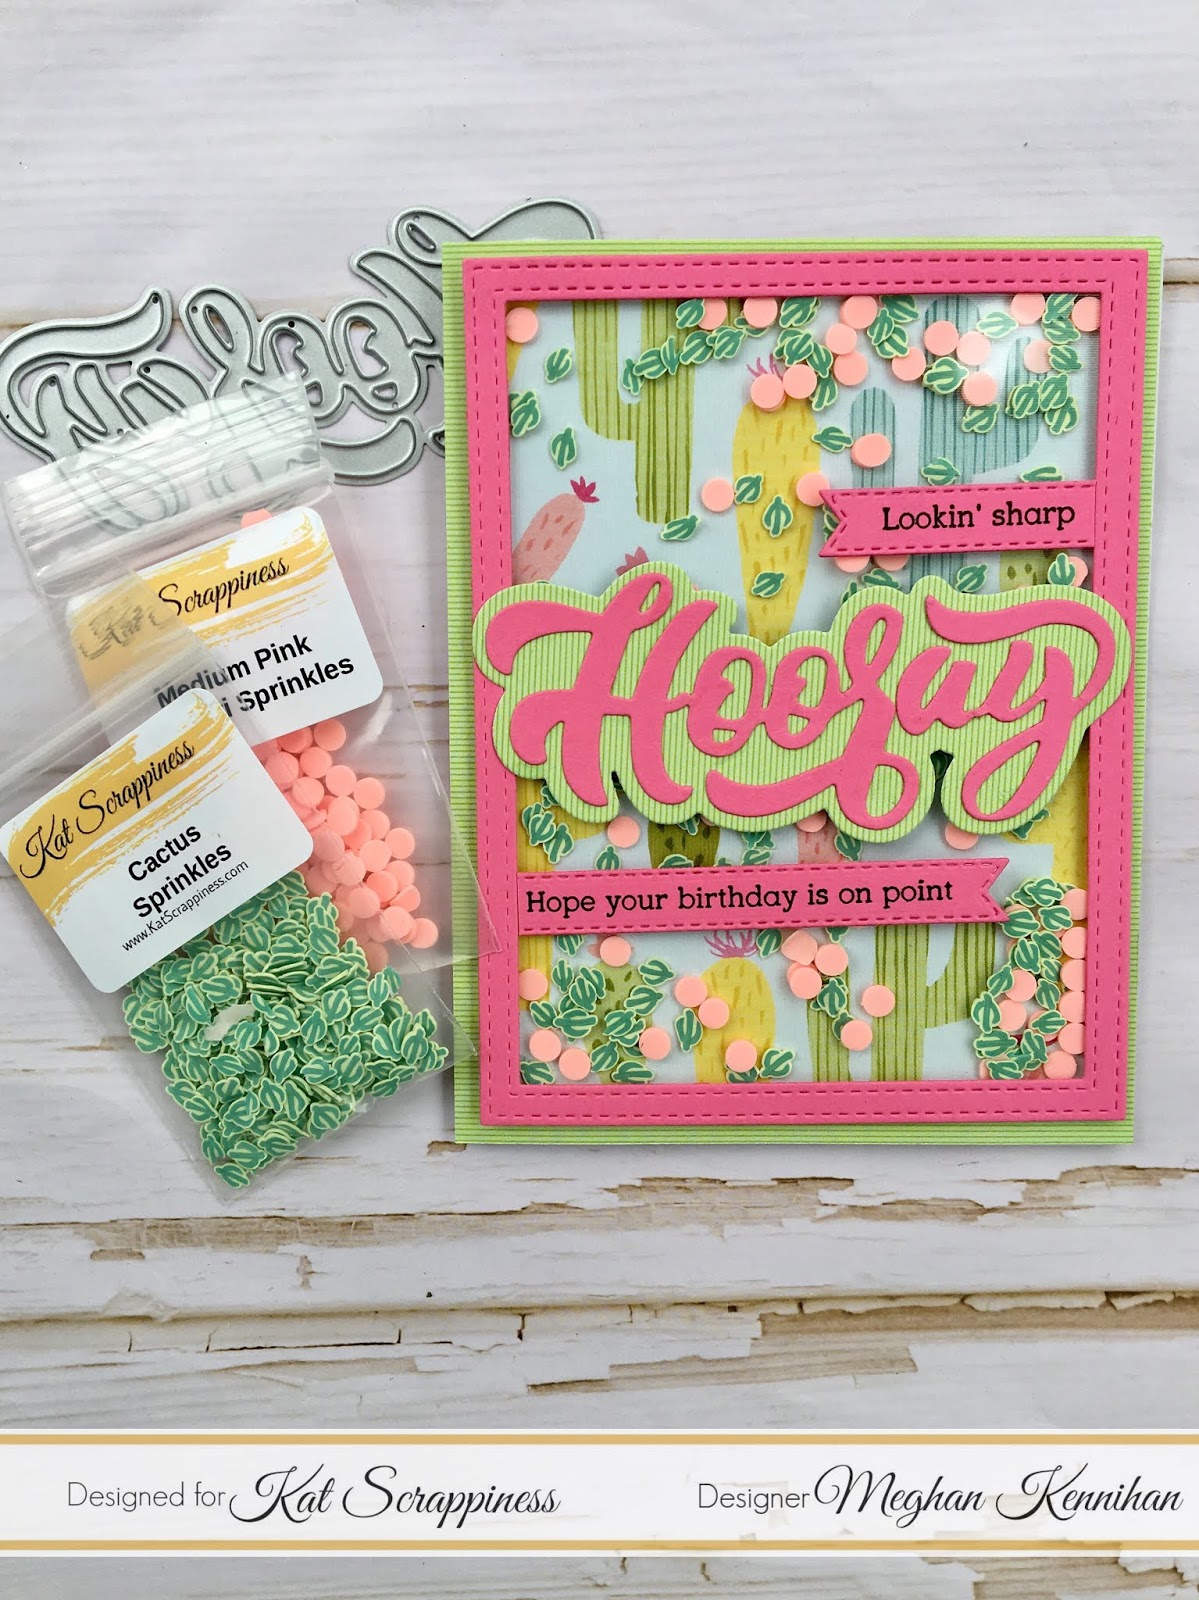
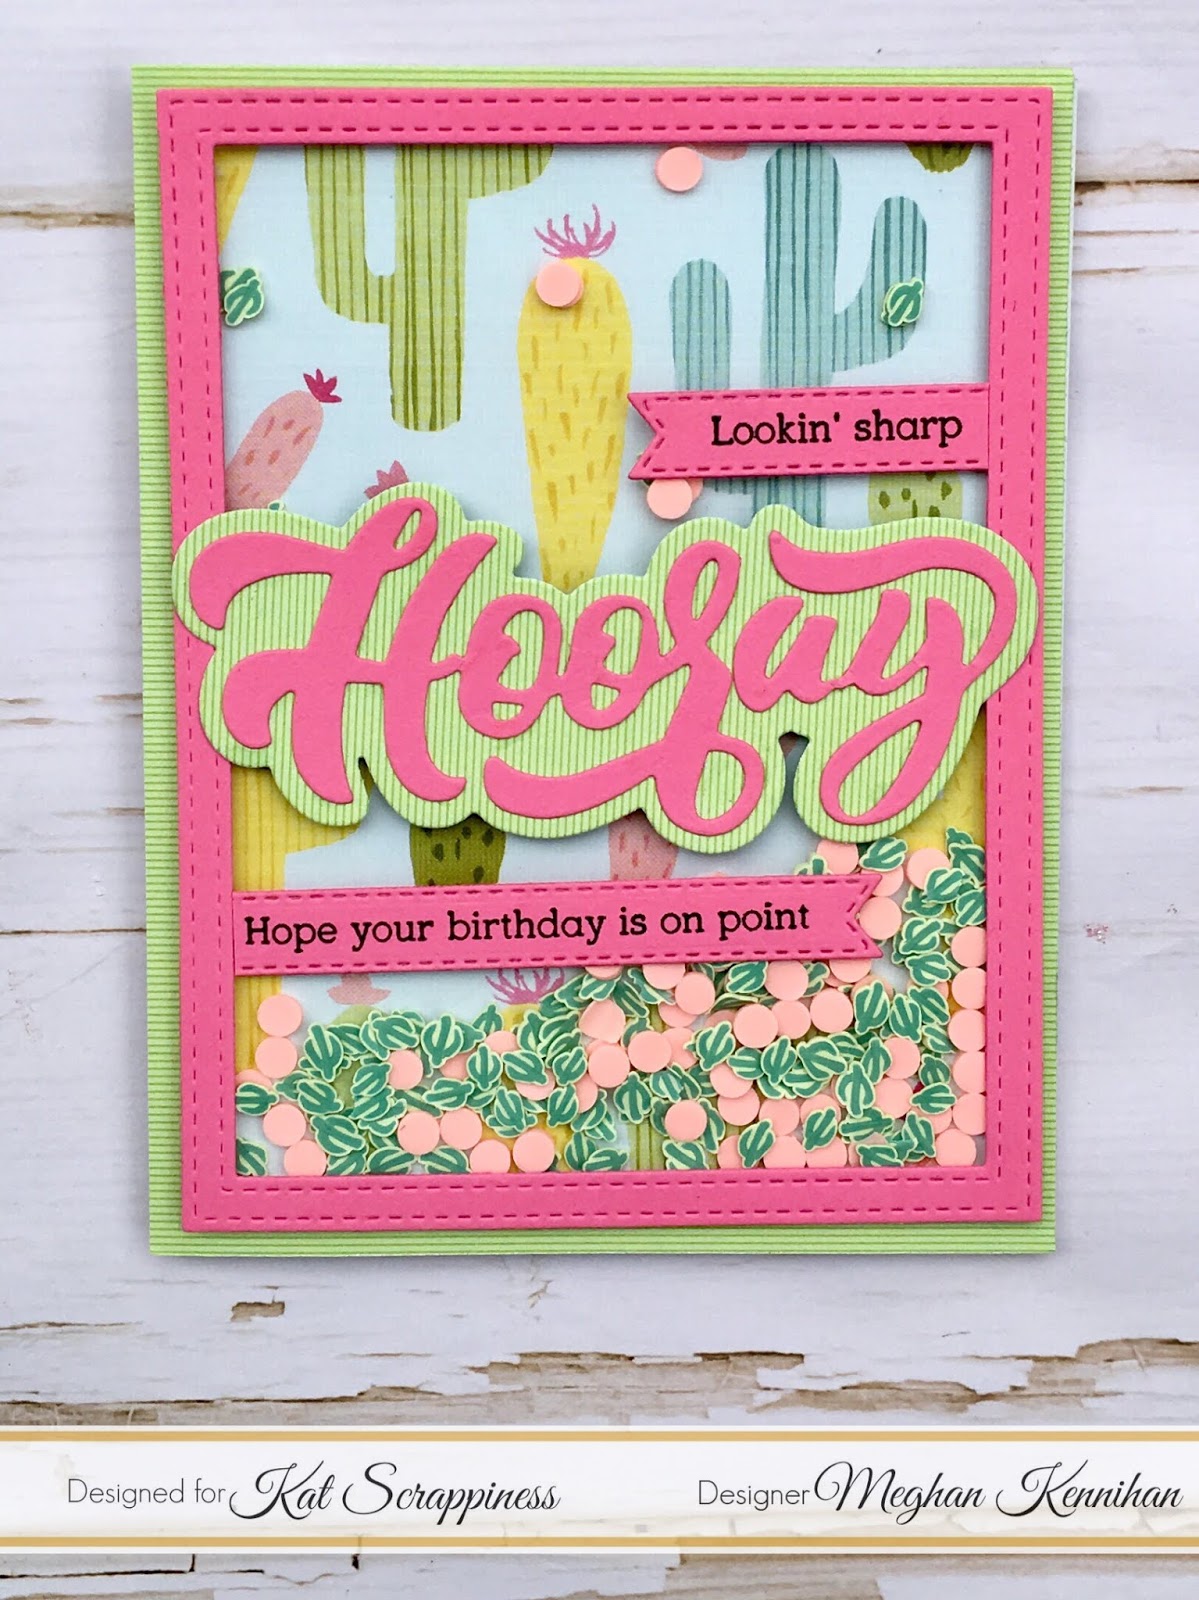
Next I used the largest die from the Wonky Wavy Stitched Rectangle Dies to cut a rectangle out from the ink blended panel. I then took the Kat Scrappiness Hooray with Shadow Die and cut the shadow layer out in black and the actual word layer out in white. The layers are so easy to put together because the shadow layer is the perfect matte for the word. I added in an extra sentiment under Hooray to make this a birthday card and then I decorated with my favorite embellishment from Kat Scrappiness, Sparkling Clear Droplets!
I matted the card on a black panel to really make the rainbow colors pop and my card was done.
Here is a look at the card with all the supplies pictured.
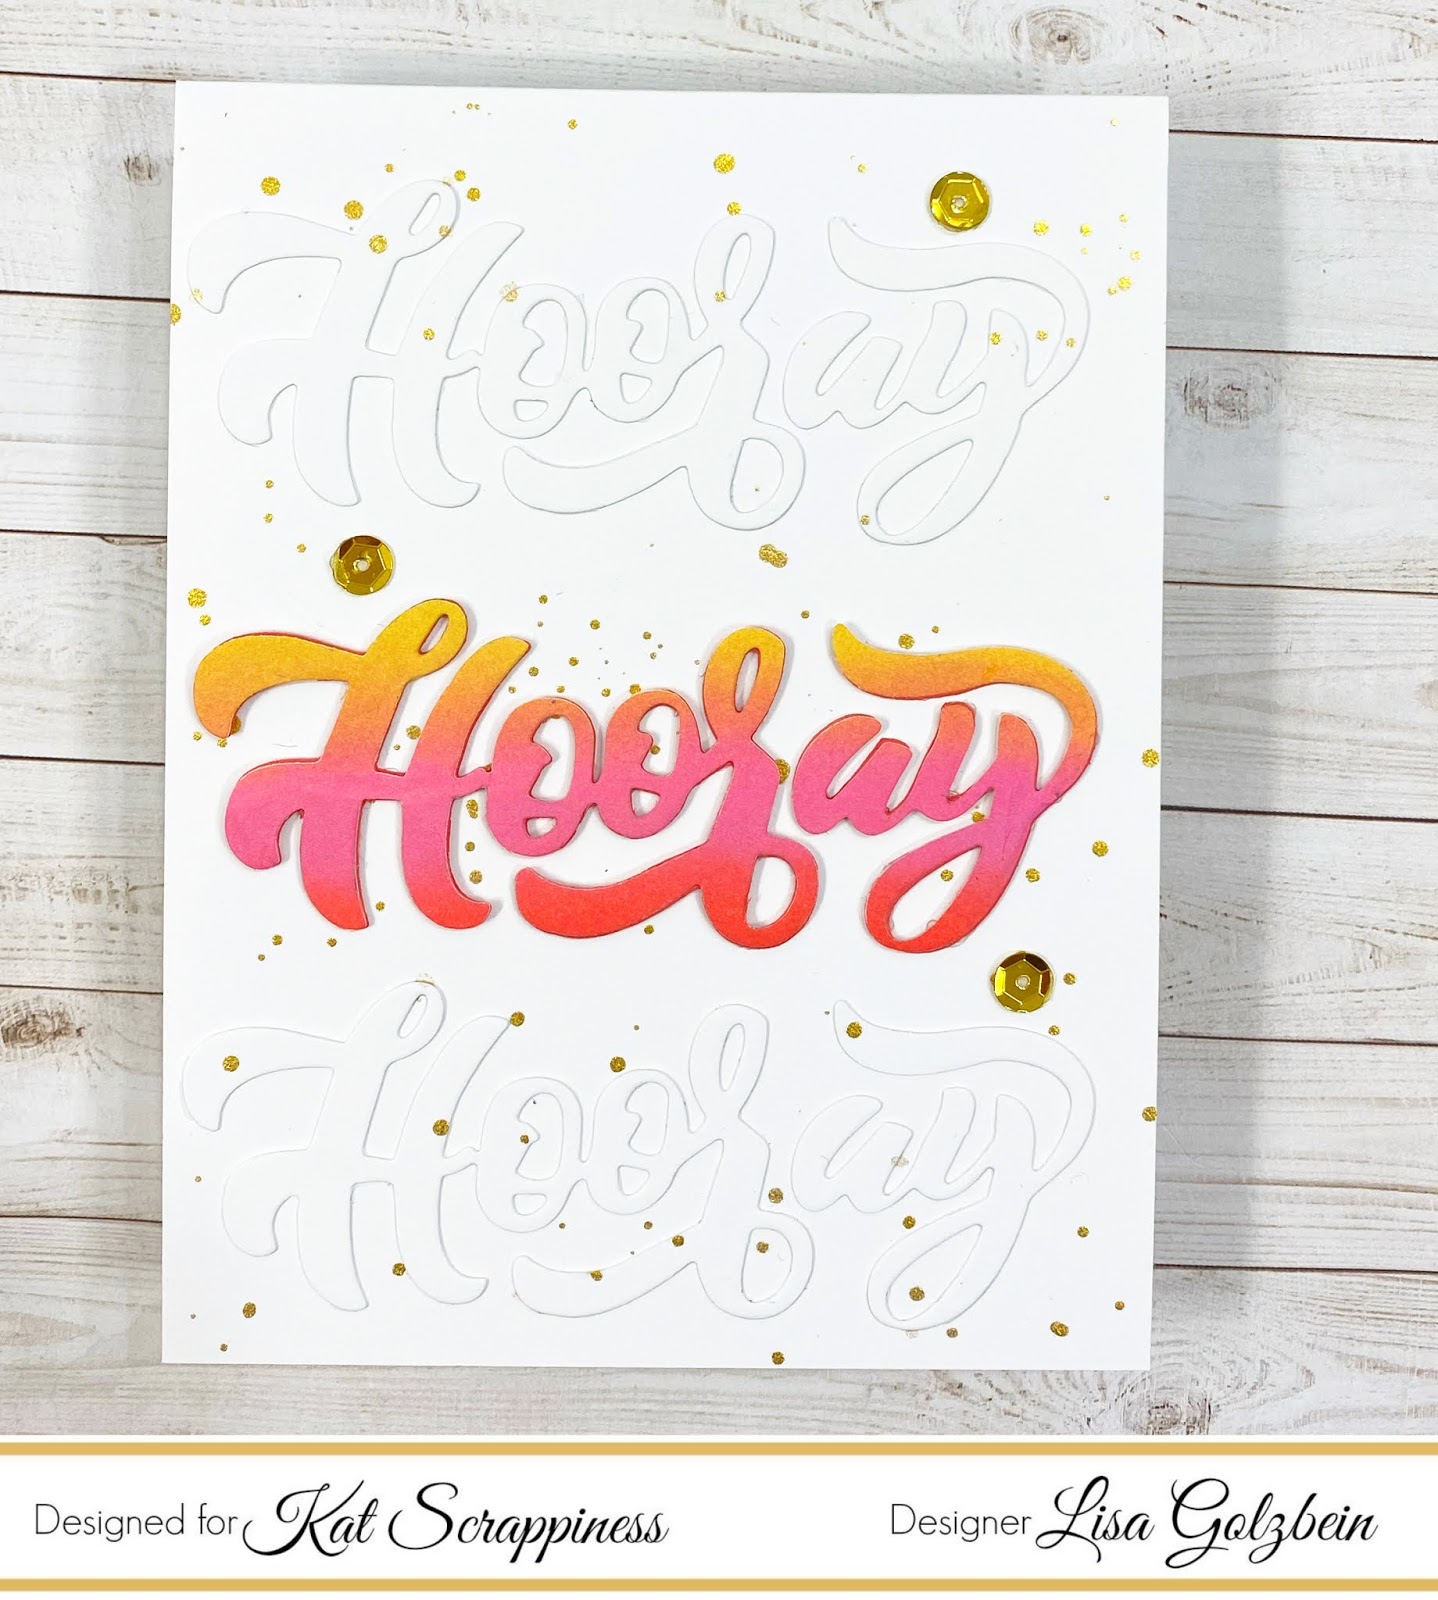
For my next card I went a little more CAS but still using the
Kat Scrappiness Hooray with Shadow Die.
I also did some ink blending with Distress Inks on this card but only for the word Hooray.
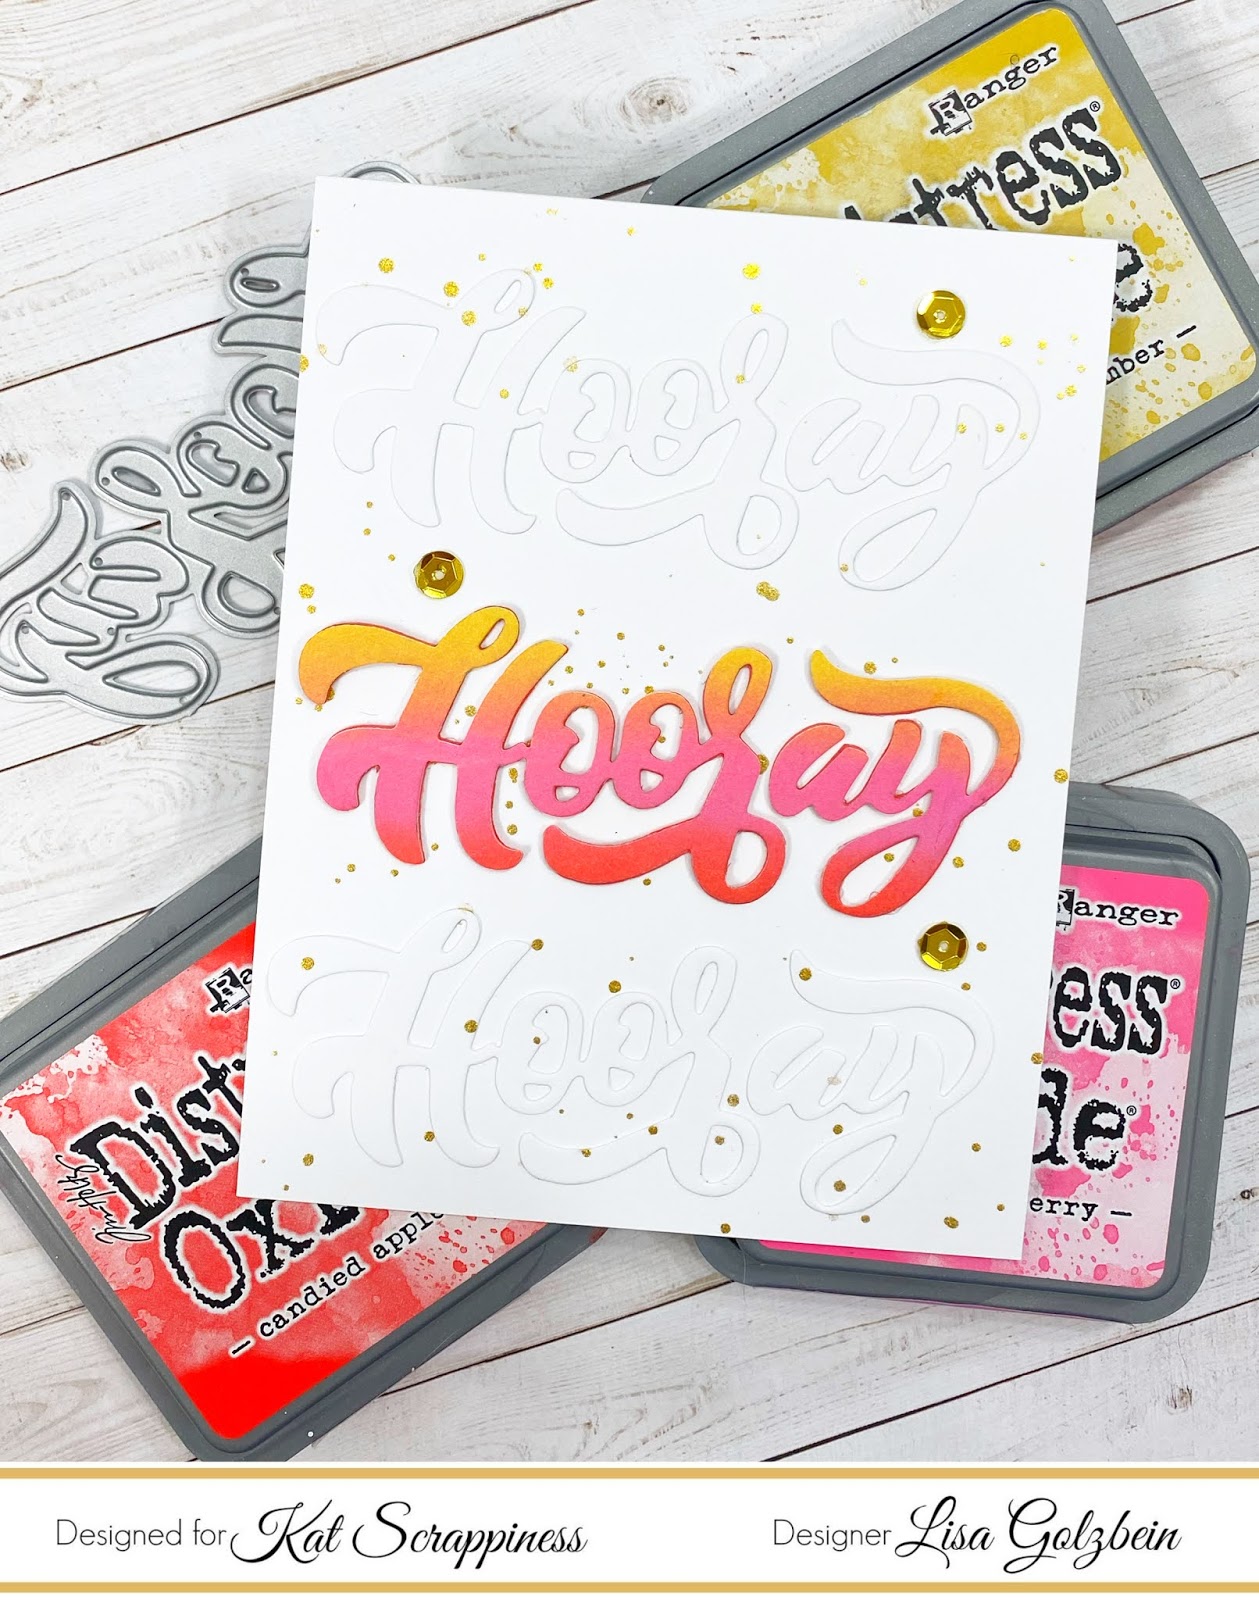
Once again I did a little ink blending with these 3 colors in this order using an ink blending tool and foam applicators:
Fossilized Amber
Picked Raspberry
Candied Apple
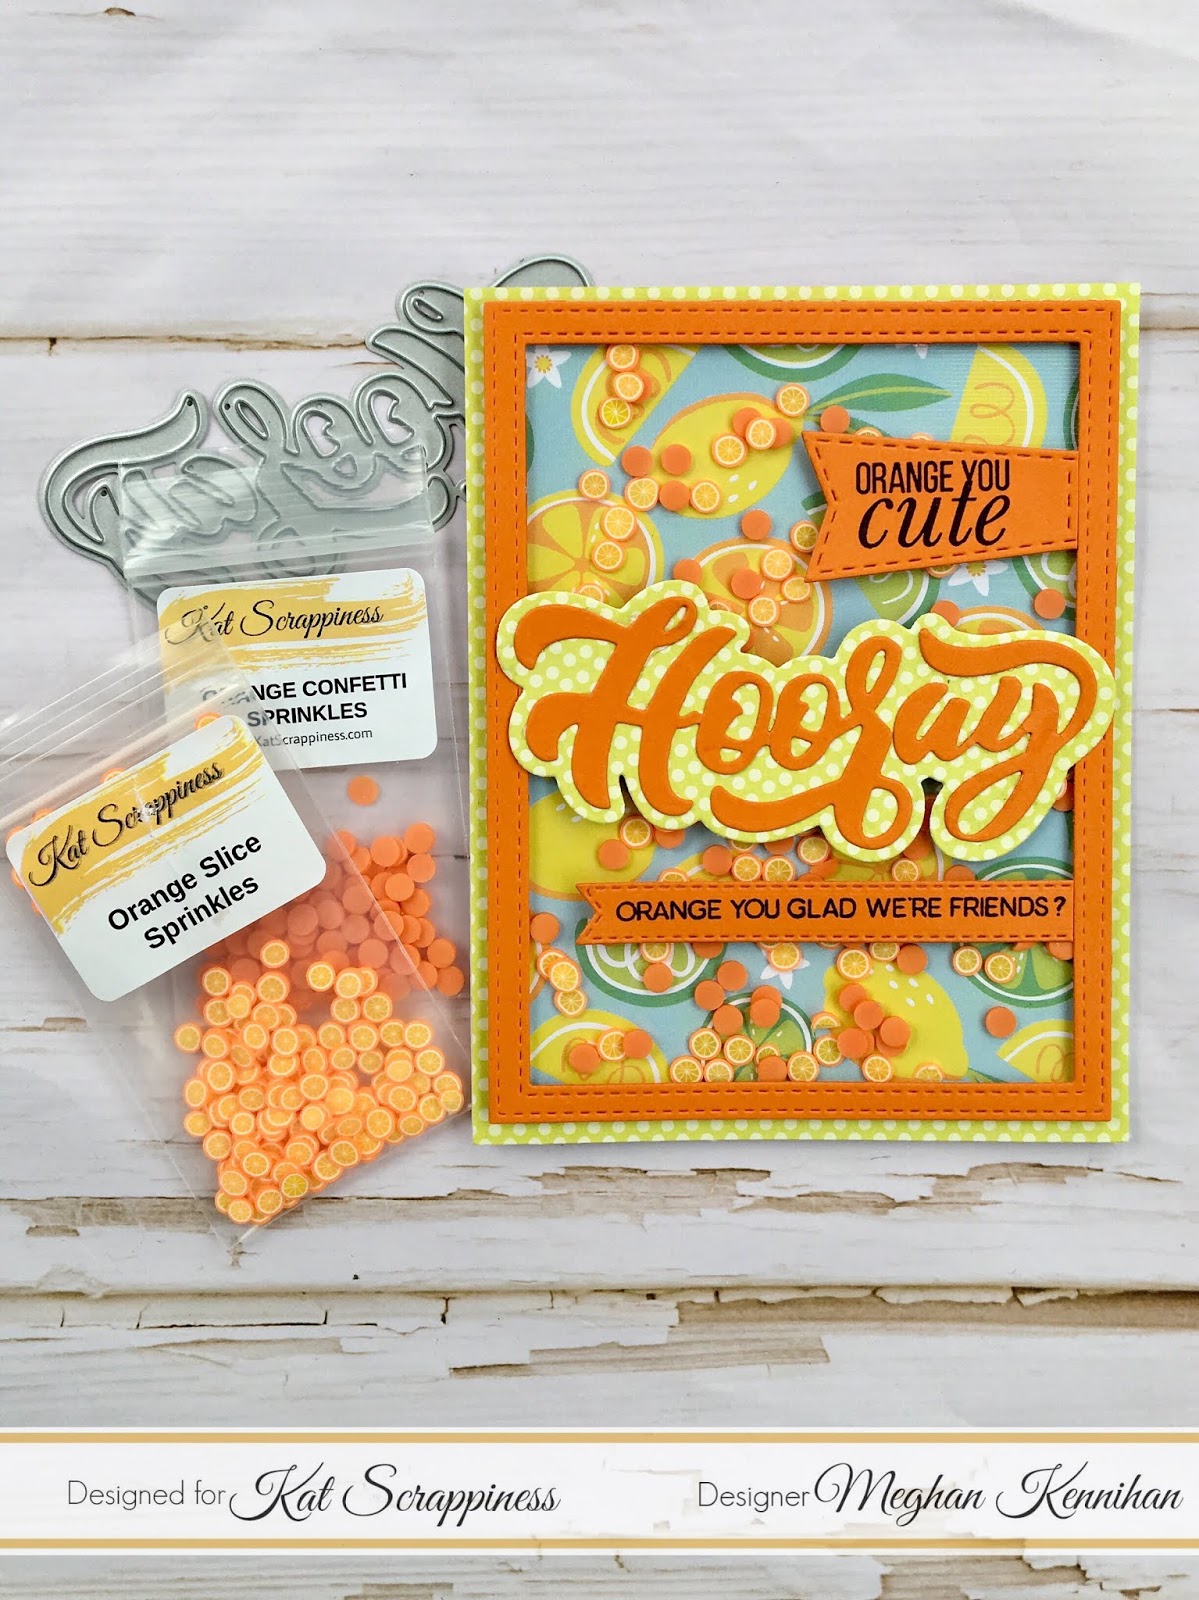
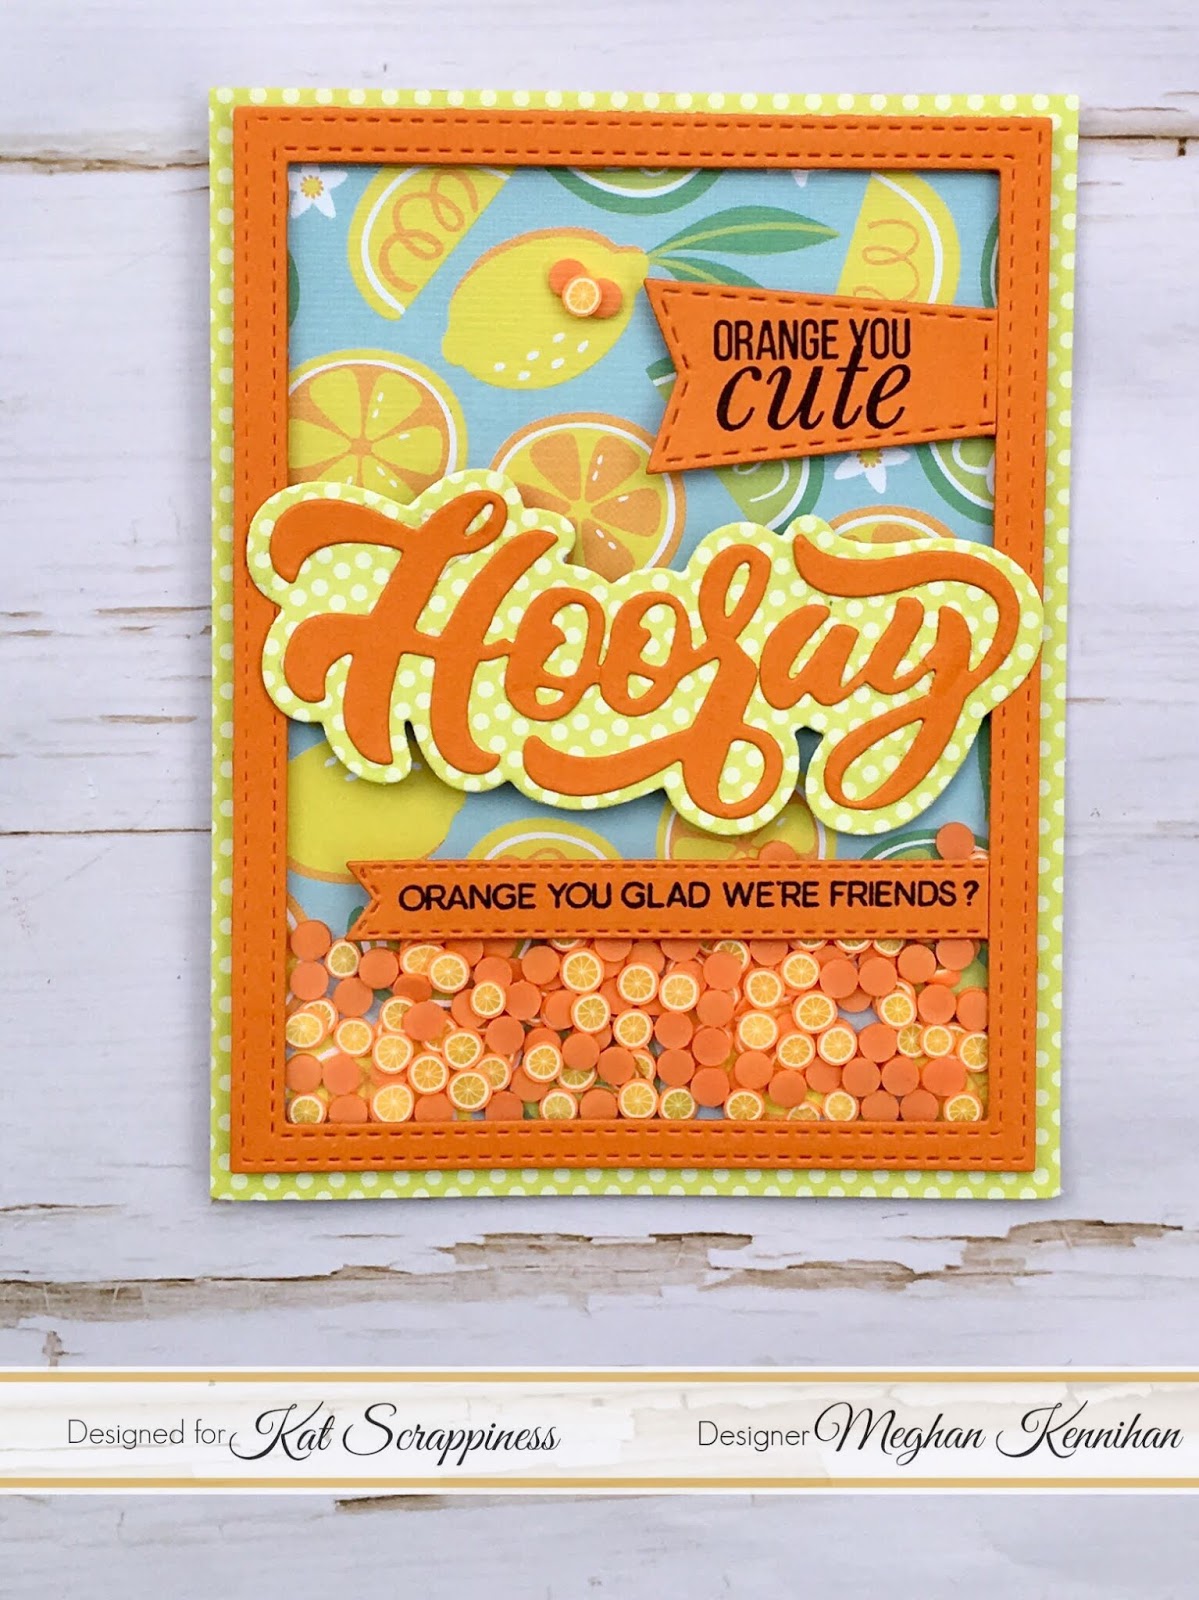
Once I had the blend the way I wanted I cut the word Hooray out of the panel. I just love how those 3 colors blend together to give a warm tropical look! I cut the word Hooray out 4 more times, twice in white and 2 more times in a coral color. I used the white words to give a tone on tone look by adhering them directly to the white card base and the 2 coral words I used to build up the ink blended Hooray die cut. Once I applied the two white Hooray cuts to the top and bottom of the card I did some ink splattering in gold using the Kuretake watercolor paint in gold to add some interest to the background of the card. Once the ink splattering was done I added the ink blended Hooray to the center of the card and finished off the card with some gold sequins
Here is a look at the card with all the supplies pictured.
Although I don’t often make CAS cards, I like how this one came out!
Thanks so much for joining me today! Head over to Kat Scrappiness to check out all of the amazing sentiment dies with shadows!
social media platforms to be alerted to new releases, sales and giveaways!
Have a great day, I already am!
? Lisa ?